First of all, I did this to my machine because it was useless in its current state, I had 3 other working Zims and this was to be my parts machine. I have been tossing a few ideas around in my head for a while now on how to convert my Parts machine Zim to leverage more open source parts so when Dgbrit posted his thread (http://zeeproforums.technobly.com/t/stepper-burned-out/630/35) on his solution when
one of his stepper motors went bad I decided to take the plunge.
I did not care about dual extrusion, I just wanted to see if I could get this machine up and running and not reliant upon proprietary parts. My next step with this machine would be to replace the board. (maybe, at some point).
I thought someone else might like to read about what I did, step by step so decided to post my solution. I will try to update this and answer questions as I have time. Also THANK YOU Dgbrit for posting your solution!
Steps I have taken already with my Zeepro Zims:
Step 1: - remove the horrifically glued in USB plug (or re solder a new one)
I have been able to remove this on 4 different Zim’s each one was a different animal but what worked for me was a combination of tiny drill bits and dental picks.
Step 2: - Update the firmware to Jpod’s firmware found here on this forum.
Step 3: - Setup and install raspberry Pi - or run it via your computer
Step 4: - purchase and leverage Simplify 3d for slicing (optional)
Steps 1-3 are basically the steps outlined here: http://zeeproforums.technobly.com/t/octopi-tutorial-for-zim/252/150
At this point you have a really good running machine as long as you don’t have issues with your heater blocks, thermistor, nozzles etc.
This is exactly how 3 of my zeepros are set up and running.
That said, I have had nothing but issues with this particular machine. I have a strong suspicion that this particular machine was one of the early ones. It had a lot of stripped screws, odd LED lighting and a lot of other issues. Out of the box I could only get it to extrude out of one of the extruders, I could never get the second one to work. I even tore the whole machine apart, put in new nozzles etc, got it all back together and it still didn’t work right, this was then turned into my “Parts” machine.
On to the next part of conversion.
Print this out ahead of time if you want to:
https://www.thingiverse.com/thing:2120906
Step 5:
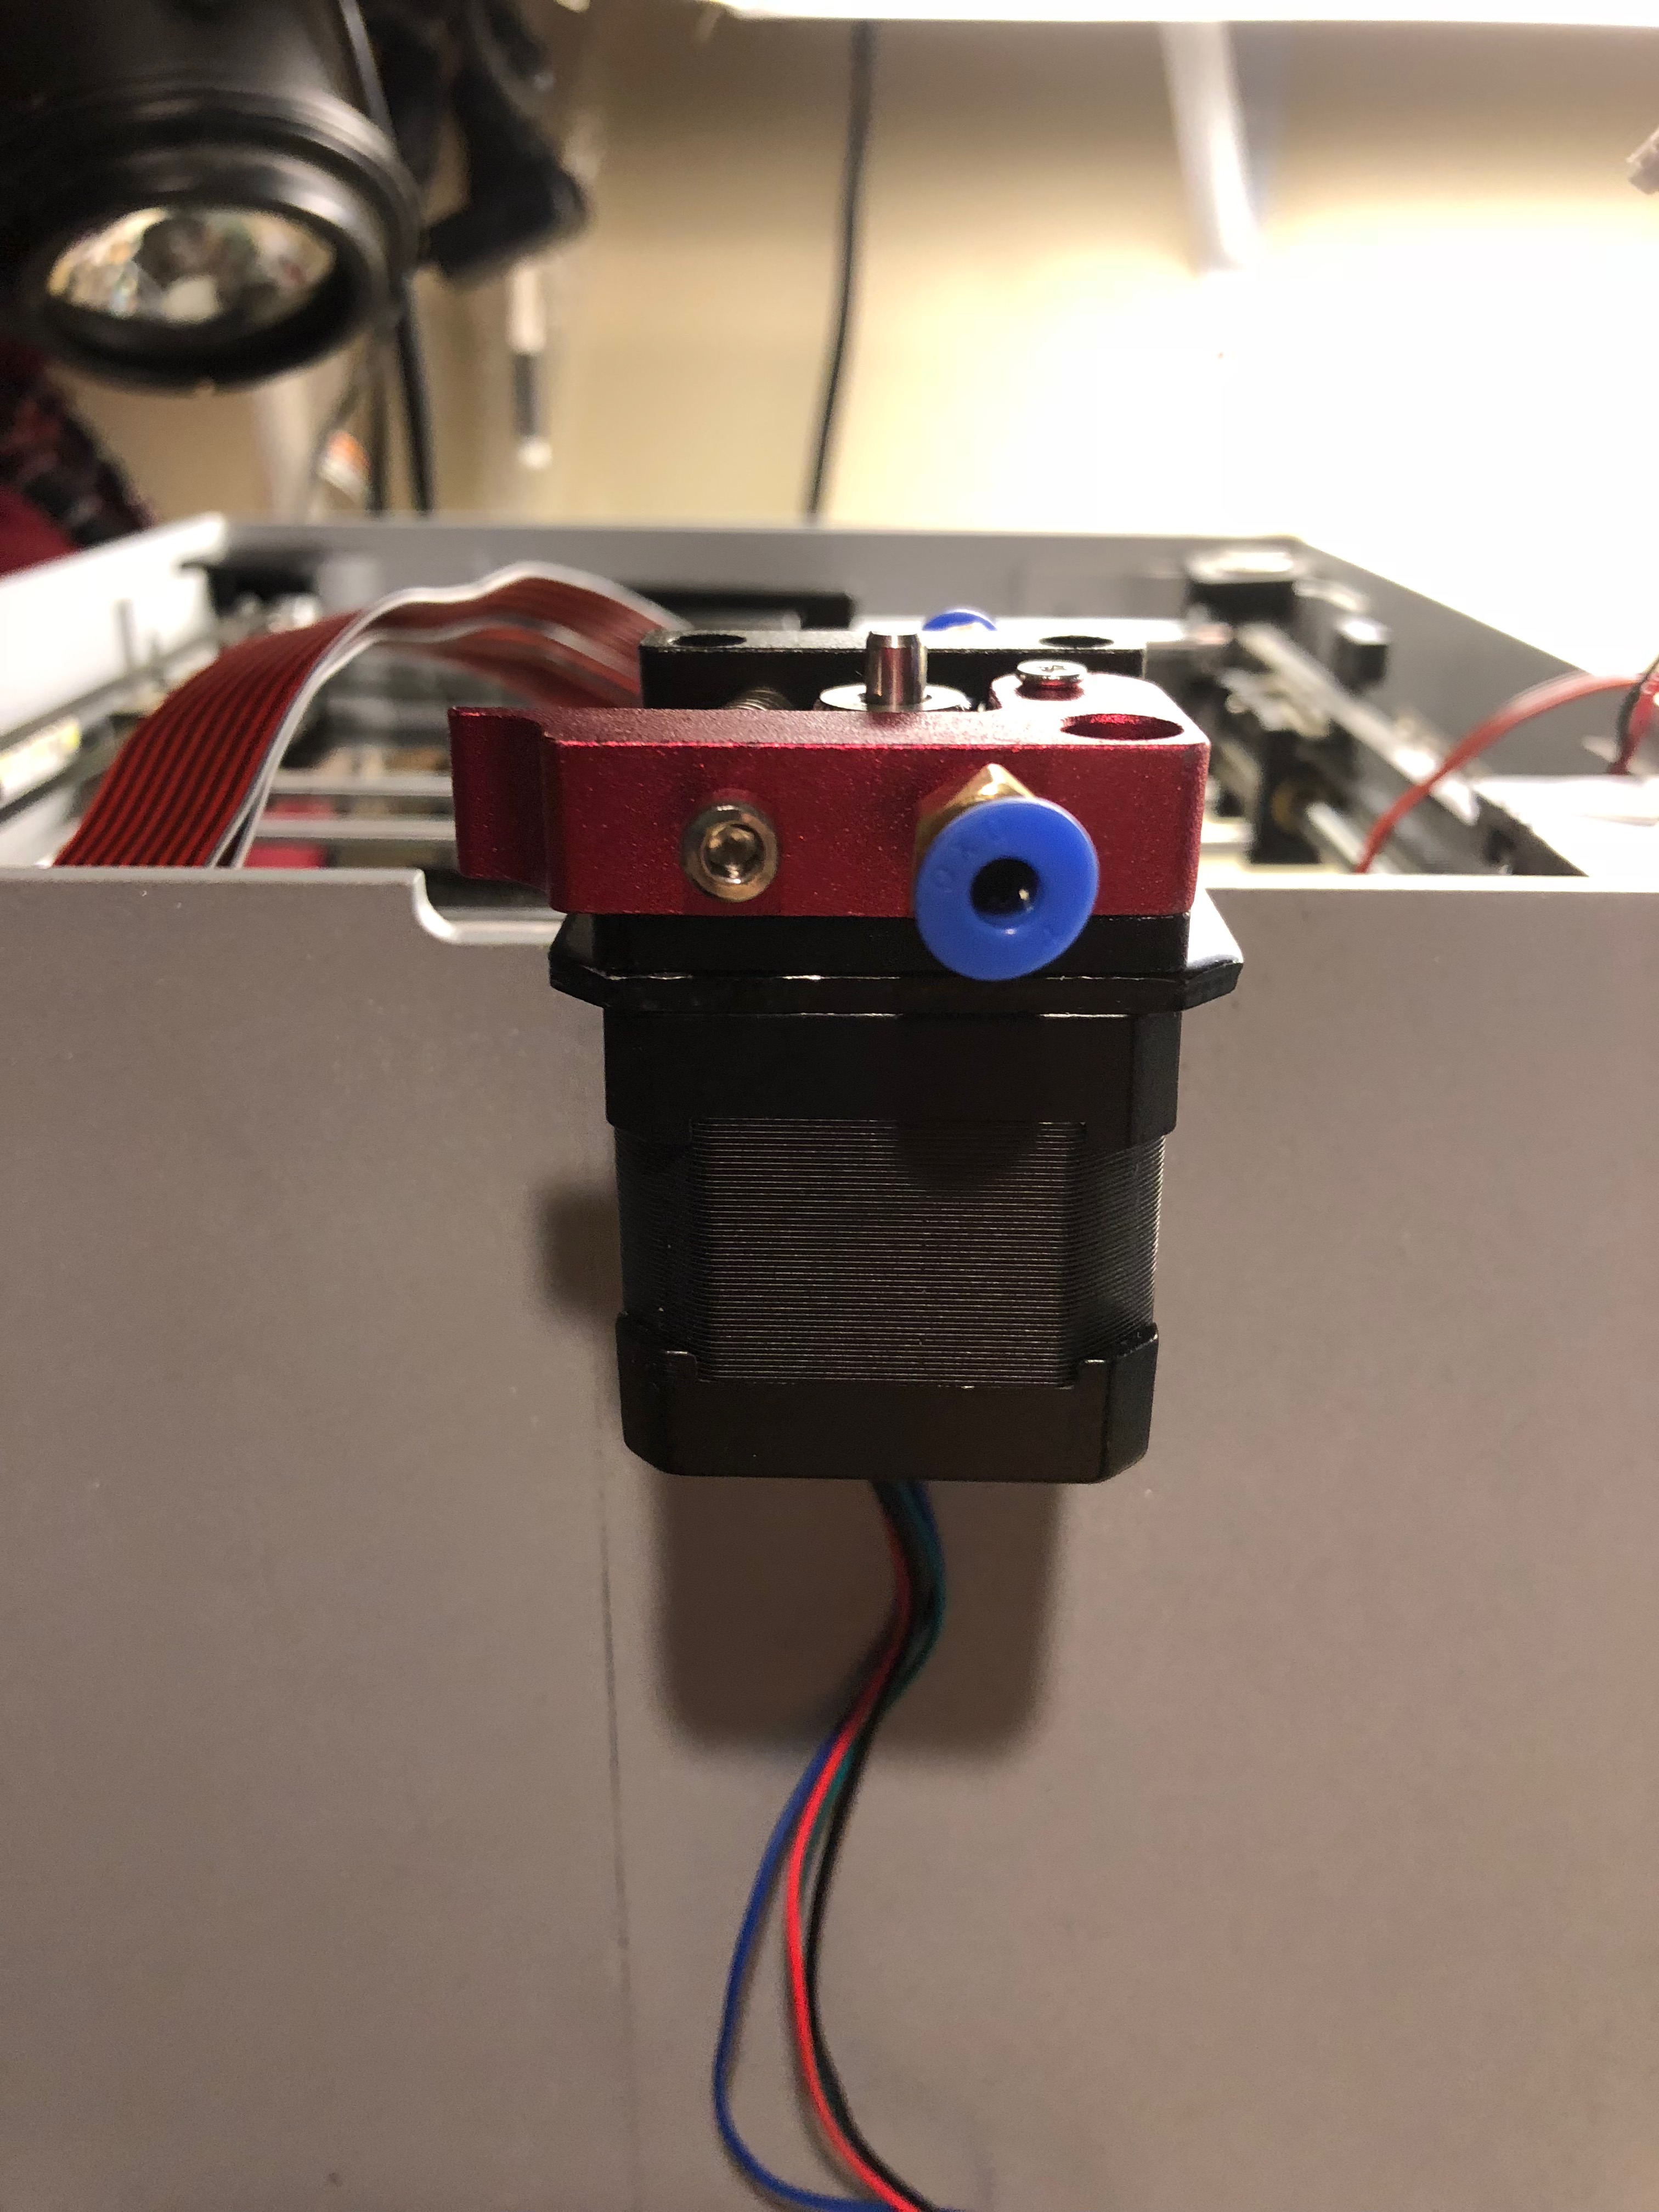
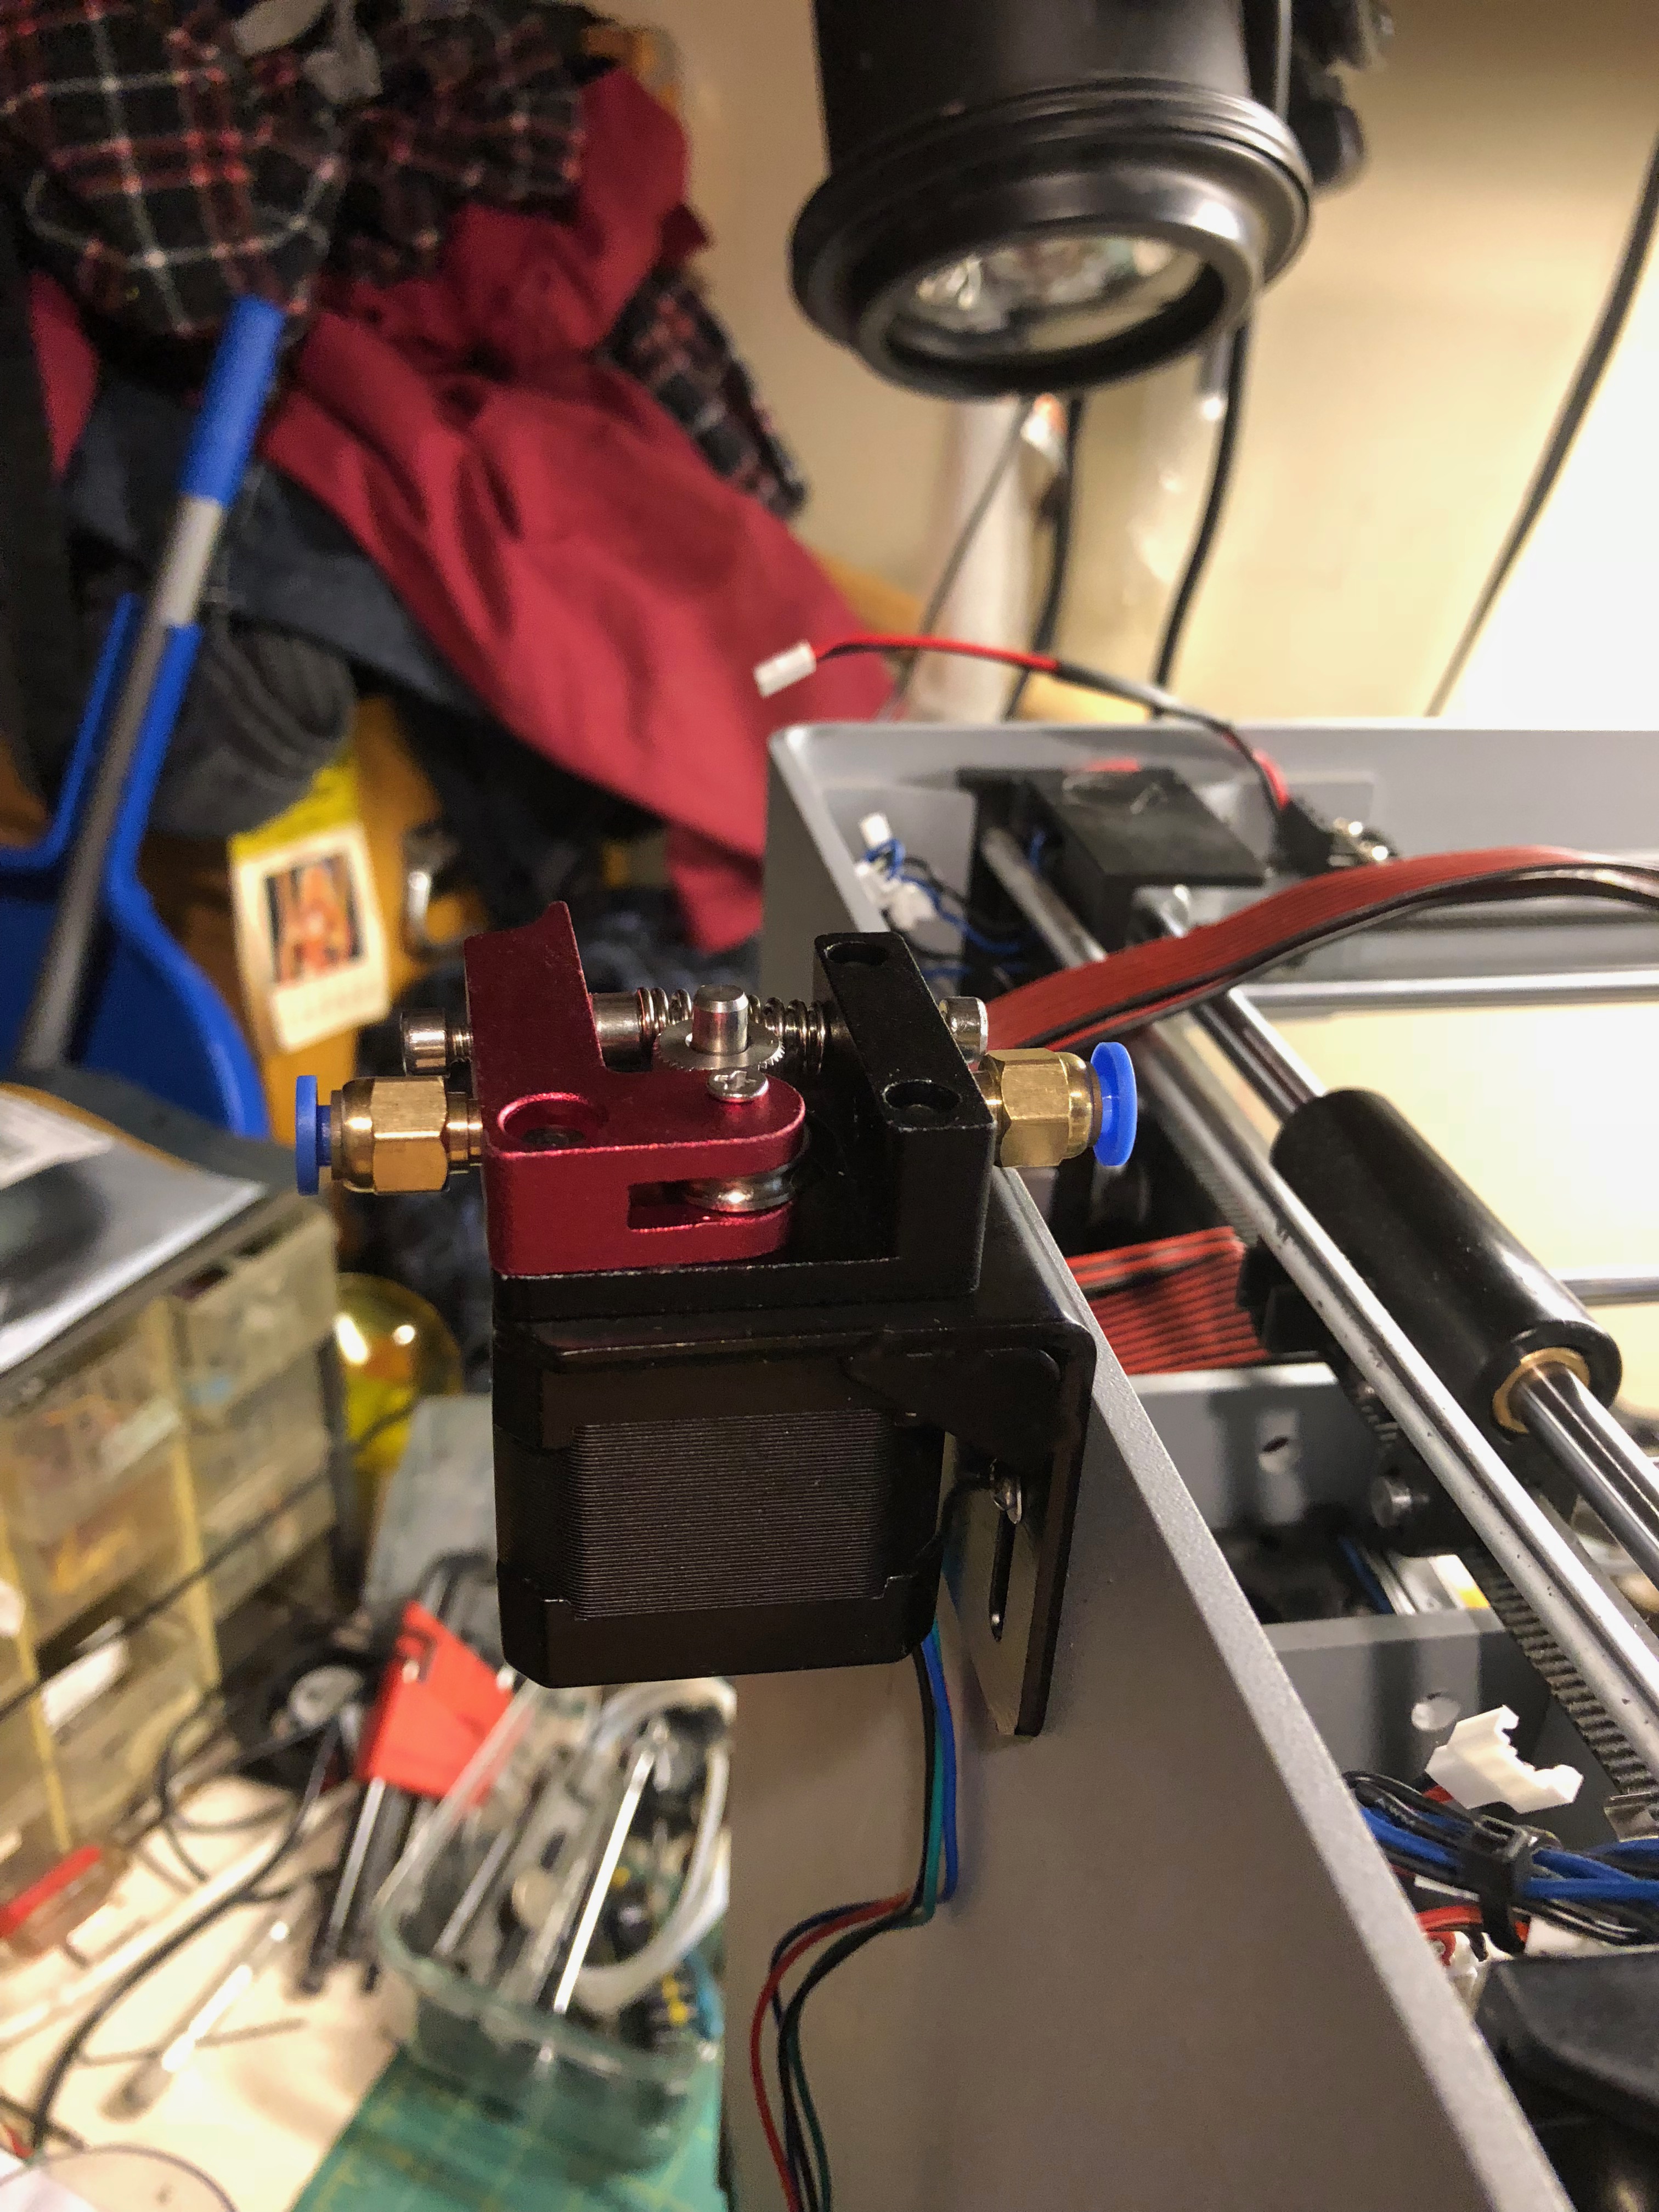
Take the entire head apart, you only want the carriage and the proprietary board left when you are done.
That means take off the aluminum blocks, the stepper motors, the heaters, the nozzles, Everything 
You need the following parts:
You will either need to source the following from your existing Zim or the web:
Hot end Connector (cut off of existing parts, leaving plenty of wire to work with)
1 fan connector
1 thermistor connector (if you want to) - I finally ended up just soldering my termistor to the back of the board as suggested by Dgbrit and others on this forum, this solved my random temp issues, the original connector is crap.
Keep one entire fan untouched just remove it from but do not cut the connector.
Buy new:
One Bowden style j-head clone or e3d v6 clone - you want something similar to this:
https://www.amazon.com/RepRap-Champion-Printer-Filament-Extruder/dp/B01GD8LCFO/ref=s9u_simh_gw_i3?_encoding=UTF8&fpl=fresh&pf_rd_m=ATVPDKIKX0DER&pf_rd_s=&pf_rd_r=S4HDR7DPZ4TDZYR96XAD&pf_rd_t=36701&pf_rd_p=1cded295-23b4-40b1-8da6-7c1c9eb81d33&pf_rd_i=desktop
I used a clone and not the genuine e3d one since you specifically want the push fit connector that the above head comes with.
I do not know if you could use a genuine e3d bowden head or not and I didn’t want to spend the money to find out.
quick update, THIS (below) is the exact hot end I ordered:
https://www.amazon.com/gp/product/B00ZF6X1VE/ref=oh_aui_detailpage_o03_s00?ie=UTF8&psc=1
One all metal extruder and NEMA17 stepper motor
https://www.amazon.com/Ocr-Printer-Bowden-Extruder-Filament/dp/B01HPXAECS/ref=sr_1_20?s=industrial&ie=UTF8&qid=1487612060&sr=1-20&keywords=all+metal+extruder
https://www.amazon.com/LEORX-Phase-4-Wire-Stepper-Printer/dp/B015SS3Y7O/ref=sr_1_7?ie=UTF8&qid=1487612130&sr=8-7&keywords=nema+17
If you have a way to get the push fit gear off of one of the existing nema17 motors I’m sure you could use that too, I didn’t want to waste time trying.
Step 6:
Solder the hot end connector you cut off in step 5 to the new hot end heating element
Solder the thermistor to the connector from the zim or solder this directly to the board on your zim.
Take the fan connector and solder this onto the small fan that comes with the hot end.
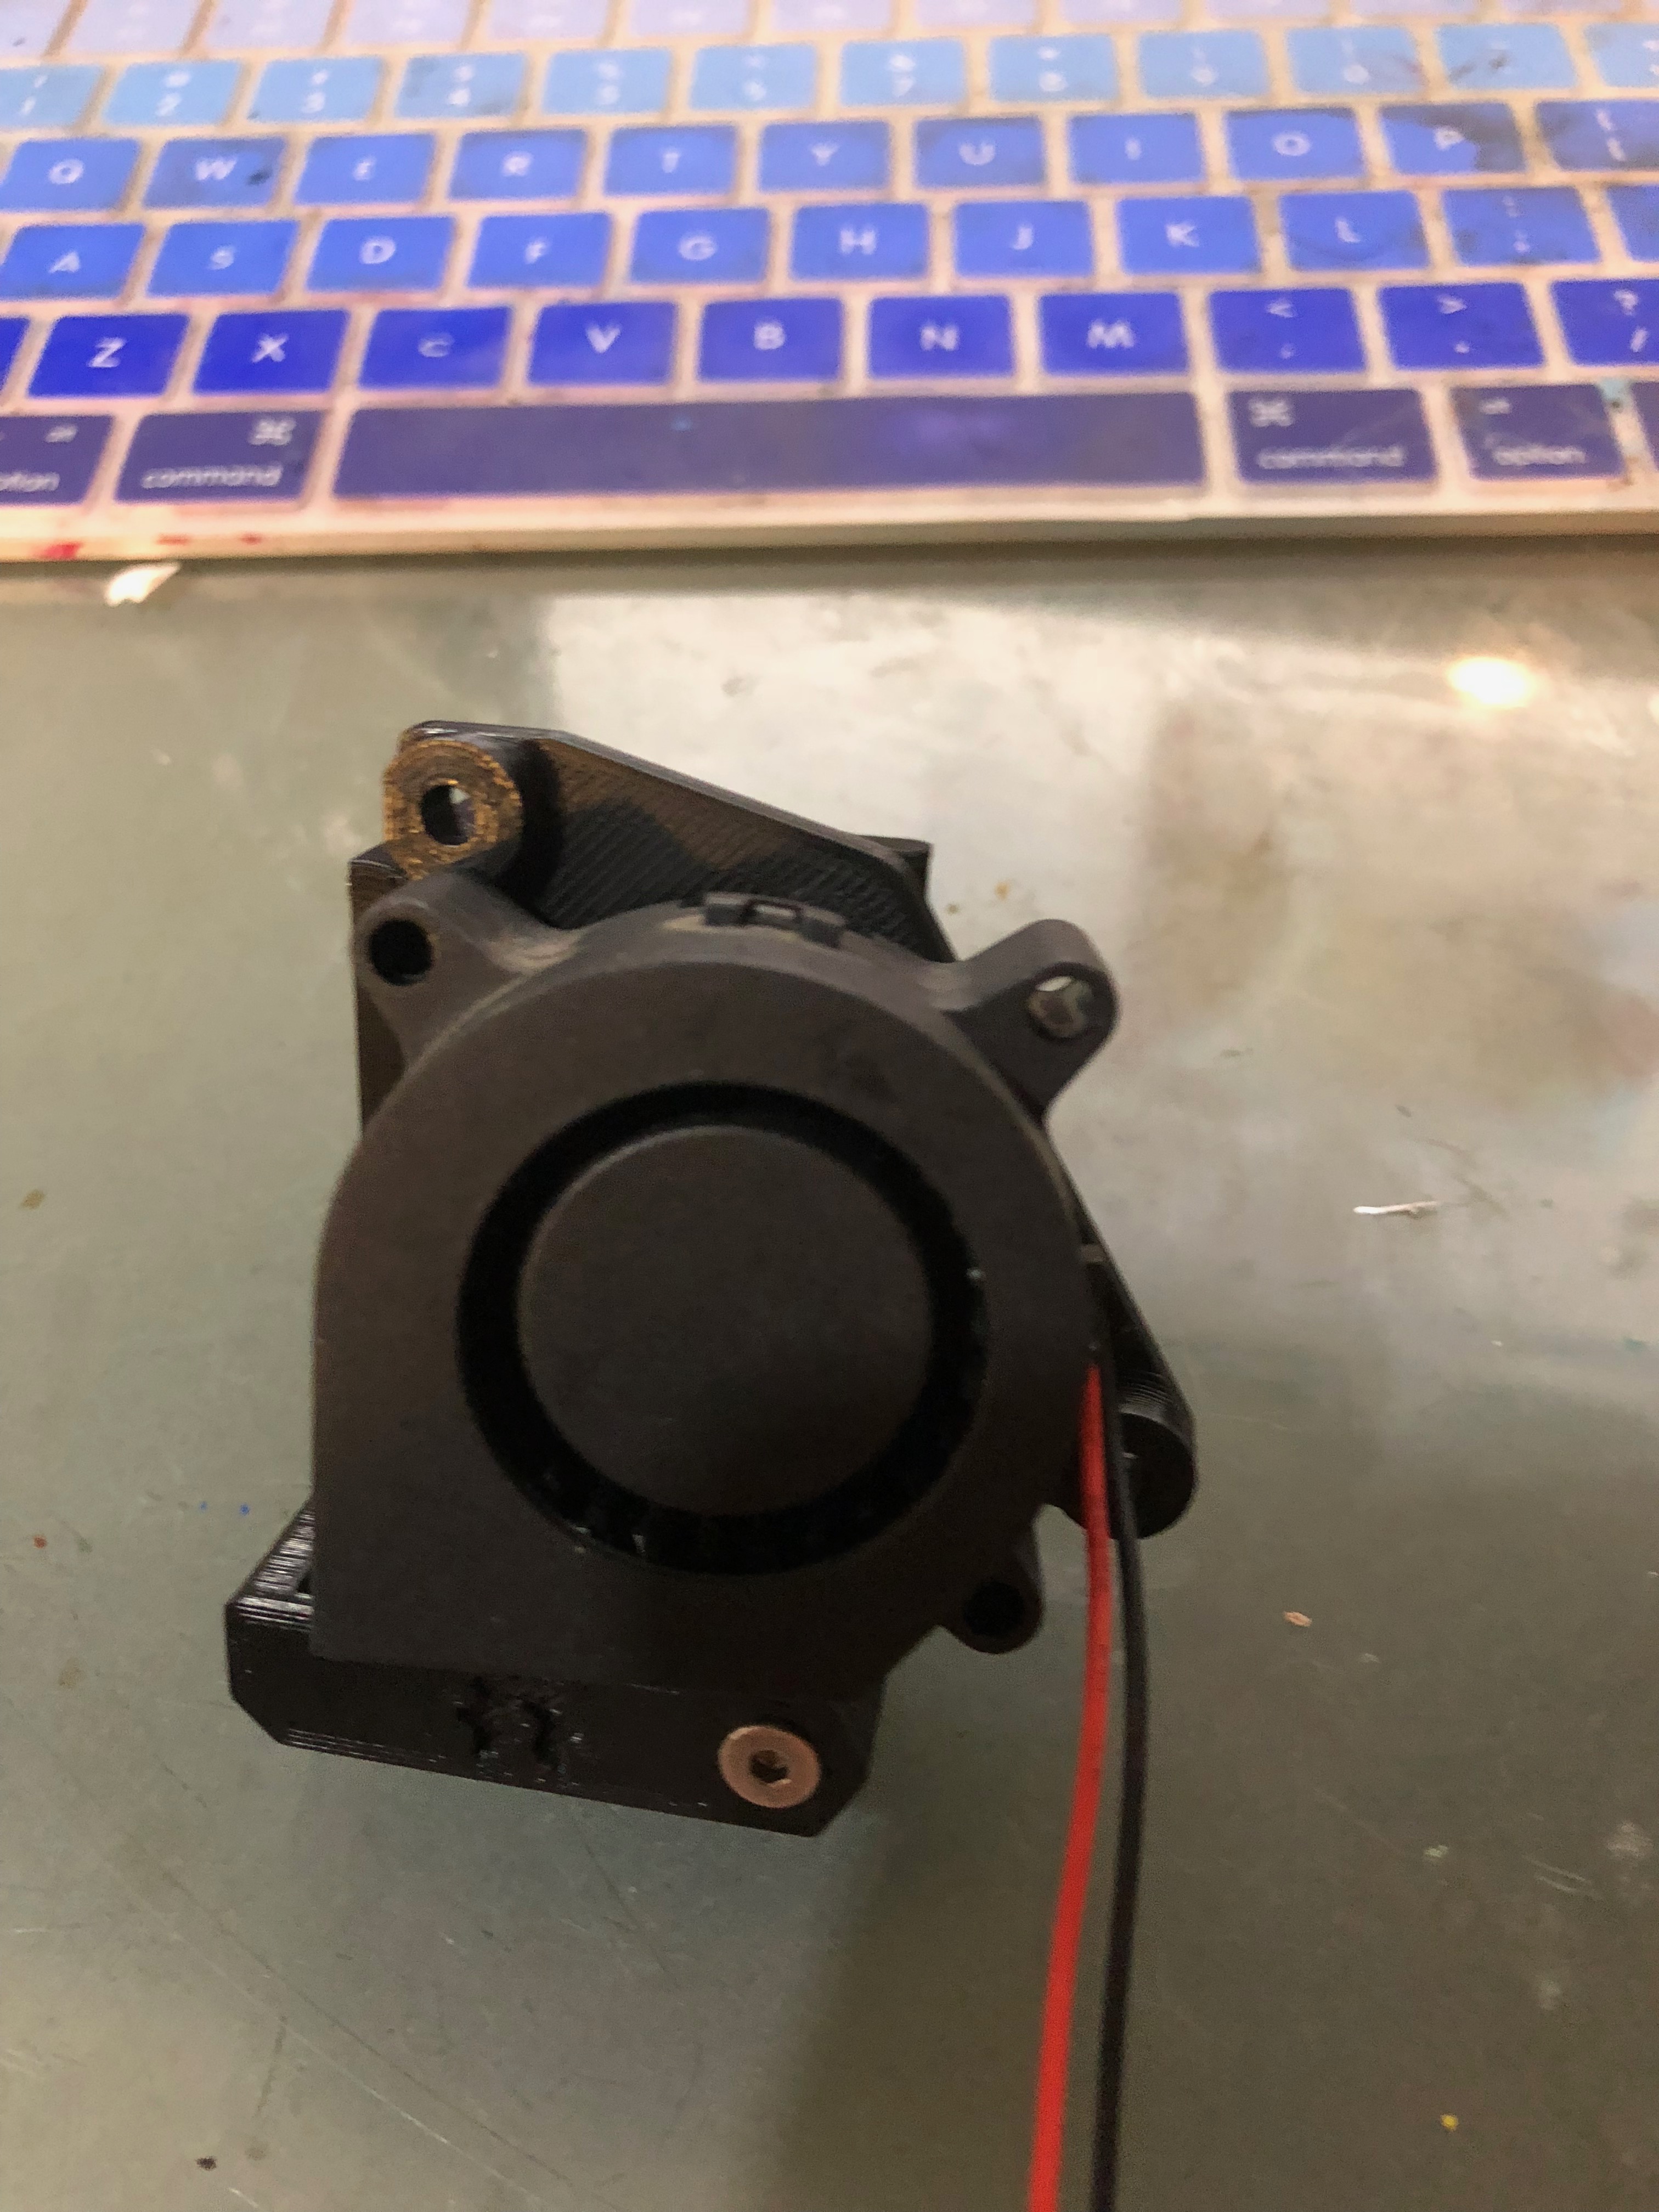
Assemble the hot end. Save the other fan if you want to use the adjustable layer fan linked above.
Step 7:
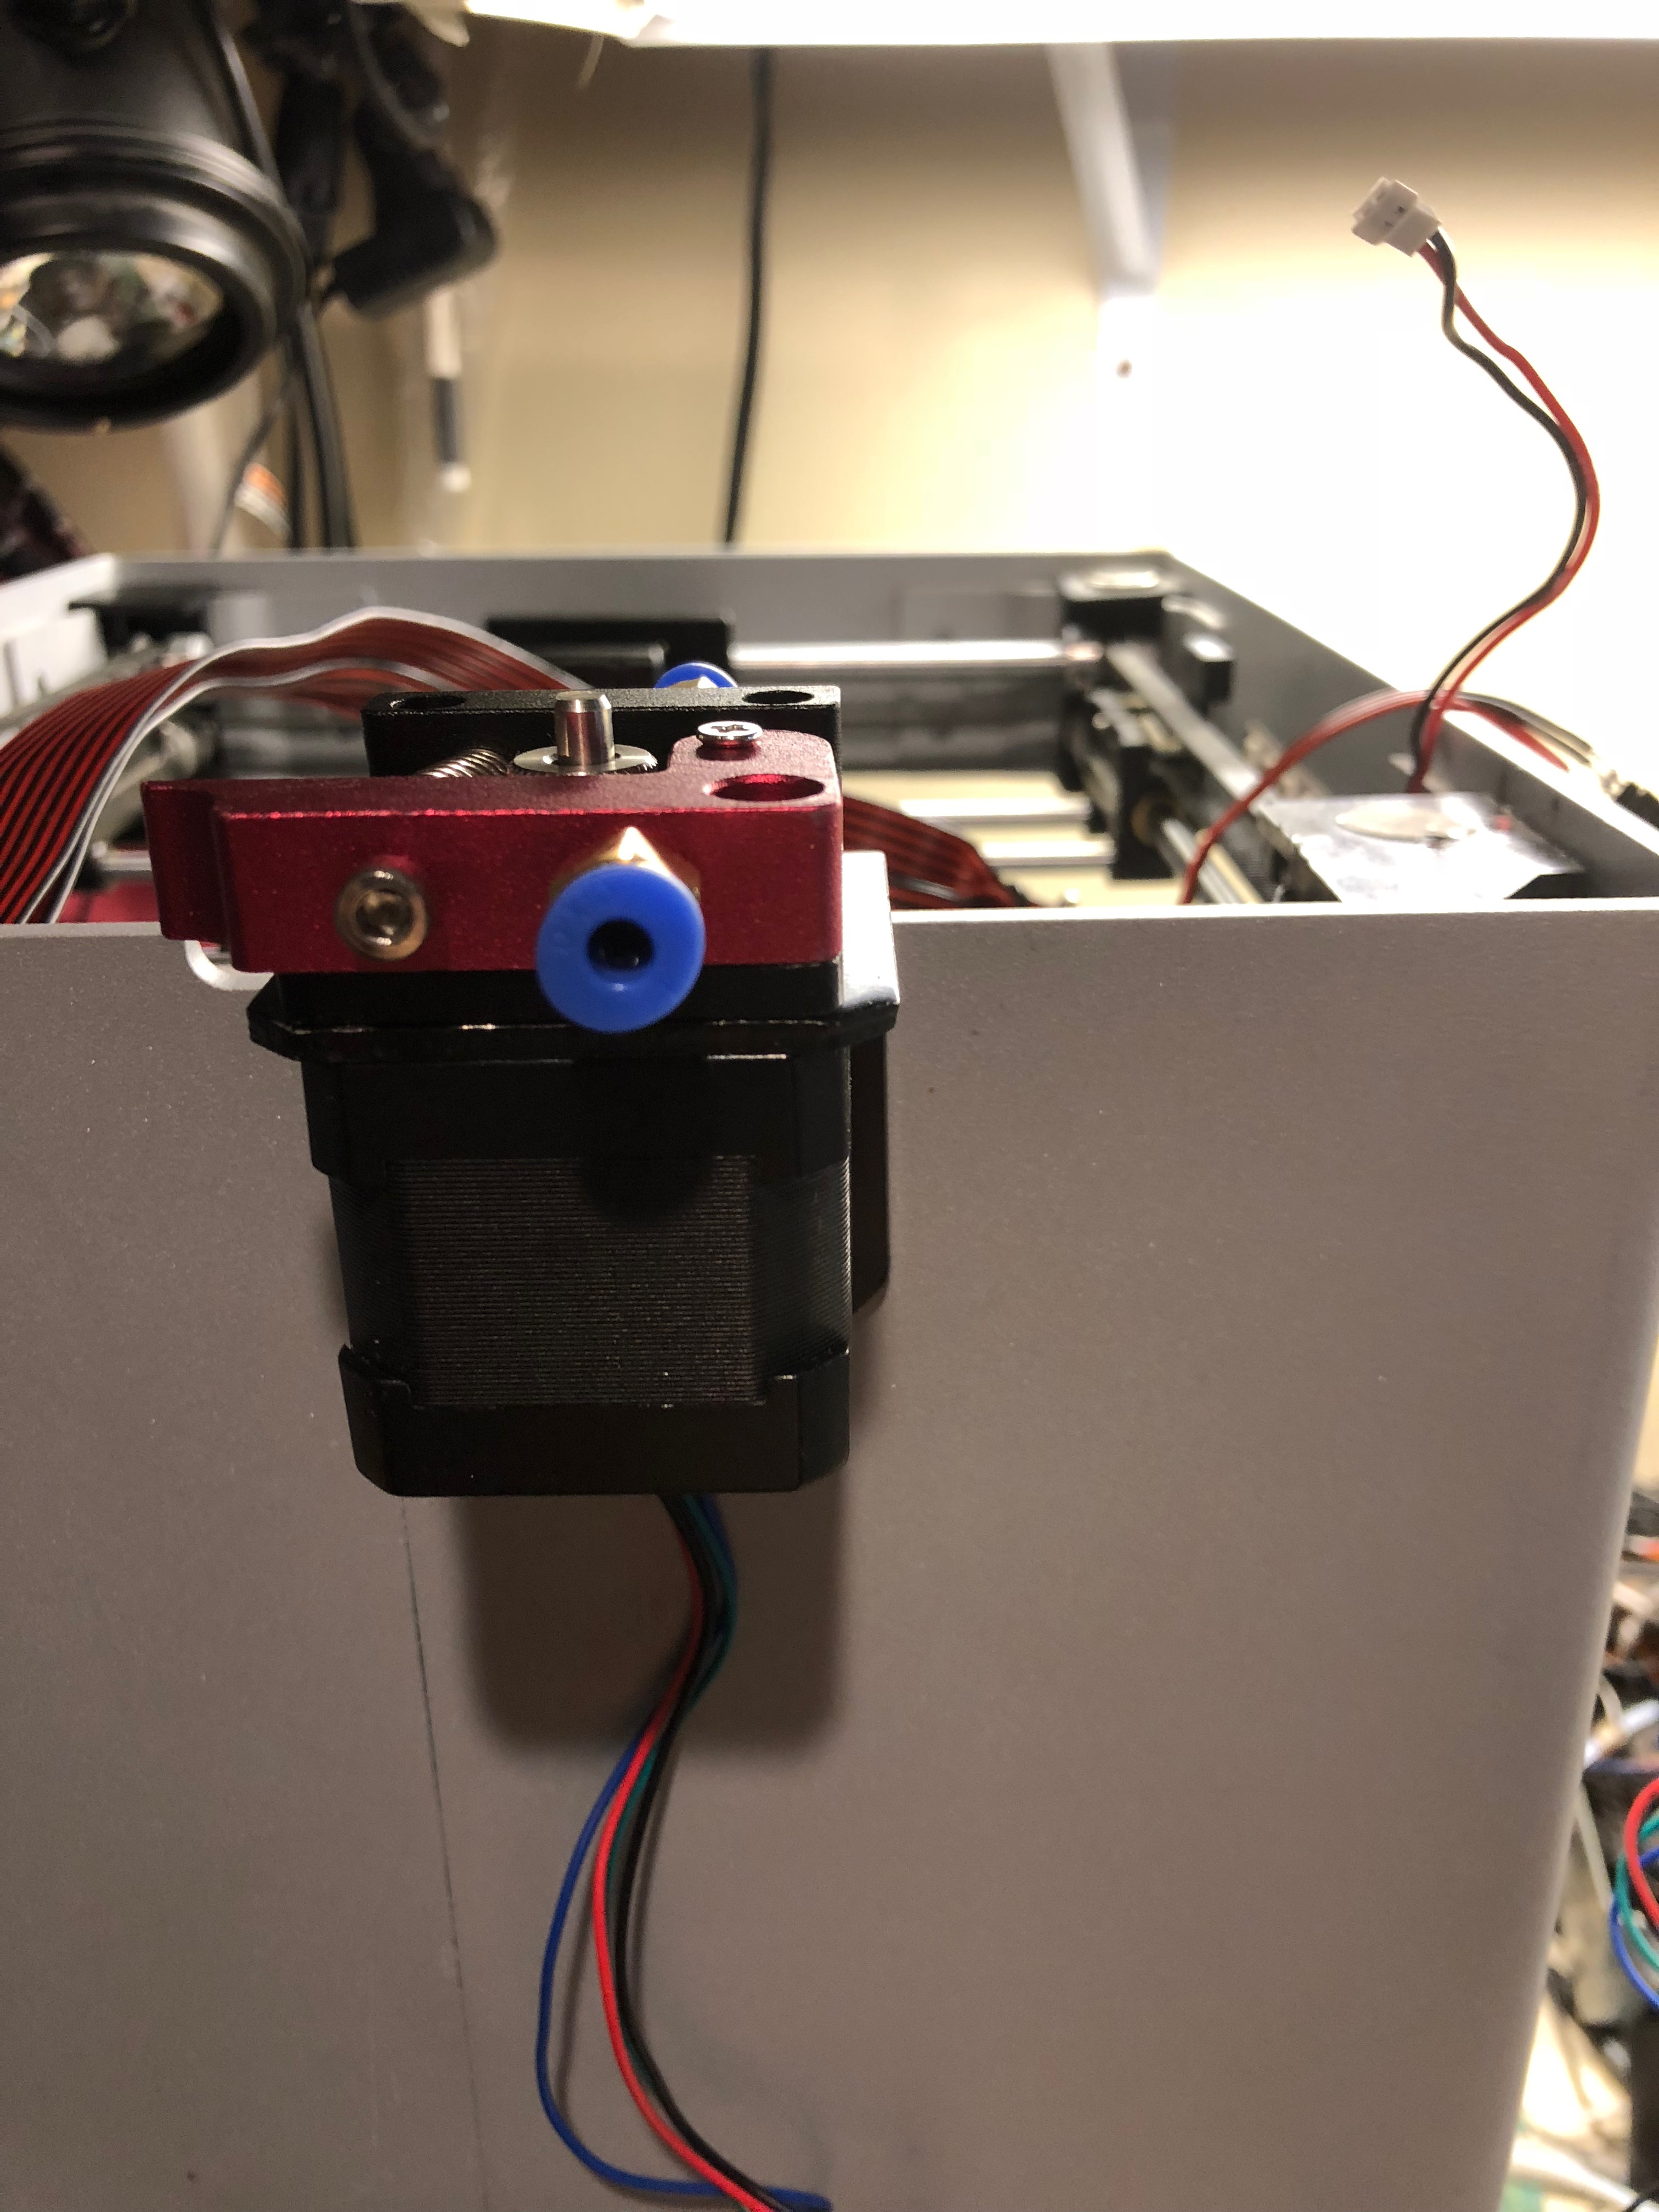
Assemble the Extruder parts onto the NEMA 17 motor. My new one came with a long ribben cable, I replaced the end of this cable that normally would plug into board and replaced it with the connector I cut off of one of my Zeepro motors.
With this extruder assembled you should be ready to put things back together.
If you opted to print out the adjustable layer fan parts, you should assemble these onto your hot end as well.
You want to make sure to plug the fans back into their appropriate spots on the board.
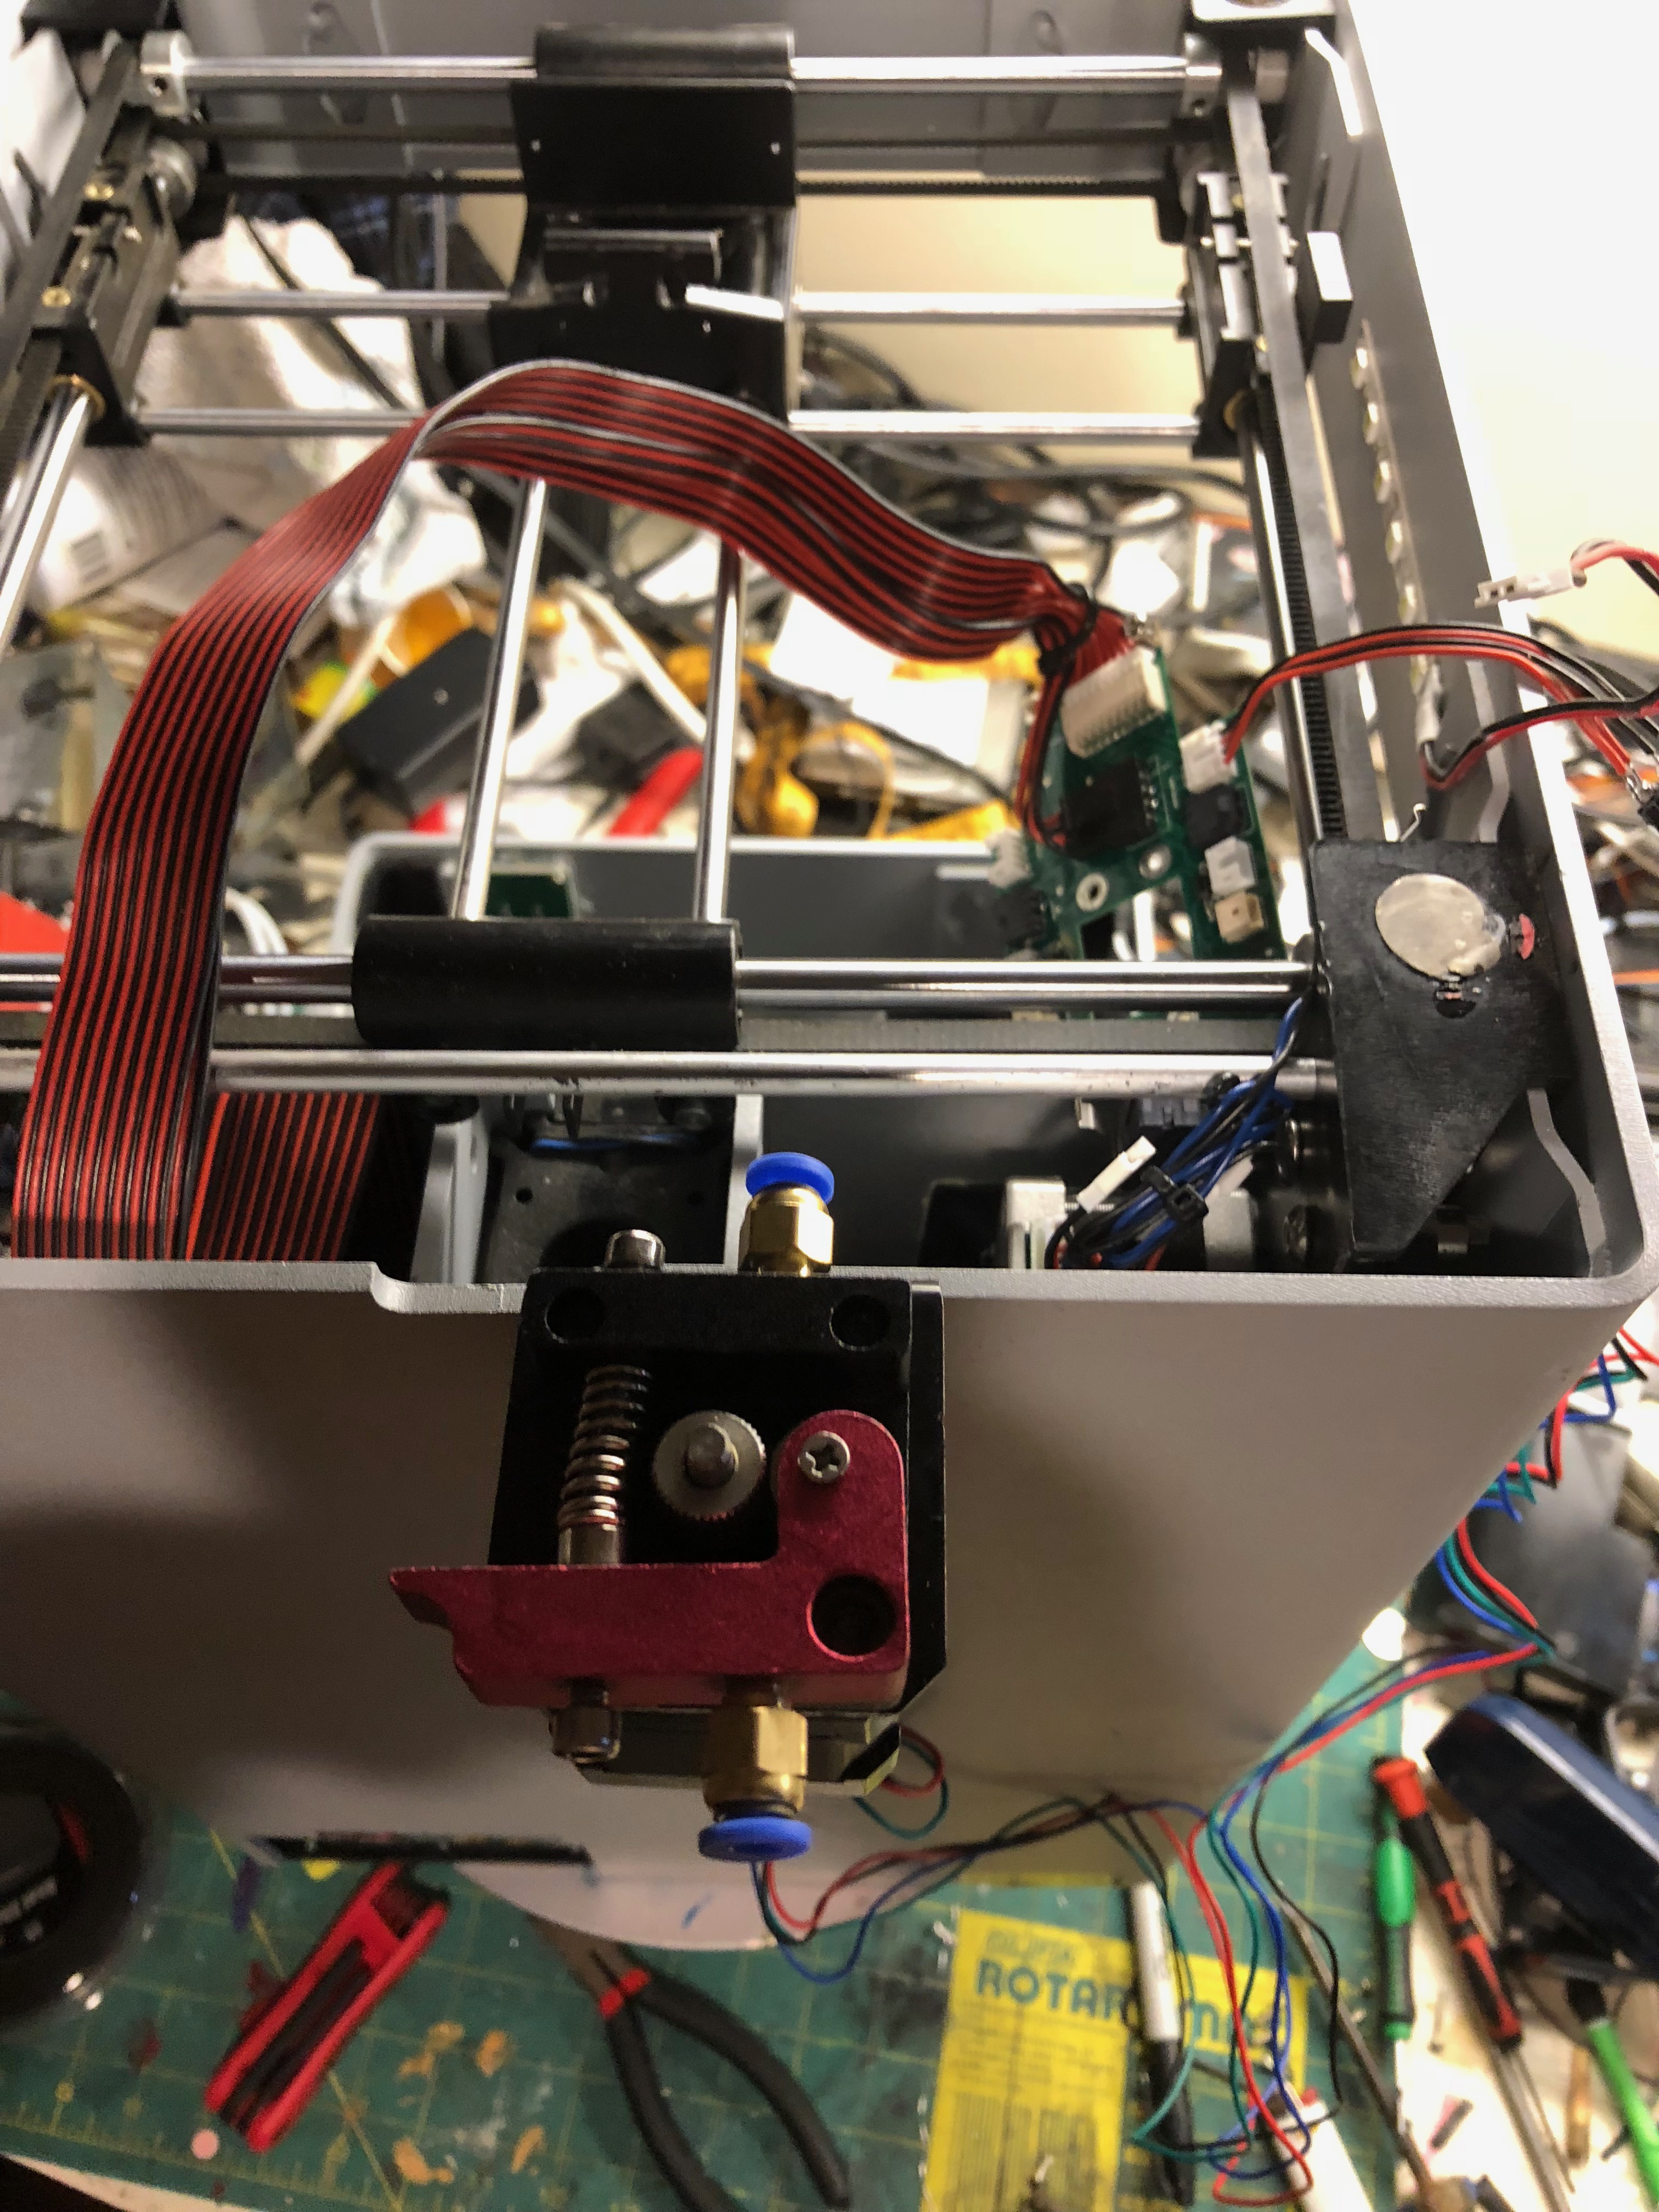
To attach the hot end to the Zim you will unscrew the push fitting from the top, you then use this to attach the hot end to the carriage.
From here you just need to start plugging things back in.
You now have a somewhat working printer, now the fun part, calibrate and test things.
With this setup I spent time and still continue to fine tune things. I use simplify3d to slice, in here I had to take my extrusion multiplier way down to 65-70% and I am still tweaking retraction settings. The new gear driving the filament is a lot bigger so you can adjust things via the software or do the right thing and re do the extrusion steps in the firmware (on my to do list).
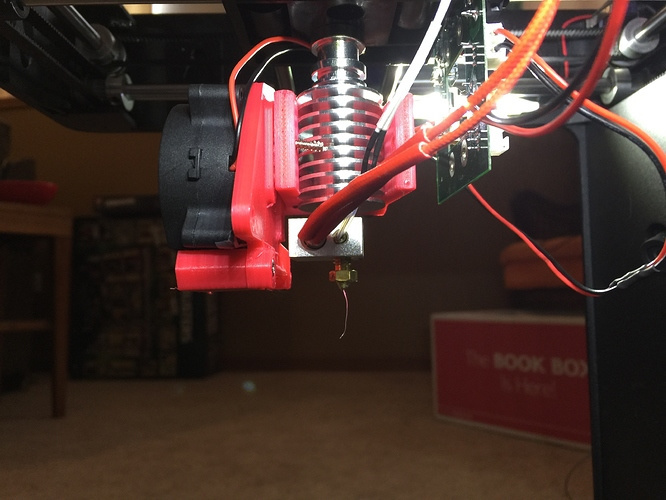
Here it is with everything assembled.
VIdeo of it working:
https://www.youtube.com/watch?v=PQtjHGS0Ffg
I will try to keep posting as I figure new things out.