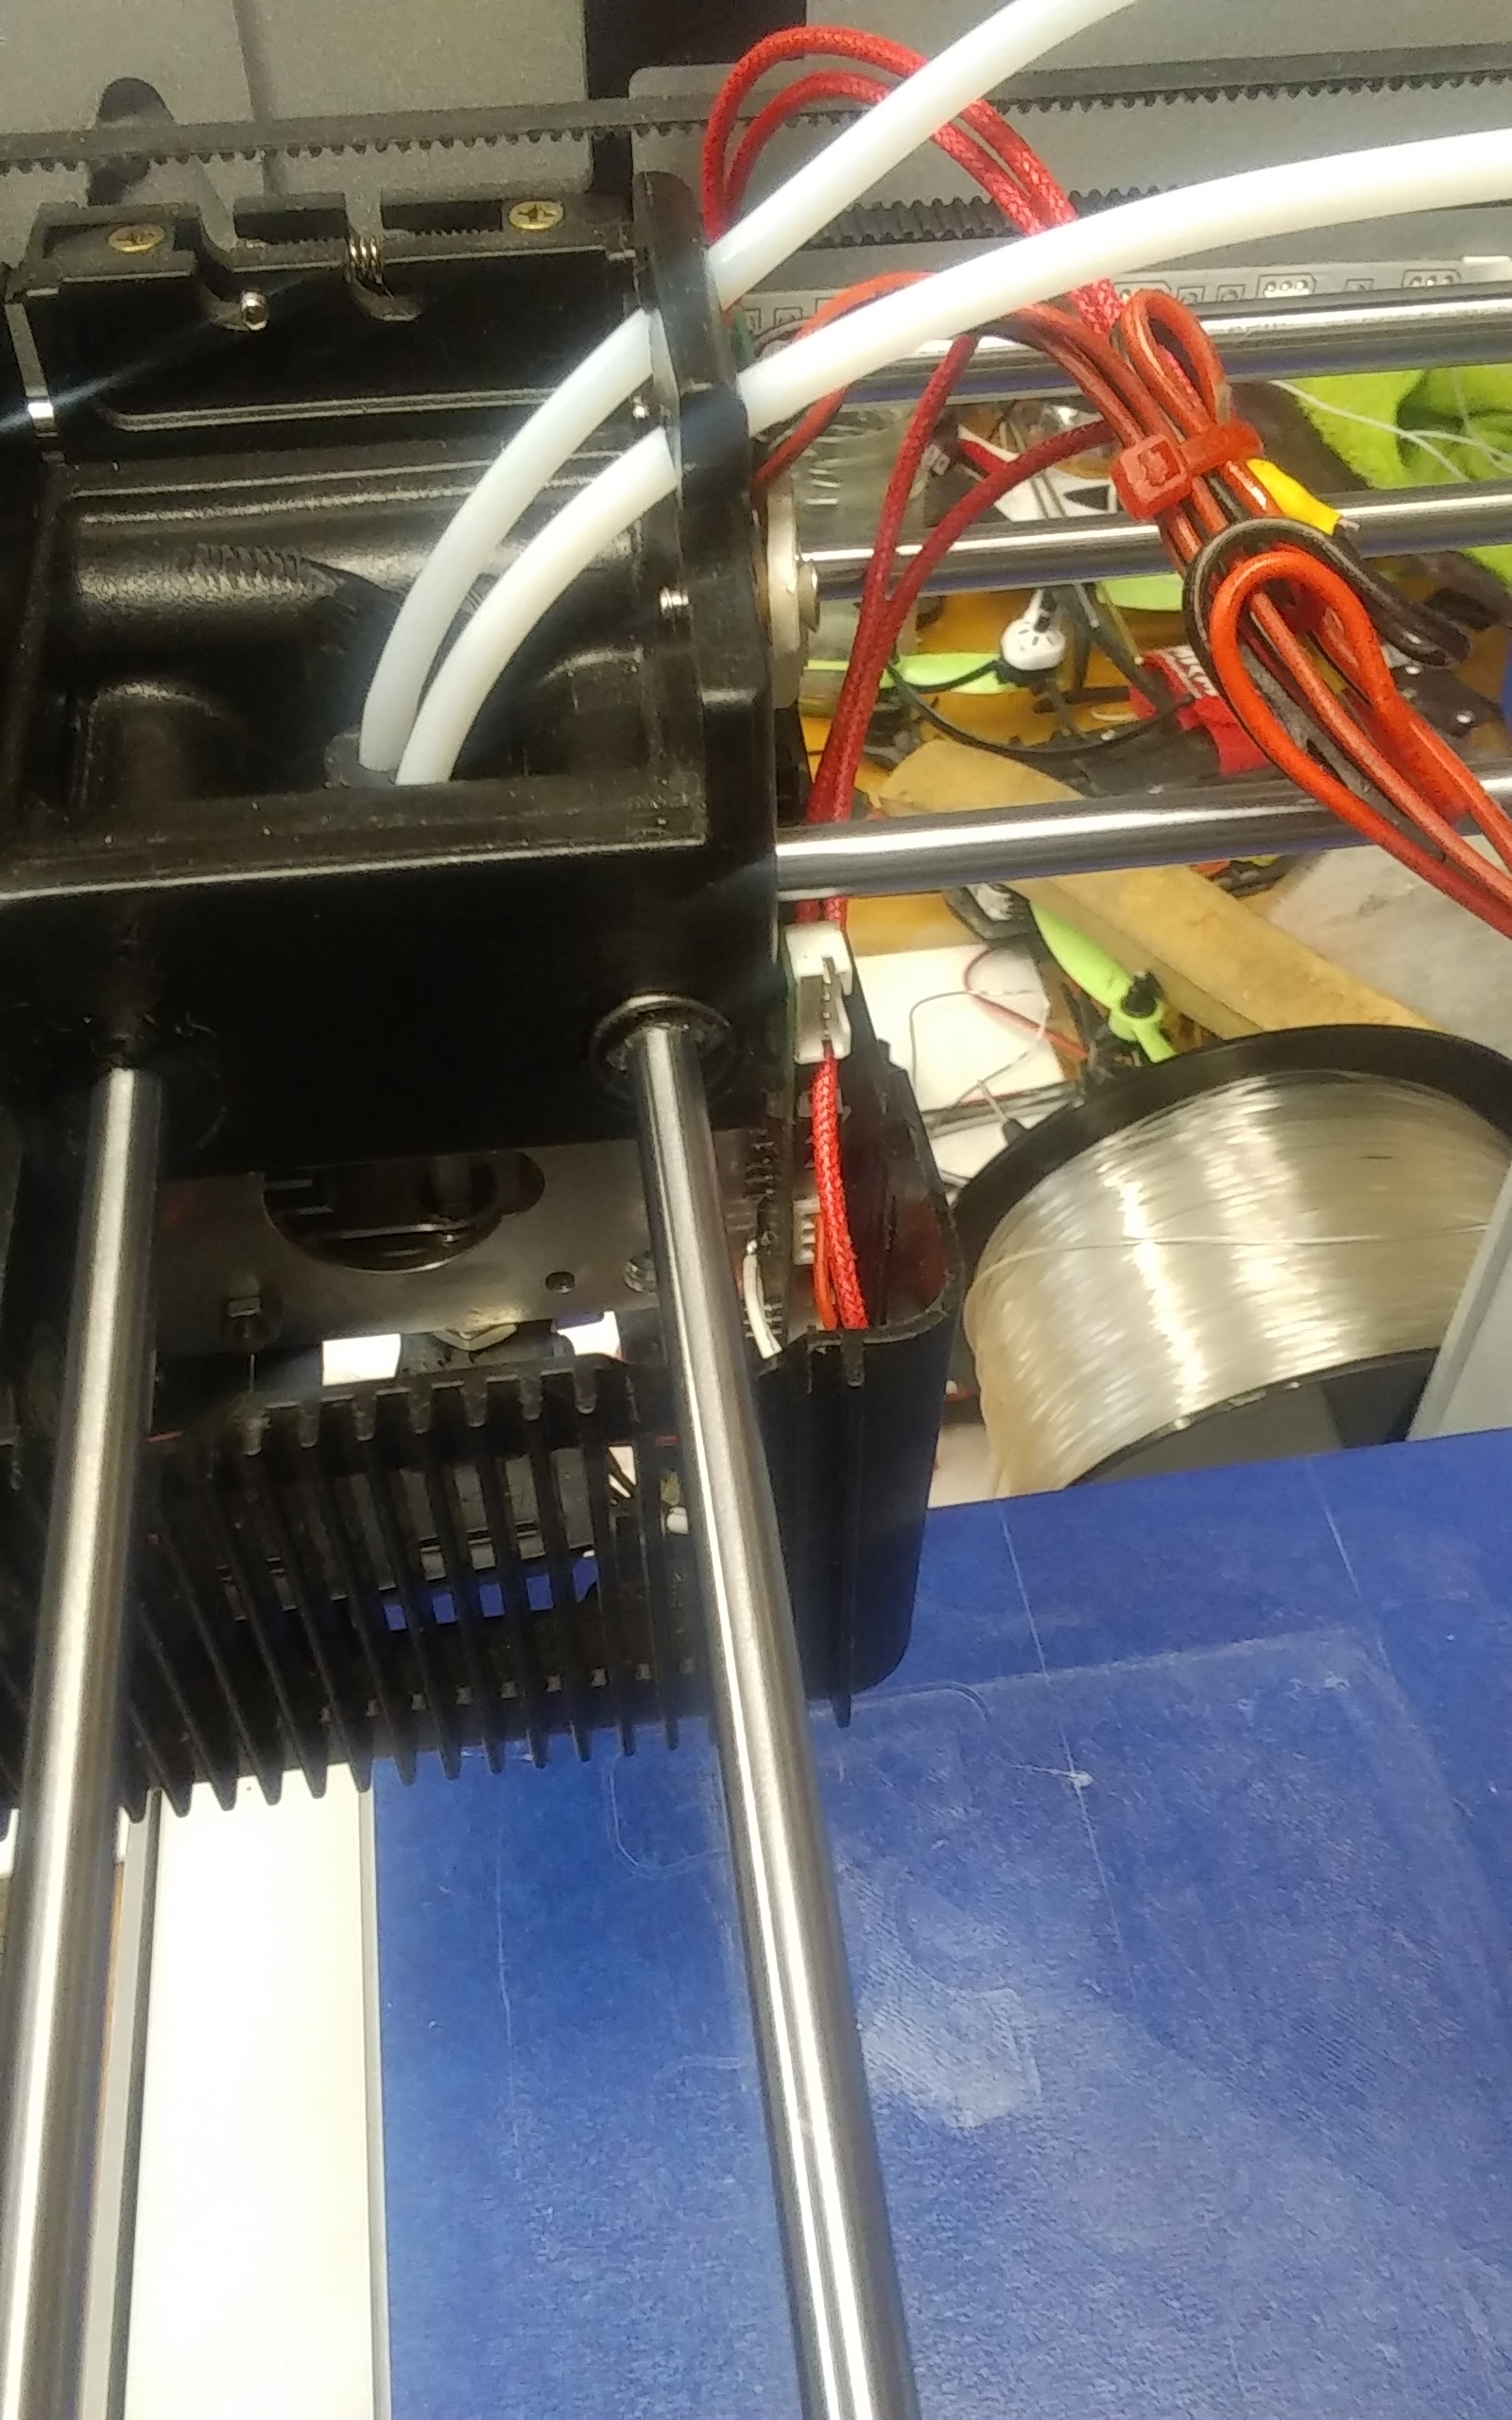
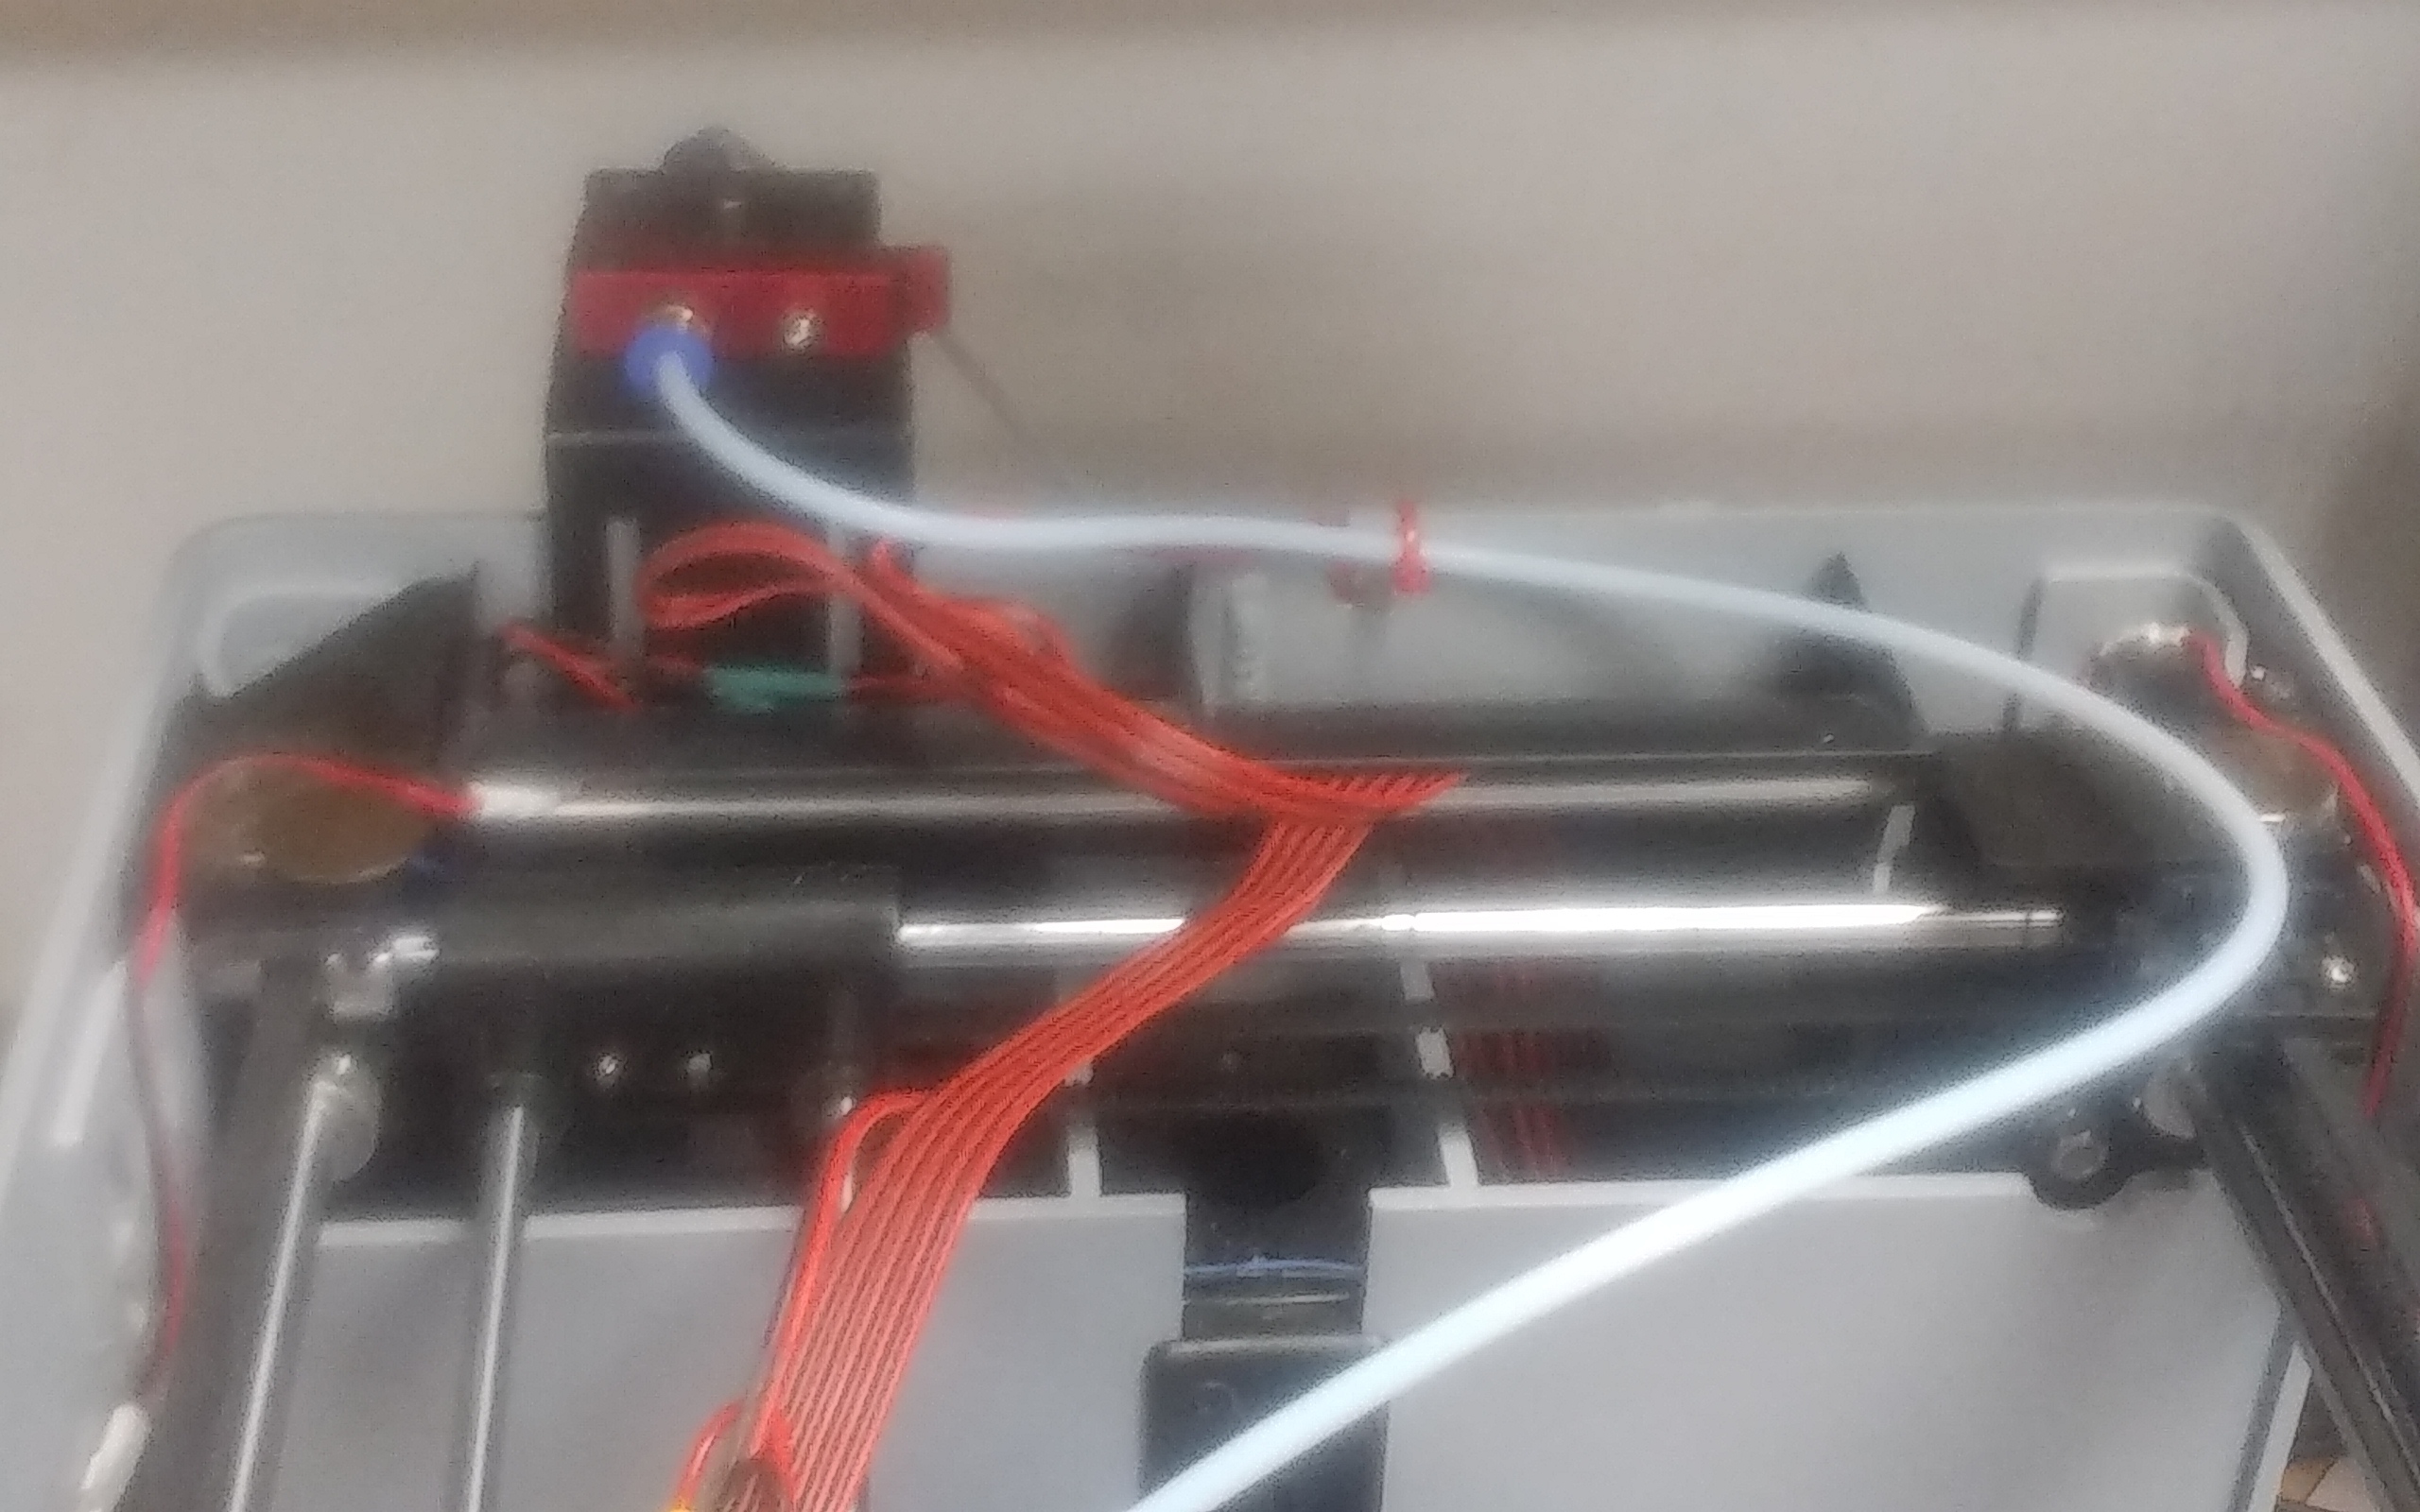
I was having repeated problems with my prints loss of feed from the extrude on the right side of my prints was about to give up and throw it in the trash ,The the feed stepper started jiggering and I knew exactly what the problem was . A wire in that thick ribbon cable finally broke . so I changed the whole extruder for a e3dv6 with a remote feeder. What a difference heats up in half the time .now all I have to do is install my heated bed we it arrives. To take up the height to the bed discrepancy. But ordered longer nozzles and tubes as well just in case I want to use the stock bed. Doesn’t look pretty but at least it’s working can tidy you later and add the second e3d extruder
Stepper burned out
Hi Dgbrit. How did you install the e3dv6 into the zim. Did you make a custom mount for it?
1 Like
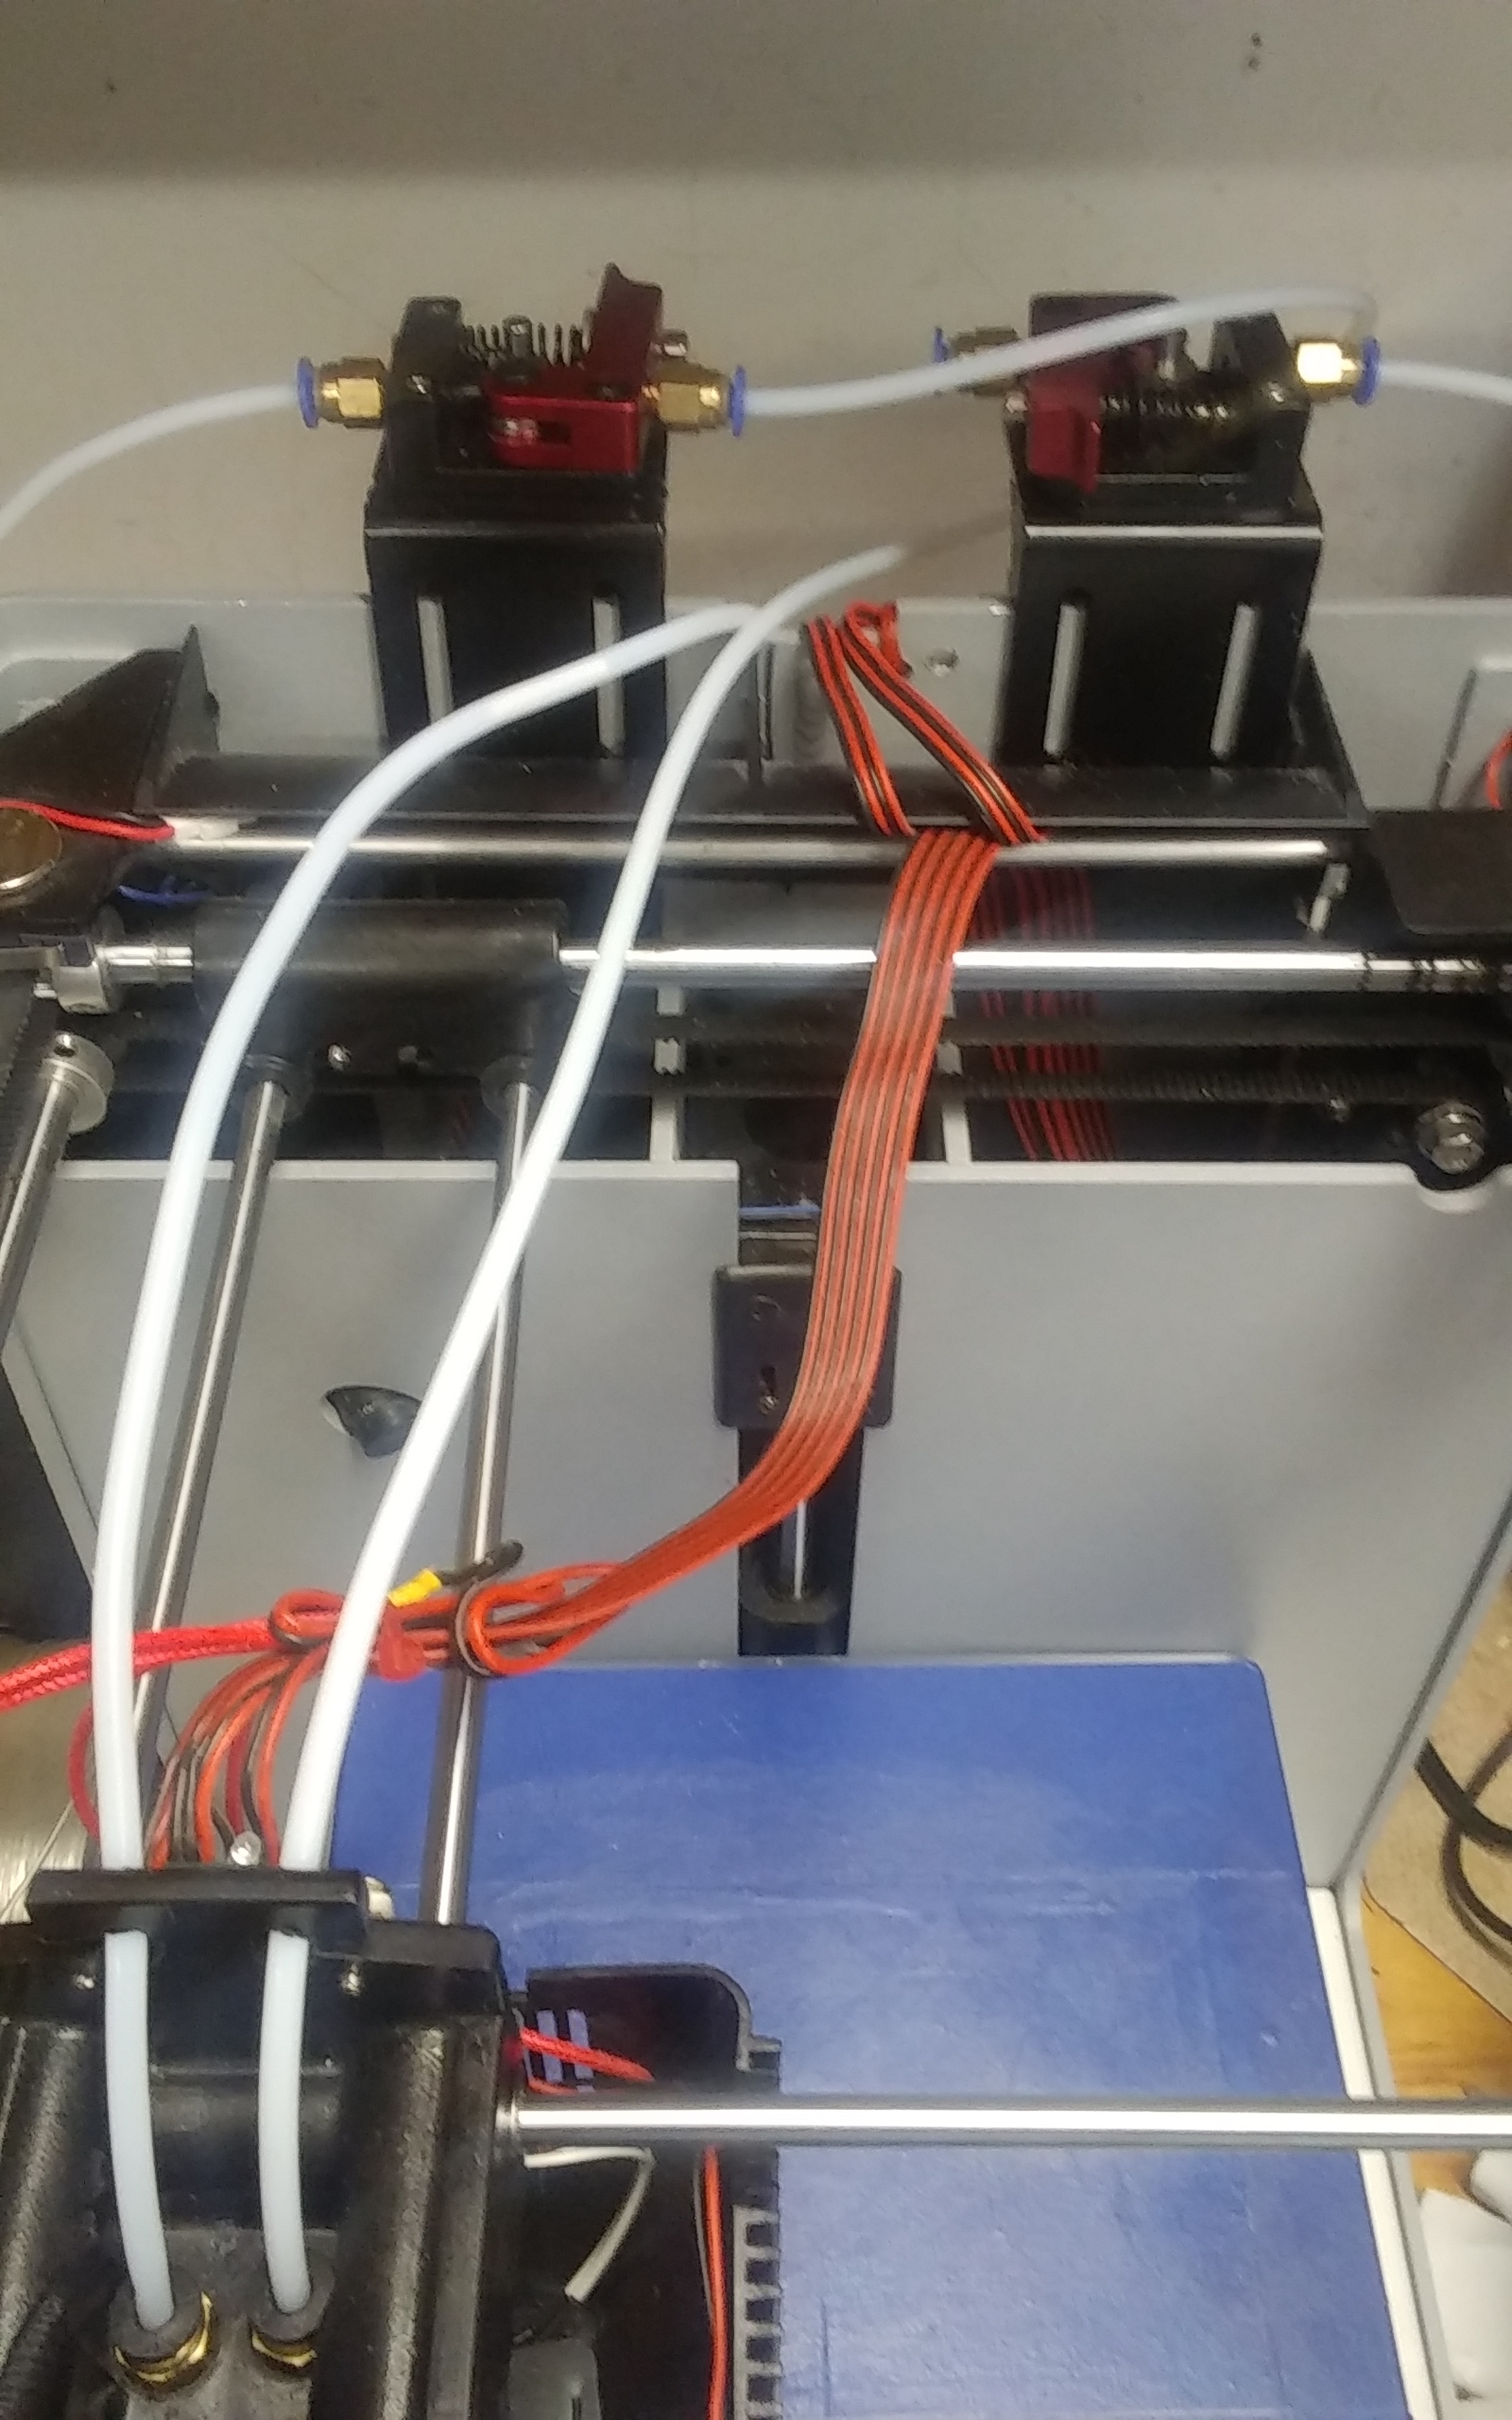
No just use the same mount that holds the original.extruder with a washer and I used the zeepro nipple as it was longer I think I can mount 2 side by side in the original holes and use 2 remote extrudes.I did use the original stepper motor with a all metal extruder kit $12 .the fan and temp sensor plug in the same circuit board but I stripped back the ribbon cable for the servos. As I only had one e3d spare I could only get one up and running for now. To be honest I hated the original extruder the fan would come on and the temp could not keep up . Should have the longer nozzles and tubesthis weekend so will let you know if it gets it close to the bed
Could you please provide some photos and maybe a more detailed “How-to” so that its possible for other users to follow this interesting E3D to Zim conversion?
@Dgbrit. Can you please post a “how to” with pics and parts needed. I would love to do this conversion. And if you say that its almost a direct bolt on, this would be amazing. Im sure others here would be interested as well.
Thank You
I will post how I did it shortly when a few parts arrive to make it even easier. But at the moment its working fine. I will be mounting 2 extrudes and 2 remote feeders
Heading
I had a serious change of plan
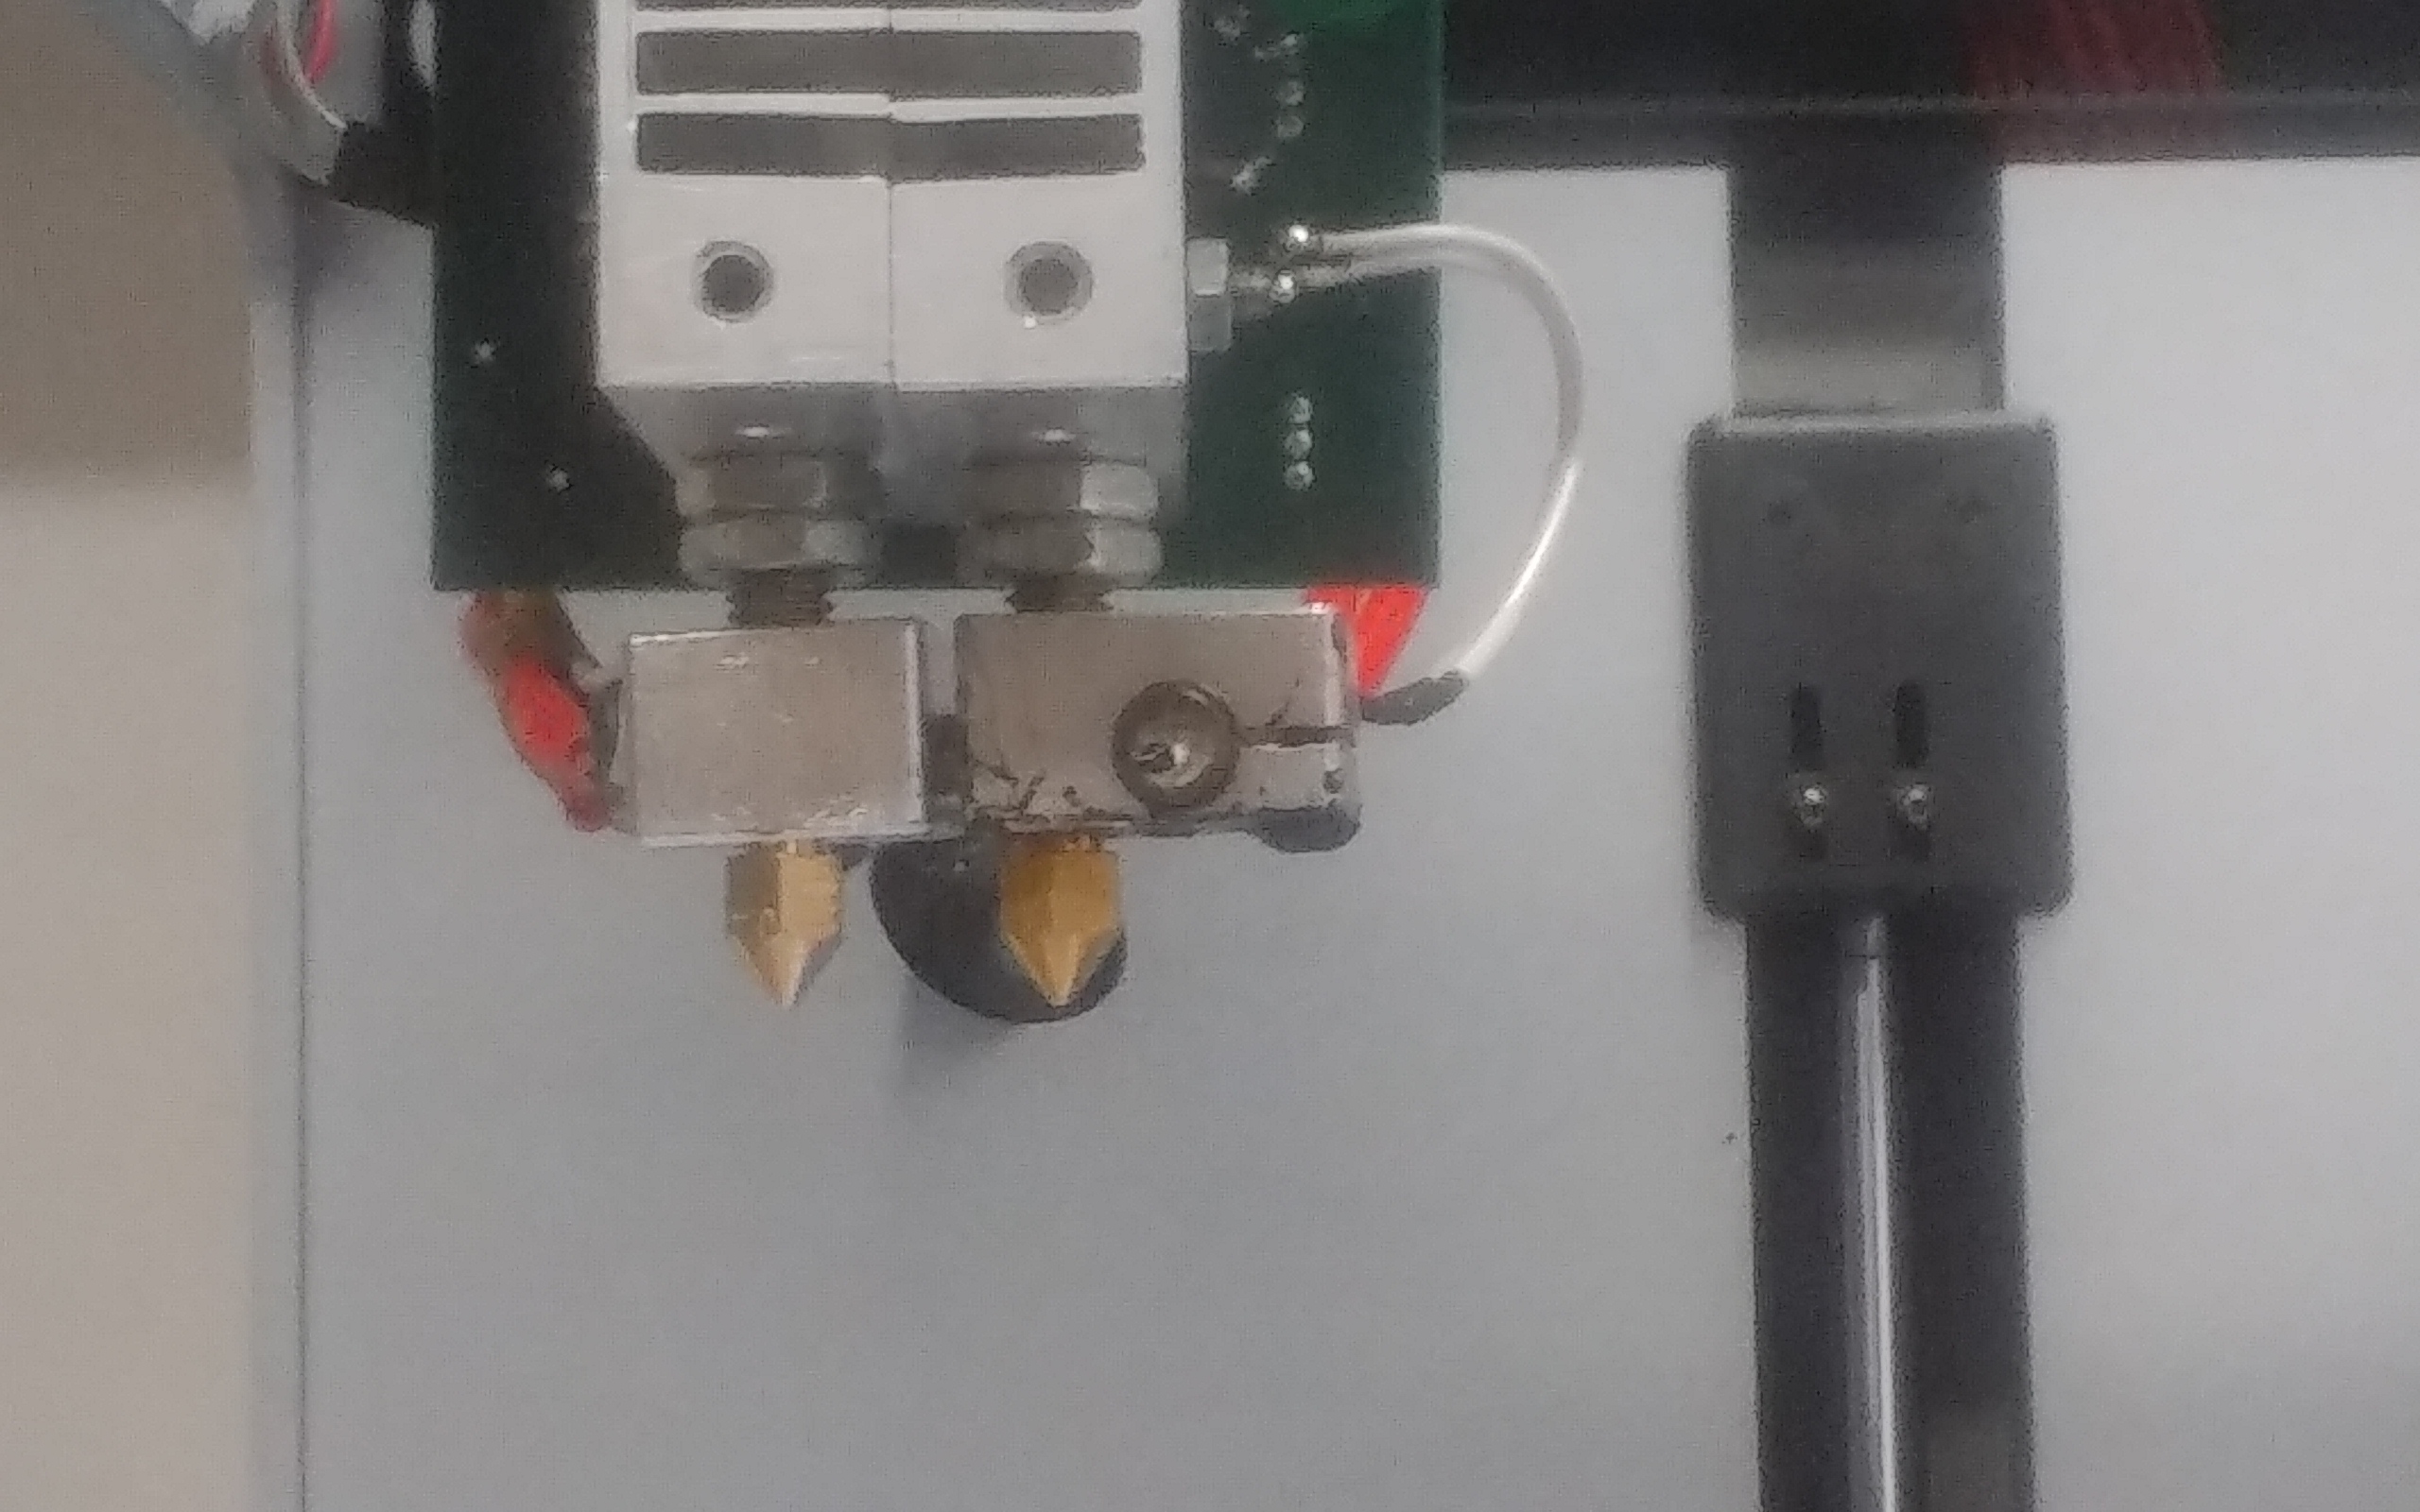
Why not just use the original extrude block just drill and tap the bottom holes 8mm and insert 6mm helicoils then a 6mm heat tube will screw directly in , 2 jam nuts sets the length then install the heater block and bolt them back together and mount.
Parts needed 4 6mm jam nuts
4 3mm nuts
2 30mm heatbrake tubes
2 6mm helicoils
Drill and tap for 8mm
2 .4 long nozzles
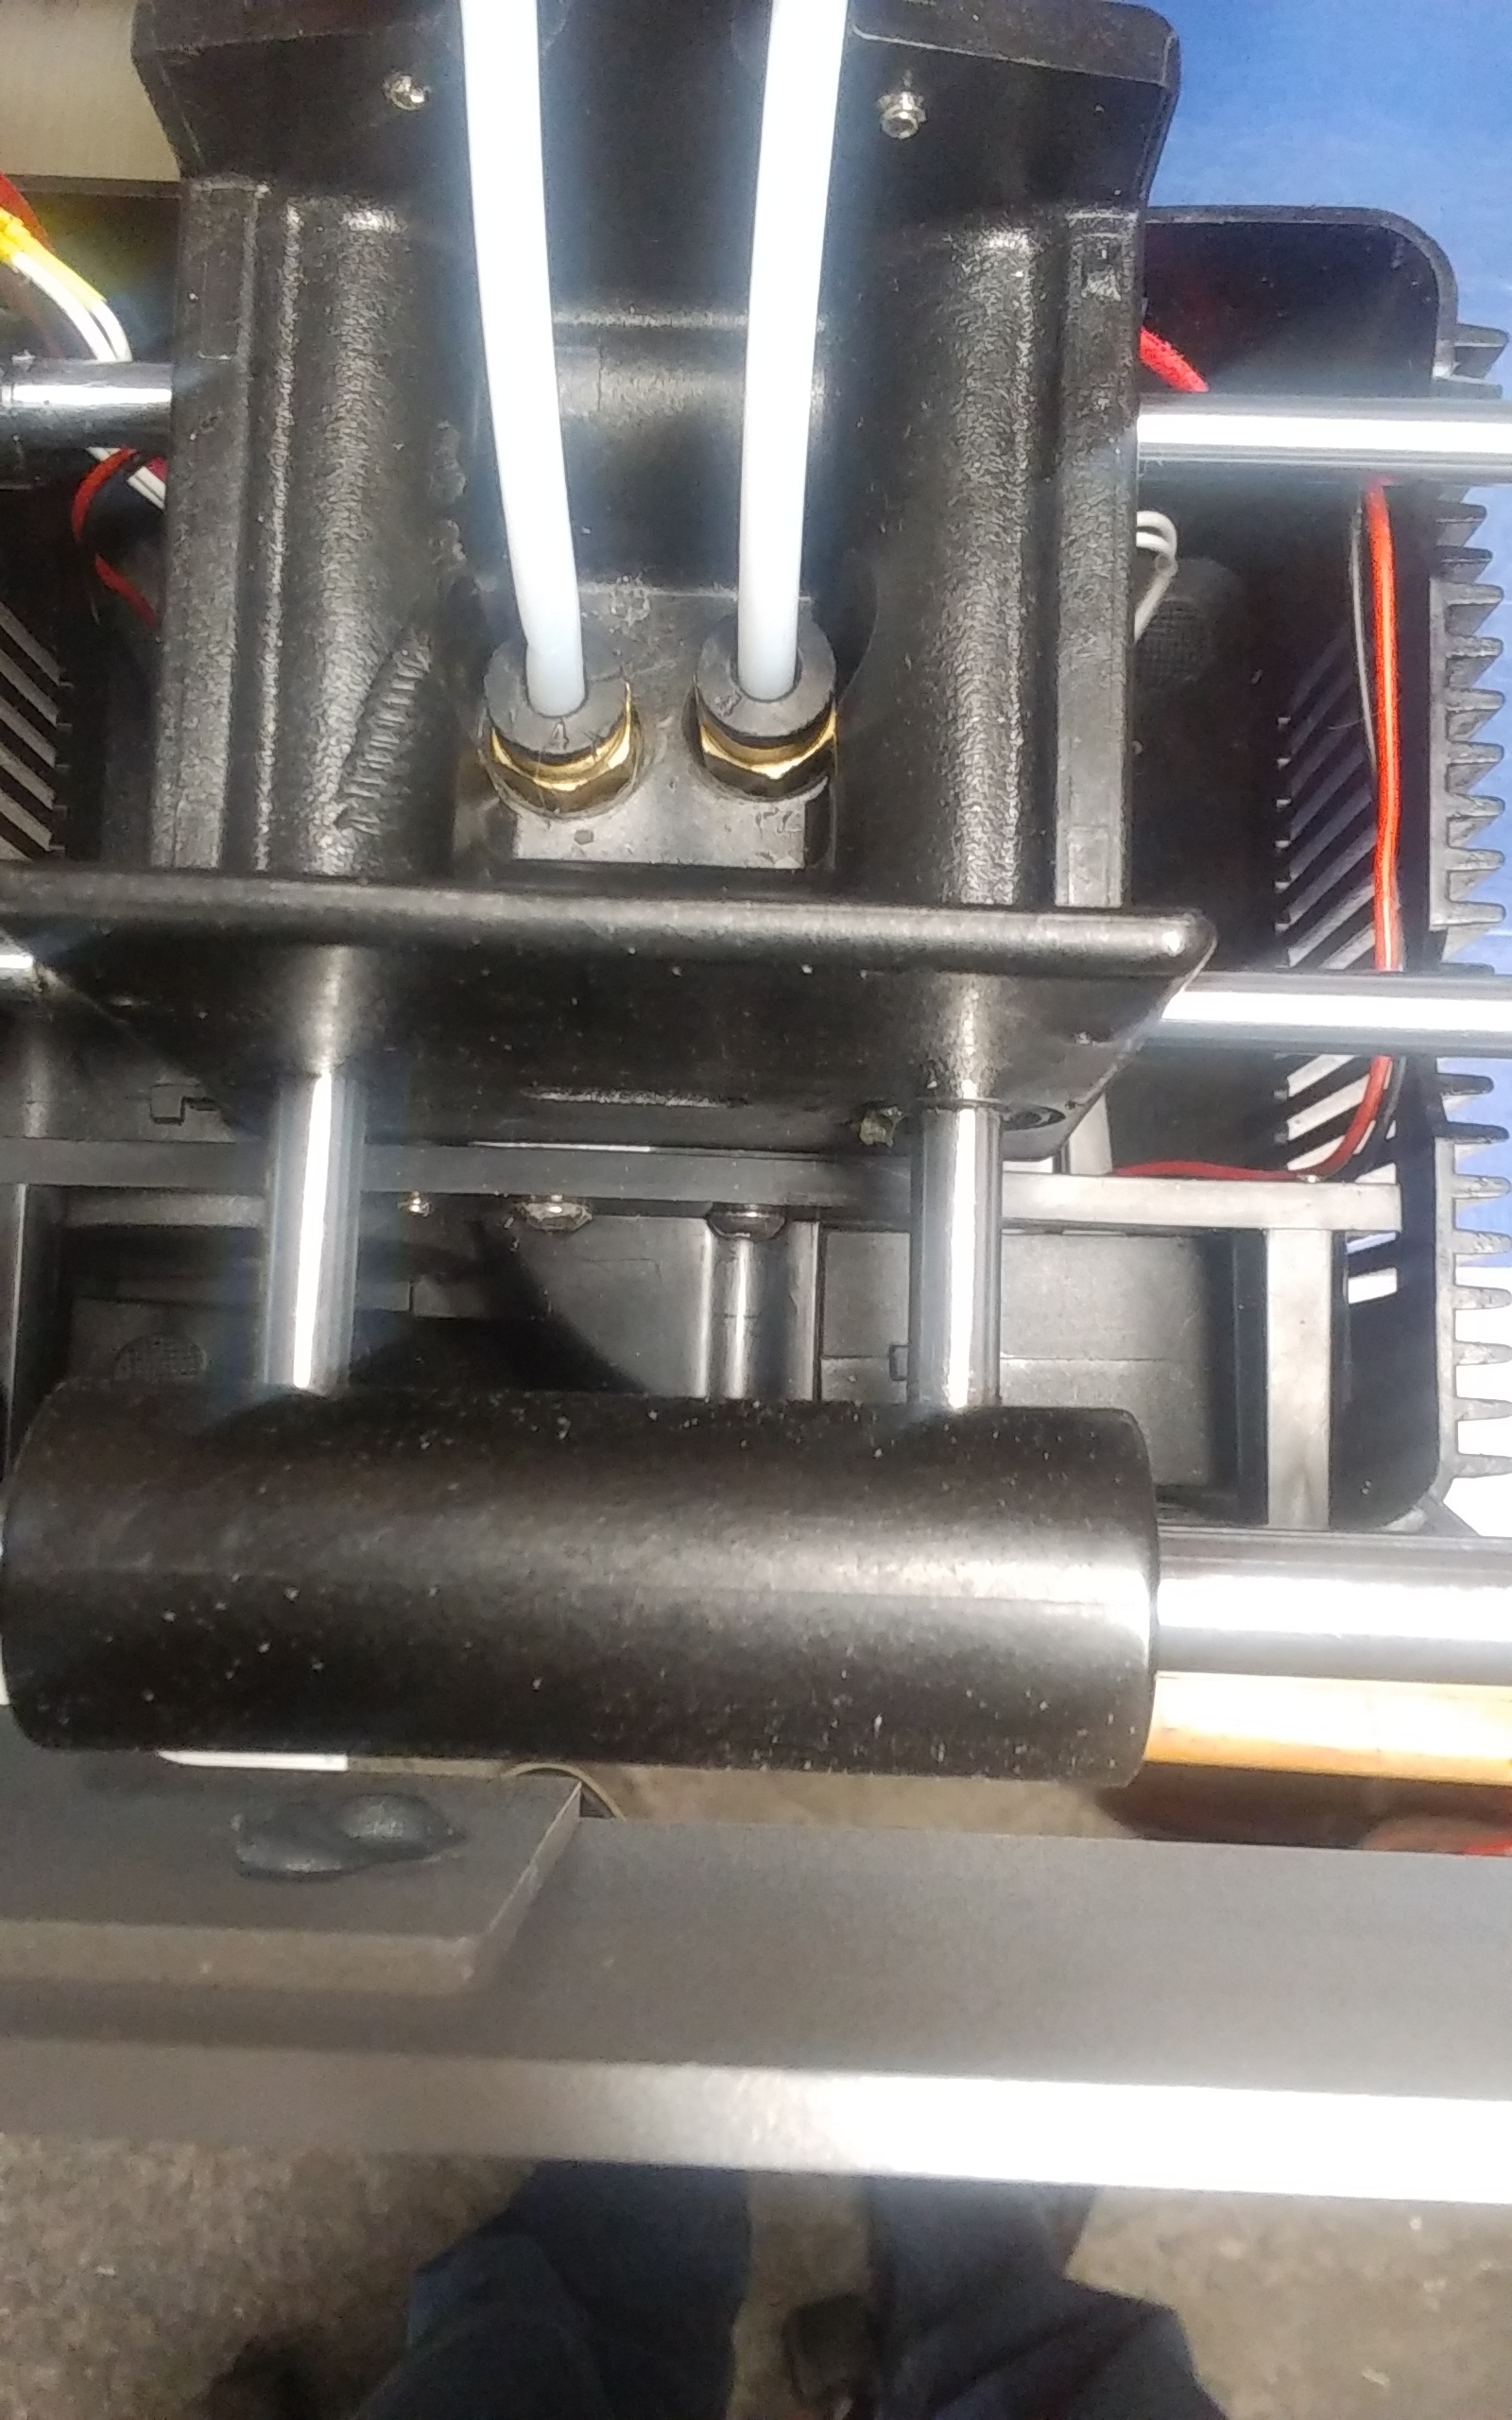
I removed the ptfe liner and drilled the plastic screw guide in top of the so the feedtube will pass through and into the heatbreak tube
This allows use of the Zeepro fan as long ad you turn the left heater block as in the picture.
now, use a throat piece from E3D and you´ll have something very similar to my ideas of an all metal hotend in here
So, if your custom hotends heat up in under one minute… do they have more powerful heaters or did you power them external, so that the PCB limits the heating capacity?
Just splice the hotend wires and plug in or slice directly to the ribbon cable like I did
If I had ordered the 50mm tubes I would have ended up with close to your design.
Total price for the conversion about. $40 including remote feeders
I spent way to much buying parts I am not going to use
Holds temperature with the fan full on
No more timeouts heating up
No more stopped prints when extrude temp can’t keep up
Can now open up all the fan exits
I am making a simplejig for setting the tube height so can quickly install if necessary.
I do need to find out how to change e the voltage to run one stepper motor so I can use one of the bottom ones for the one that burned out
Already figured it out thank you anyway
Hi Dgbrit. I have a few questions.
What are the (4) 3mm nuts used for?
Why did you move the feed motor away? Couldnt you just have left them in their original locations?
Is it hard to tap the original extrude block to 8mm? Is it easier to mount just 1 e3dv6 with its original round heatsink?
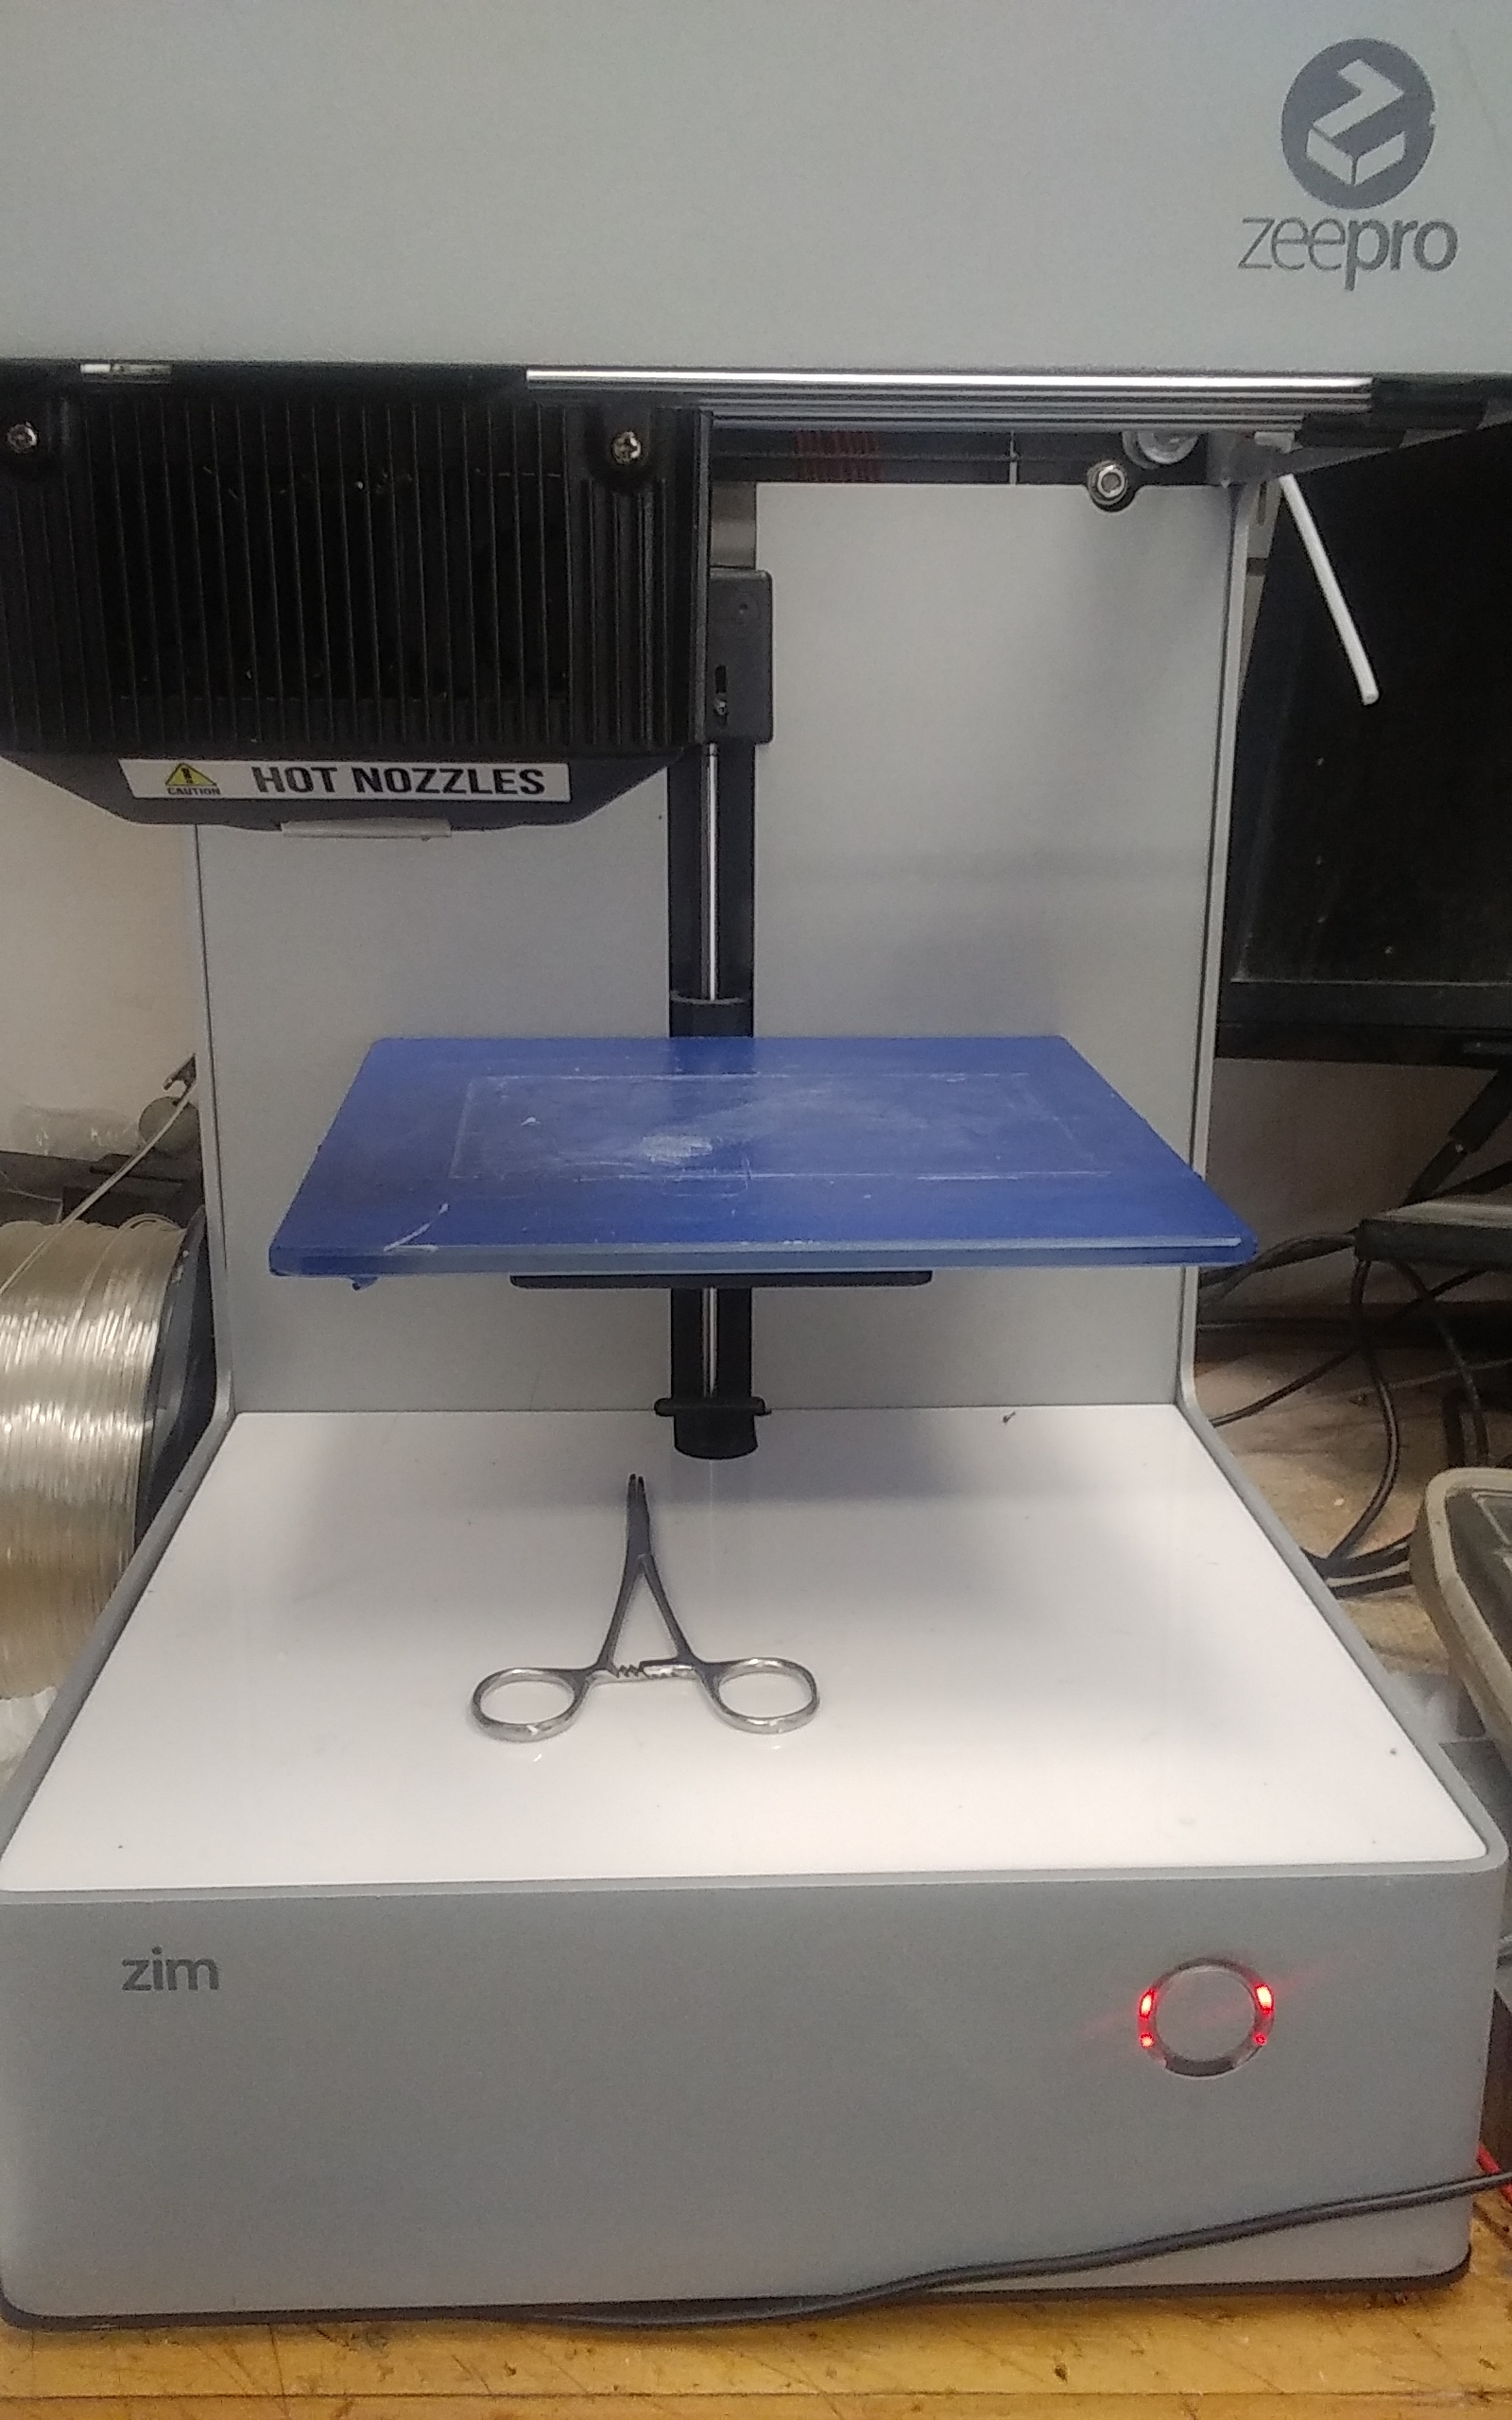
Also, did you have to move the limit switch for the z axis and how much print area did you lose?
Im sorry i know thats more than a few but I just want to know which route I should take because the nozzles from the original zim design are a headache to work with.
Hi All , I was about ready to throw the thing in the trash with the original extrudes it would print fine on the left side of the bed but get loss of feed on the front right hand side I thought it was something to do with curia at first because it was always in the same area it would stop feeding. I must have taken the head apart 50 times sometimes it was jammed other times looked fine but the nozzle clogged. My other printer a monoprice mini was also having some problems and everybody was changing to a ev
3v6 with a mount that can be printed off thingivers.
I think I could have changed the nozzle and tubeheater stand used the stock feed motor if I knew a 50mm tube was available, As I had had ordered 2 e33v6extruders one as a spare I noticed that I could mount it directly in either one of the holes in the Sims headbut it was about 15mm short of the bed that’s where the jam nuts come in it needed a longer tube. It took me about 10 minutes to drill and tap the holes I had the helicoils on hand you don’t need the whole kit just the coils . if you only need one extruder you can eyeball the length to the bed but 2 you have to set them exactly the same,
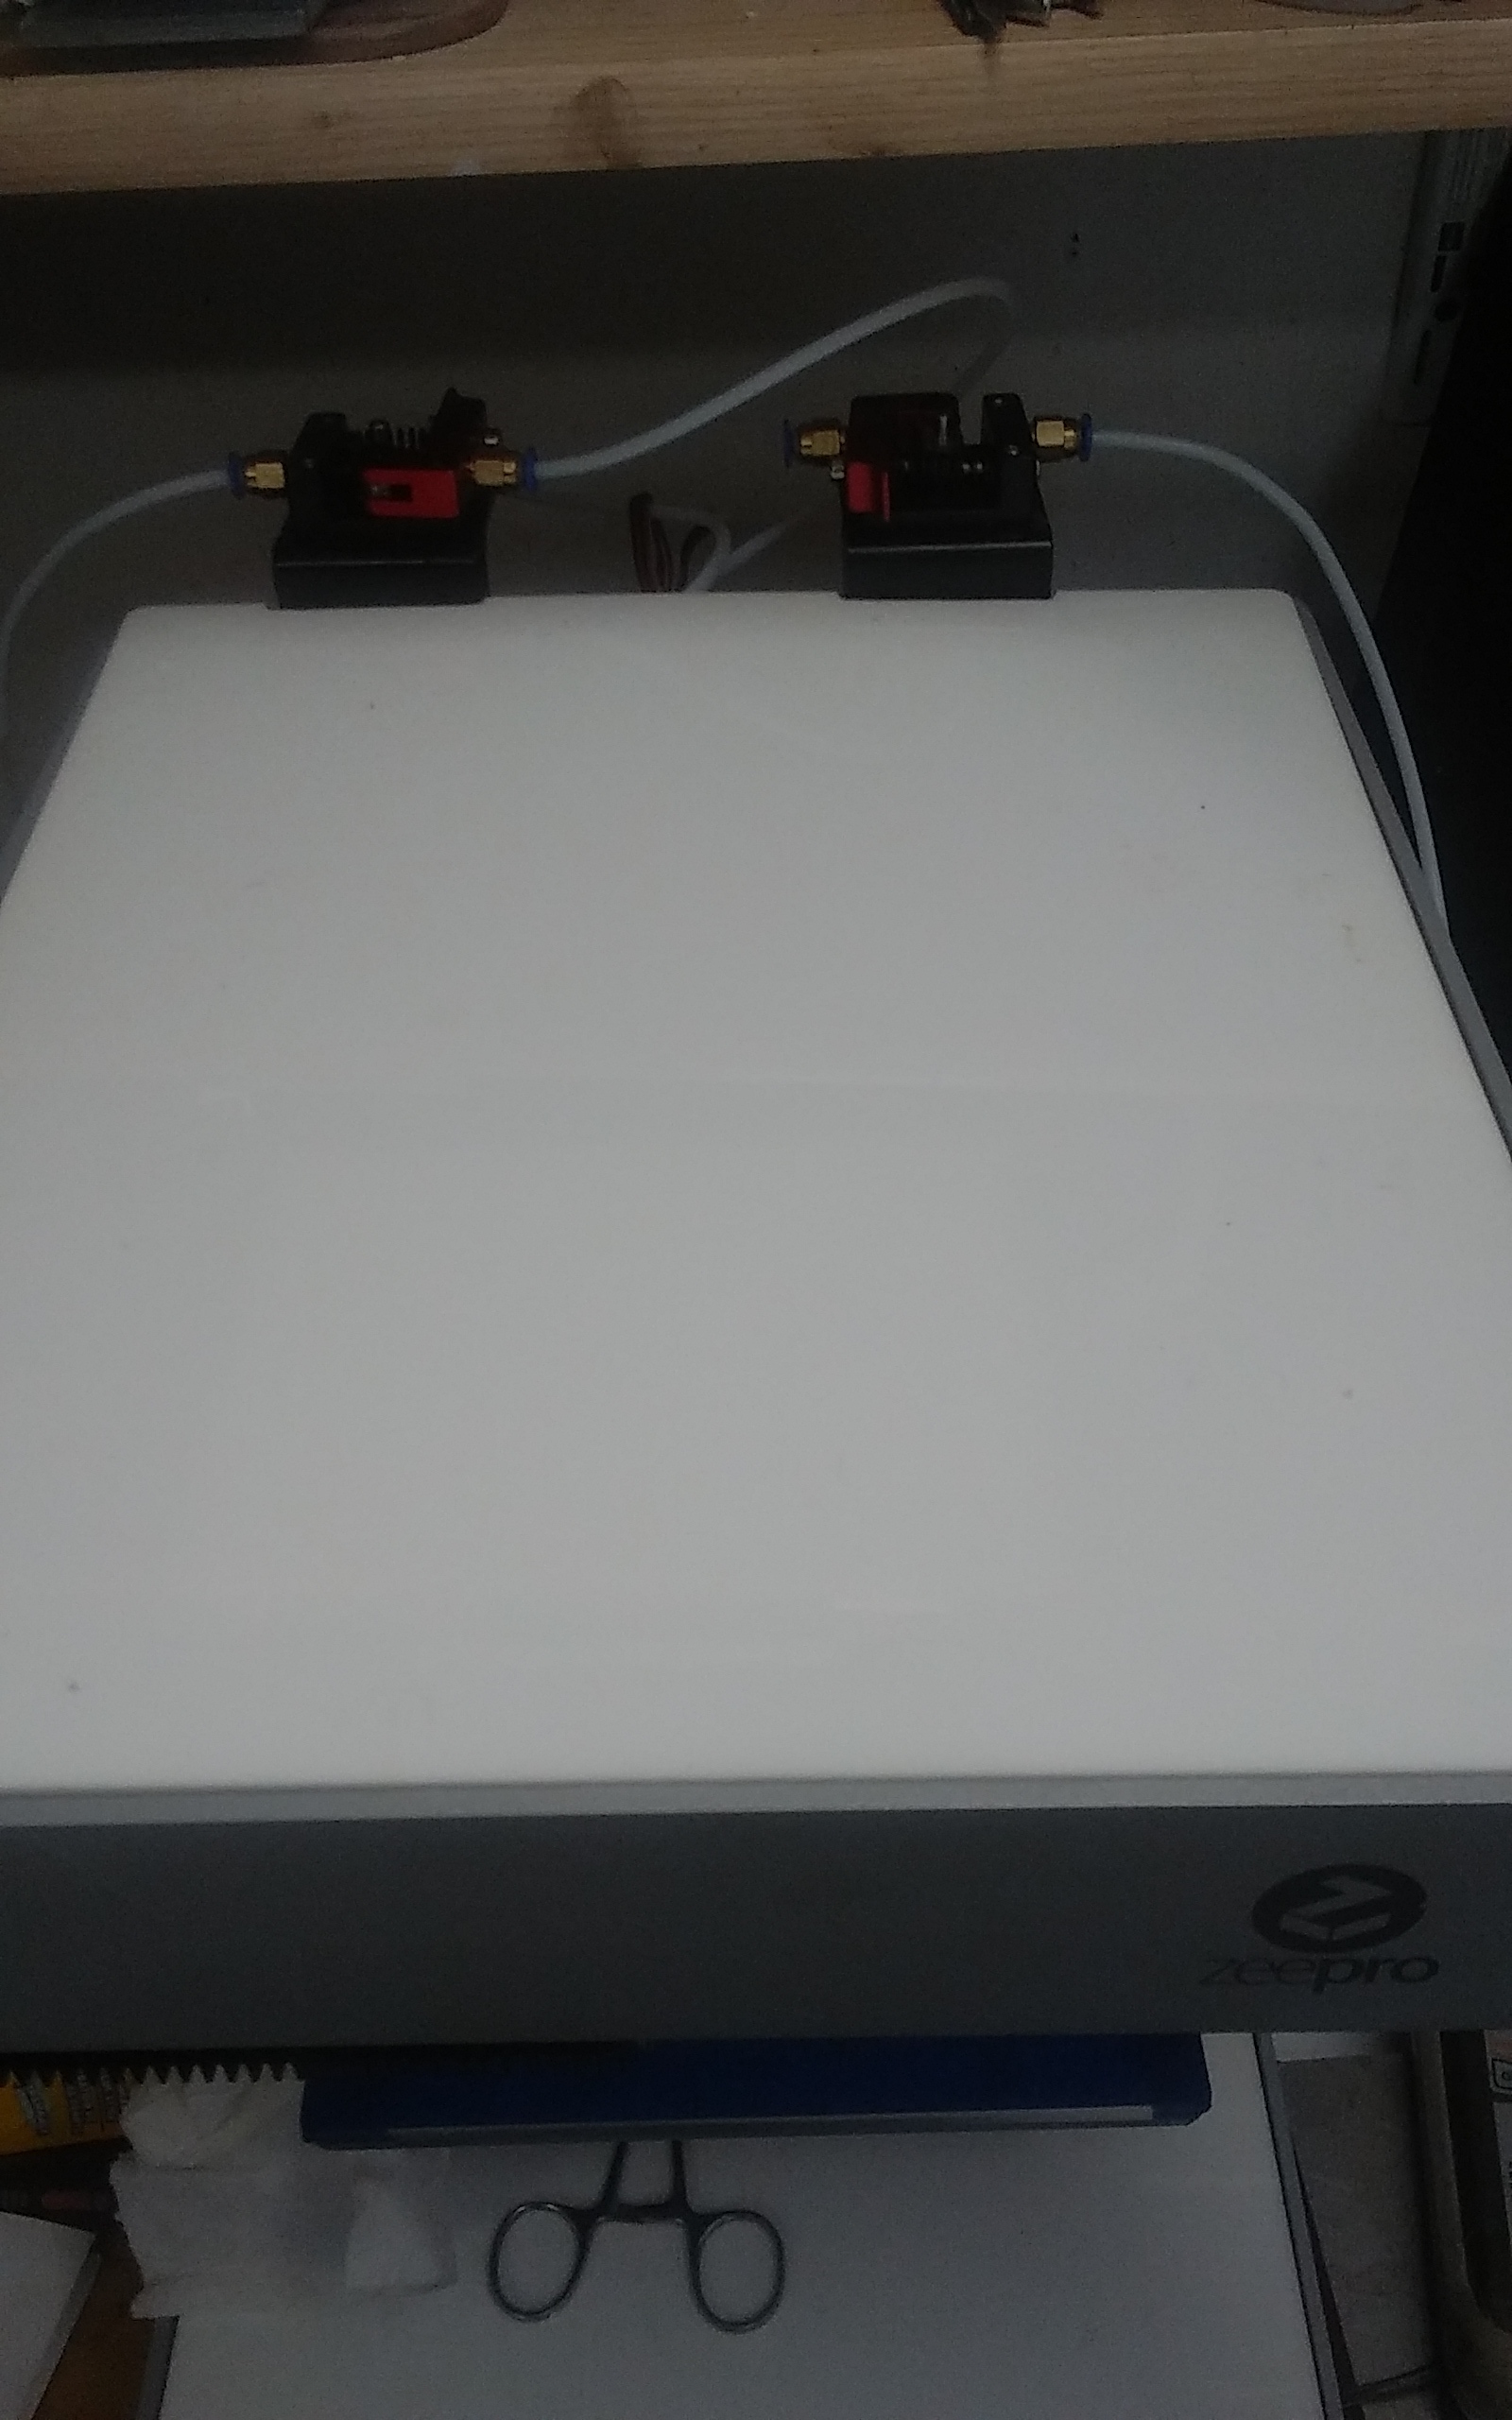
Using one extruder is so easy just mount the whole e33v6to the Sim using the ziims nipple and a washer or 2 to get it to tighten down extend the tube out with the jam nuts splice the wires into the heater plug shorten the thermocouple wires and plug in. Done
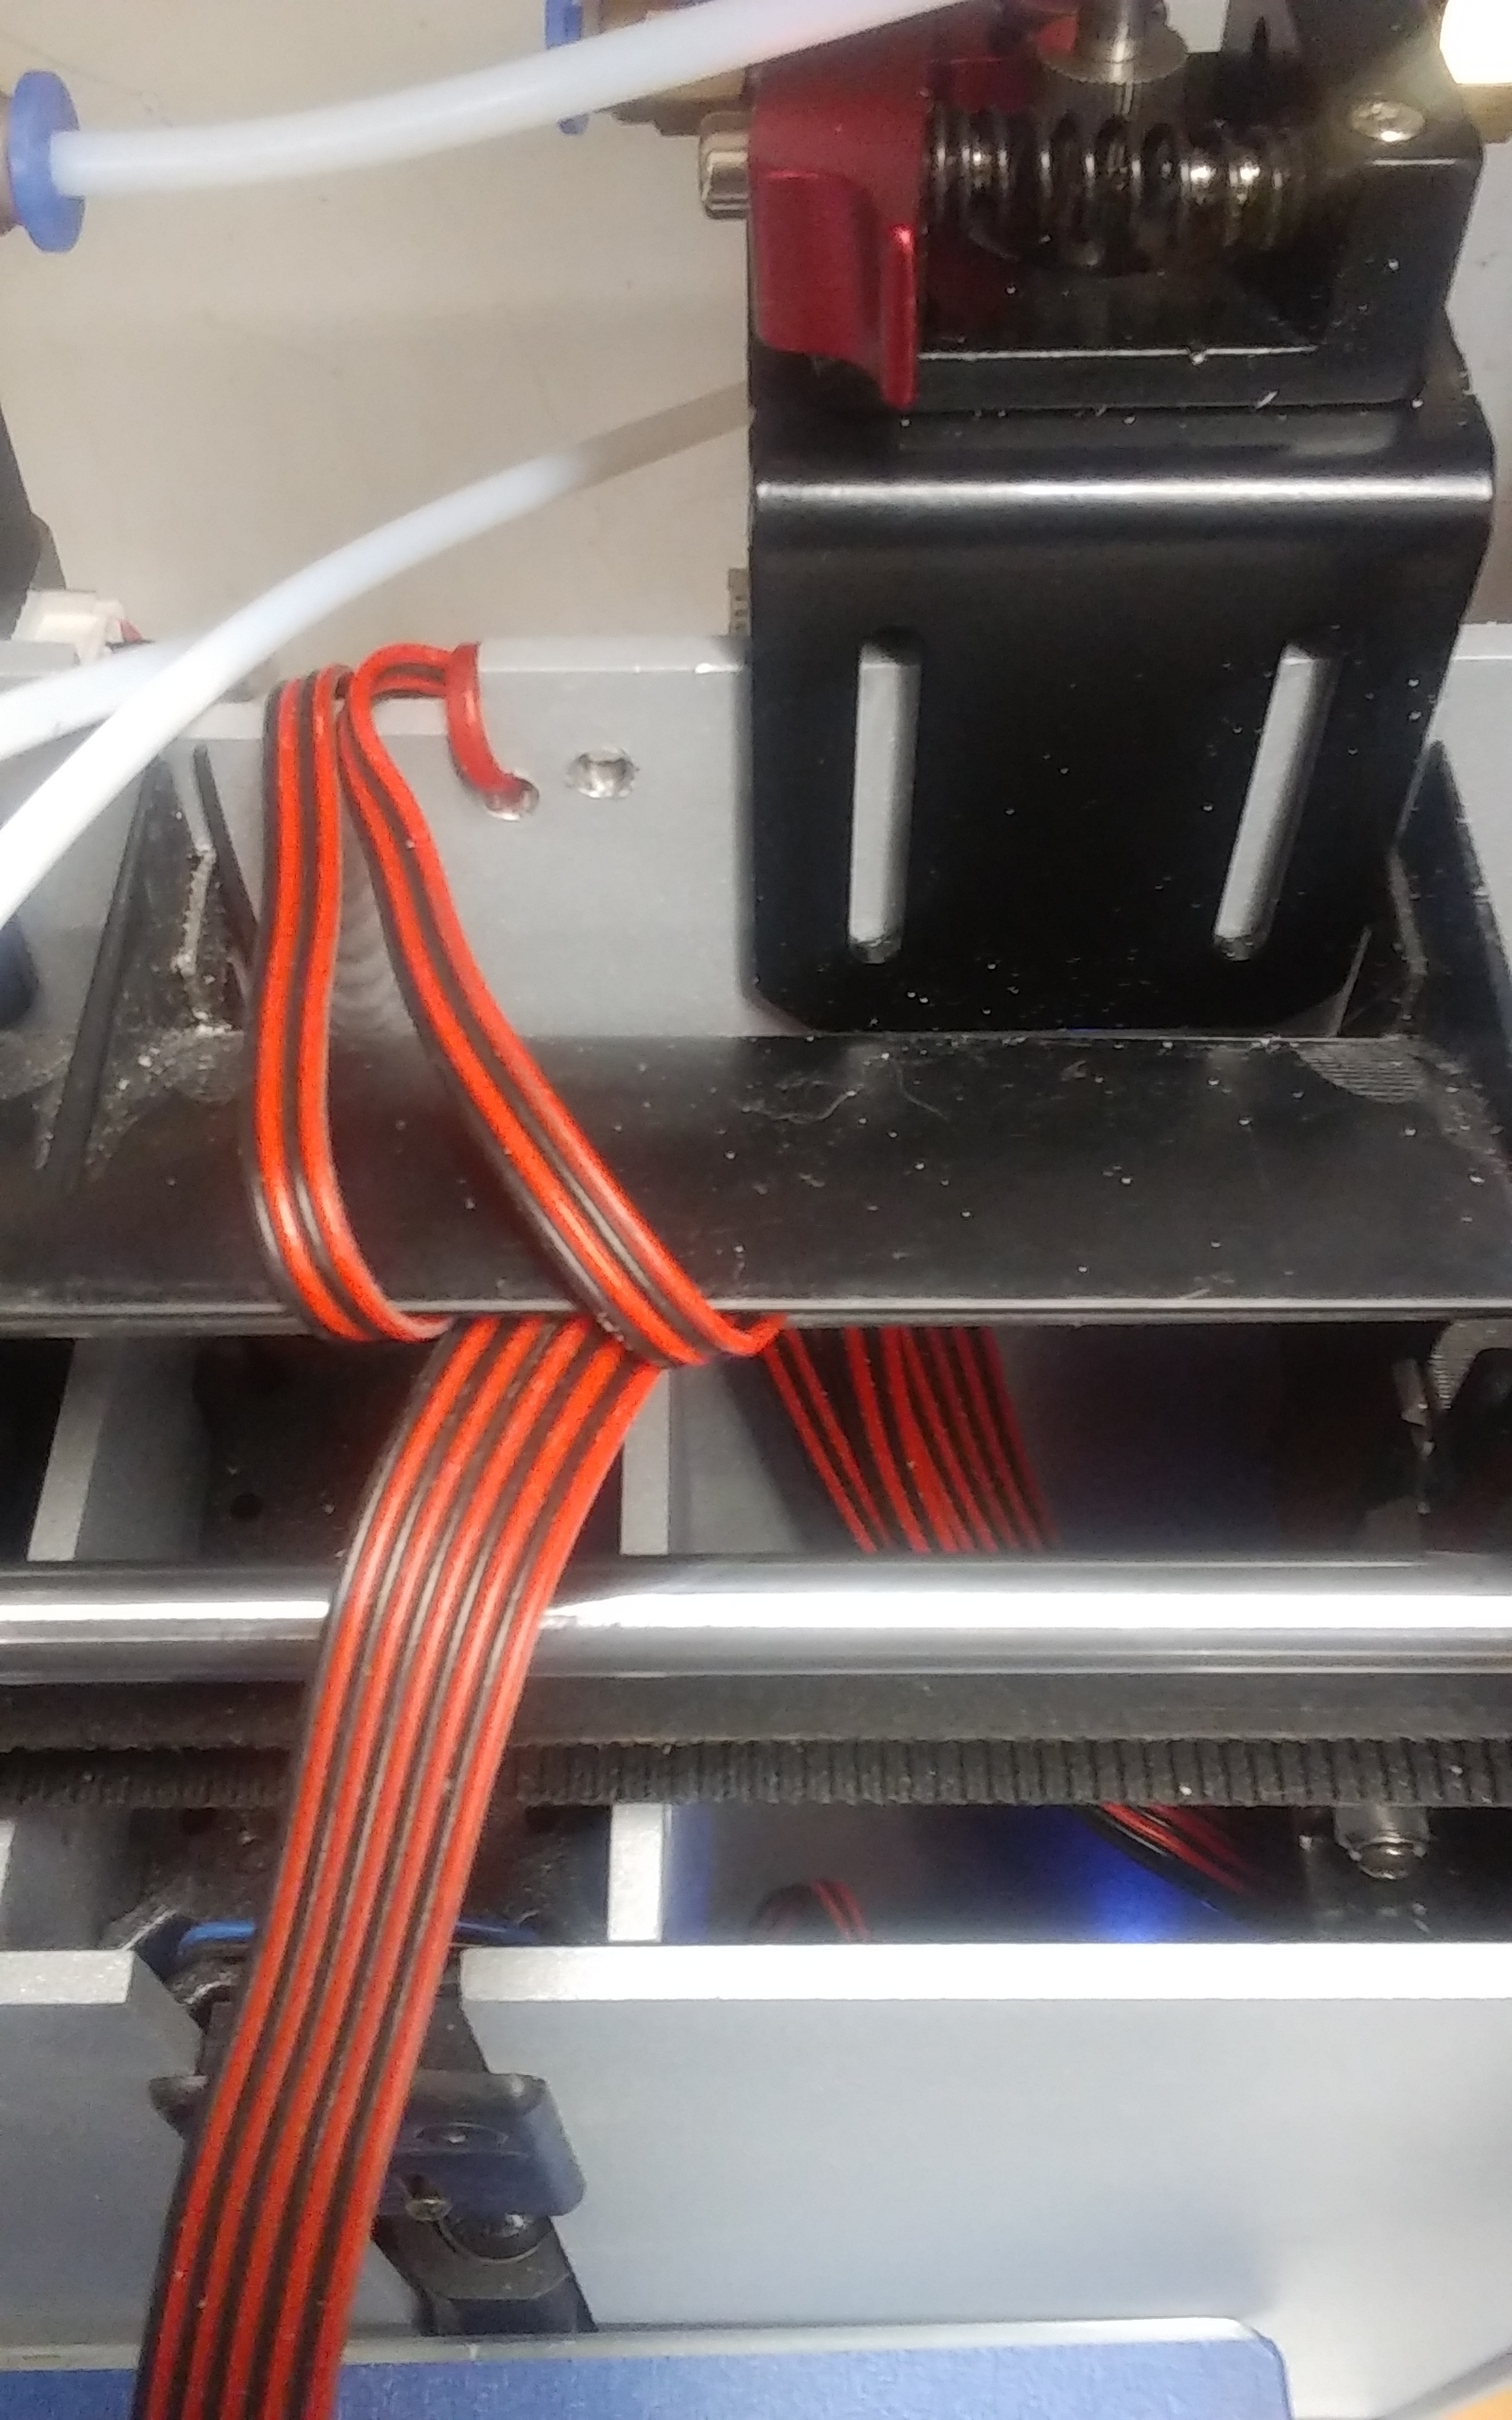
Strip back the 4 outer wire on the thick ribbon cable and splice into the stepper plug it doesn’t matter which order if it turns the wrong way just reverse 2 of the wires or just insert the filament from the other side . I didn’t screw mine down they just slot over the back of the zims case
Doing it this way you don’t have to drill and tap nothing and extra parts needed are just 2 jam nuts or a 50mm heat tube which they do sell.
Splice in the fan wires that’s it done and you still have your unmodified Sim head.
I will put some more pics up today of my finished mod that is working very well.
my problems turned out to be a bad connection to the circuit board in the head that’s what burned out the stepper.driver