Create your own heated printbed!

Hi,

You can pretty easy create your own heated printbed for your ZIM - its still “work in progress” (I wired everything at the moment but the magents are still in the delivery truck…

I’ll post the progress when finished but if you’re experienced with open source pritners you can already start to do your own following the picture below.

(Yes, you can also operate your printbed without the relais but then 12V and about 10A (!!!) will run through your electronic board - thi s has caused so many problems on my RepRap printer that I would not do this again…)

1 Like

…and it works perfect! :smiley:

  • don’t buy the cheapest MK2 heatbed you’ll find at Aliexpress: mine warps a lot but:

  • use a flat glass to put it on your heatbed and mount it with clamps - it flatenes the heatbed if you bought the cheapest you could find from China…

  • could heat it up to 100°C but stopped as you normally do not need higher temperatures

  • if you print PLA, heat it up to 50°C and use blue tape: sometimes no way of removing the printed parts as the stick so well

  • if you print ABS heat it up to 90°C or 100°C whatever fits your needs - the parts will come off VERY easy when your headbed is cold again

  • use office clamps to mount your glass onto the printbed: so you can still remove the printbed as you yre used to via the magnets Zeepro uses

  • I also used magnets to mount the heatbed to those 3 adjustable posts: 2x 20mm and a 12mm magets, each 2mm high. Glued them onto the heatbed with “Uhu 300” (available in Europe) which is heat resistant

  • the black silicone is just to keep the cables in place and to isolate

  • (offtopic: these are my extruders you can see in the pictures: http://www.thingiverse.com/thing:680631 )

4 Likes

Here’s the Zim’s power supply: http://www.jameco.com/1/1/6091-gs160a12-r7b-ac-dc-power-supply-138w-ac-dc-single-output-desktop.html

Connector is a 4 pin DIN (not mini). Very hard to find. Where did you end up buying one from?

Someone that makes plugs: http://www.jameco.com/Jameco/Products/ProdDS/2211004.pdf

Many thanks for the weblinks!

As I’m from Austria I bought it here locally:
http://www.conrad.at/ce/de/product/457791/?insert=62&insertNoDeeplink&productname=Netz-Steckverbinder-Stecker-gerade-Gesamtpolzahl-4-75-A-Schwarz-BKL-Electronic-0210004-1-St
(as far as I know there is no english website available for this shop)

The plug says “7,5 Ampere” but from my RepRap I know that this MK2 heatbed has 12V and drags about 10 Ampere (!!). Therefore I have wired it as shown in the first picture: the left connectors is my + pole, the right connectors the - (I seperated the thick cable and soldered 50% on the upper and 50% on the lower pins)

As mentioned some posts before: you can also use your heatbed without the relais: take a standard power supply and grab the cables from the white connector to power up your headbed: for me it has always been far to dangerous to route 10 Ampere over a circuit board as you have it at the RAMPS boards (the ZIM is is a modified RAMPS board)

I have no idea what the Zim’s heated bed will draw current wise, but 10A does sound like too much. The Molex Mini-Fit Jr. connector is rated for a max of 10A… so it would not be very wise to run 10A through it continuously. 120W (12V x 10A) sounds like a ton of power for a little hot plate though, how hot does it need to be for ABS or Nylon?

Usually the Prusa MK2 heatbed draws 150 Watt: 150 / 12 = 12,5 Ampere
On my ( a few years old ) RepRap it was about 10 Ampere.

Never understood why the routing of this 10 Ampere is directly over the circuit path on the Ramps board - that’s why I use an automotive relais which works perfect since years. ( A nice side effect is that you can hear the “click” when its turned on and off - you can’t hear that if you’re using an rather expensive DC solid state relais)

I print PLA at about 50 degrees and ABS on 90-100 degrees on the bed - never have tested if you can go over 100!
As far as I know - never printed Nylon and you won’t at your ZIm as it has a Teflon liner in the extruder! - Nylon also needs about 100 degrees on the bed.

Hey KingMartin and crew, I am thinking to hook up a head bed as well.
Here is a picture so far.

Using one of these : Signstek-200x200mm-Silicone-Heating

There are 4 wires coming out, I am guessing the red and black is for thermal couple, and the red are power wires for the 12V? What do you guys think, :smiley: ? I hope I dont blow the whole building down.
Oh, and do you guys have a suggestion to which relay I should be using?

Great! :blush:

Please provide more pictures for other uses who want to create their own heated bed too!
(pictues from the underside, how have you mounted your heatbed,…)

It’s really hard to find a 4-pin DIN connector through US outlets. It’s REALLY hard to find one that can carry 10 amps. I found one but it was like $18, for one, without shipping. I guess with your design it doesn’t need to carry 10A.

I really don’t care mutch about the Amps on the sockets, what I really don’t like is that this 10A are routed directly over the electronic board (like on every RepRap printer).
It’s mutch “safer” in my eyes to do it like i did

Ill be ordering new heatbeds custom made for the zeepro. They’ll have adhesive on them and with include an aluminum plate with holes in it for the existing mount setup. 150w as well. Cost with plate will be about $30 + shipping. Setup and install will be minutes (provided you know how to connect it to motherboard and/or relay). Was planning on ordering only a few but will order more depending on interest.

Do you have a link to a webshop or something? Thanks in advance!

I dont, an ebay shop though. I plan to hook it up, take pictures and test before I make official.

I’m interested. I was just looking into setting up a heated bed yesterday.

Let us know when you get this set up. I would be interested in a spare heated bed.

It’ll be soon. They are in the mail.

Invader,

Any update on the heated beds? Mine is working but since I cracked it things dont print as well since it now is warped up in the middle so I would love to have a replacement.

I did receive them after a long “shipping delay”. I am waiting for more hardware to mount it to the printer. I want to keep access to the bed adjustment screws and I dont want a weird paper clip sandwich look. Ill post pics soon.

Great! I’m ready to order.

Ok heres the first tests!
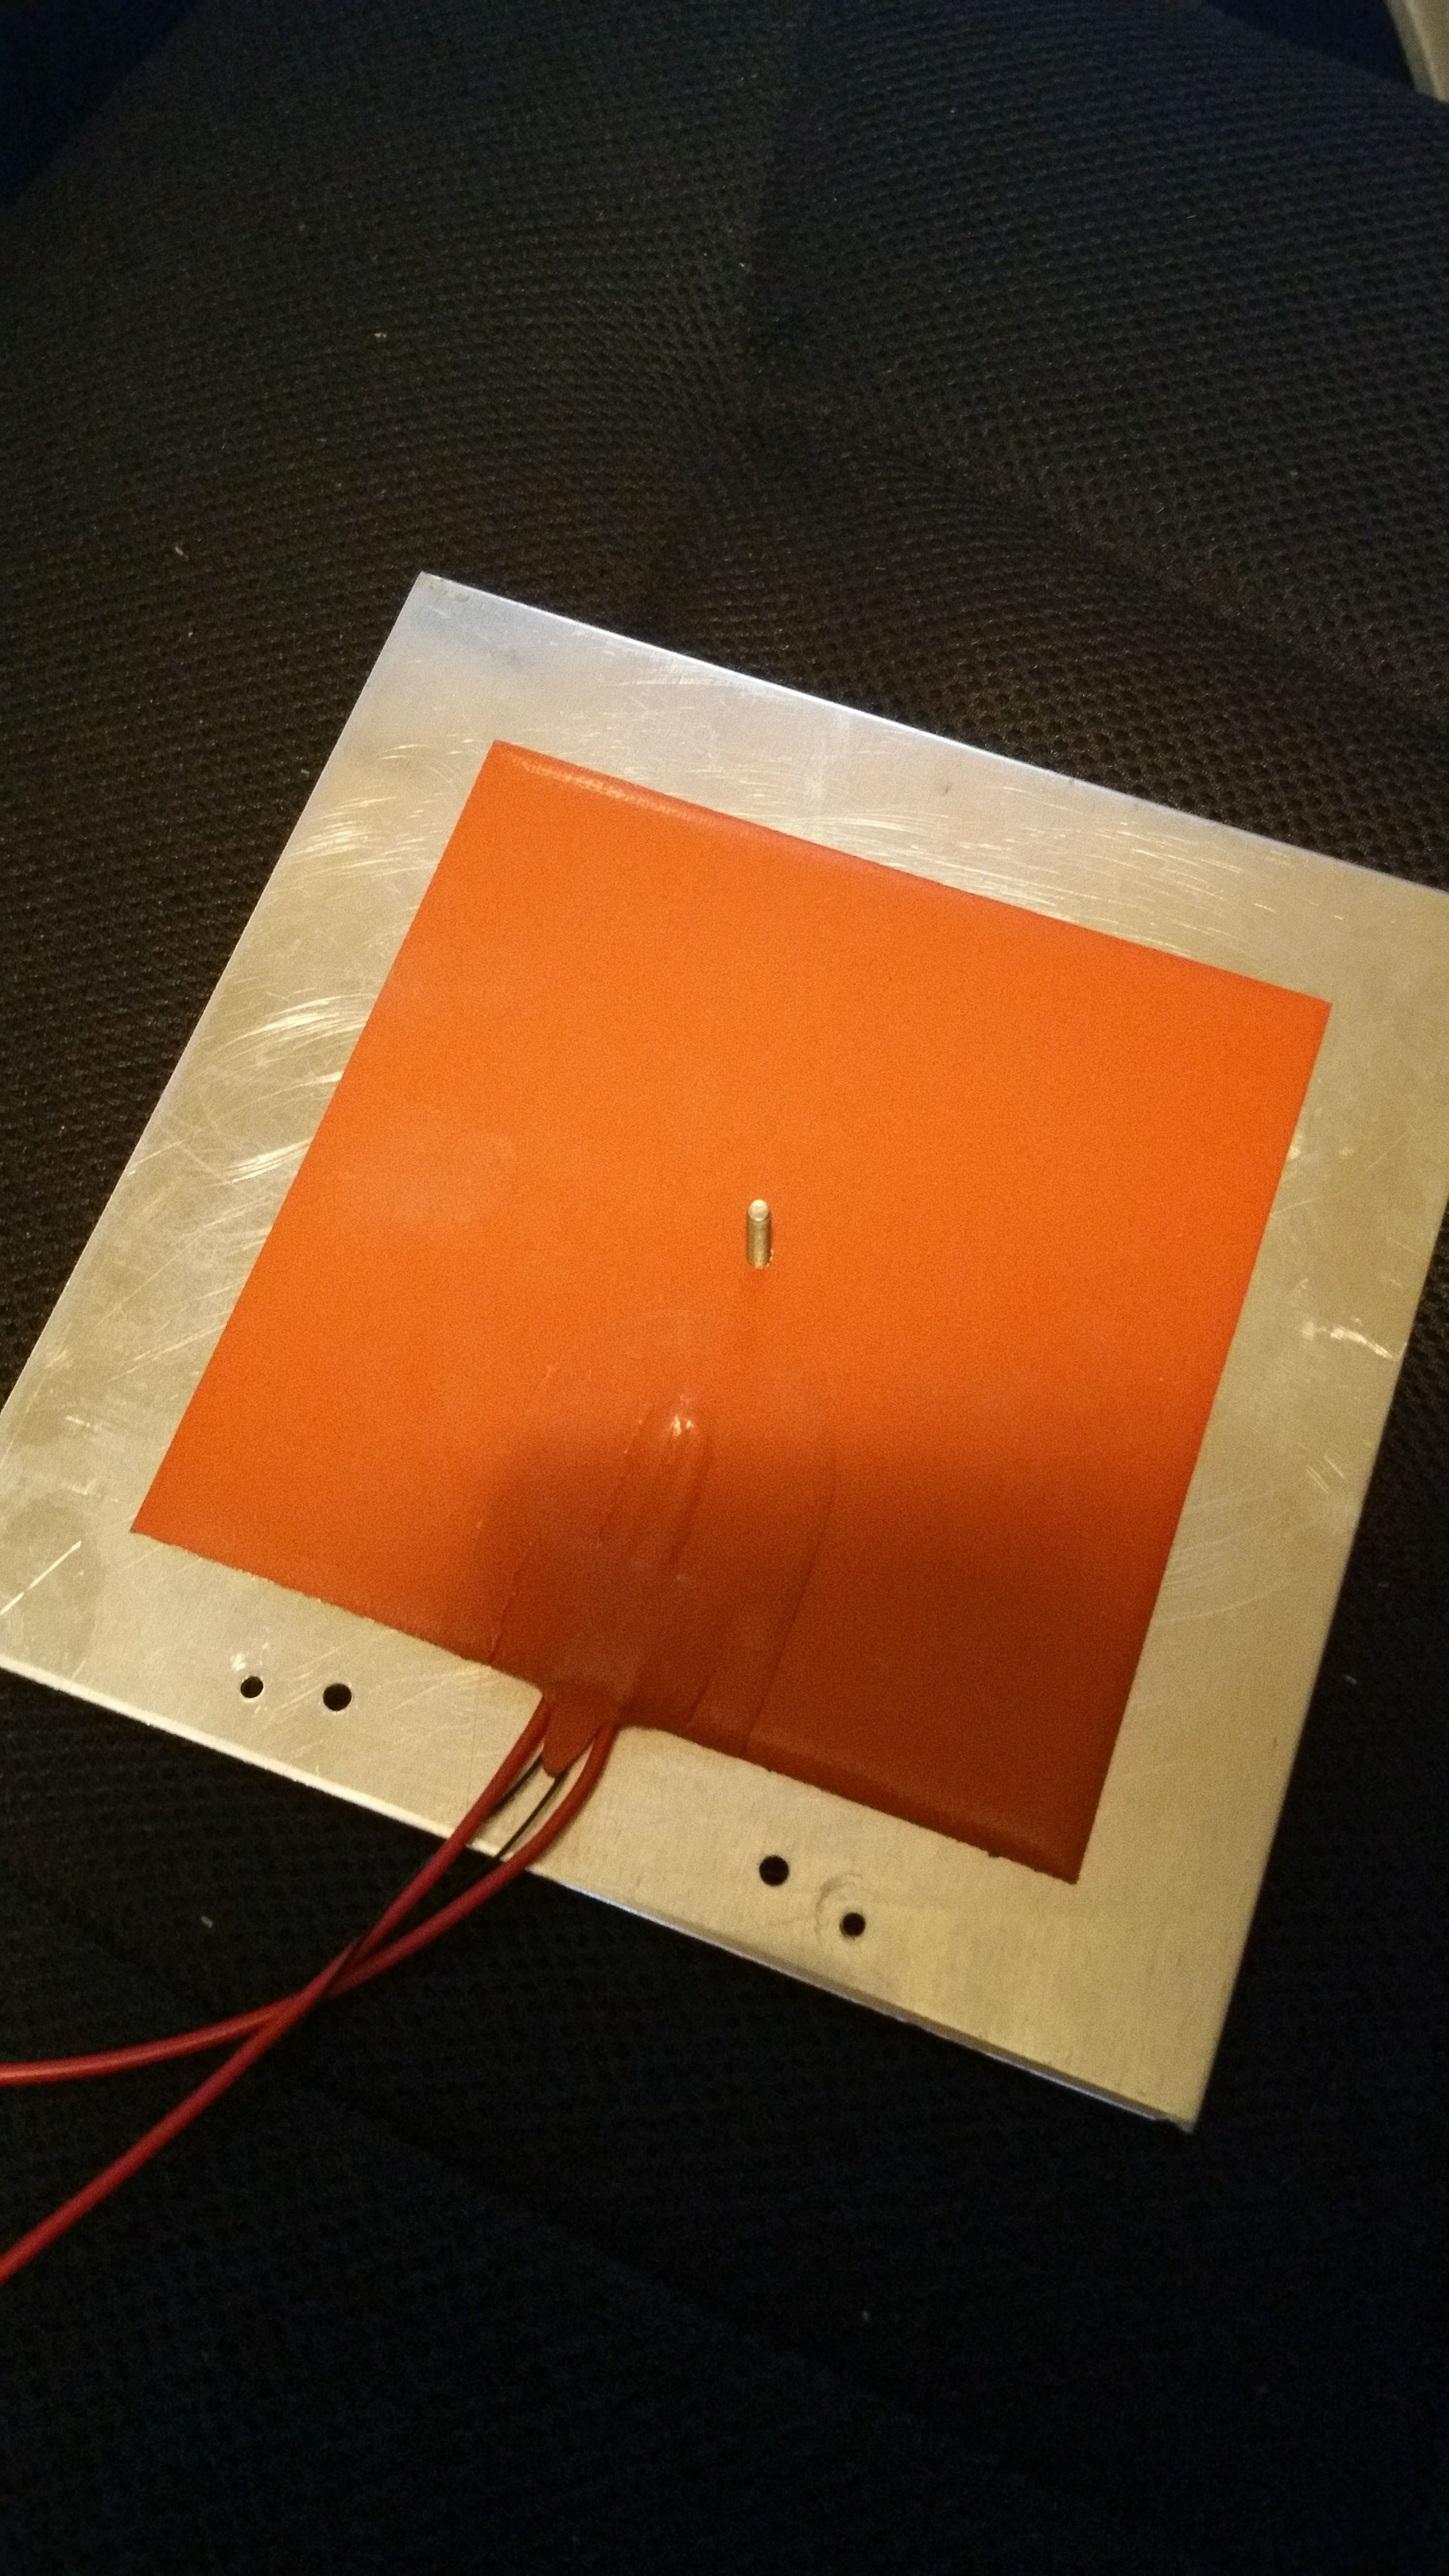
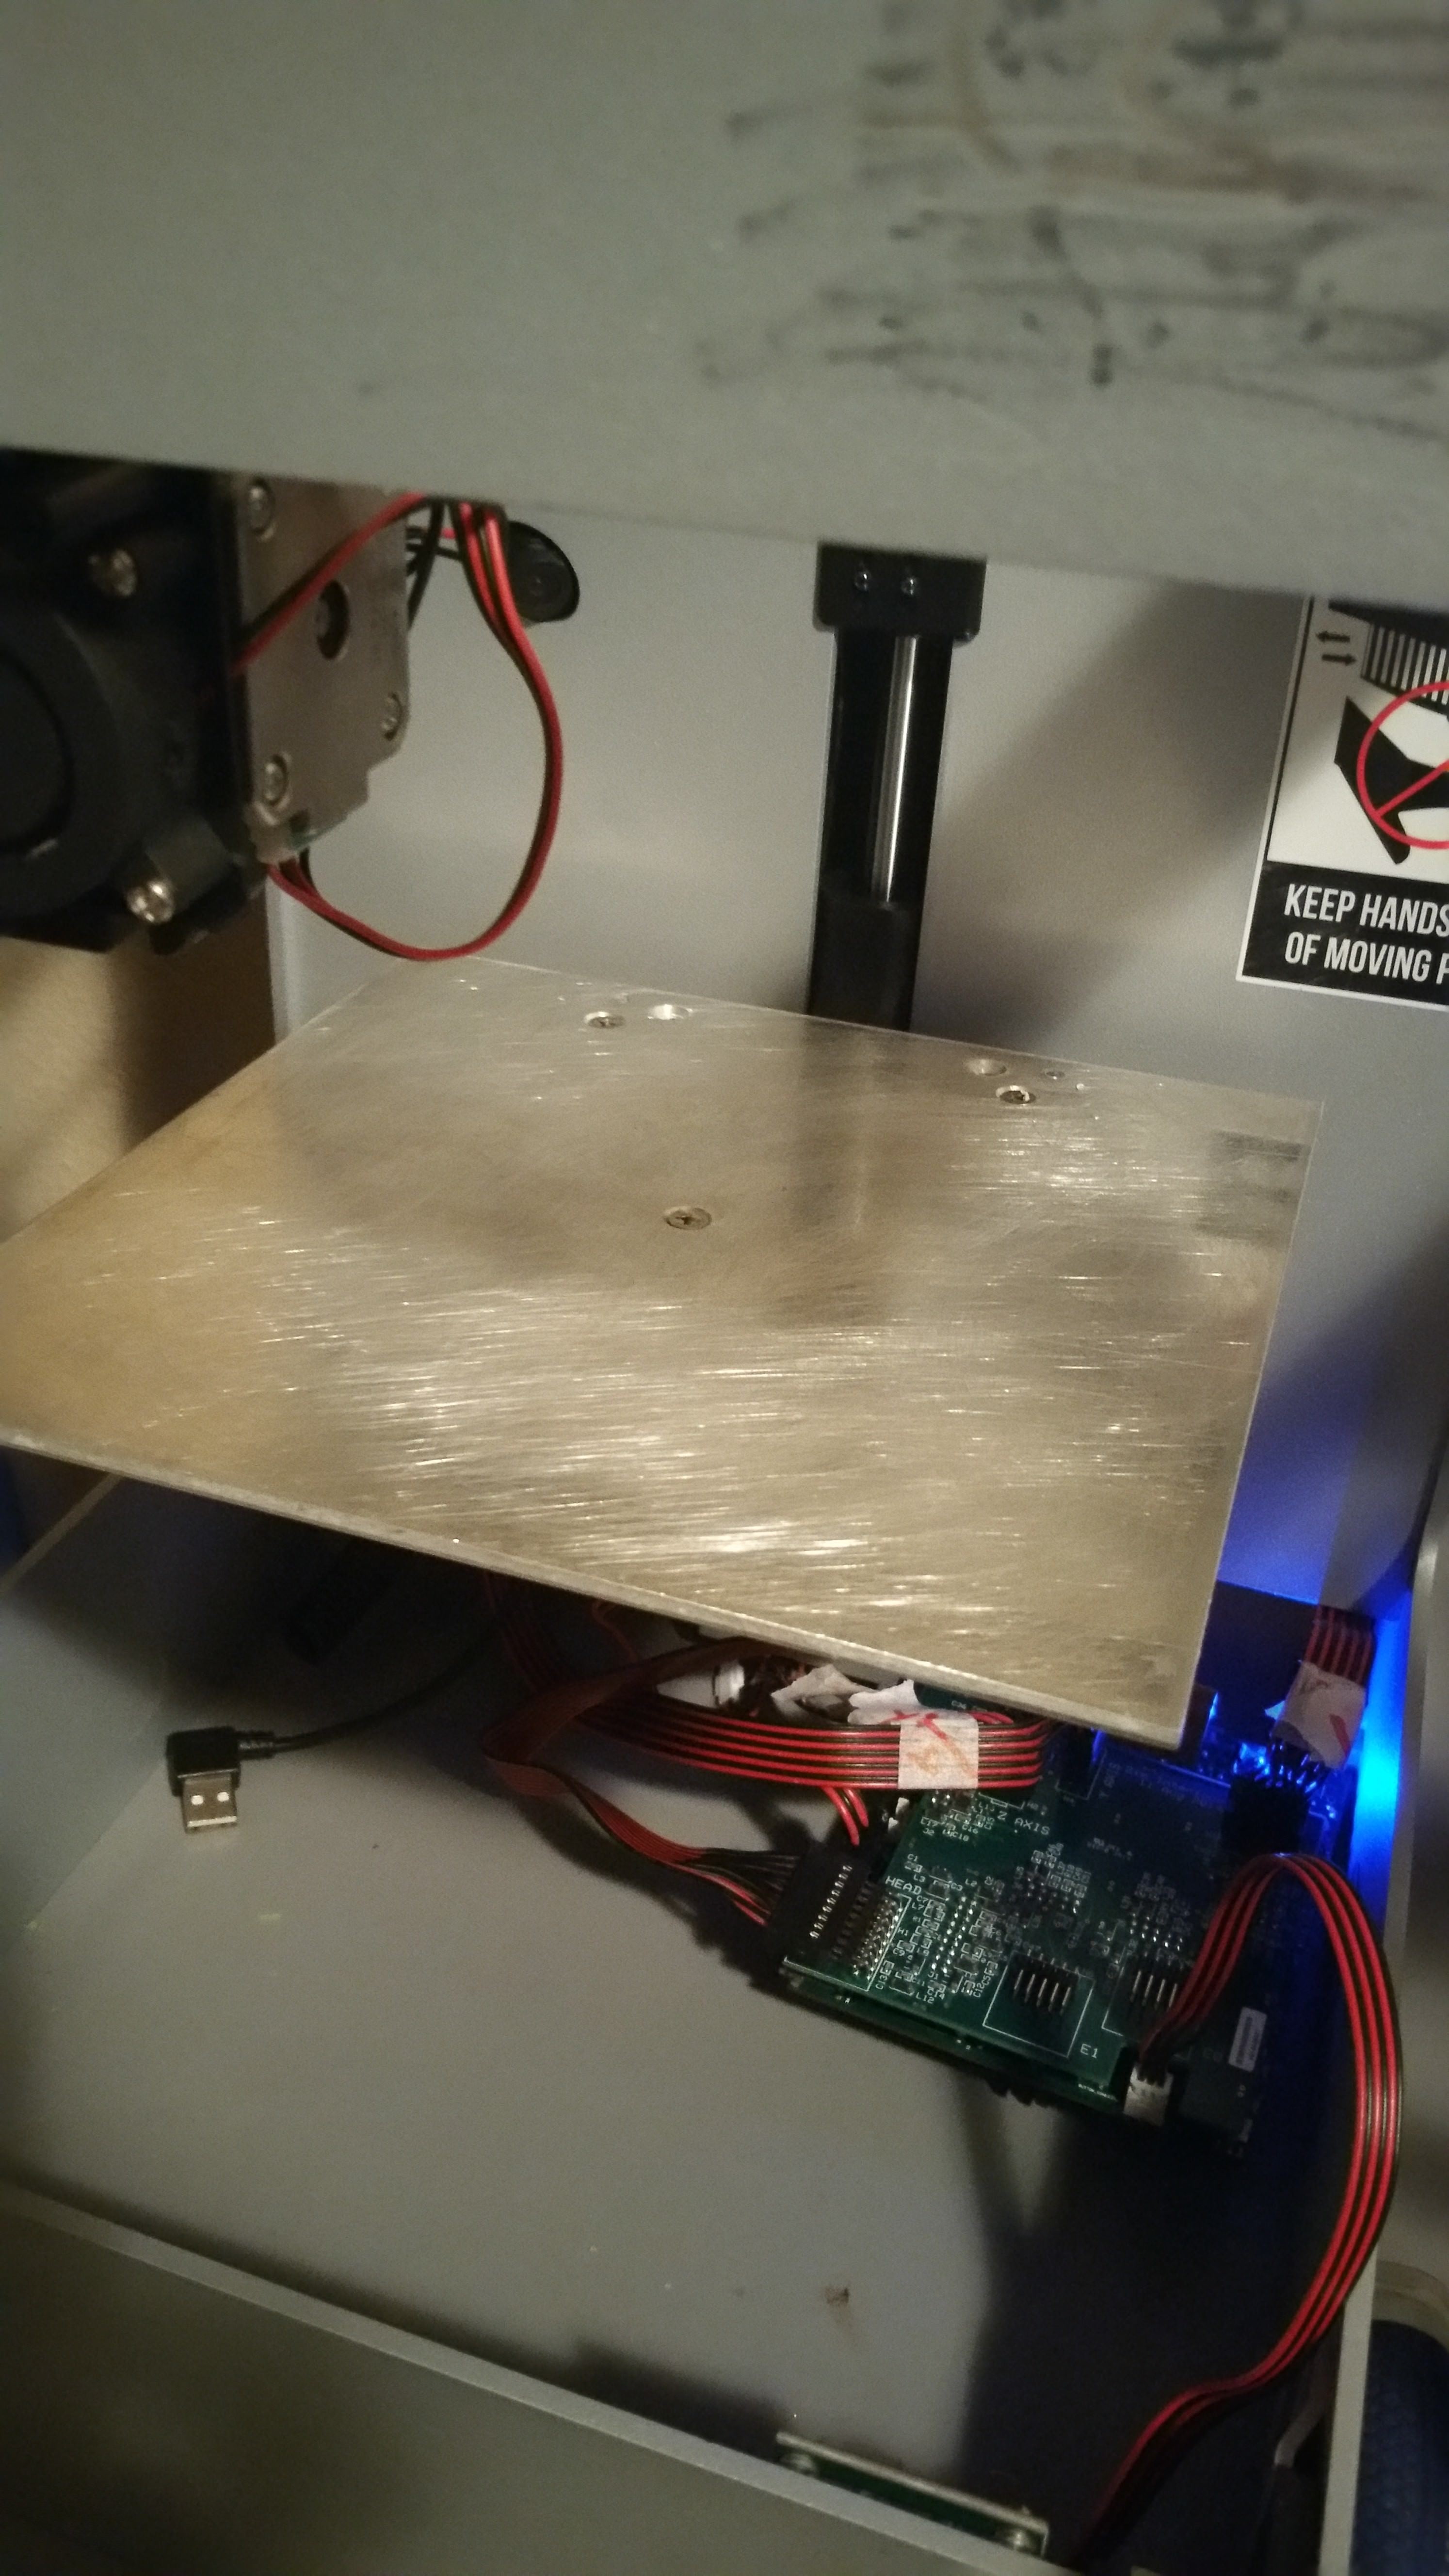
Its adhered to a 1/8th aluminum plate. Just stuck it on. It measured 1 ohm and at 12v its pretty much 150watts. I chose 150w because the goal is to pass it through the board. GASP! I know I know, risky but a relay is still an option. The heat pad is only 150mm x 150mm leaving a 50mm aluminum border. I couldve gone bigger but decided not to. Includes a standard 100k thermistor internally. Mounts using the existing holes and nuts but added a longer screw. I will be including much longer screws to allow thumb wheels on the bottom for easier leveling.

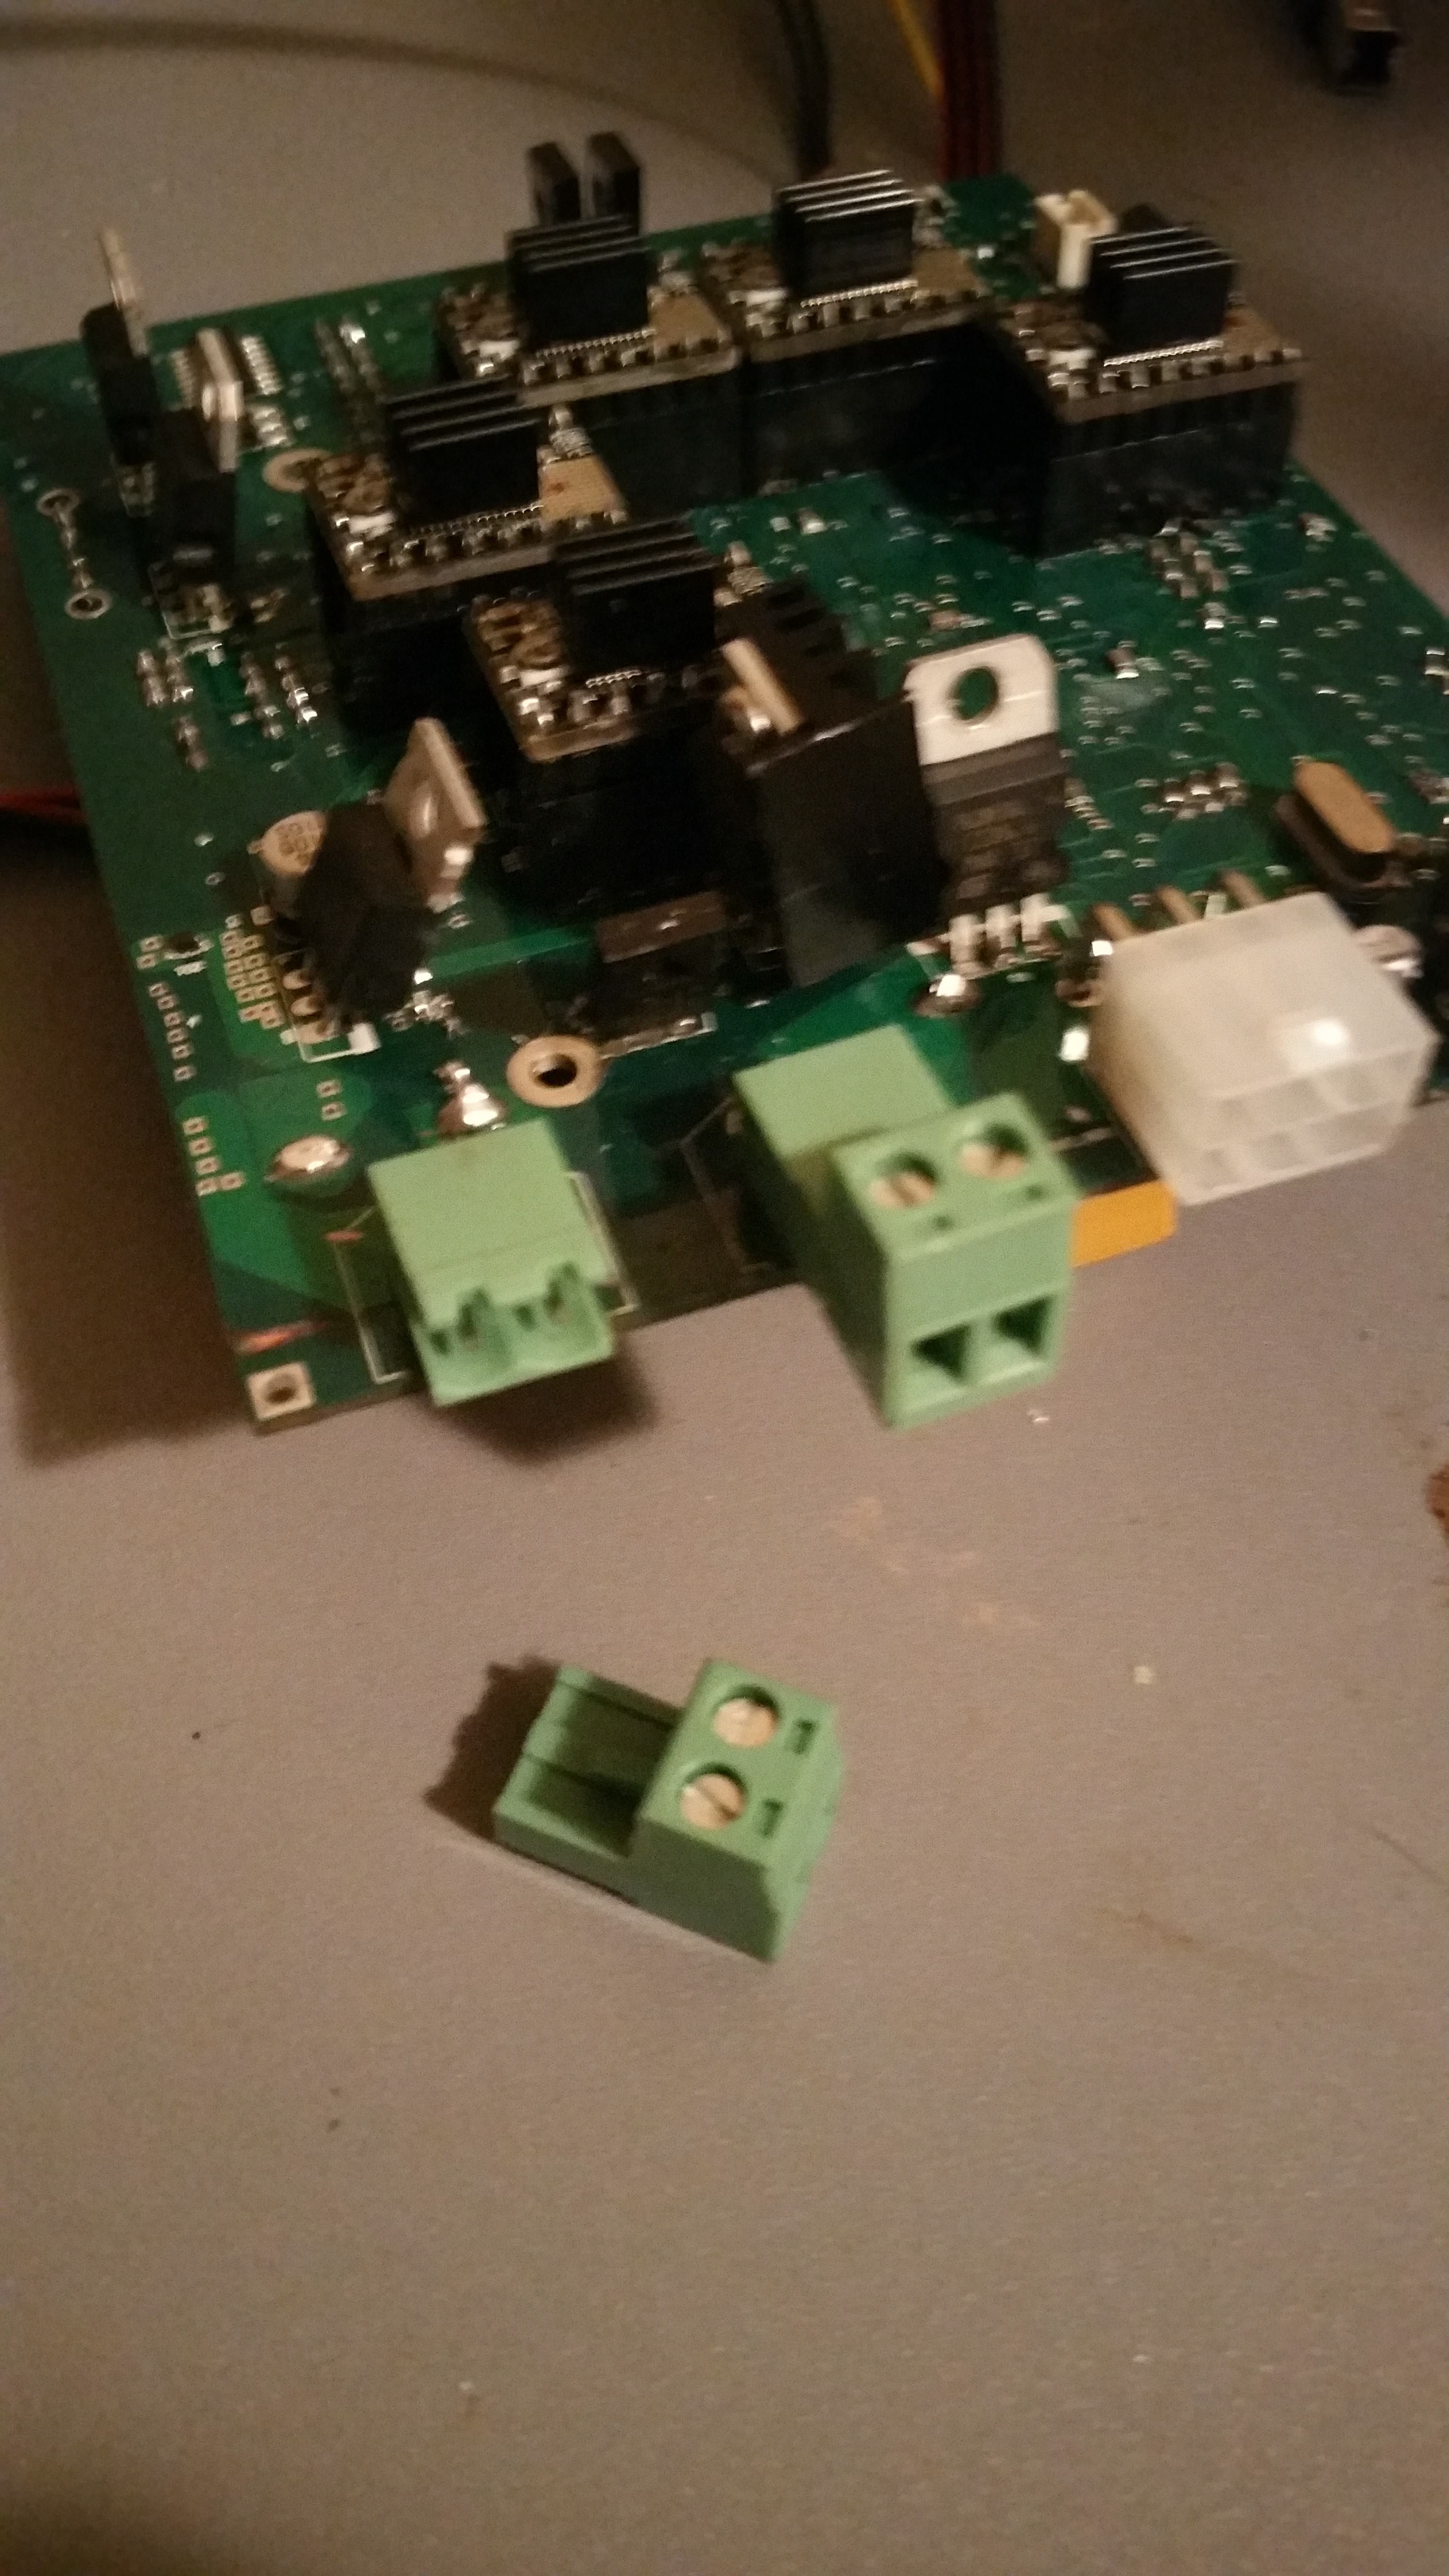
I should mention I am not using the puny stock power brick but instead a 500w pc power supply. I will include a 2-post screw terminal to replace the “BED Input” jack (See pictures) if you do not want to buy a proprietary power supply

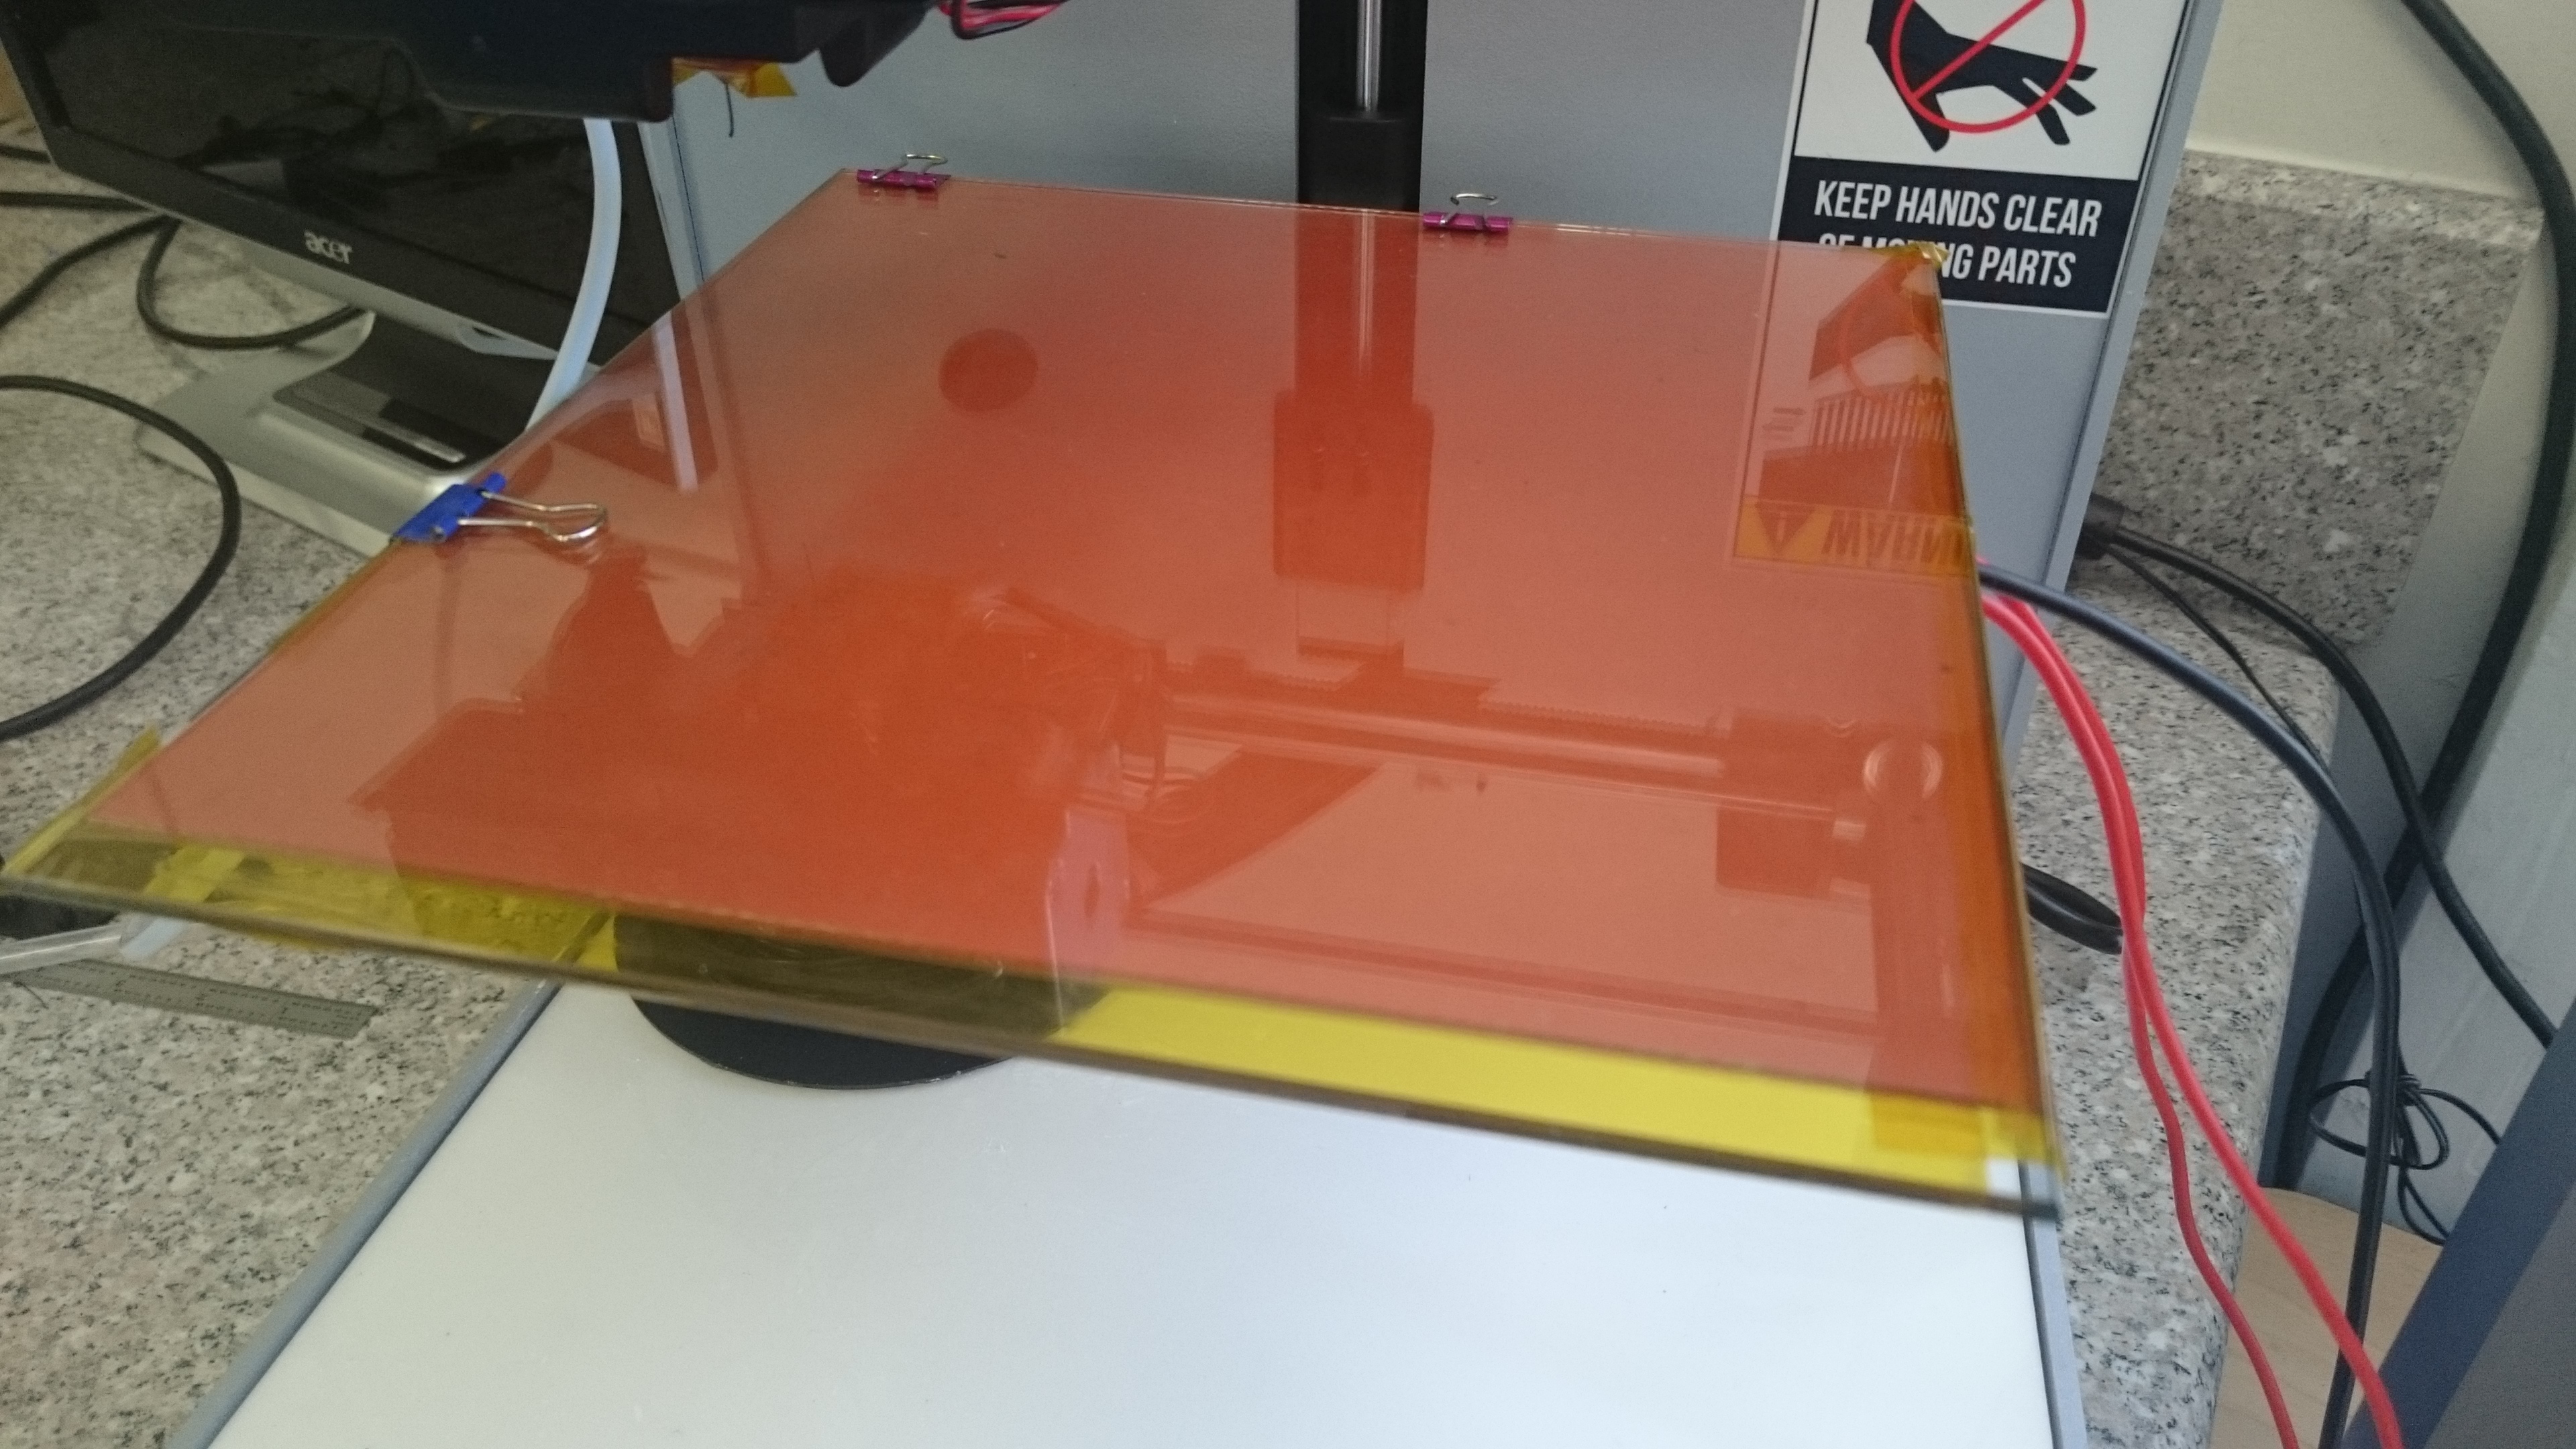
Here’s the results from a straight connection to a 500w pc power supply measured with a IR laser thermometer :
Start: 29C
1 min: 46C
2 min: 60C (too hot to hold)
3 min: 72C (Too hot to touch)
3:30 : 80C (ABS temps)
4 min: 85C
5 min 92C (Near temp plateau)
5:55 100C (Near max temps, I think)

Let me know what you guys think!