Unclogging Nozzle

I guess Zeepro is dead…
(and I still do not understand why everyone is so calm :imp: )

Redesigning the heater block should not be a big deal but it’s time-consuming and also does cost some bucks.
I would have everything at home/at my work to do so but I’lll see how much users do want to have spare hotends. Basically I only would change the brass/Peek part and replace it to standard nozzles (dismantled everything and it would just need a redesigned brass part…

I’m pretty confident I can keep my Zim up and running for as long as needed, so I wasn’t as concerned about Zeepro’s ability to plan and run a business. I actually thought their business plan, as posted by Breega during the series A, was a bit sketchy from day one. I’ve been in similar VC funded ventures, so it was not entirely unexpected they would crash and burn.

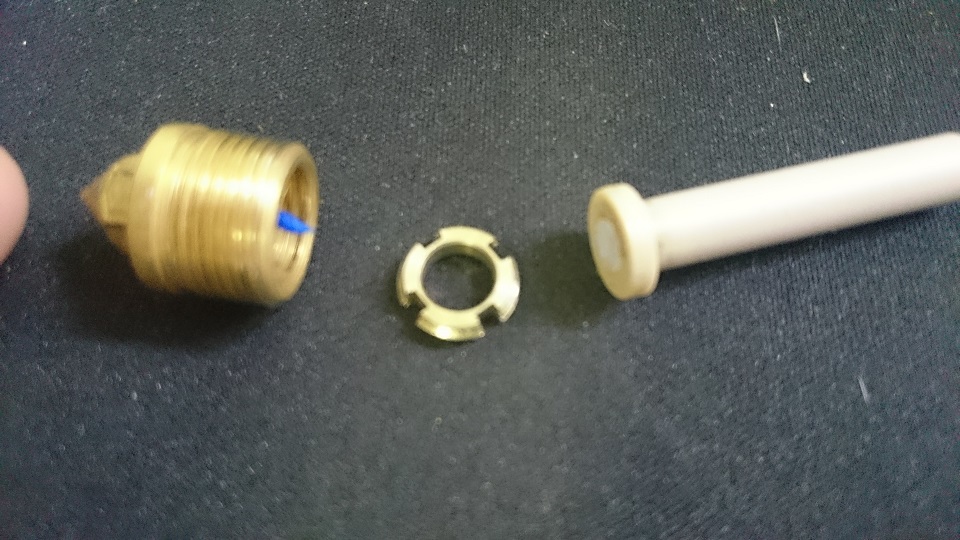
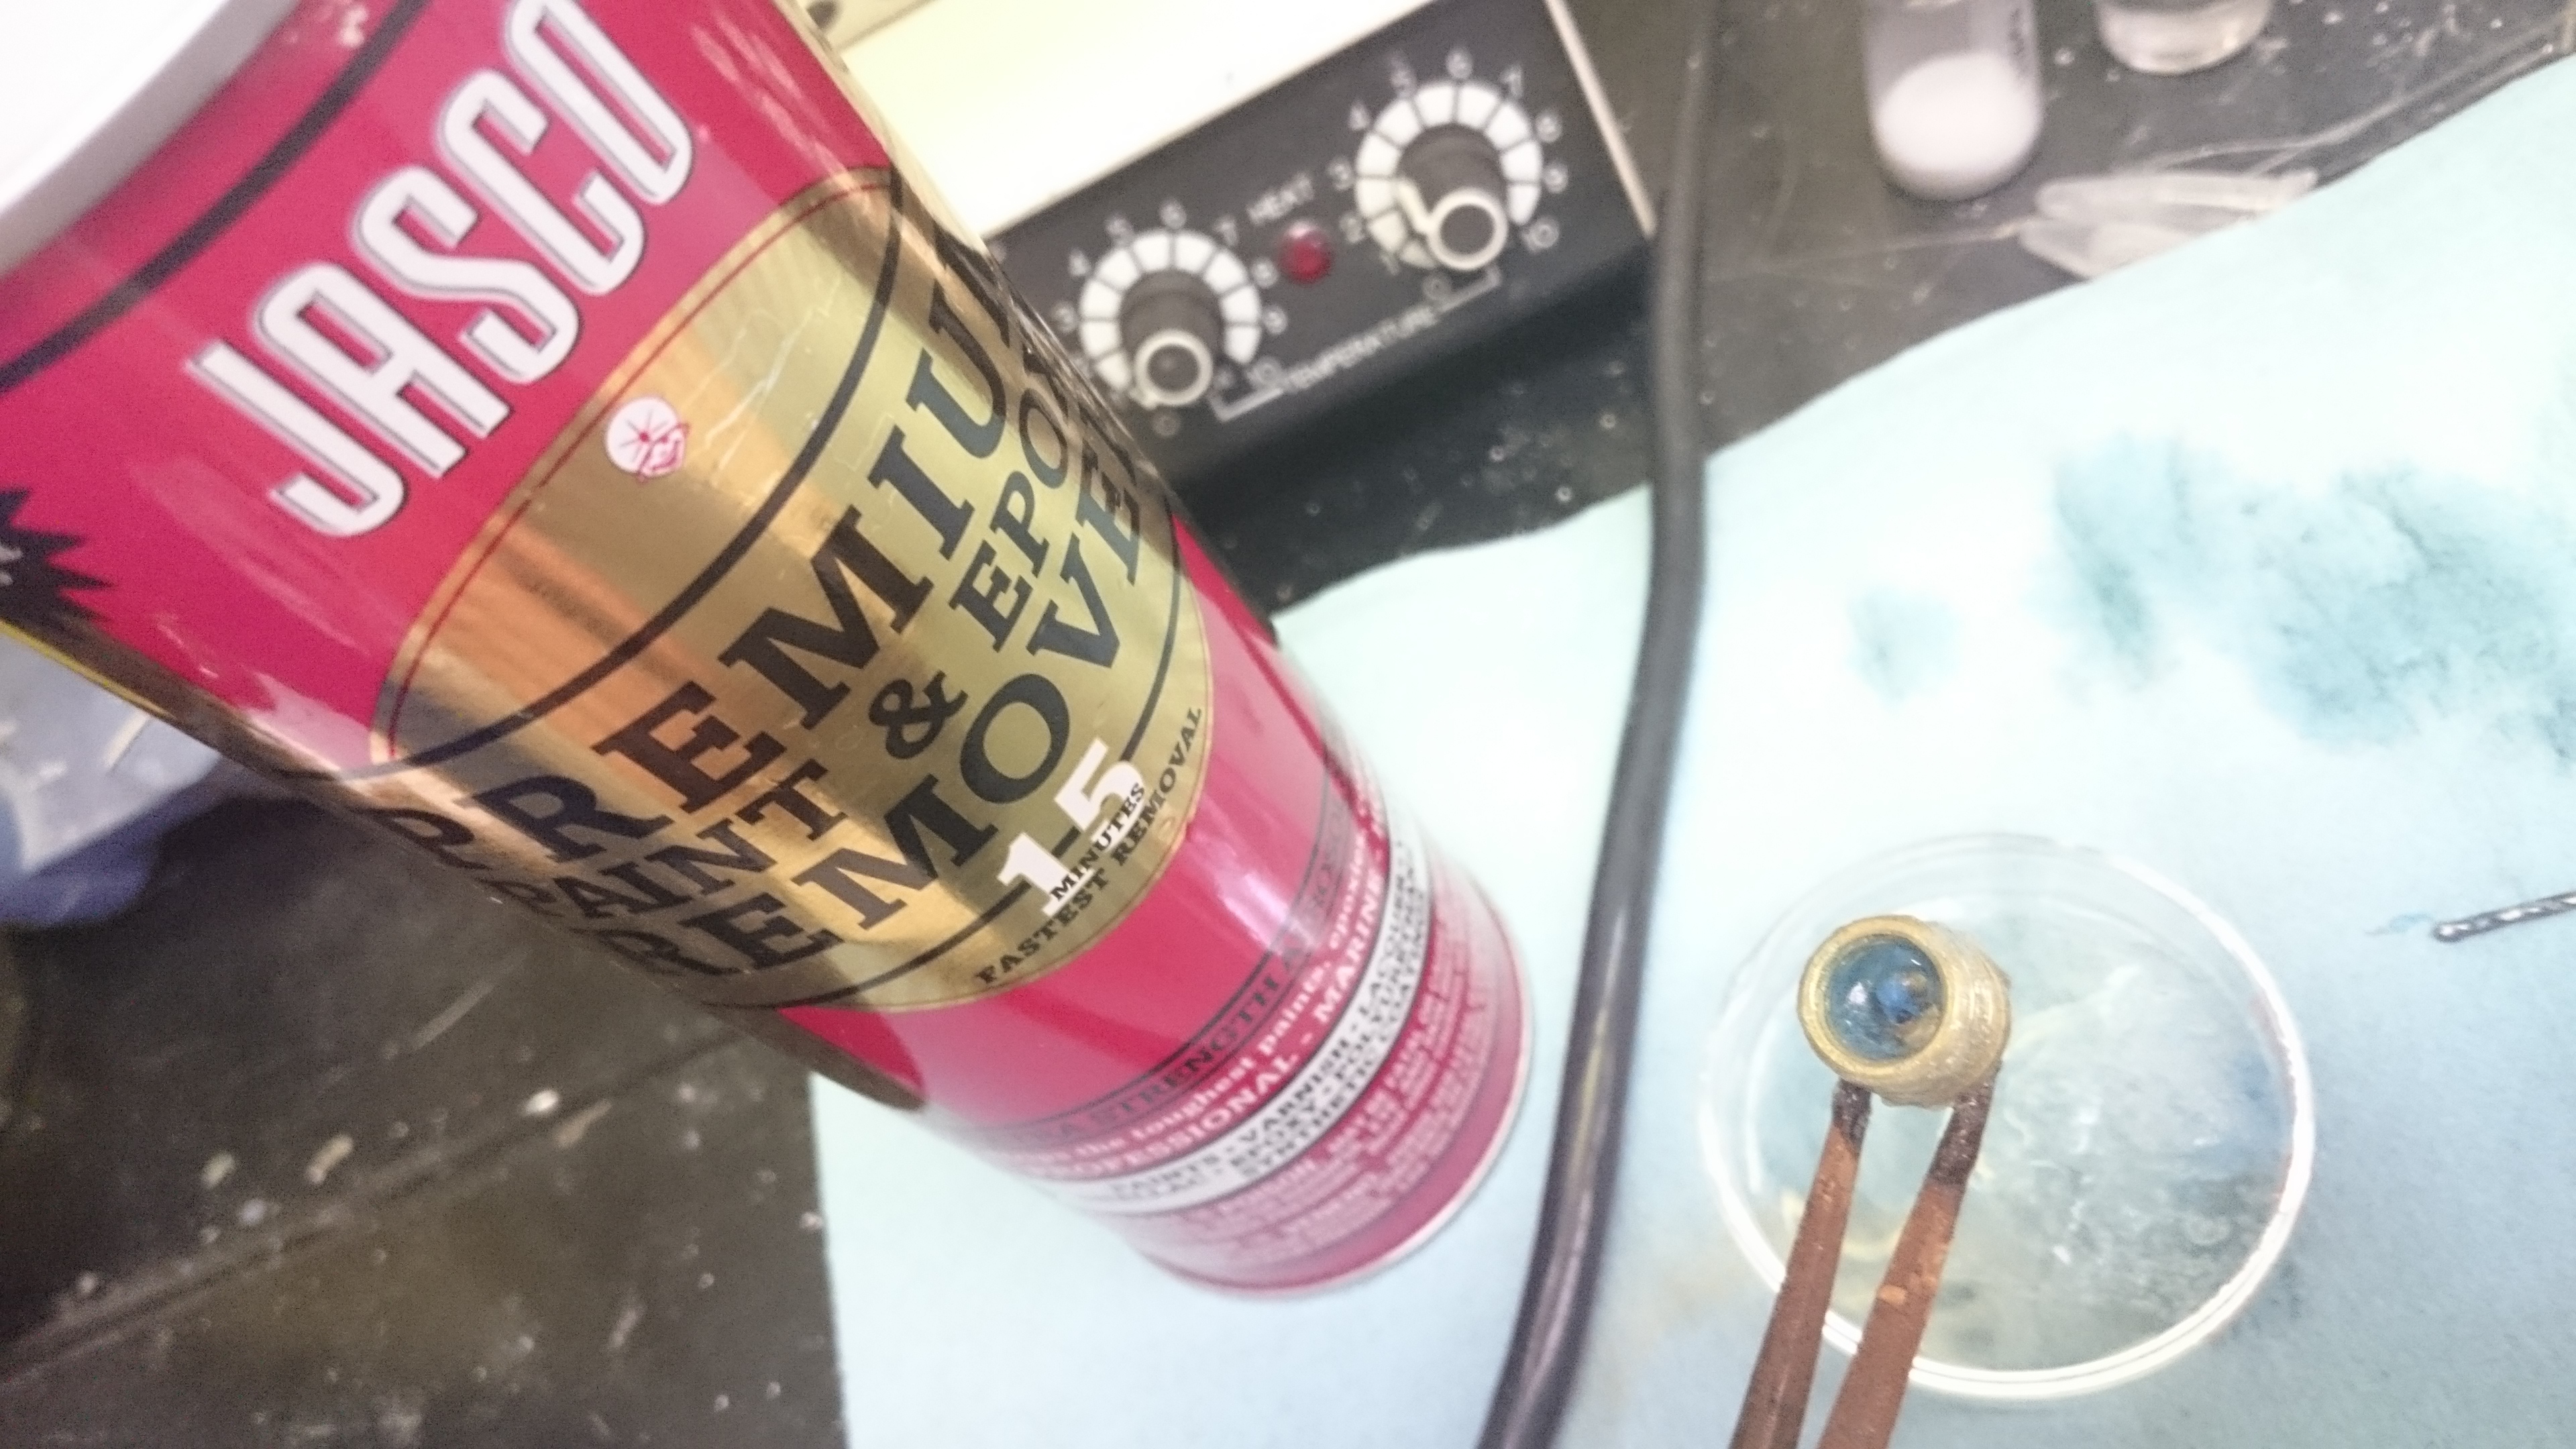
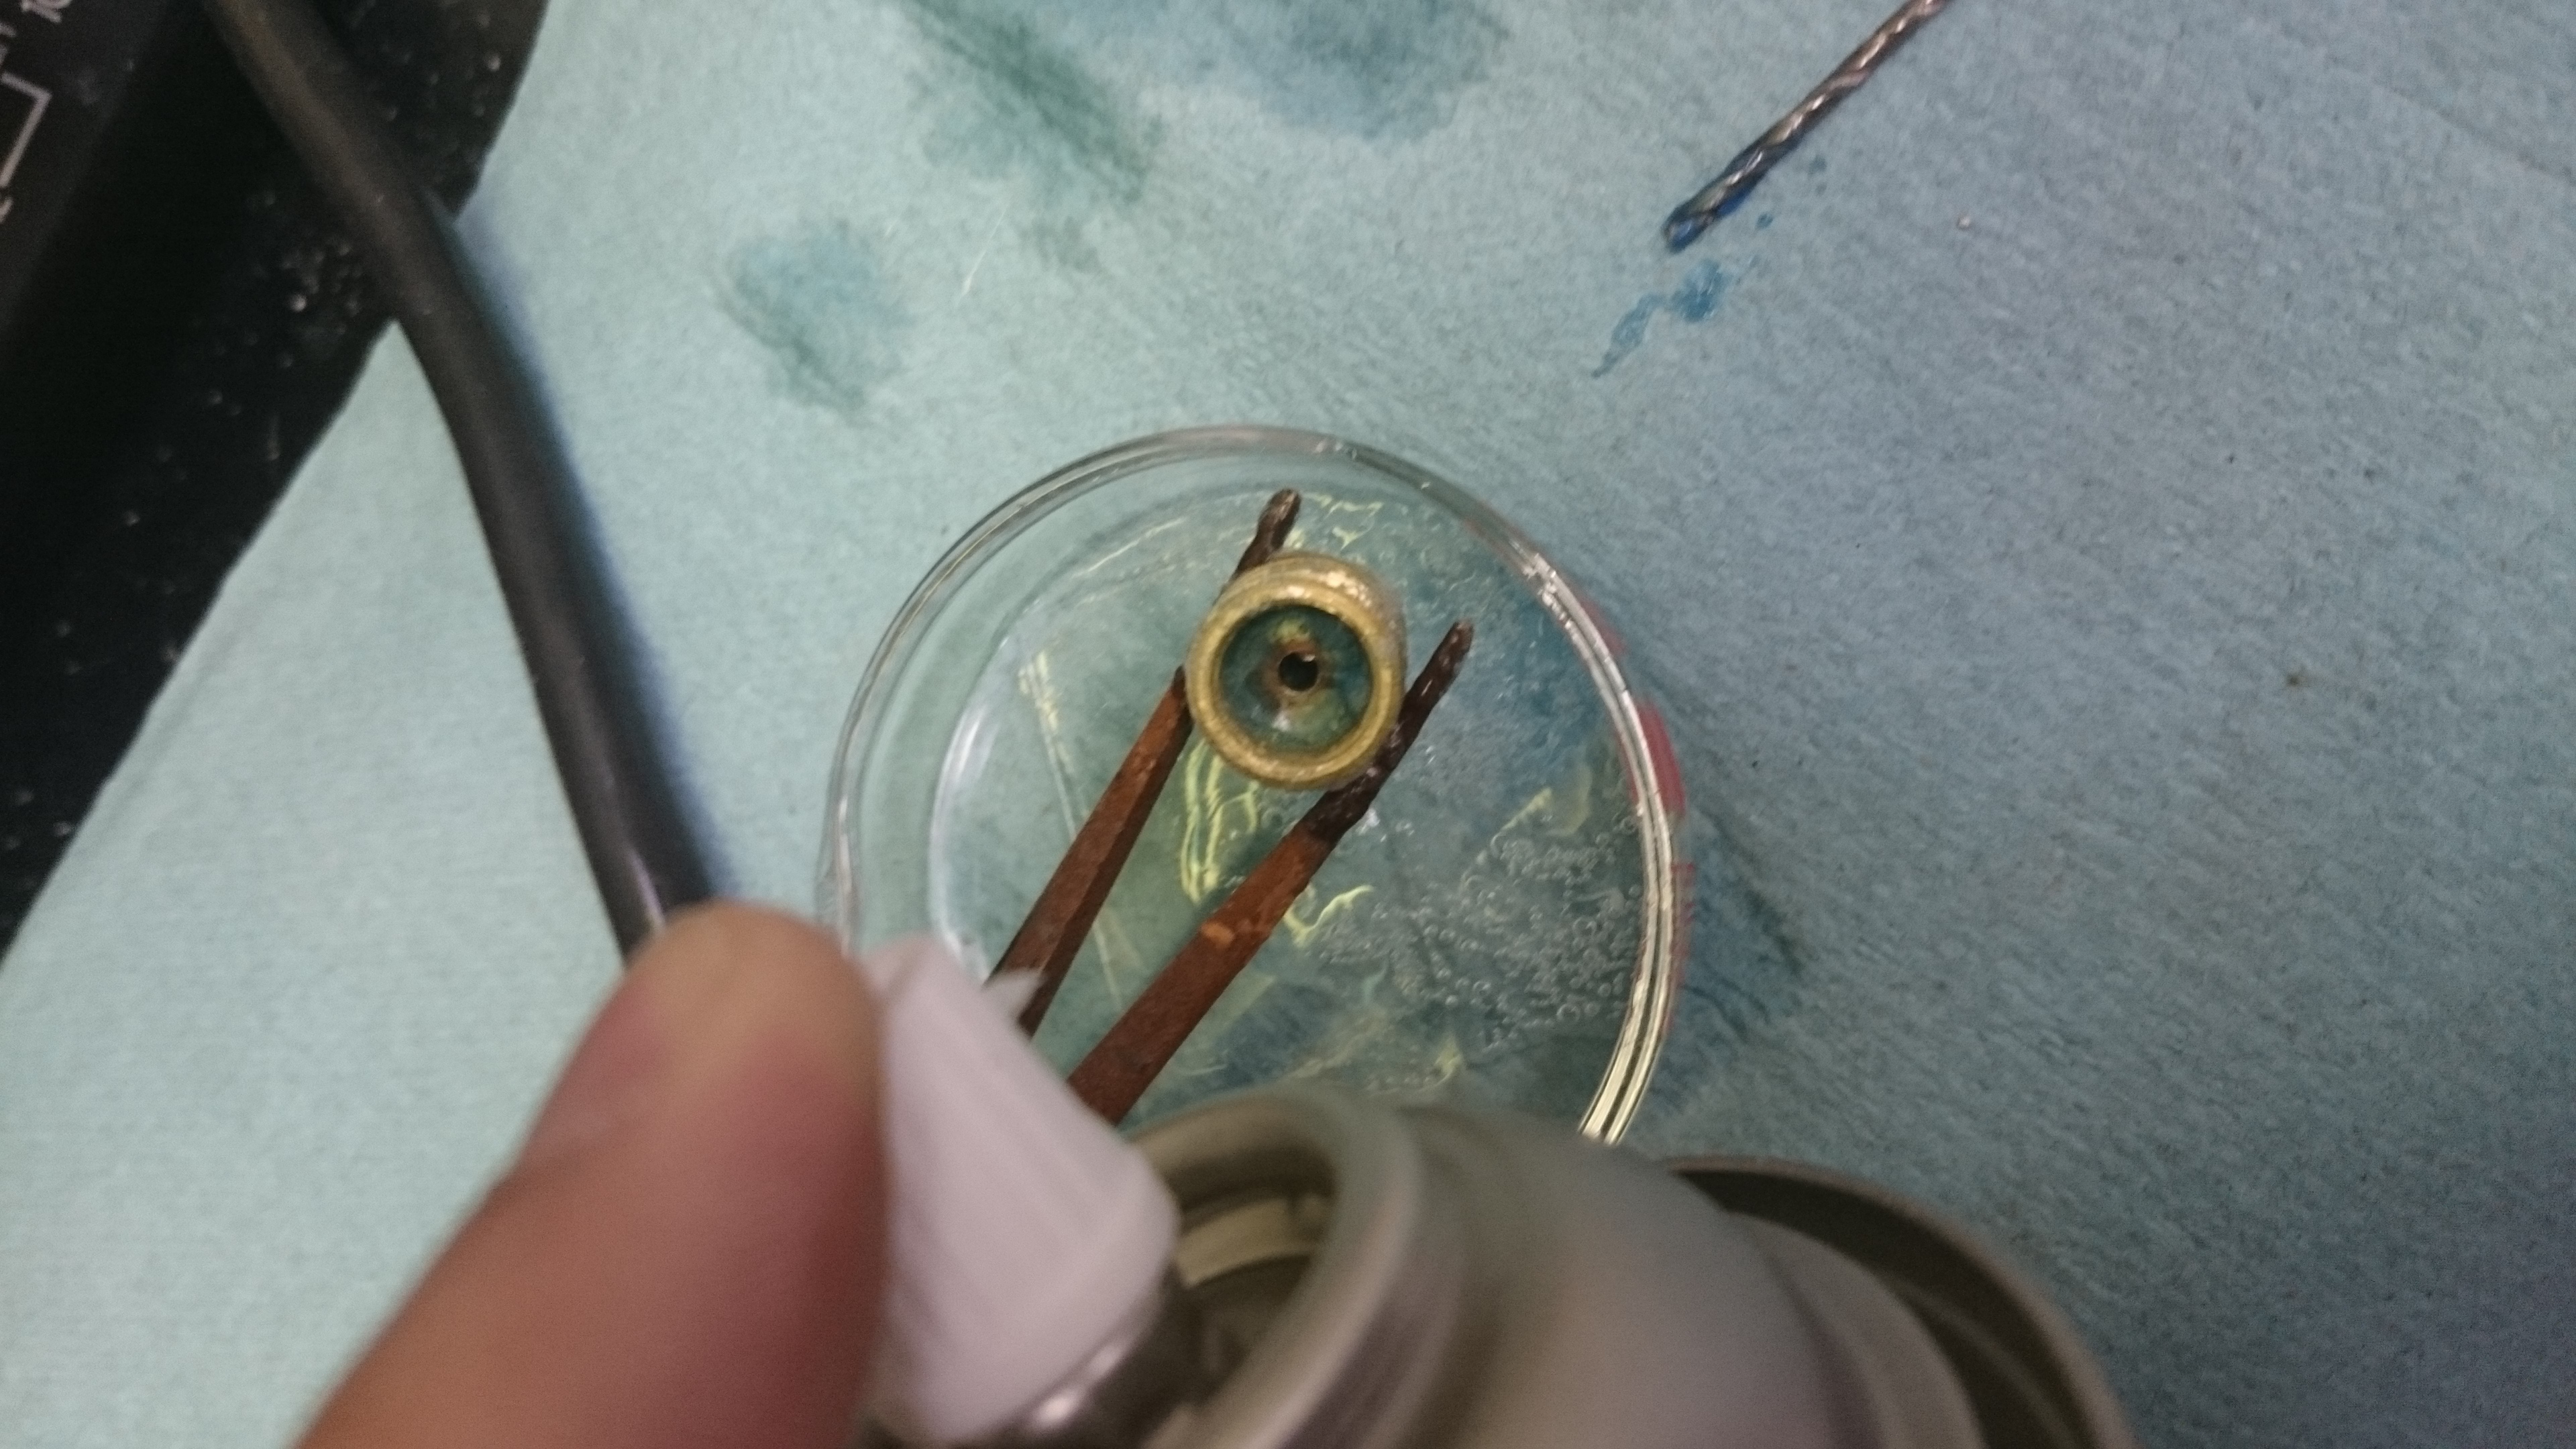
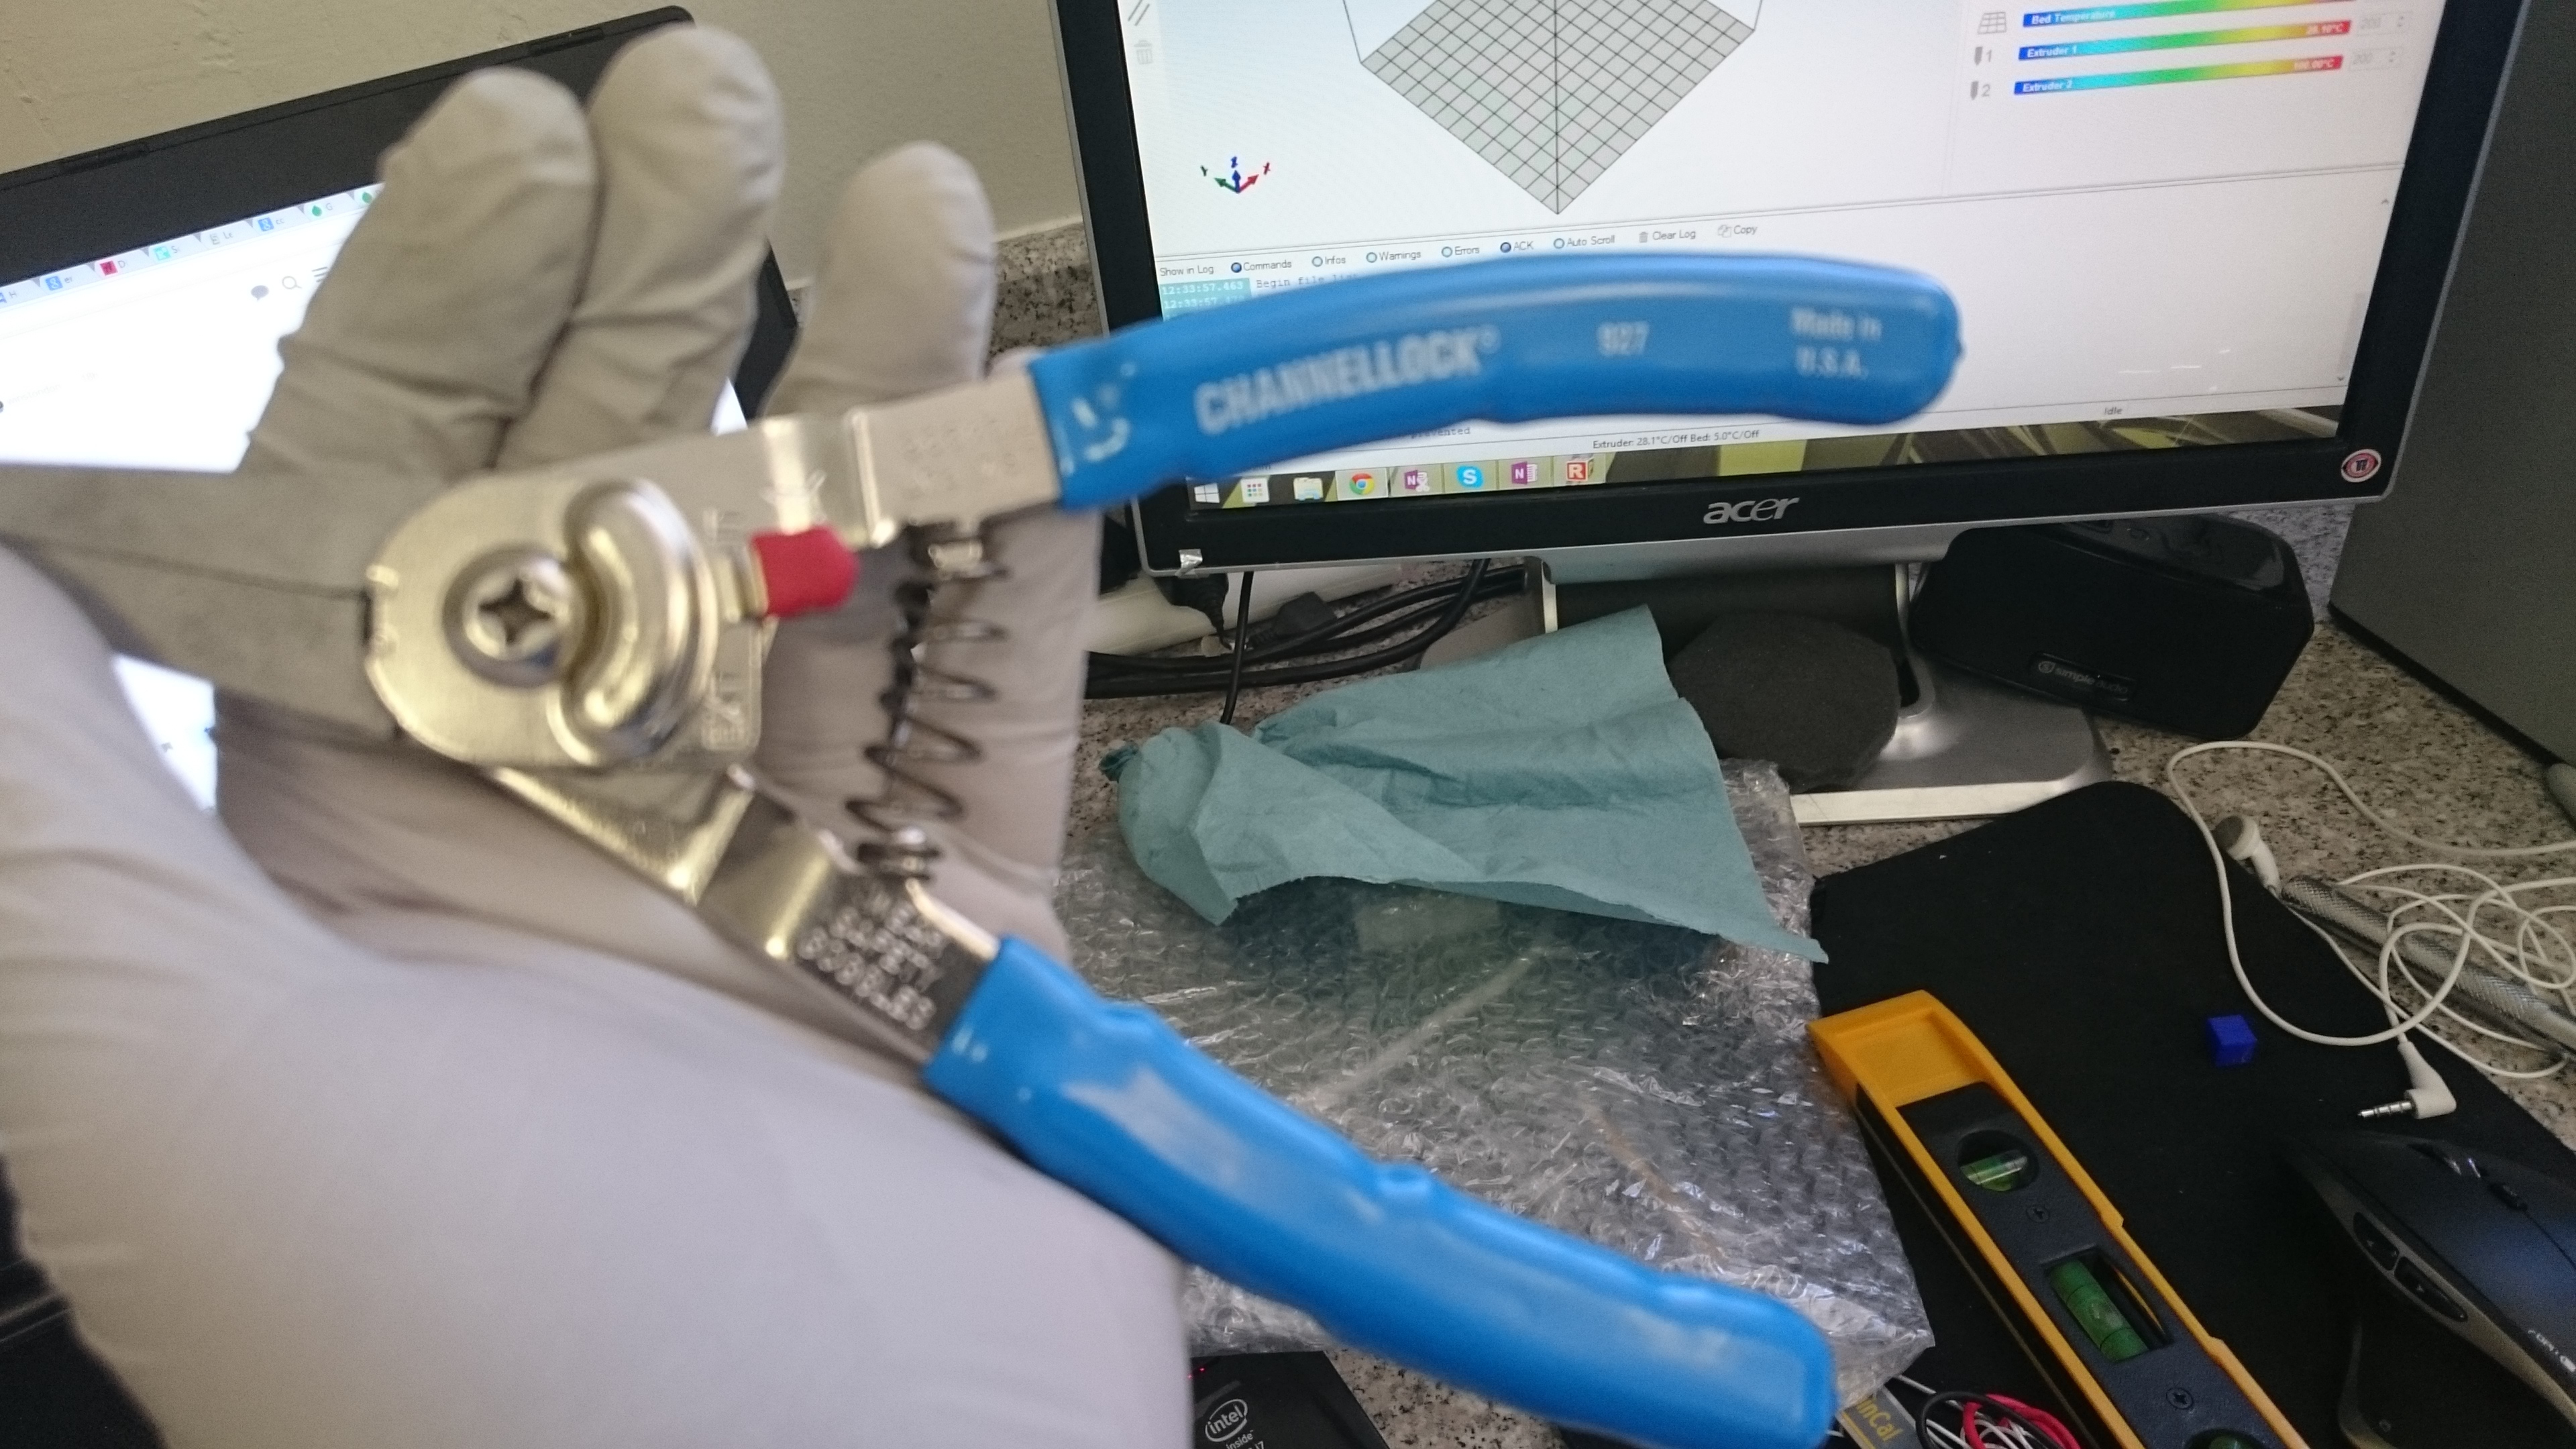
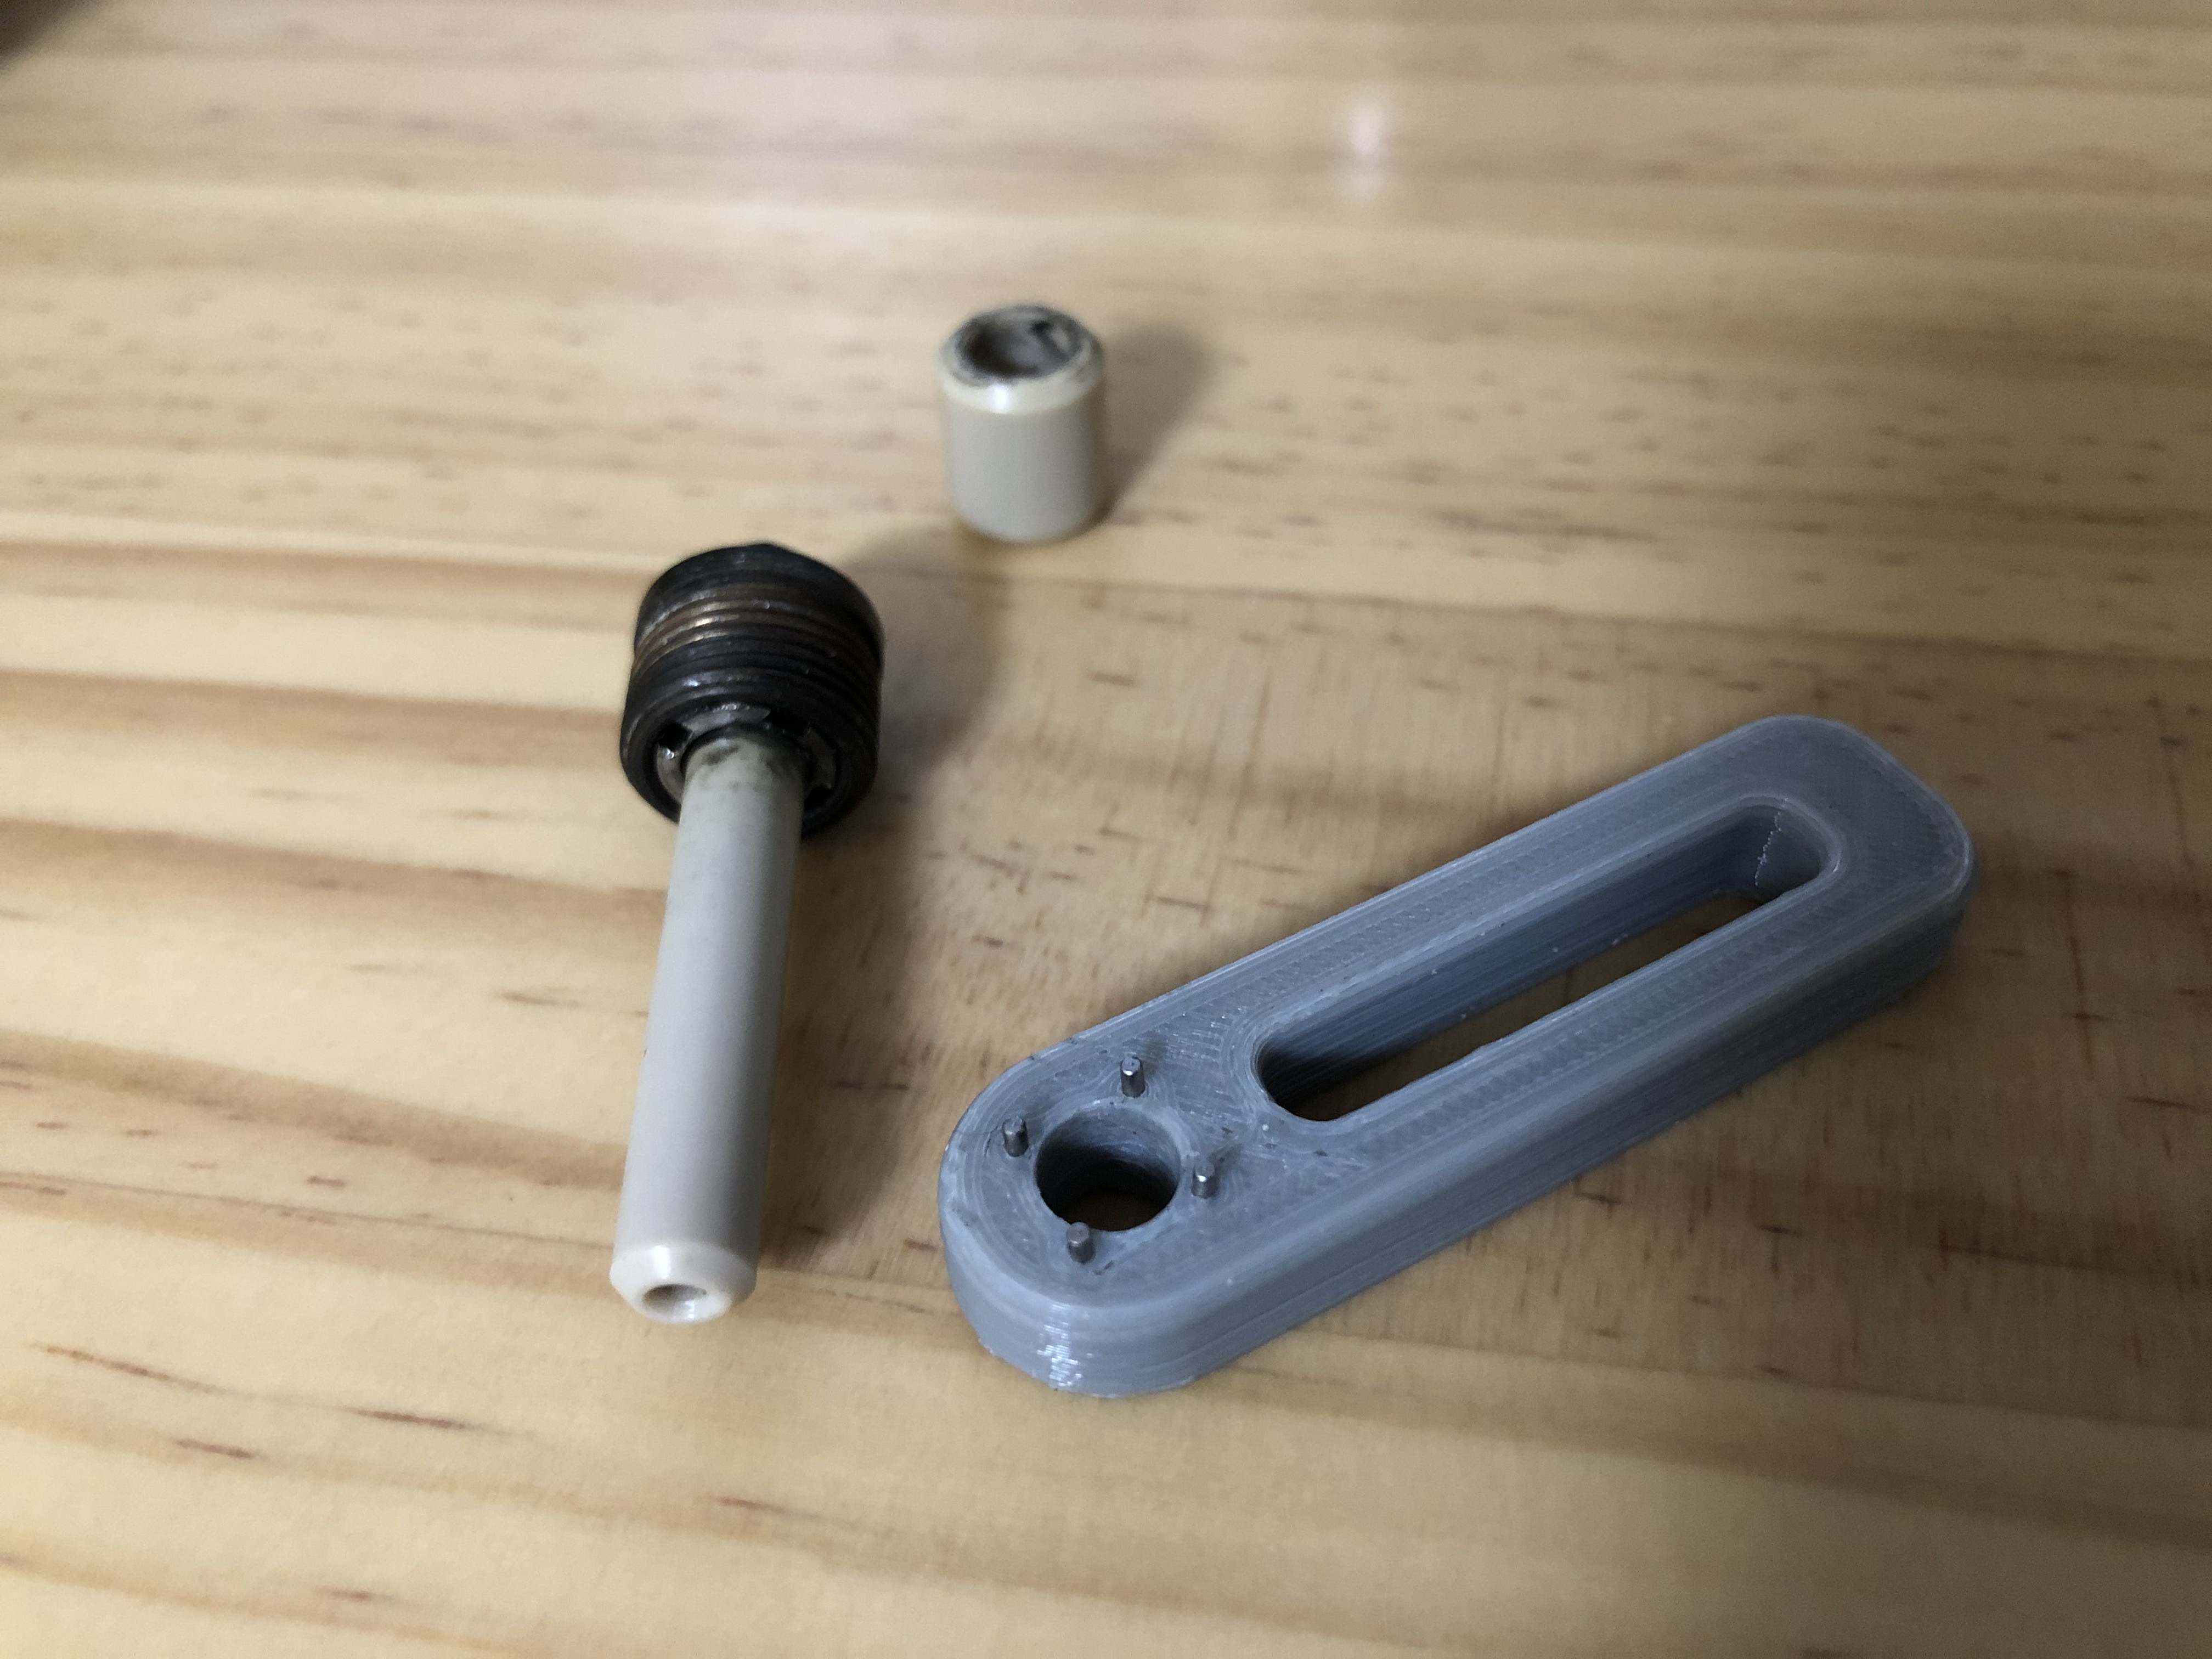
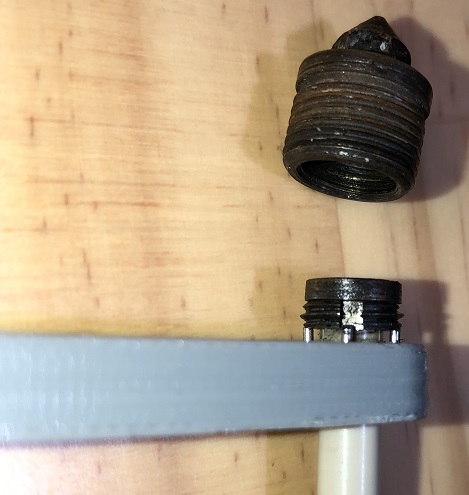
I also always expected these printers would require some tweaking, fabrication, and fixing. Making new nozzles would be part of the fun for me to keep it going. I understand the disappointment though. I’d be more disappointed if I bought one off of Amazon, paid full price, and then Zeepro went silent and stopped selling cartridges, parts, and providing support without a single word. In that case, it would have been an exceptionally raw deal indeed. My guess is they didn’t sell that many through retailers, so the set of truly disgruntled customers is small.

I guess everyone is so calm because we all felt it was inevitable :slight_smile:
I dug out the box that the heated bed came in last week (July 7th delivery) and I noticed there was a phone number in the return address. I called the number and the person that answered said he no longer worked for the company, but will try and get in contact with them and find out why they have not responded. We will see what transpires :smile:

Do you know what the name of the plastic looking piece sticking out of the nozzle is called? It’s a long shot but I want to scour alibaba to see if the people that manufactured the nozzle for zeepro tried to also sell them wholesale afterwards. There must be certain specs that the nozzle needs, can anyone share them with me? I promise to share anything I find.

**I also posted this on the kickstarter but you guys might not know better:

I really hope we can find an easy way to use other parts or to find who manufactured their nozzles and see if we can get some made for us. The nozzle ‘jacket’ or plastic looking piece that is sticking out, is this something any other printer uses? I wonder if we could find a tool to remove it (it has 4 small holes and looks to be threaded in), it might be a lot easier to unclog the nozzles if we could remove it. I’ve seen tools that would work to remove something like the threaded insert but they were much bigger (for bike repair), I wish I knew what it was called so I could begin my search.

I believe its the material is “peek”. (Dont quote me on that)

I can see about drawing up some cad drawings of the parts this weekend.

Not sure whats going on. My printer has been working great for months, but in the last 72 hours its gone to shit and cant print.

I also had the problem with a clogged nozzle but could solve it:

( Maybe it also works without unscrewing the nut - #3 )

1.) Unscrew the heater block from your Zeepro - and don’t loose the brown sleeve which is on the brown extruder sleeve :stuck_out_tongue_winking_eye:
2.) unscrew the brass nozzle from the heater block
3.) unscrew the flat nut (the one with the 4 square holes): it’s hard but I successfully did it with the two edges of a small electronic plier ( that one: http://www.boersch-werkzeuge.de/KNIPEX-Elektronik-Seitenschneider-Super-Knips)
4.) take a 2,2mm twist drill and remove all filament deposits from the internal channel
5.) if you have a 0,4mm drill at home also gently drill the nozzle itself
6.) remove all debrits from drilling and look into the noozle from the brown plastic side: does shine light through the tiny hole at the top? yes -> reassemble it!

At my ZIM a small part of the white Teflon tube which is located in the brown PEEK has slightly blocked my nozzle: after re-drilling it everything was fine again! :innocent:

((( I’m still wondering how long this forum will stay online as it seems Zeepro is dead… )))

1 Like

long story short, I took apart the nozzle today to clean it, just want to share some picture with you guys.

The assembly…

This paint & epoxy remover seems to work pretty well getting the PLA soft.

followed martinking’s instruction using a small drill to get the hole to open up again


it seems like it is best to use hand and slowly twist in the drill, so you don’t damage the nozzle…

Btw, I broke one of the heater block they are quite easy to get un-threaded so becareful.

Thanks Winston, good info.

Yep, I spent about 30 mins one night trying to cleanly thread a nozzle back into the heater block. It is almost easier to cross thread than it is to thread correctly. Lately I just remove the whole heater block and work on it, instead of just the nozzle.

Hey jpod, thanks for the comment. Ya. Aftet doing this three times today I found out it wasnt the nozzle, apparently my extruder gear have a hard time gripping the filament :confused:

More debugging tomorrow!

What tool did you use to unscrew the nozzle and peek?
I am still having big problems finding something that works well without damaging it.

how did you remove the plastic from the nozzle ?
thnks
Roberto

It is displayed and mentioned in the post: Paint and Epoxy Remover.
It probably contains Methylene Chloride which makes PLA softer.

Just noticed that Methylene Products have been banned in Europe :sob:

Thanks for the info, could you post some instructions / photos of how you removed the lockring on the nozzle? I went and bought some lock ring pliers at someone’s suggestion but I could get it to move. I would love to find something that grabs all 4 holes, I know if I can get it open cleaning it out would be the easier task.

Hey guys sorry for the late reply! Here is a picture of the tool I used

. By the way, do scew those thing in tightly other wise u will get plastic dripping over your heating block!! I cought it earily were able to recover …

I am not sure if there are 4 hole grabbing, I do know if you use the heating block to heat up the plastic it would be much easier to unscrew!
p.s. channellock 927 8-inch retaining ring plier is the name.

I made this;


IMG_6406

Please refer following link if you are interested;
https://www.thingiverse.com/thing:4542658/files

1 Like

Can you tell us how you made it. I see that it takes the nozzle apart, what are those pins?

Also, are those new teflon tubes? Where did you get them?

I have a few zeepros that I would want to make this for.

THANKS

Wrench is printed by PLA, infill 90%.
Inserted 4 piano-wire which are 1mm diameter.

Seems I confuse you sorry.
Parts of nozzle in that picture are not spare.
I am also trying to find spare nozzle but I can’t.
Seems no items anymore.

Very nice wrench design @SuFu. Once you take this apart, can it be cleaned with a solvent? Did you need to warm it up first or just open it with force?

I have a set of these pliers which are really only handy for things like this. Fortunately I’ve never had to take one apart yet, but I do have one that’s completely clogged in a baggie.

Thank you for comment.
I put nozzle into small bottle of Acetone a few weeks (maybe too much) after take this apart.
Acetone does not solve PLA completely but leftover inside nozzle become softer, easier to clean.
I think it was difficult to take this apart at first time, but succeeded after soaked with acetone.
I apply black-grease (molybdenum) on thread a bit and assembled, for easier disassemble next time.

By the way, to avoid clogging, someone said that it is good to push filament in and immediately pull it out whenever you finished printing.
like following, extrude 50mm and retract 150mm immediately.
G1 E50 F200
G1 E-150 F1000

I set this kind of command like following.

whole of script is following;
M1200
G90
M83
T0
M1200
G92 E0
G1 E50 F200
G1 E-150 F1000
G4 S10
M1201
M82

1 Like

To unclog, I’ve always used the method where you heat up the nozzle, then retract the filament first, remove filament tube, and jam a piece of piano wire (spring steel) down in the nozzle to force the tiny blockage out. The wire is approx 1.5mm or so, just to force the PLA through. I always thought it was created by dust or particles that turn the PLA into a little chunk which is not easy to pass without much force. I’m not sure if retracting every time when done with the print would solve that; wouldn’t there still be filament in the nozzle?