Printing and Calibration

Hi,
to improve print results I started to test print some calibration models.
First is a 20mm cube.

The result is 19,5x19,8x20,14.
That does not sound much but it looks totally wrong and not like cube. The height is off. So its more like a rectangular than cube.

X and Y difference is something with hardware. I will check all belt tensions.

But what about Z?
What Slicer setting do I have to modify to get a correct dimension?

Hey 3D, my printer prints slightly larger with the 1cm cube prints; however, similar to your print my z axis is always larger than the x and y. I know that tweaking (0.5 increment) the extrusion multiplier can change the dimensions, but x y and z are usually tied together for my machine.
How does your cube look? can you take a quick snap of it and post it here?

I tried a 20mm cube using the original Zeepro software (fast profile) and OctoPrint printing a simply3d slice of the same model with a custom “fast” profile. The results were Zeepro slicer 19.9x19.8x20.0 and simplify3d 19.9x20.0x20.0. One funny thing is the simplify3d/octopi print looked much better than the stock Zeepro print. The walls of the cube at the corners were not as smooth on Zeepro, and there were little glitches in the walls with Zeepro than didn’t appear in the OctoPrint version. Not sure why that would be, but I do know the retraction on Zeepro appears to be more aggressive than my simplify3d profile.

I have done some more calibration prints.
The visual slightly oval form for a circle is now gone. But I can still measure a difference of 0.1mm per 20mm between x and y.
I guess this is as good as it gets.

Please give some tips for improving the results.

Here is what I have done:

  • re-doing all belt tensions
  • checking bed leveling
  • reducing extruder multiplier to 0.92
  • reducing temperature for >layer 2

This is the fitting test: http://www.thingiverse.com/thing:342198
With some force it fits and looks nice. I will have to play with perimeter settings a bit more.

This is retraction test with 0.1mm retraction. A little stringing, so I have to try a few more mm retraction.

This is some calibration test but I forgot to disable support, so ignore bridging and overhang:

The torture test is running right now and I will upload a picture once its finished.

This is a lego piece. A few tests at once.

And finally the cube:

And the stress test result. It broke off the left overhang after some time but other than that it seems to look good.

Man, congrats! I say they are looking great. My overhangs are also quite hairy, prob not enough fan on the right location. But hey it is working for most of the parts, I acquired another salvaged Zim, might do some tweaking and more mod on that one after it comes online.

I changed filament color and brand and printed another cube.
9,85x9,85x10,1mm
Calibration is not easy.

Meanwhile I tinkered a little bit more with belt tension and settings and reached a perfect X and Y match.
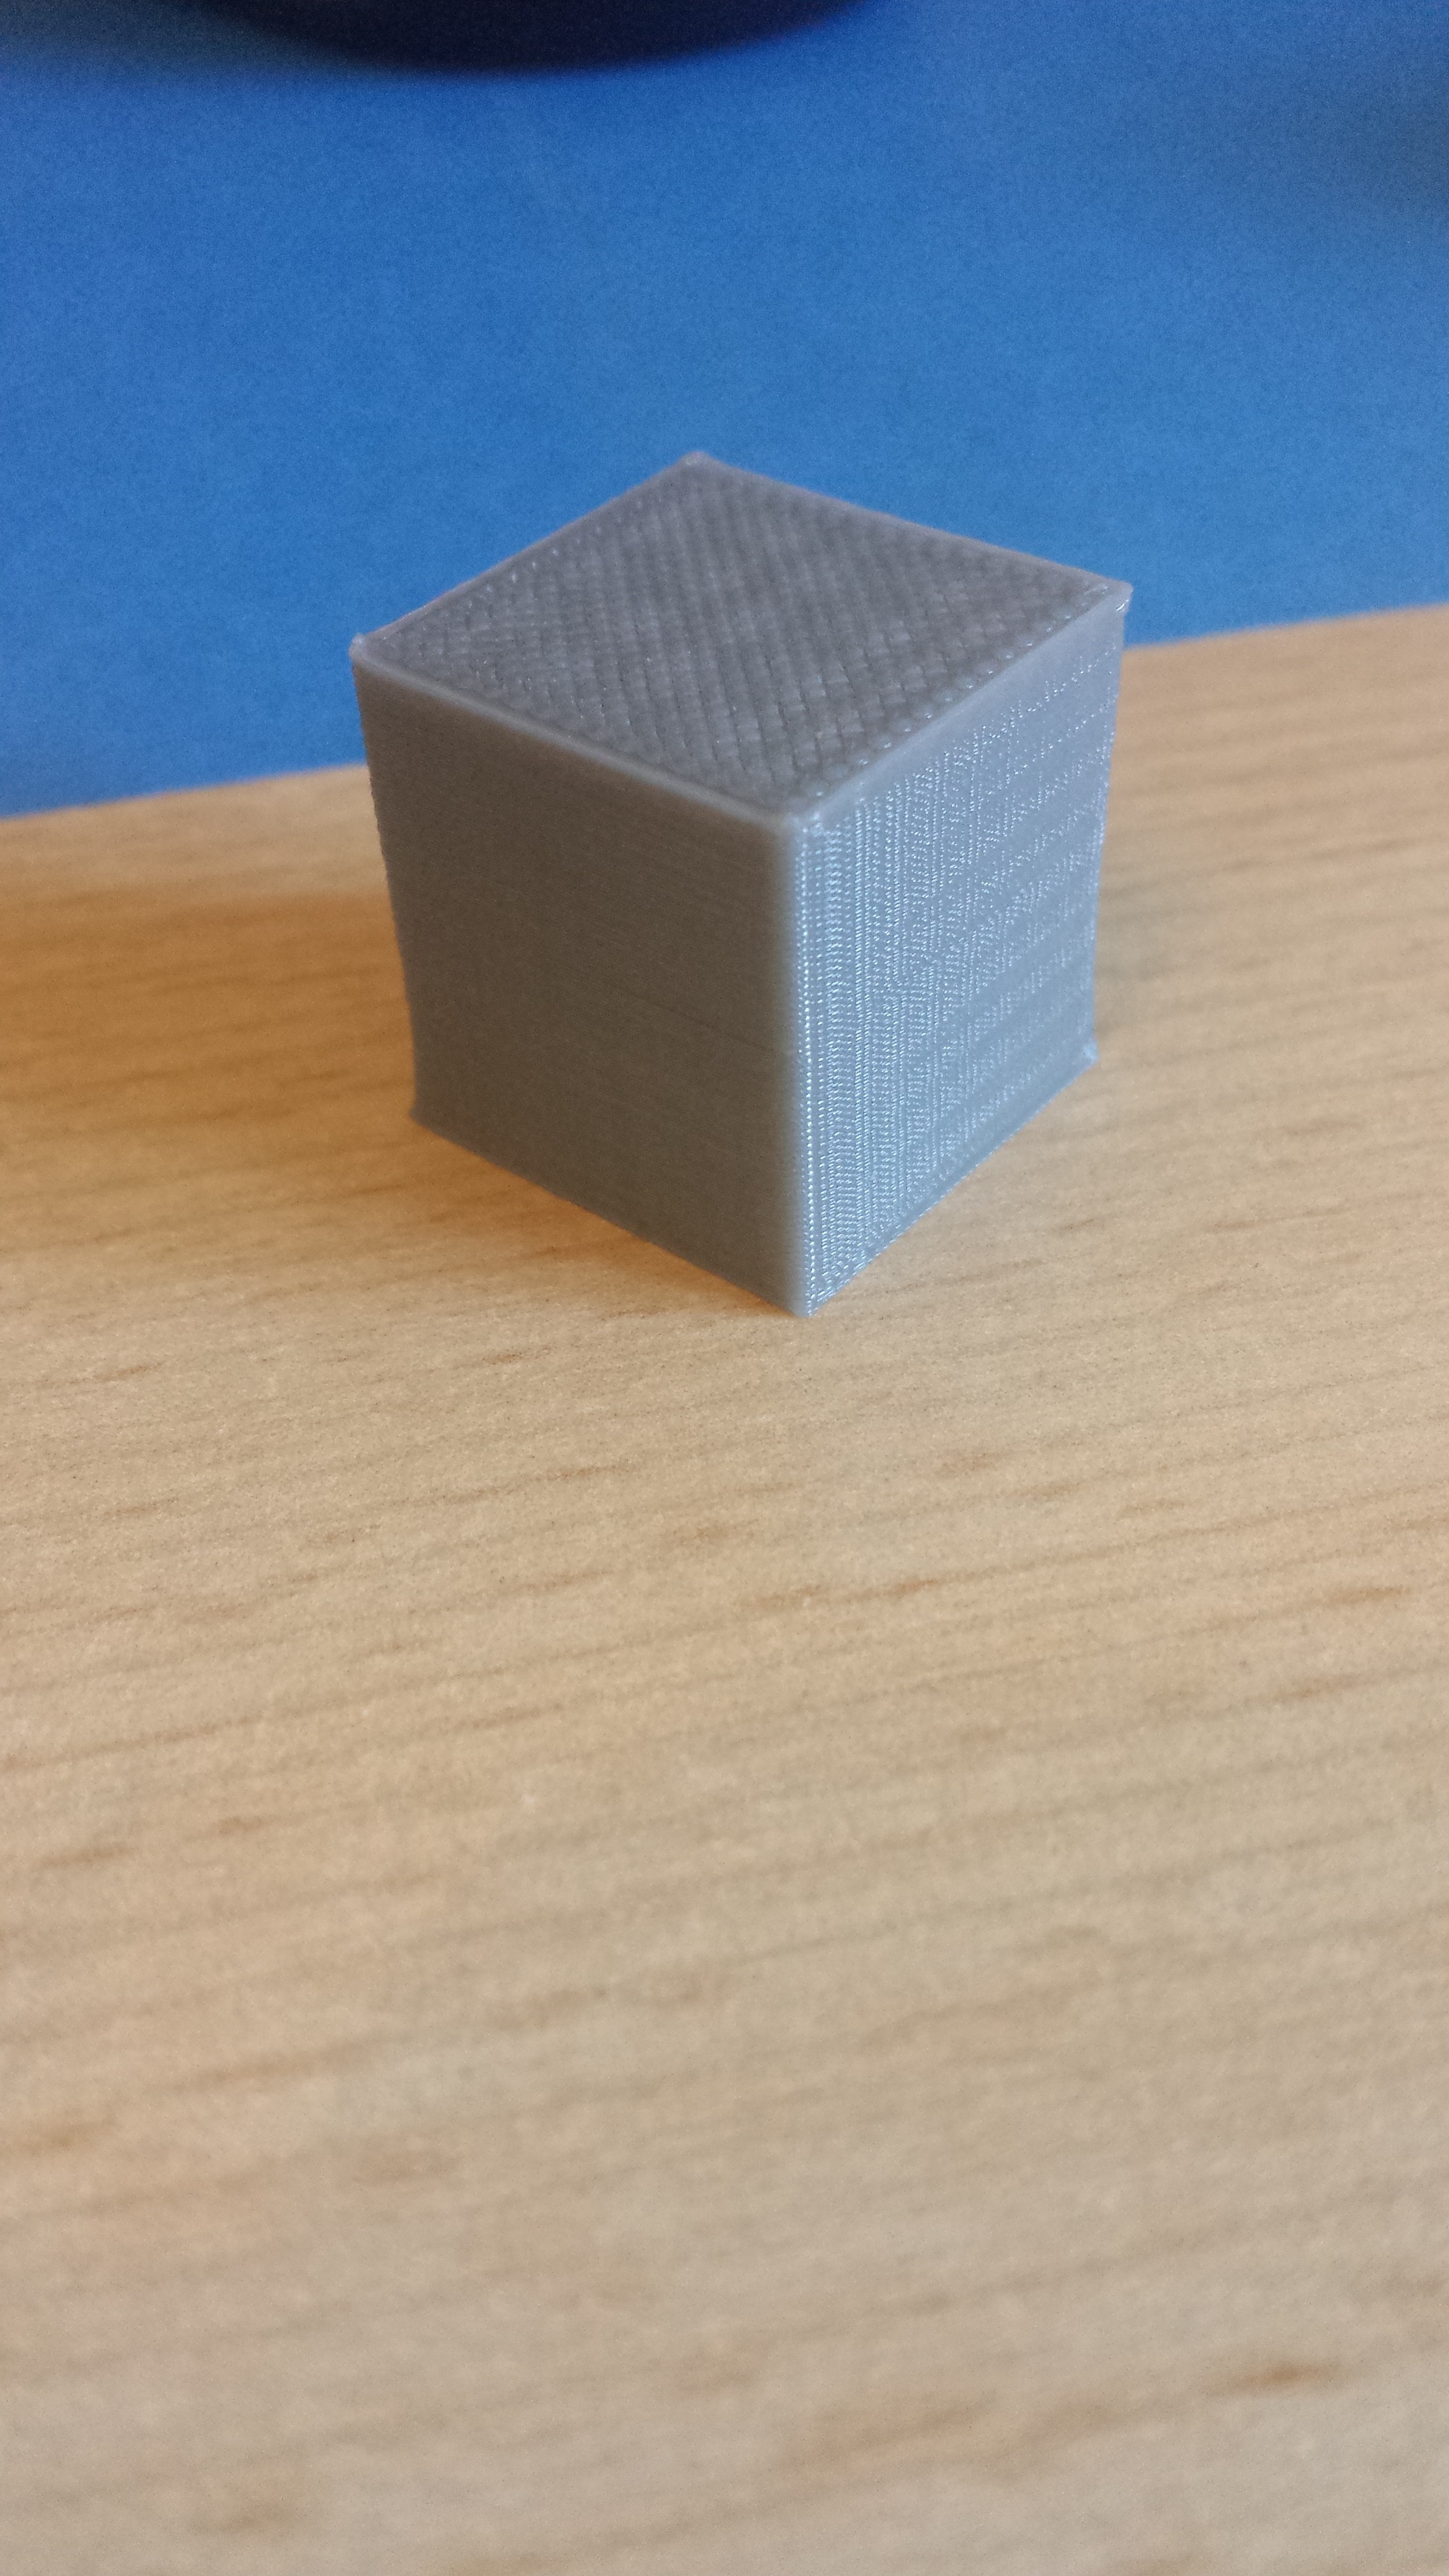
But Z is still off by 2.5mm regardless what I try.

So I found an article that describes the calibration process by M92 command.
With it you can calibrate X,Y,Z and extruder lengths from expected value to reality value.

Another solution could be to reduce Z dimension for every object accordingly.

How do you calibrate your printer?

Here is the excerpt for Z Axis:
Calculating and inputting new value for the Z-axis: we use our formula to solve for our Z-axis motor.
Desired movement = 100
Actual movement = 100.5

Current M92 value = 2044
Input measurement/Actual measurement * Old M92 value = New M92 value 100/100.3 = .995024876
New M92 value = 995024876* 2044 = 2033.83 Now

Let’s input that New M92 value: in G:code type your New M92 value like so :
“M92 Z2037.89” then press enter.
In G:code type: “M500” then press enter. (this saves your changed setting).
In Gcode type : “M501” Now scroll up in your log and make sure your new M92 Value has been saved.