Print paths reflected

When printing something larger or multiple parts that are near the print area border, the print paths are reflected.

The print I tried should be one rectangular piece. What happened is that every circle the print continued moved. So in the picture you see three rectangular shapes instead of one.
Here is a picture to better understand what I mean:

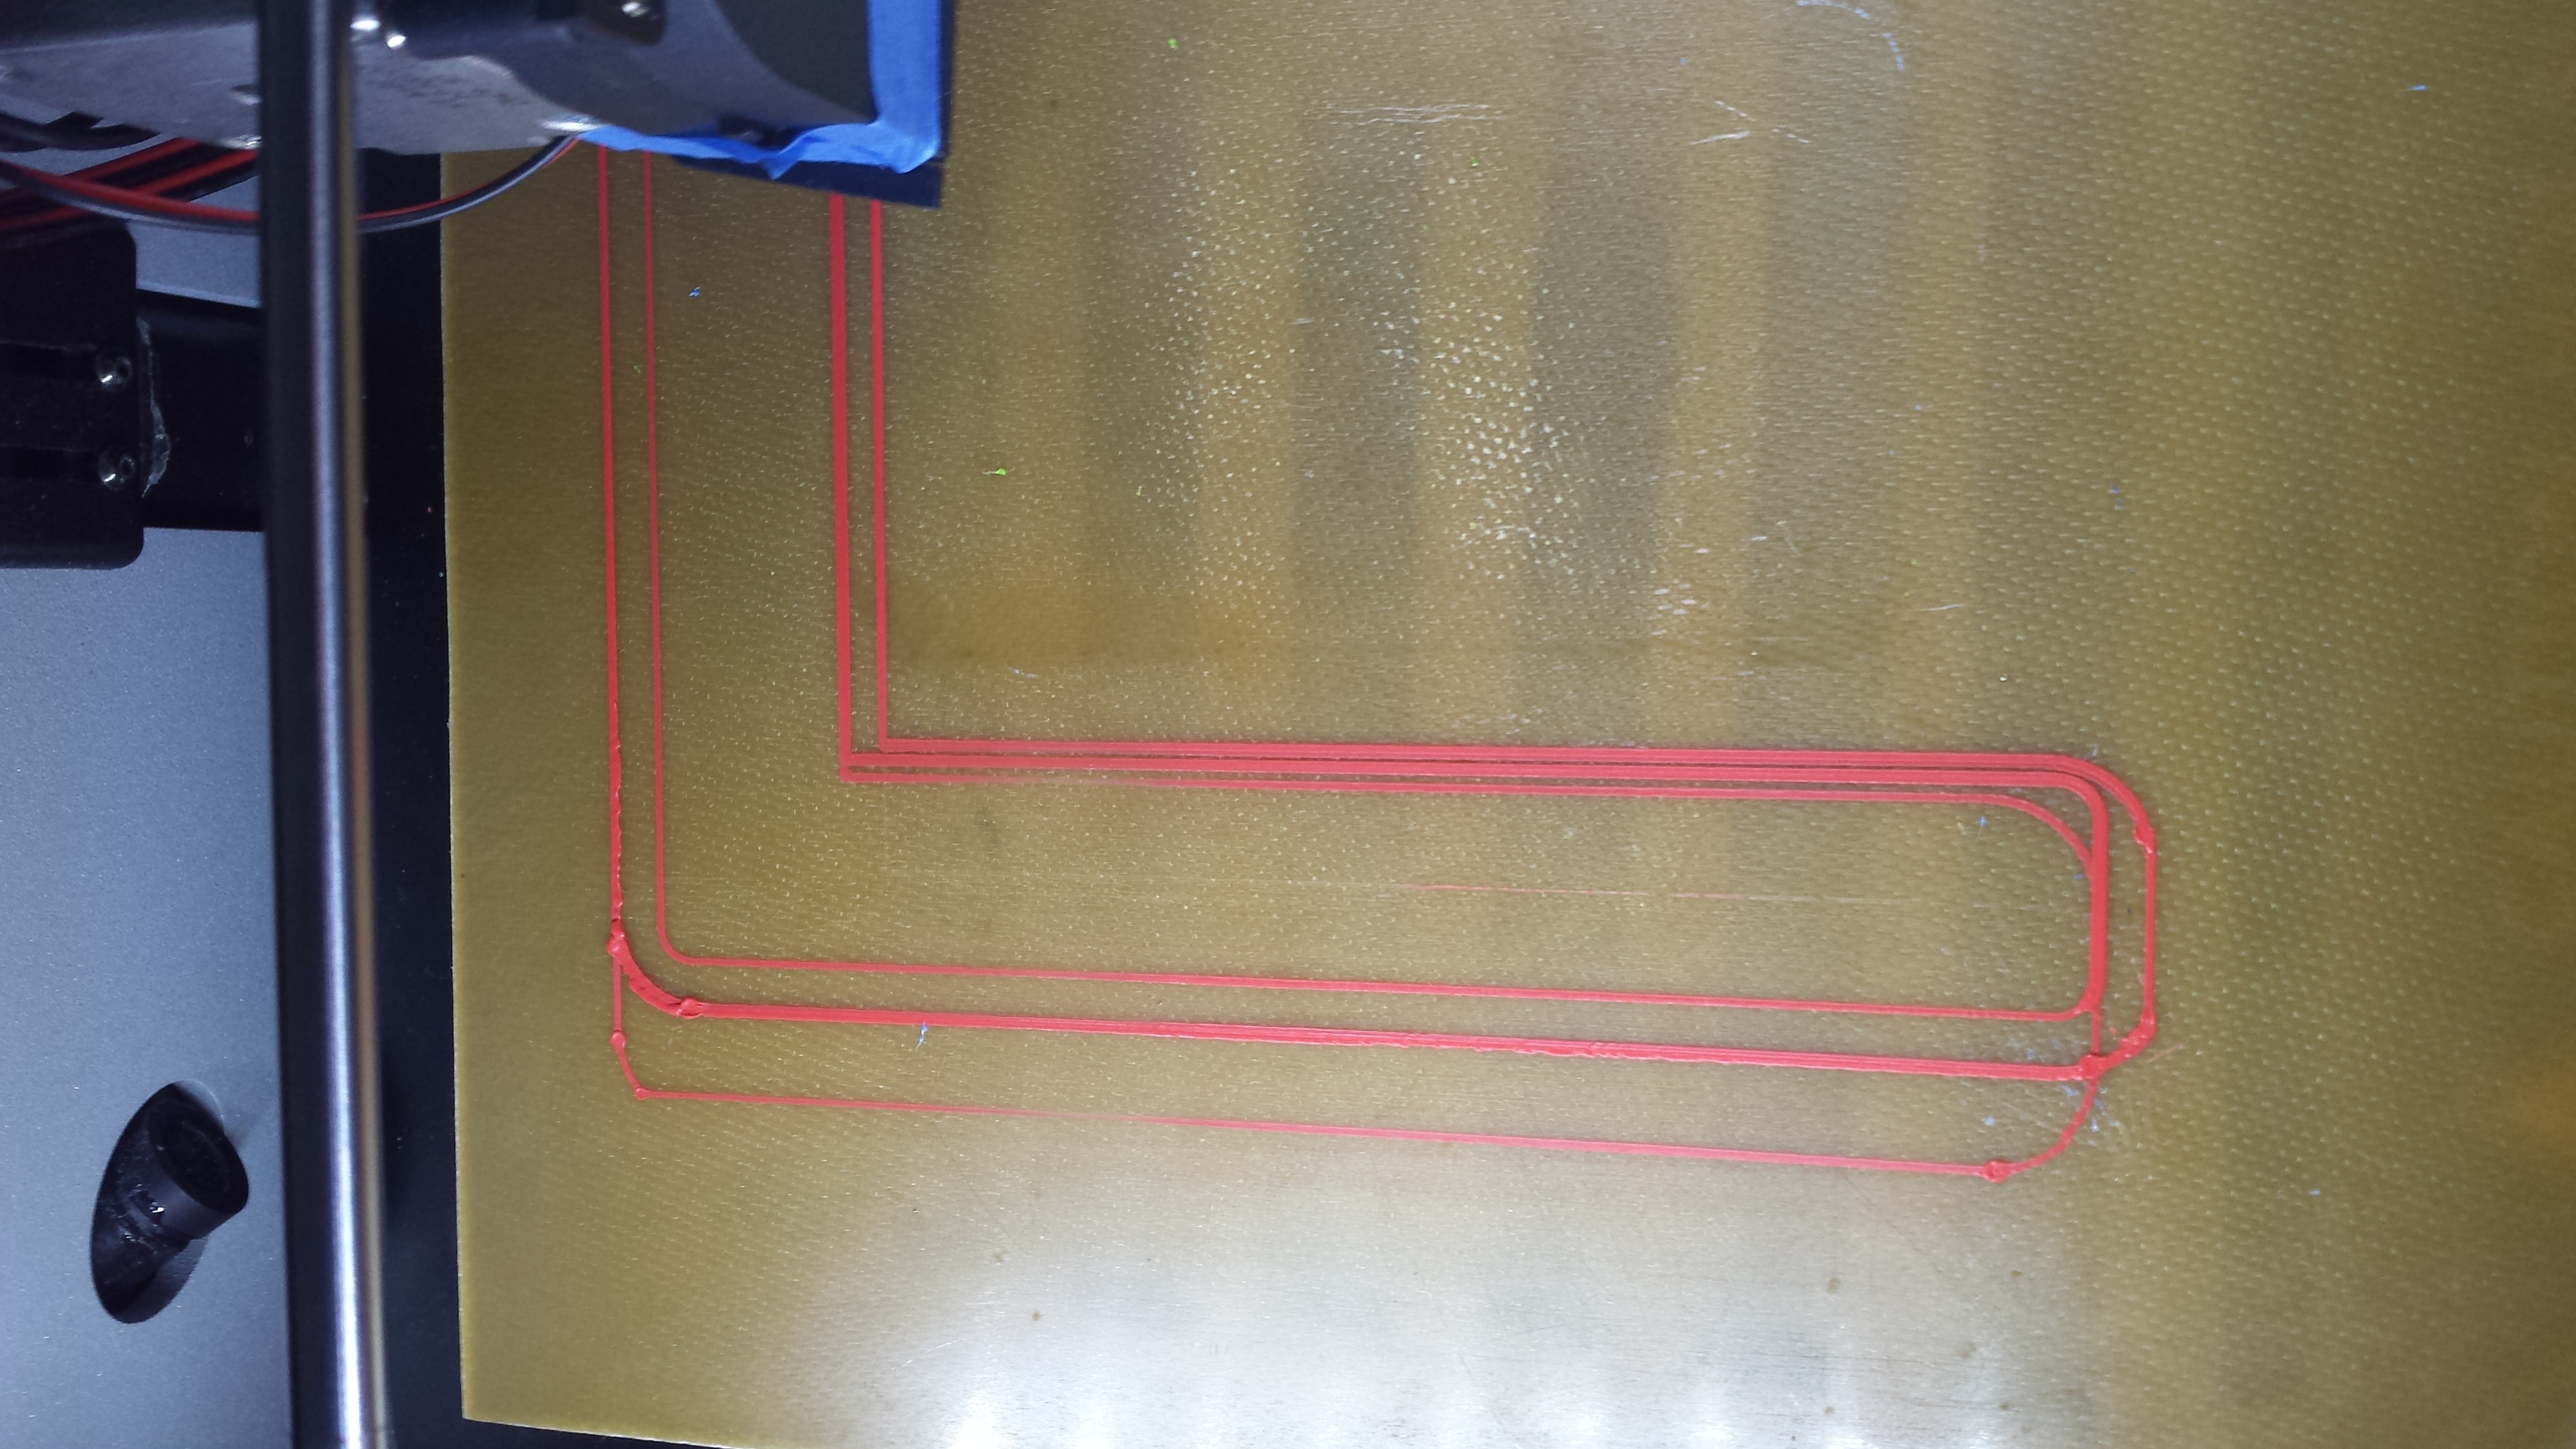
Furthermore you can see a few blobs along the line. This is where the print head stops for one second and then continues and without retraction makes this blob. This always happens during my skirt and less during the rest of the print but still it does happen.

My print bed area is set to 140x140x138 (X/Y/Z).
It happened with Zeepro Software and Slicer and now with Octoprint. So it seems some hardware thing, or not?

Anyone know where this comes from?

My thoughts for reflection it happened to me once because the bed was moving one magnet broke as it was printing fixed it and it never happened again so you are right thinking its a hardware thing.

These are my retraction settings they work perfectly for me no hairs and no blobs:

  • retraction distance: 2mm
  • retraction vertical lift: 0.4mm
  • retraction speed: 40mm/s

usually in skirts you will have blobs because the printer is increasing the filament pressure to extrude thats the reason for skirts or the horizontal lines before the print in zeepro software after this the flow normalizes.
for the pausing i had it before but seriously can remember what i did till it went. Sorry…

Hope it helps

I ditched the magnets long ago and have a fixed connection on my printbed. Much more reliable.
So its not the printbed moving.

The first reflection I guess maybe is the X axxis touching the endstop. But the next print loop cannot touch it and the next either, as they both reflect more into X and Y.

Thanks for you retraction settings. I dont use that much distance and vertical not at all yet.

Could you share how you attached the printbed because i am making a new heatbed and i looking for ideas of fixing it.

I think it happens when one of the endstops is pressed during printing.
It seems that ZIM tries to compensate the axis and moves the zero.

Can also happen if you press one of the endstops in a regular print.

This occurs when the print area of the Zim is obstructed. The printer compensates for the diminished print area by putting filament in an alternate location on the bed. The most common cause of this is when one of the rails of the gantry slides out of it’s mount and makes contact with part of the printer body. If the obstruction is not obvious, turn off the printer, with the top cover removed and shift the print head by hand until you locate the cause of the obstruction.

It will hit the endstop once and then continue diminished and reflected in the next loop.
But what about the next two loops? They don’t hit the endstop any more.
There is not obstruction. Everything moves free.

But there seems to be some error for the print bed size or location of it. If the head moves completely to the endstop, it is the failsafe kicking in preventing hardware damage, that should not be hit anyways.
How can I compensate or change or repair the wrong location of printbed size X and Y?

@3dPrintEvangelist, you’re overthinking this. Unless there is some modification at play that I am unaware of, there is no issue with the print size. I’ve experienced this issue many times and consulted with Zeepro, when they were still alive, on it several times. Here is the issue, and why it occurs.

The printer expects a certain printable area. For arguments sake, lets say it’s 5.9" X 5.9". Before each print, the print head aligns itself on the X, Y and Z axis. With this information, the print head will move to the specified coordinates and begin the print. During the print, should the printhead become obstructed in any way, making it impossible for it to reach the designated coordinates, it will select coordinates from it’s diminished print are and begin laying down filament there.

The first thing you need to do is confirm that the print head is in fact correctly homing itself. That it is hitting the stop limit switches properly and reacting properly. If there is no problem there, I suggest you create a test print of 4 nickel size disks at the extents of the printable area. Watch the printer carefully and take note of any abnormalities.

I had 2 problems which caused about the same situation:

1st problem: the 140mm (or whatever it is exactly) is ok if you have a single extruder but when you want to print with the second nozzle over the paths of the first nozzle there the offset in X and Y does reduce the print area

2nd problems: I also had lost steps which caused a massive (about 5mm or so) layer offset as the nozzle had been blocked at another printed part: aligned both nozzles better (and at the end removed the left nozzle completely)

I had posted a picture and explanation in some other thread. Can’t find it quickly though.
But in short here is what I did:

  • I am using the heatbed and the material is so brittle that nothing holds there without breaking loose
  • so I took a thin metal sheet 1mm thickness and drilled three holes for the screws
  • next I inserted three metal sleeve nuts 4x14mm
  • next glued the metal sheet completely with high temperature resitant glue to the heatbed
  • next used threaded bolts 4x20mm with inbus and a washer with the original spring
  • I use a special heatbed surface so that the print automatically falls off when cooled and has very good adhesion when warm, to compensate that the printbed cannot be removed anymore

Now I can adjust the bed with inbus before or during print very easy. But its seldom necessary anymore.

I found a calibration stl on thingiverse with 4 nickel size disks in the corners.
Now I can see that in X axxis the left endstop is hit quite often and the right endstop is not.
Same for Y axxis.
Seems like this is the error.
So there is some internal error for the print area, too much left and back.

I would have thought that with the initial command (where the head moves to the outer most left and front and height of printbed) the printer would know the correct alignment of the print area.

But maybe there is only some offset needed. I am using the right nozzle of my dualhead printer. A missing offset could explain the “too much left” but what about the too much back?

Is there some way to calibrate the print area again? Hardware or Software?

As for the one-second hesitation, that seems to be a common problem when upgrading to OctoPI. @jpod discovered a solution by adjusting a buffer size or block size or something in the Marlin firmware for the controller board. See the OctoPi thread for details, and a link to the modified firmware and instructions for installing it.

Hi Tymcode!
Could it be that you wrote in the wrong thread!?
This one is about the path reflections, jpods modification of the Buffer-size was made to correct the unwanted stops in mid-print when using octoprint. Just a guess?

No, I was responding to a part of the first post in the thread, where 3dPrintEvangelist talks about blobs caused by a one-second pause.

@Tymcode: Okay. I must have overlooked that part. :confounded:

this also happened to me while i was trying to print a 15 cm tall phone case for my Z3… it is hitting the end stop switches like other have said :smile:

I am still experimenting with settings, especially with offset, but so far I have not found any improvement.
First I want to try an update of the firmware to get rid of the little pauses and hopefully the total print stops (for no reason at all). Then I am going to try calibrating again with software settings.

Beware of the Z endstop. I printed something once, with 145mm Z build volume and the endstop did not stop the print, so that the head collided and fused with the printed object, with the result of nearly destroying the printer before I was able to cut power. So now I do not print more than 140mm in Z axxis.
I still hope there is a solution so that the X and Y axxis build volume is not heavily reduced as well.

Have you tried to set M540 S1 or M120 at the beginning of the G-Code? These commands should stop the Printing when an endstop is hit. But you´ll have to try if they work with our Zim

I have not tried the codes yet.

But I tested a lot more but still don’t get any better results.
Newest firmware, several offsets, checked and rechecked hardware and other tests did not improve anything.
The only working solution is to use a massively reduced build volume: 135x135 works.
But anything larger hits the left and back endstop.

I do not understand why this seems only my problem. To me it seems unavoidable.