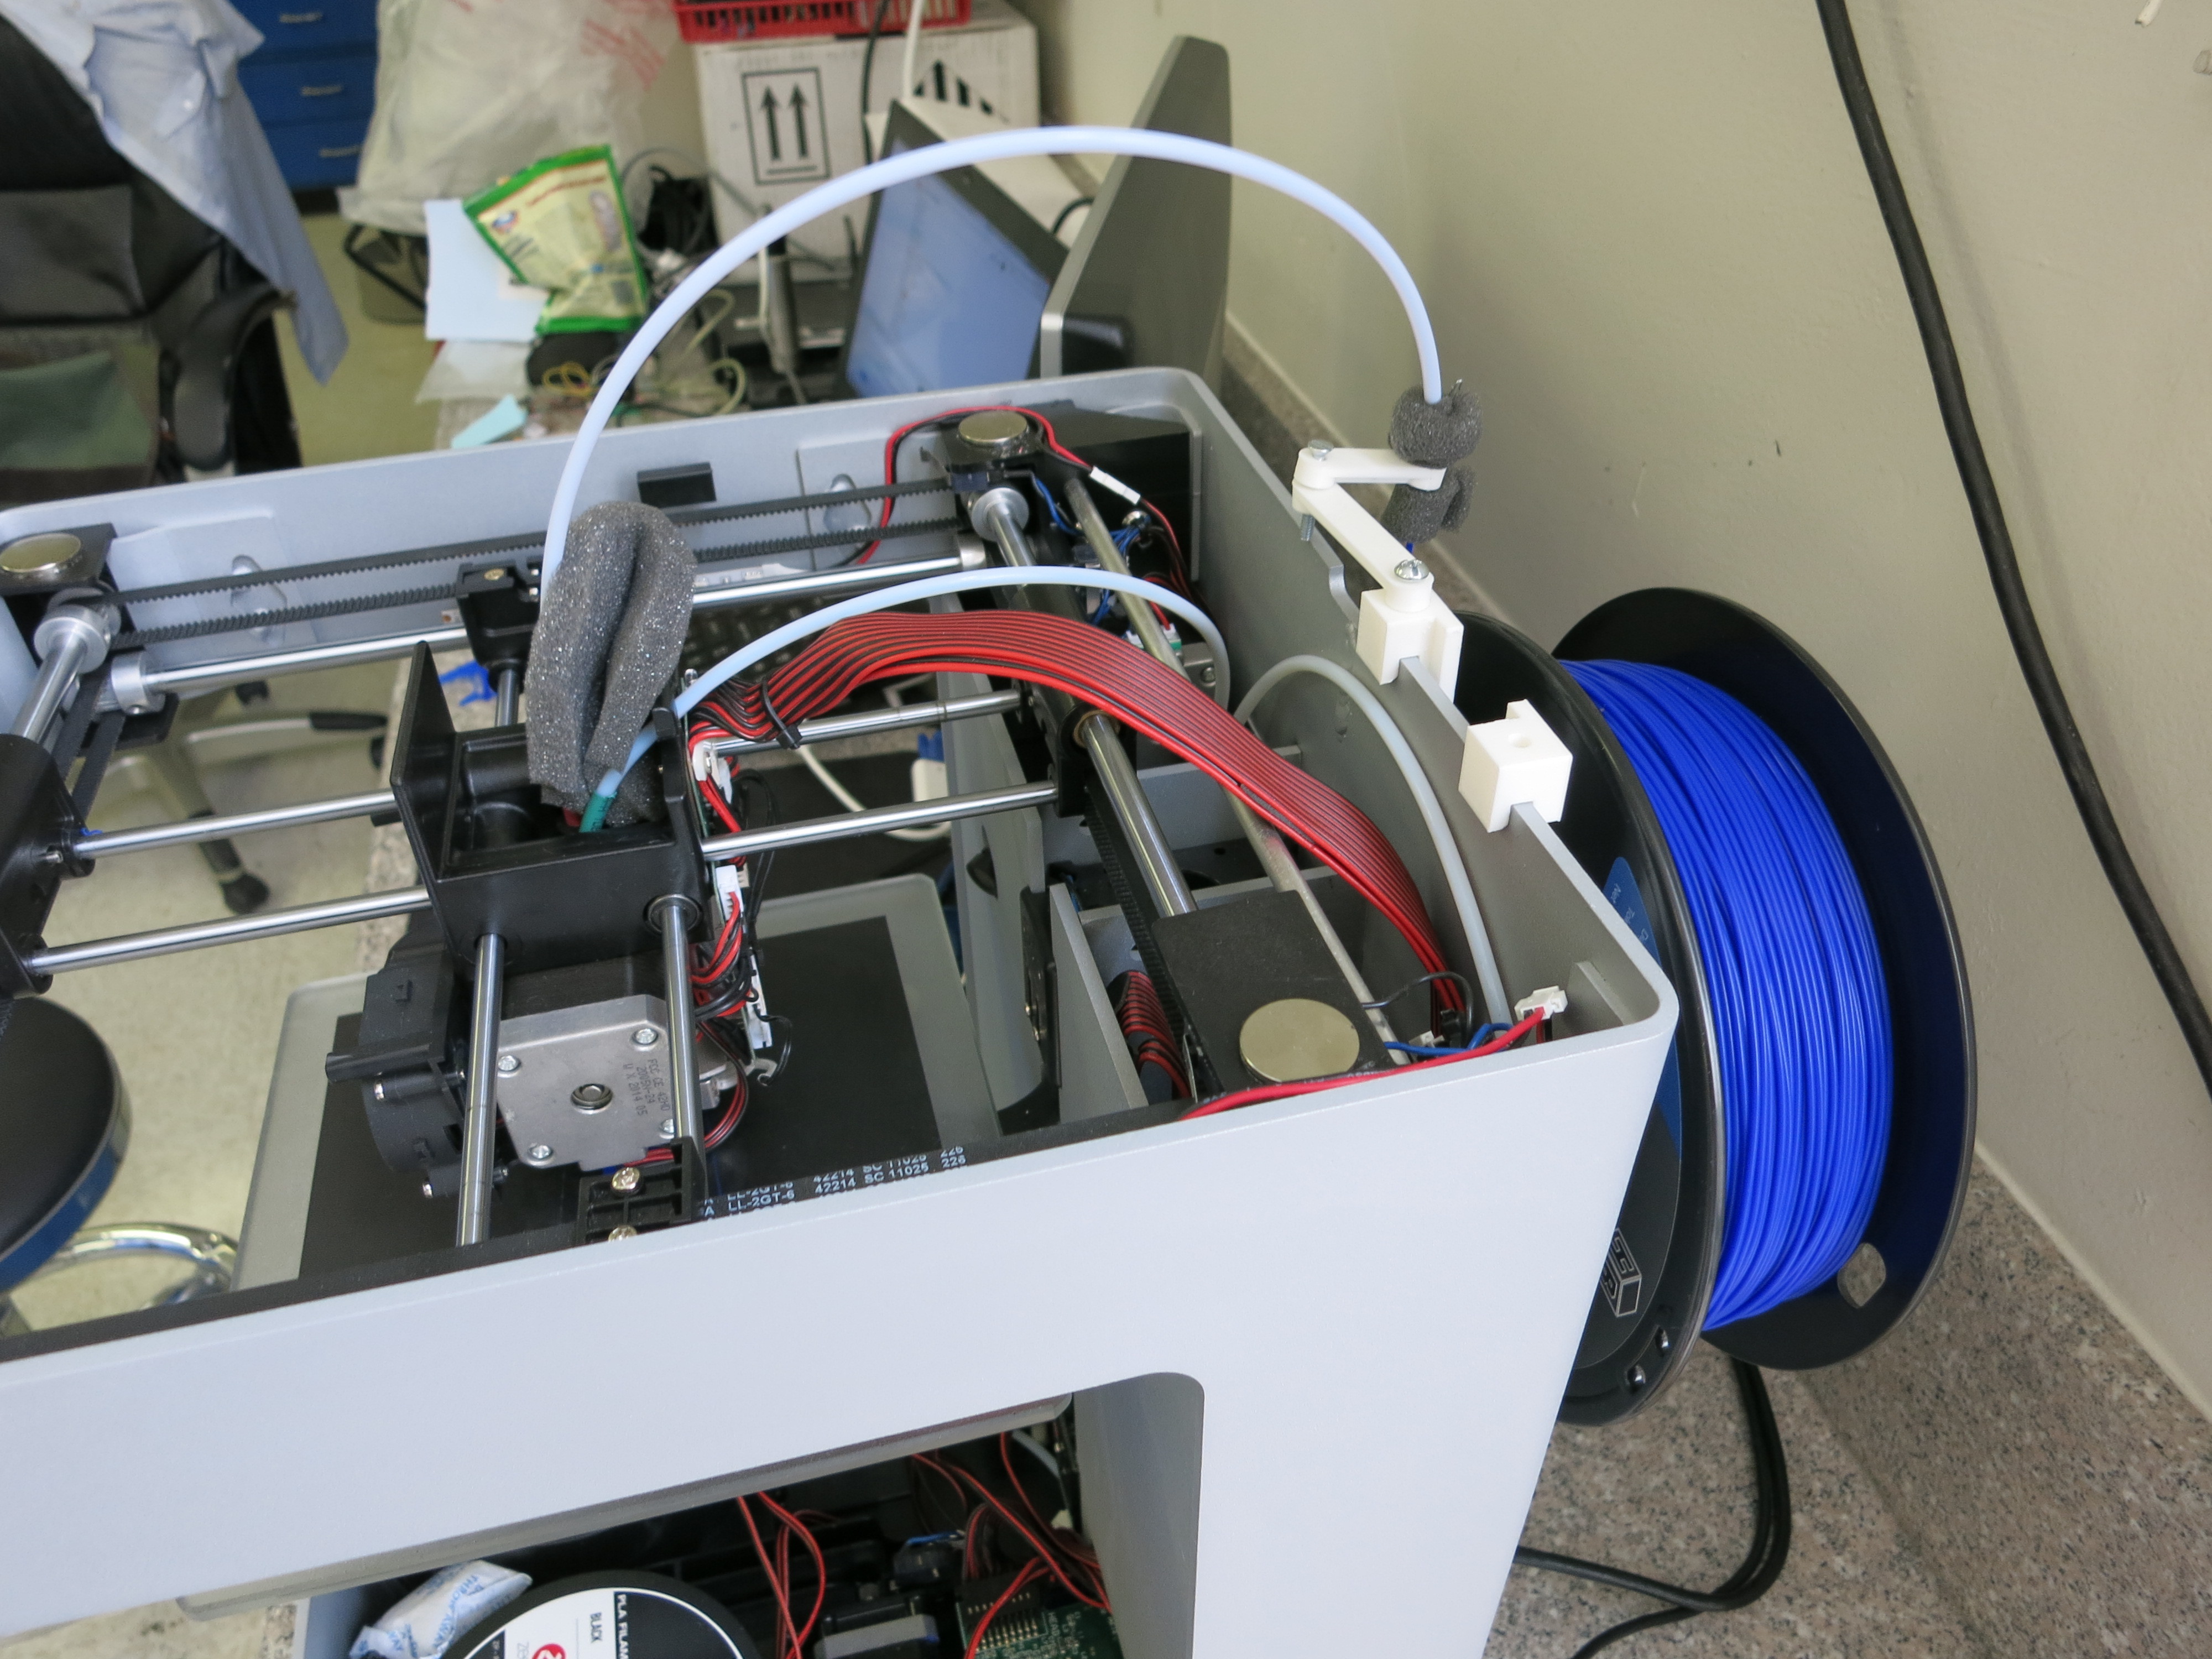
I had been asked by one of the members here to post my settings, and figured id show off some of my prints while I’m at.
I copied my settings into slic3r and had it post a config file. But i only changed the settings in slic3r that there was access to change inside of zim.
settings-
generated by Slic3r 1.2.9 on Sat Jul 18 12:08:12 2015
avoid_crossing_perimeters = 0
bed_shape = 0x0,200x0,200x200,0x200
bed_temperature = 0
before_layer_gcode =
bottom_solid_layers = 3
bridge_acceleration = 0
bridge_fan_speed = 100
bridge_flow_ratio = 1
bridge_speed = 60
brim_width = 0
complete_objects = 0
cooling = 0
default_acceleration = 0
disable_fan_first_layers = 3
dont_support_bridges = 1
duplicate_distance = 6
end_gcode = M104 S0 ; turn off temperature\nG28 X0 ; home X axis\nM84 ; disable motors\n
external_fill_pattern = rectilinear
external_perimeter_extrusion_width = 0
external_perimeter_speed = 50%
external_perimeters_first = 0
extra_perimeters = 1
extruder_clearance_height = 20
extruder_clearance_radius = 20
extruder_offset = 0x0
extrusion_axis = E
extrusion_multiplier = 1
extrusion_width = 0
fan_always_on = 0
fan_below_layer_time = 60
filament_colour = #FFFFFF
filament_diameter = 1.75
fill_angle = 45
fill_density = 30%
fill_pattern = honeycomb
first_layer_acceleration = 0
first_layer_bed_temperature = 0
first_layer_extrusion_width = 0
first_layer_height = 0.25
first_layer_speed = 40%
first_layer_temperature = 190
gap_fill_speed = 15
gcode_arcs = 0
gcode_comments = 0
gcode_flavor = reprap
infill_acceleration = 0
infill_every_layers = 1
infill_extruder = 1
infill_extrusion_width = 0
infill_first = 0
infill_only_where_needed = 0
infill_overlap = 0
infill_speed = 80
interface_shells = 0
layer_gcode =
layer_height = 0.15
max_fan_speed = 100
max_print_speed = 80
max_volumetric_speed = 0
min_fan_speed = 35
min_print_speed = 10
min_skirt_length = 10
notes =
nozzle_diameter = 0.35
octoprint_apikey =
octoprint_host =
only_retract_when_crossing_perimeters = 1
ooze_prevention = 0
output_filename_format = [input_filename_base].gcode
overhangs = 1
perimeter_acceleration = 0
perimeter_extruder = 1
perimeter_extrusion_width = 0
perimeter_speed = 40
perimeters = 3
post_process =
pressure_advance = 0
raft_layers = 0
resolution = 0
retract_before_travel = 2
retract_layer_change = 0
retract_length = 1
retract_length_toolchange = 10
retract_lift = 0
retract_restart_extra = 0
retract_restart_extra_toolchange = 0
retract_speed = 40
seam_position = random
skirt_distance = 5
skirt_height = 1
skirts = 1
slowdown_below_layer_time = 5
small_perimeter_speed = 75%
solid_infill_below_area = 0
solid_infill_every_layers = 0
solid_infill_extruder = 1
solid_infill_extrusion_width = 0
solid_infill_speed = 75%
spiral_vase = 0
standby_temperature_delta = -5
start_gcode = G28 ; home all axes\nG1 Z5 F5000 ; lift nozzle\n
support_material = 1
support_material_angle = 0
support_material_contact_distance = 0.2
support_material_enforce_layers = 0
support_material_extruder = 1
support_material_extrusion_width = 0
support_material_interface_extruder = 1
support_material_interface_layers = 3
support_material_interface_spacing = 0
support_material_interface_speed = 75%
support_material_pattern = rectilinear-grid
support_material_spacing = 2.5
support_material_speed = 100
support_material_threshold = 0
temperature = 180
thin_walls = 1
threads = 2
toolchange_gcode =
top_infill_extrusion_width = 0
top_solid_infill_speed = 50%
top_solid_layers = 3
travel_speed = 100
use_firmware_retraction = 0
use_relative_e_distances = 0
use_volumetric_e = 0
vibration_limit = 0
wipe = 0
xy_size_compensation = 0
z_offset = 0
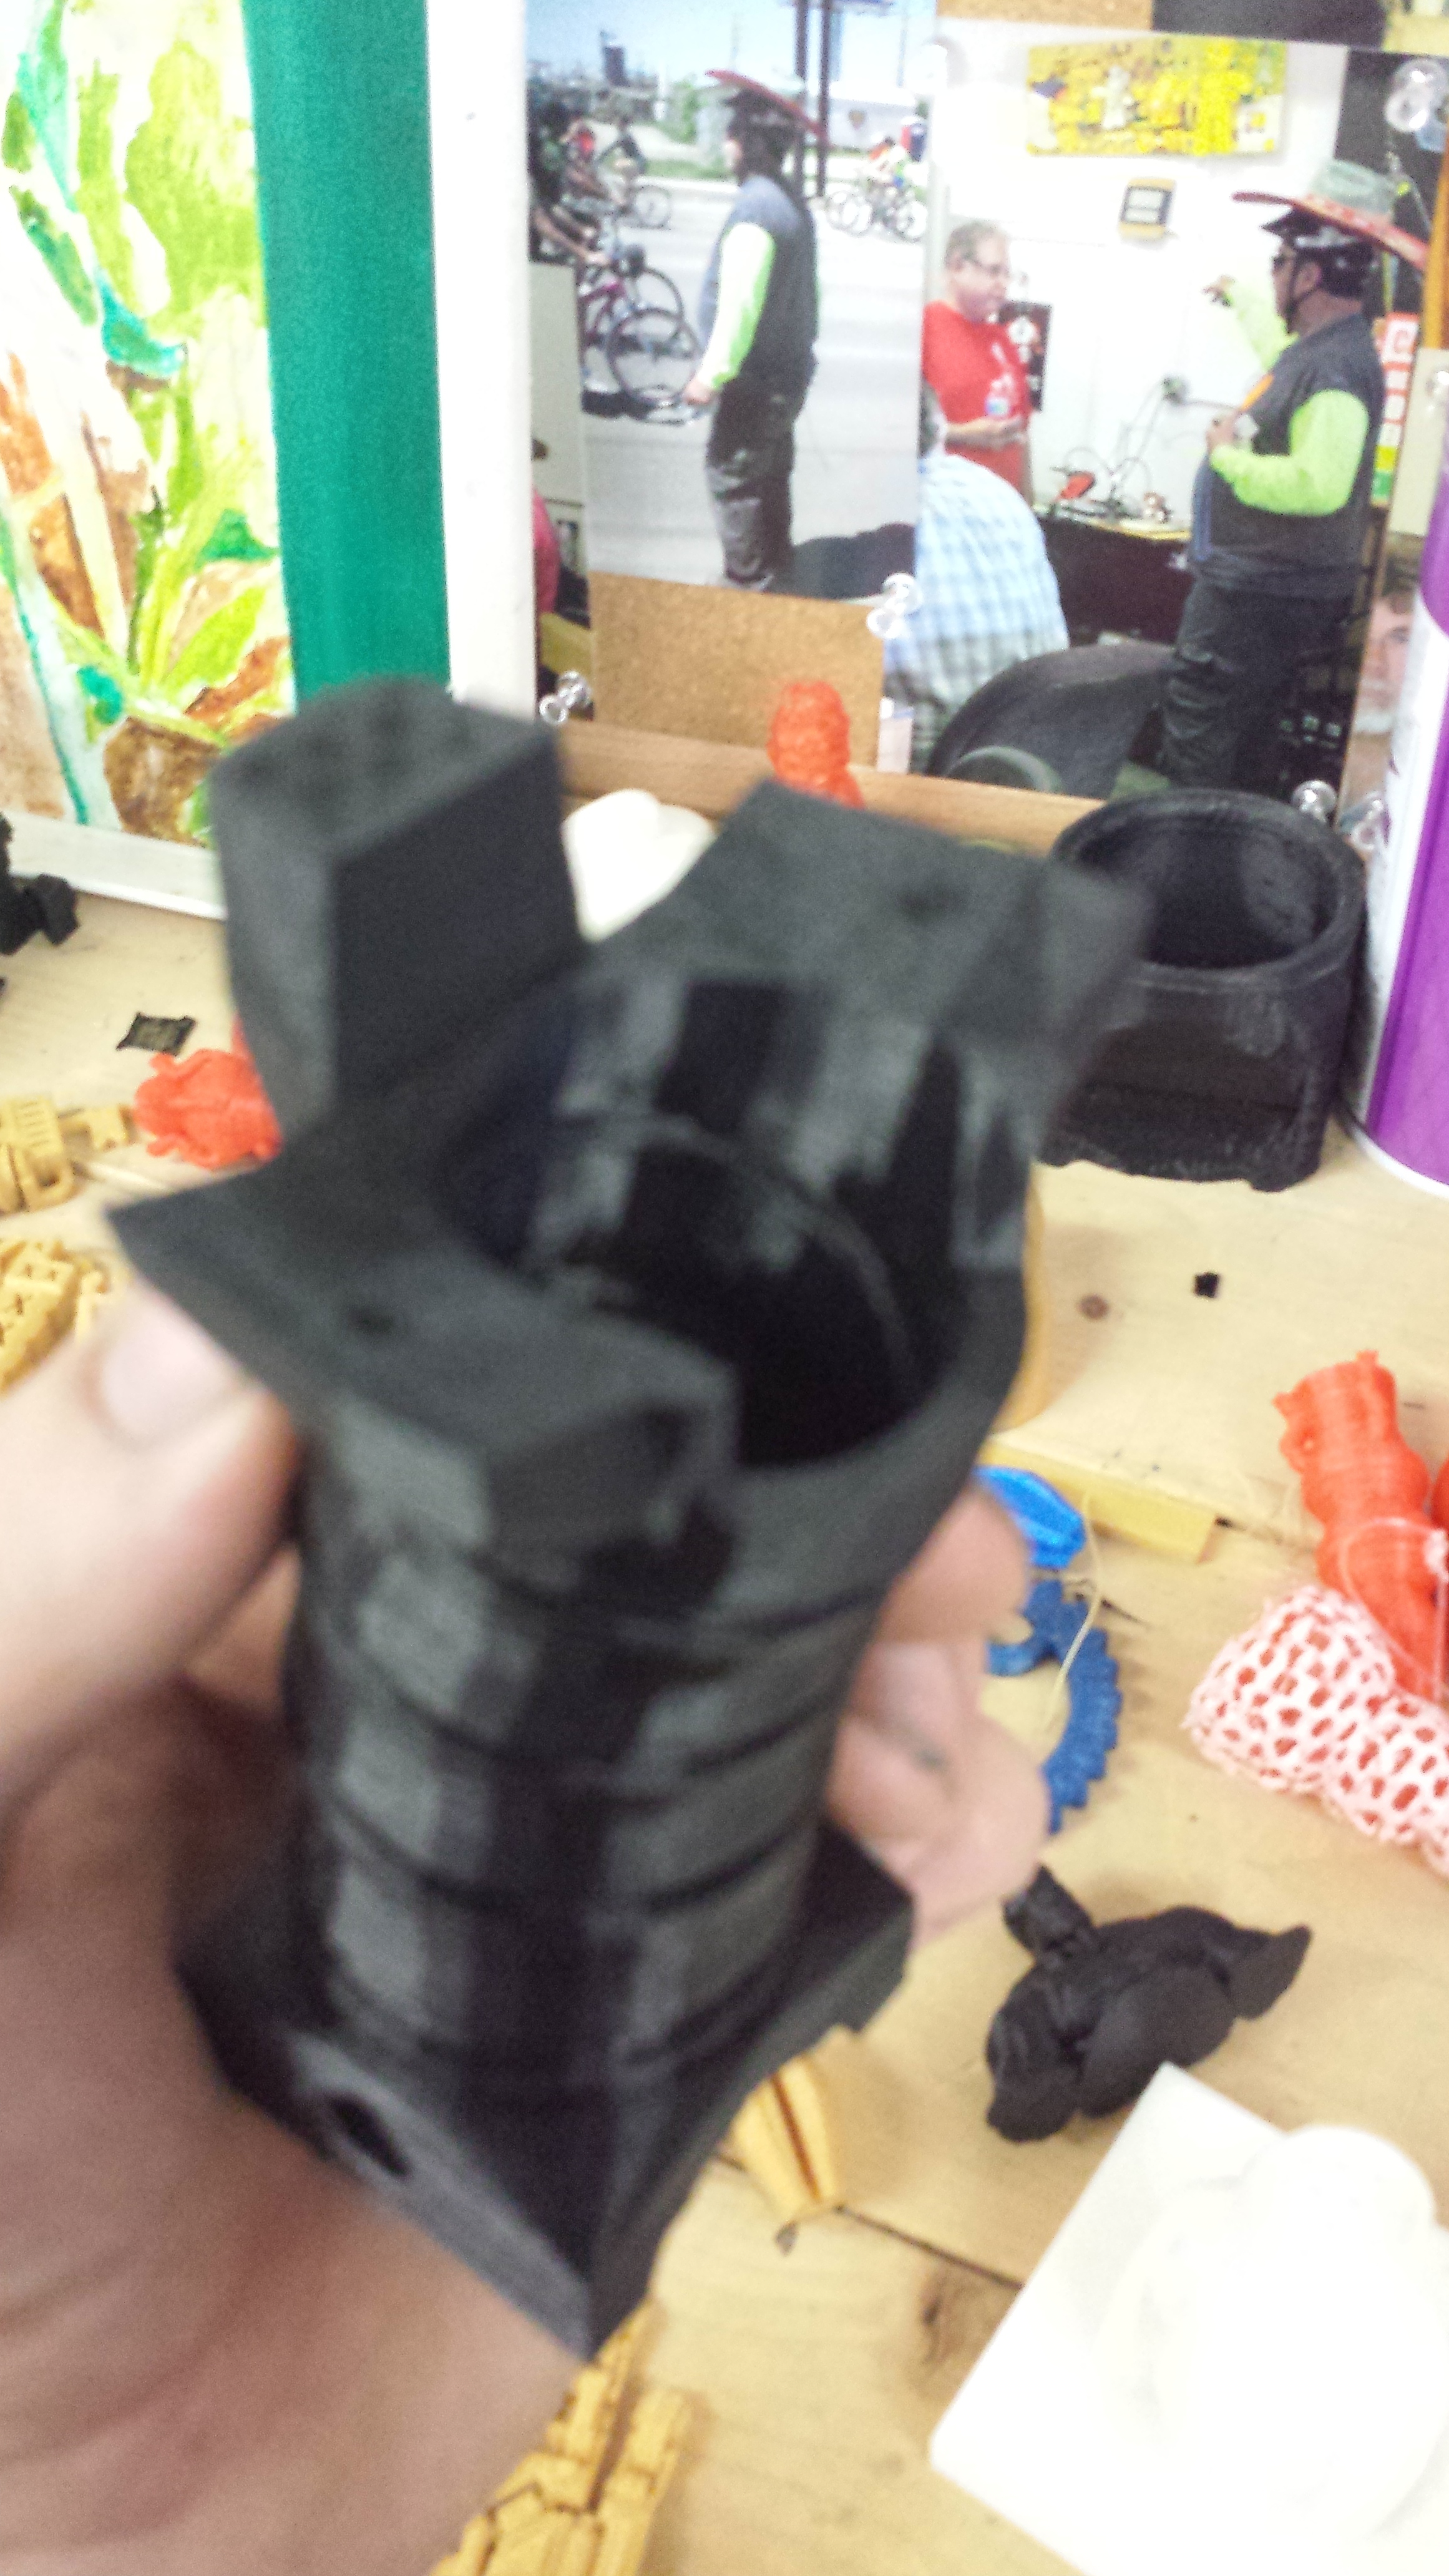
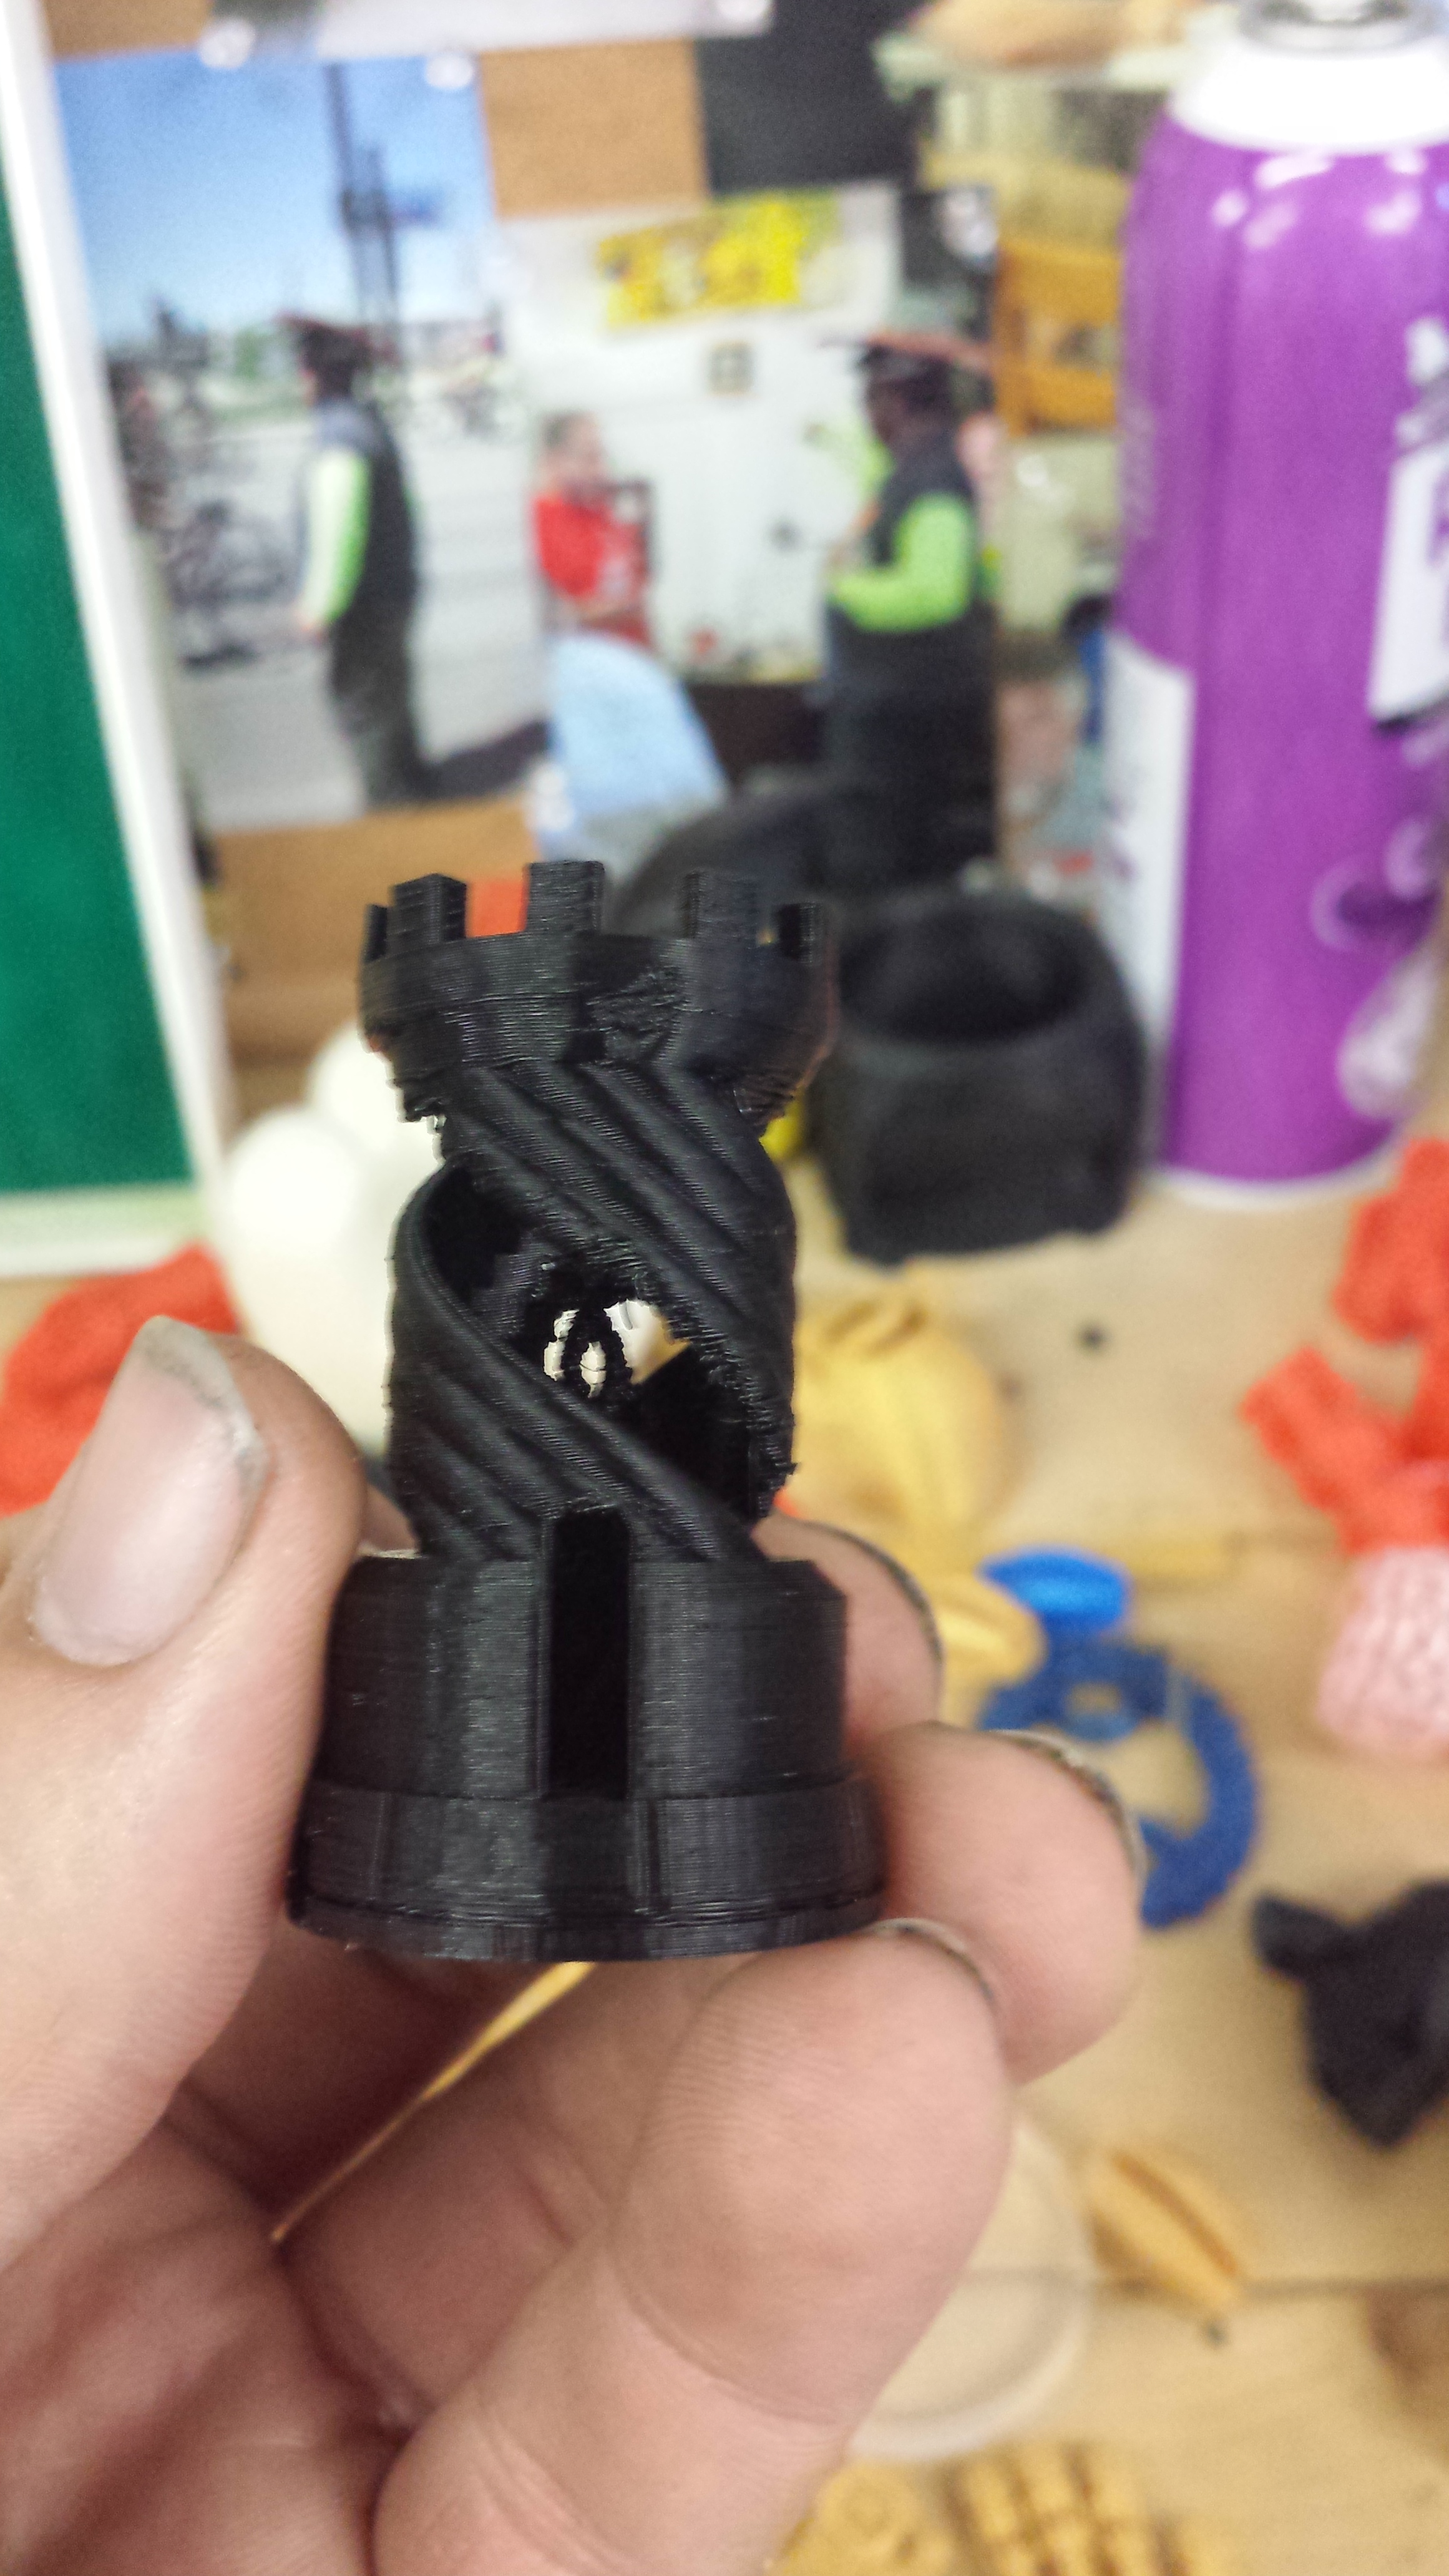
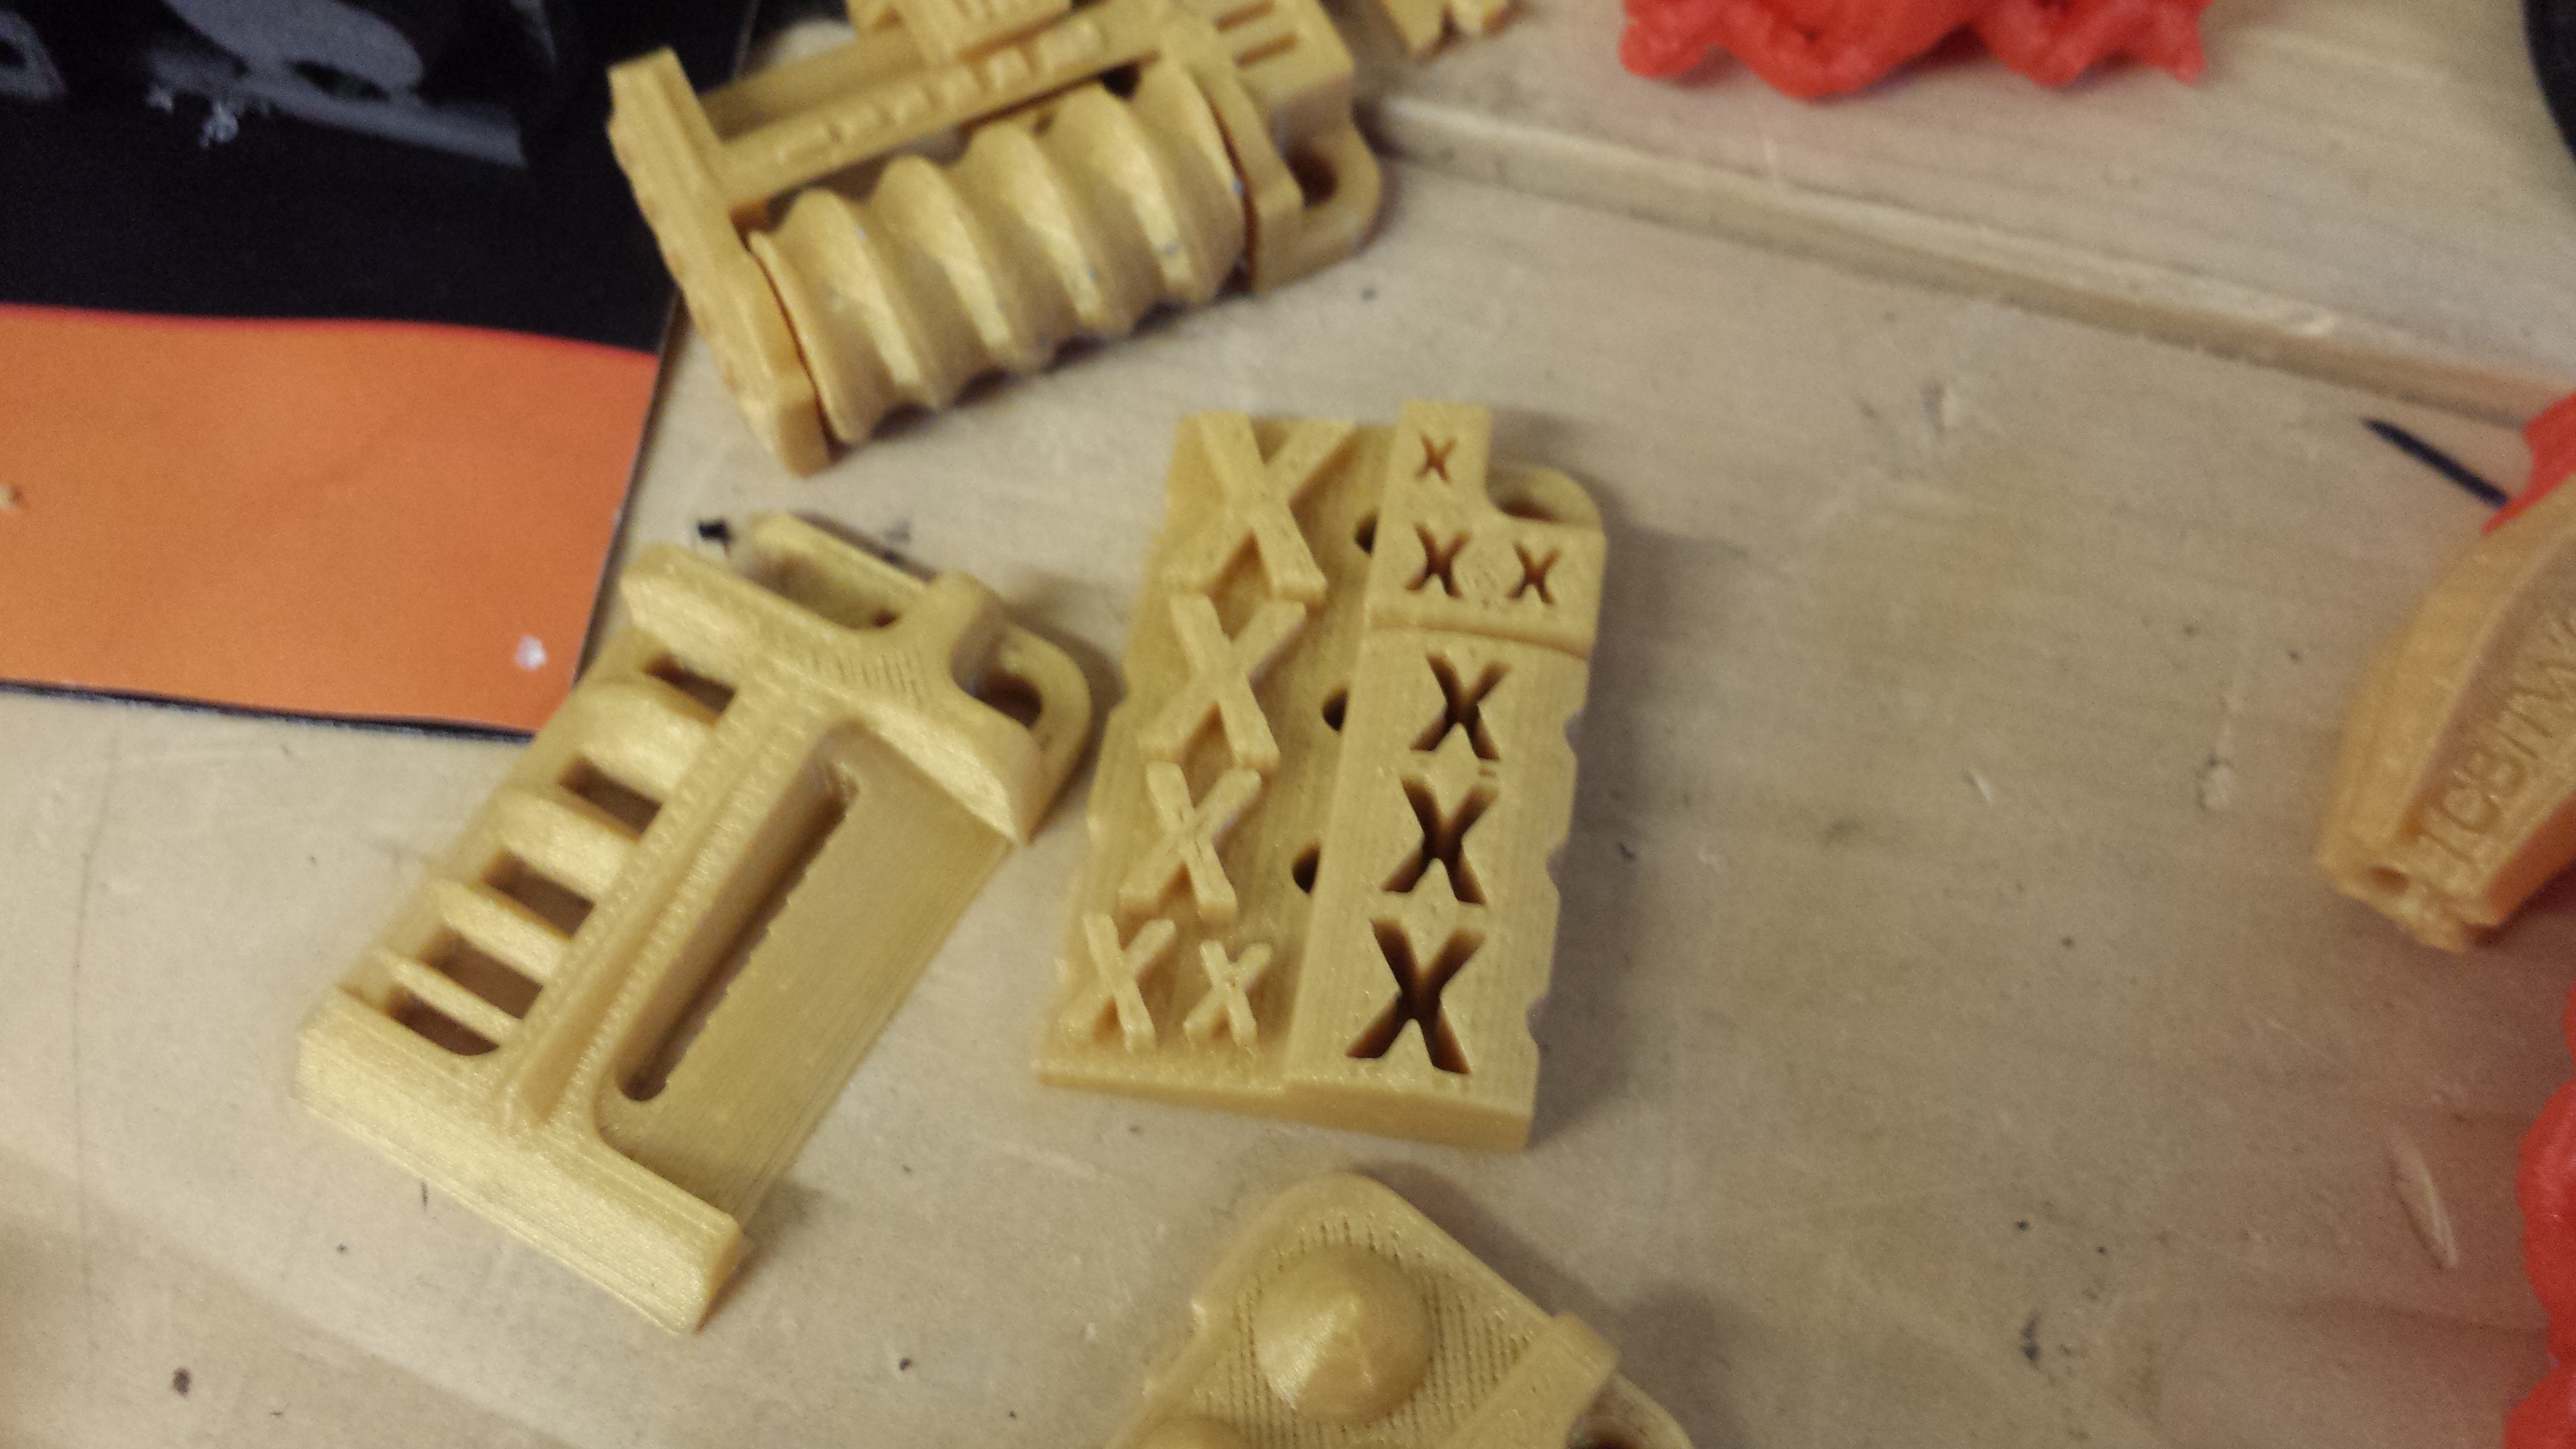
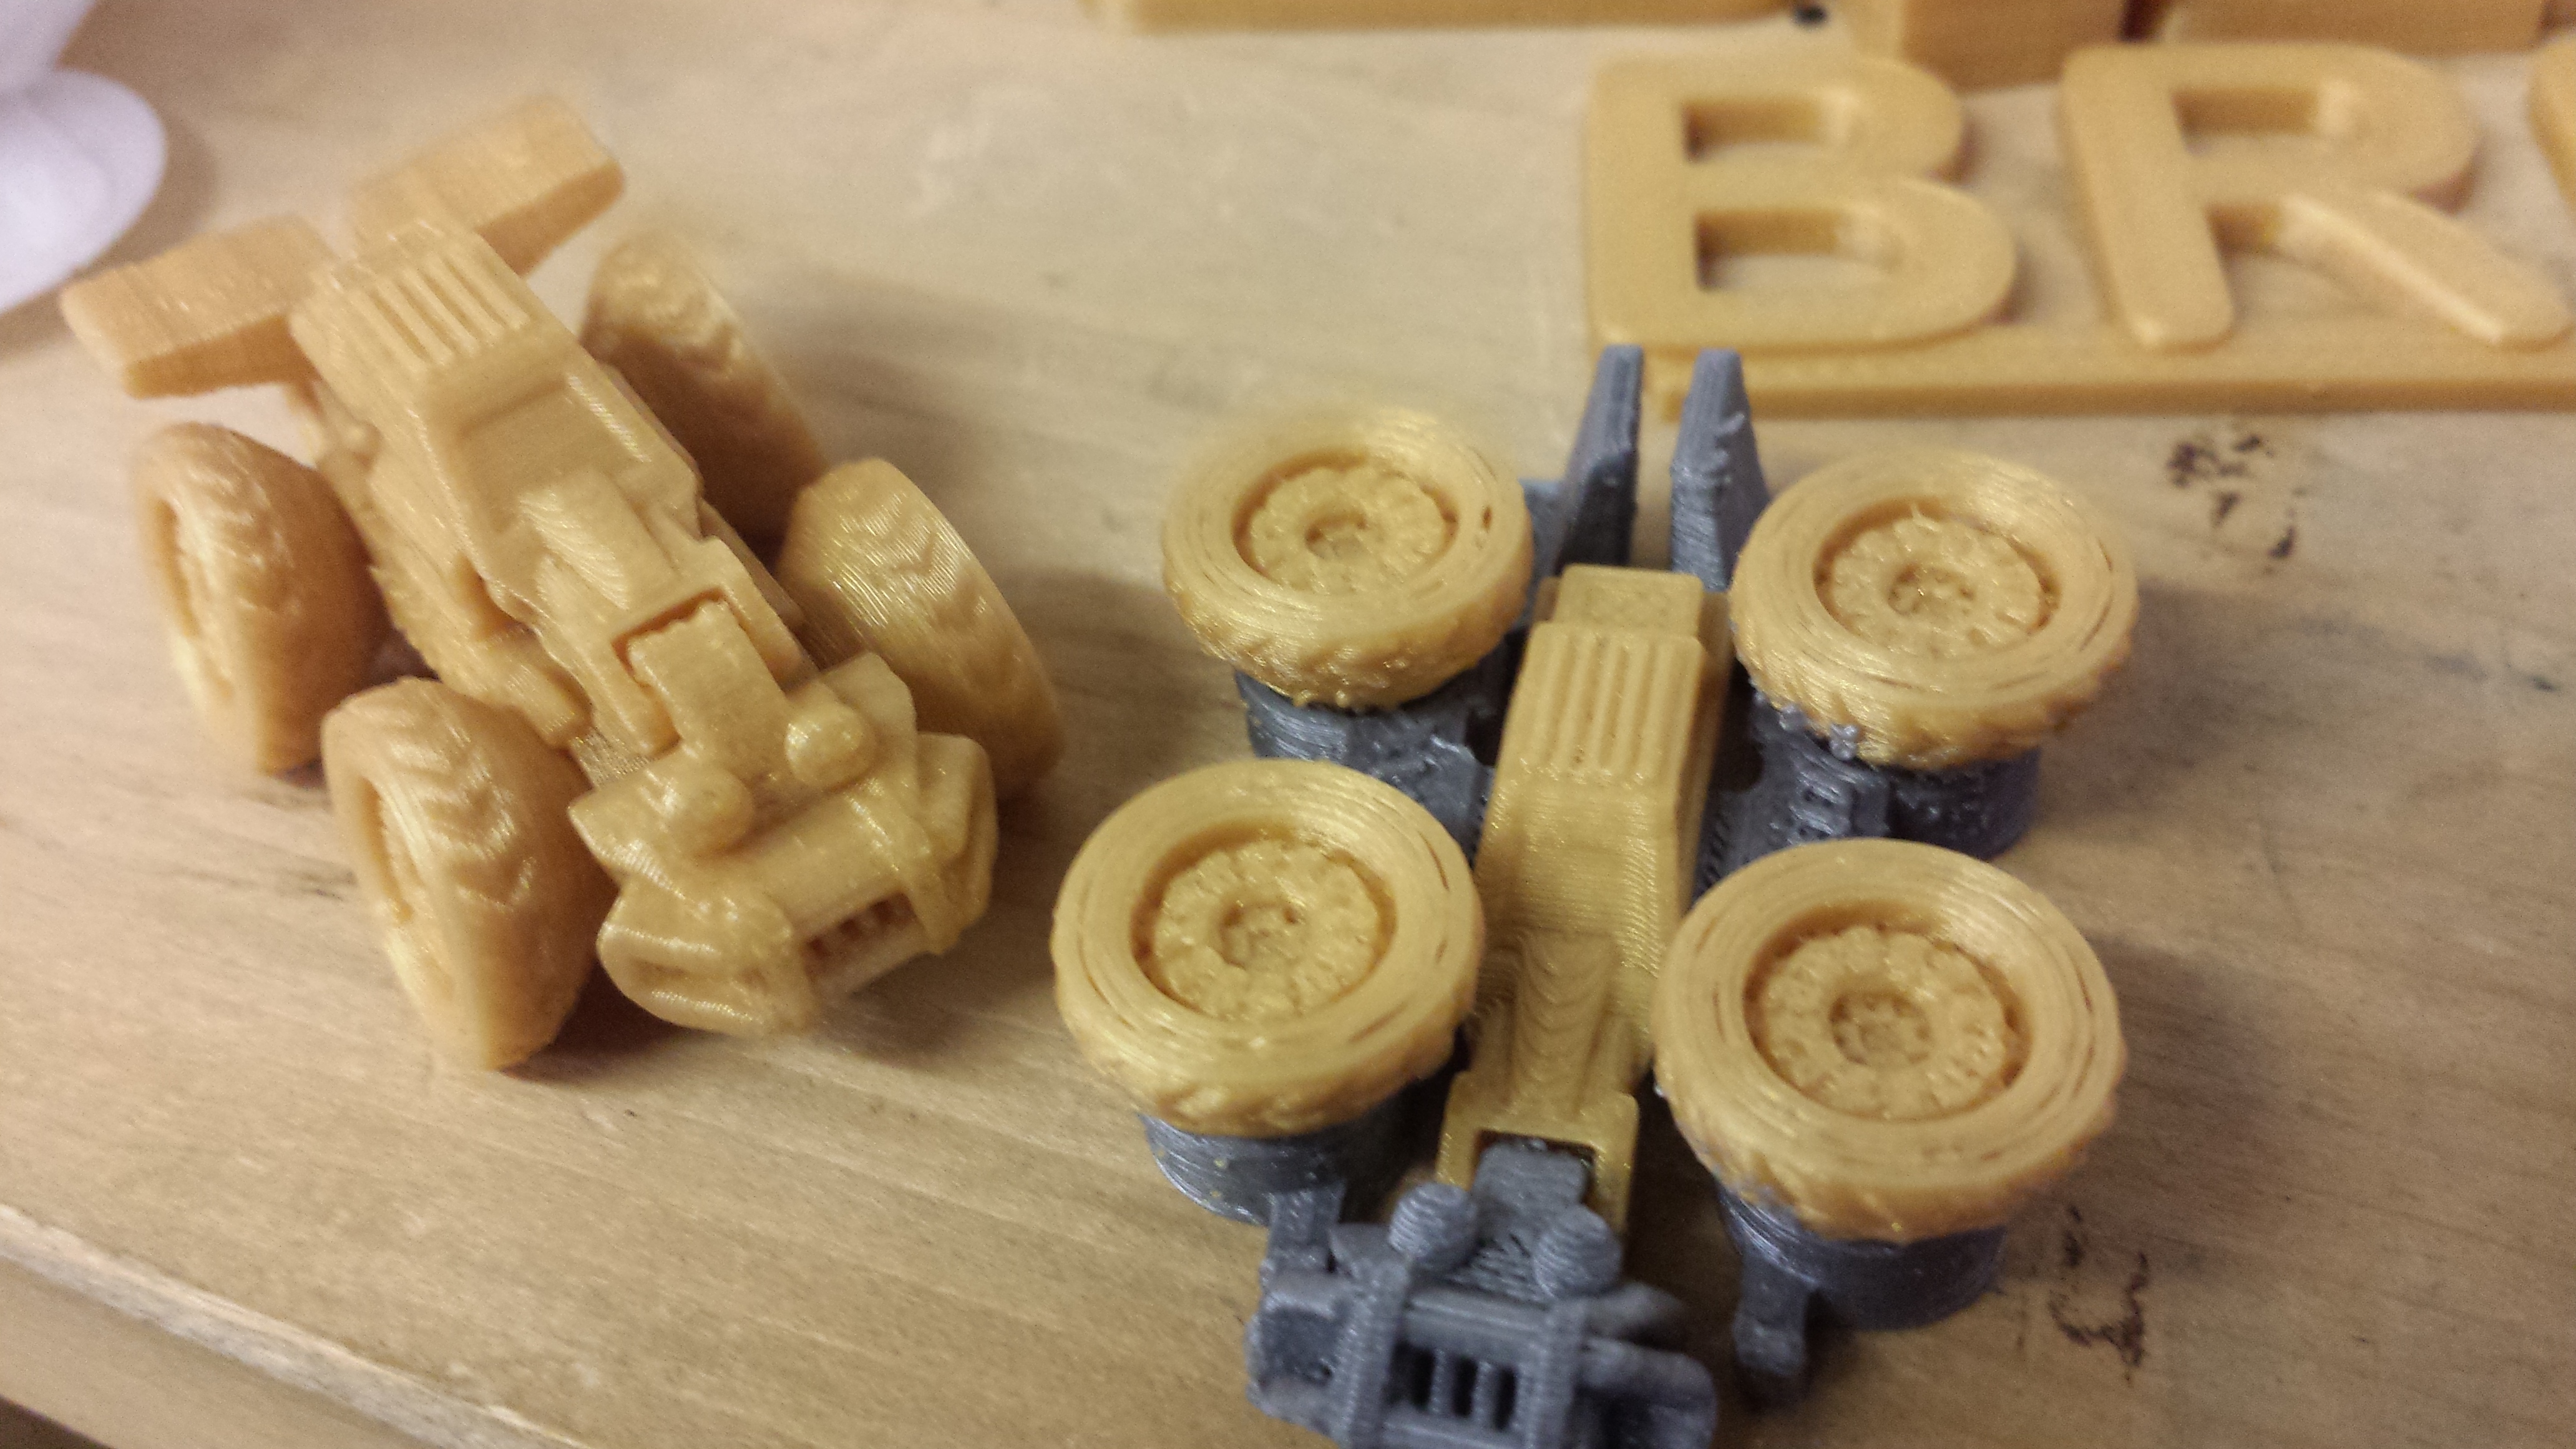
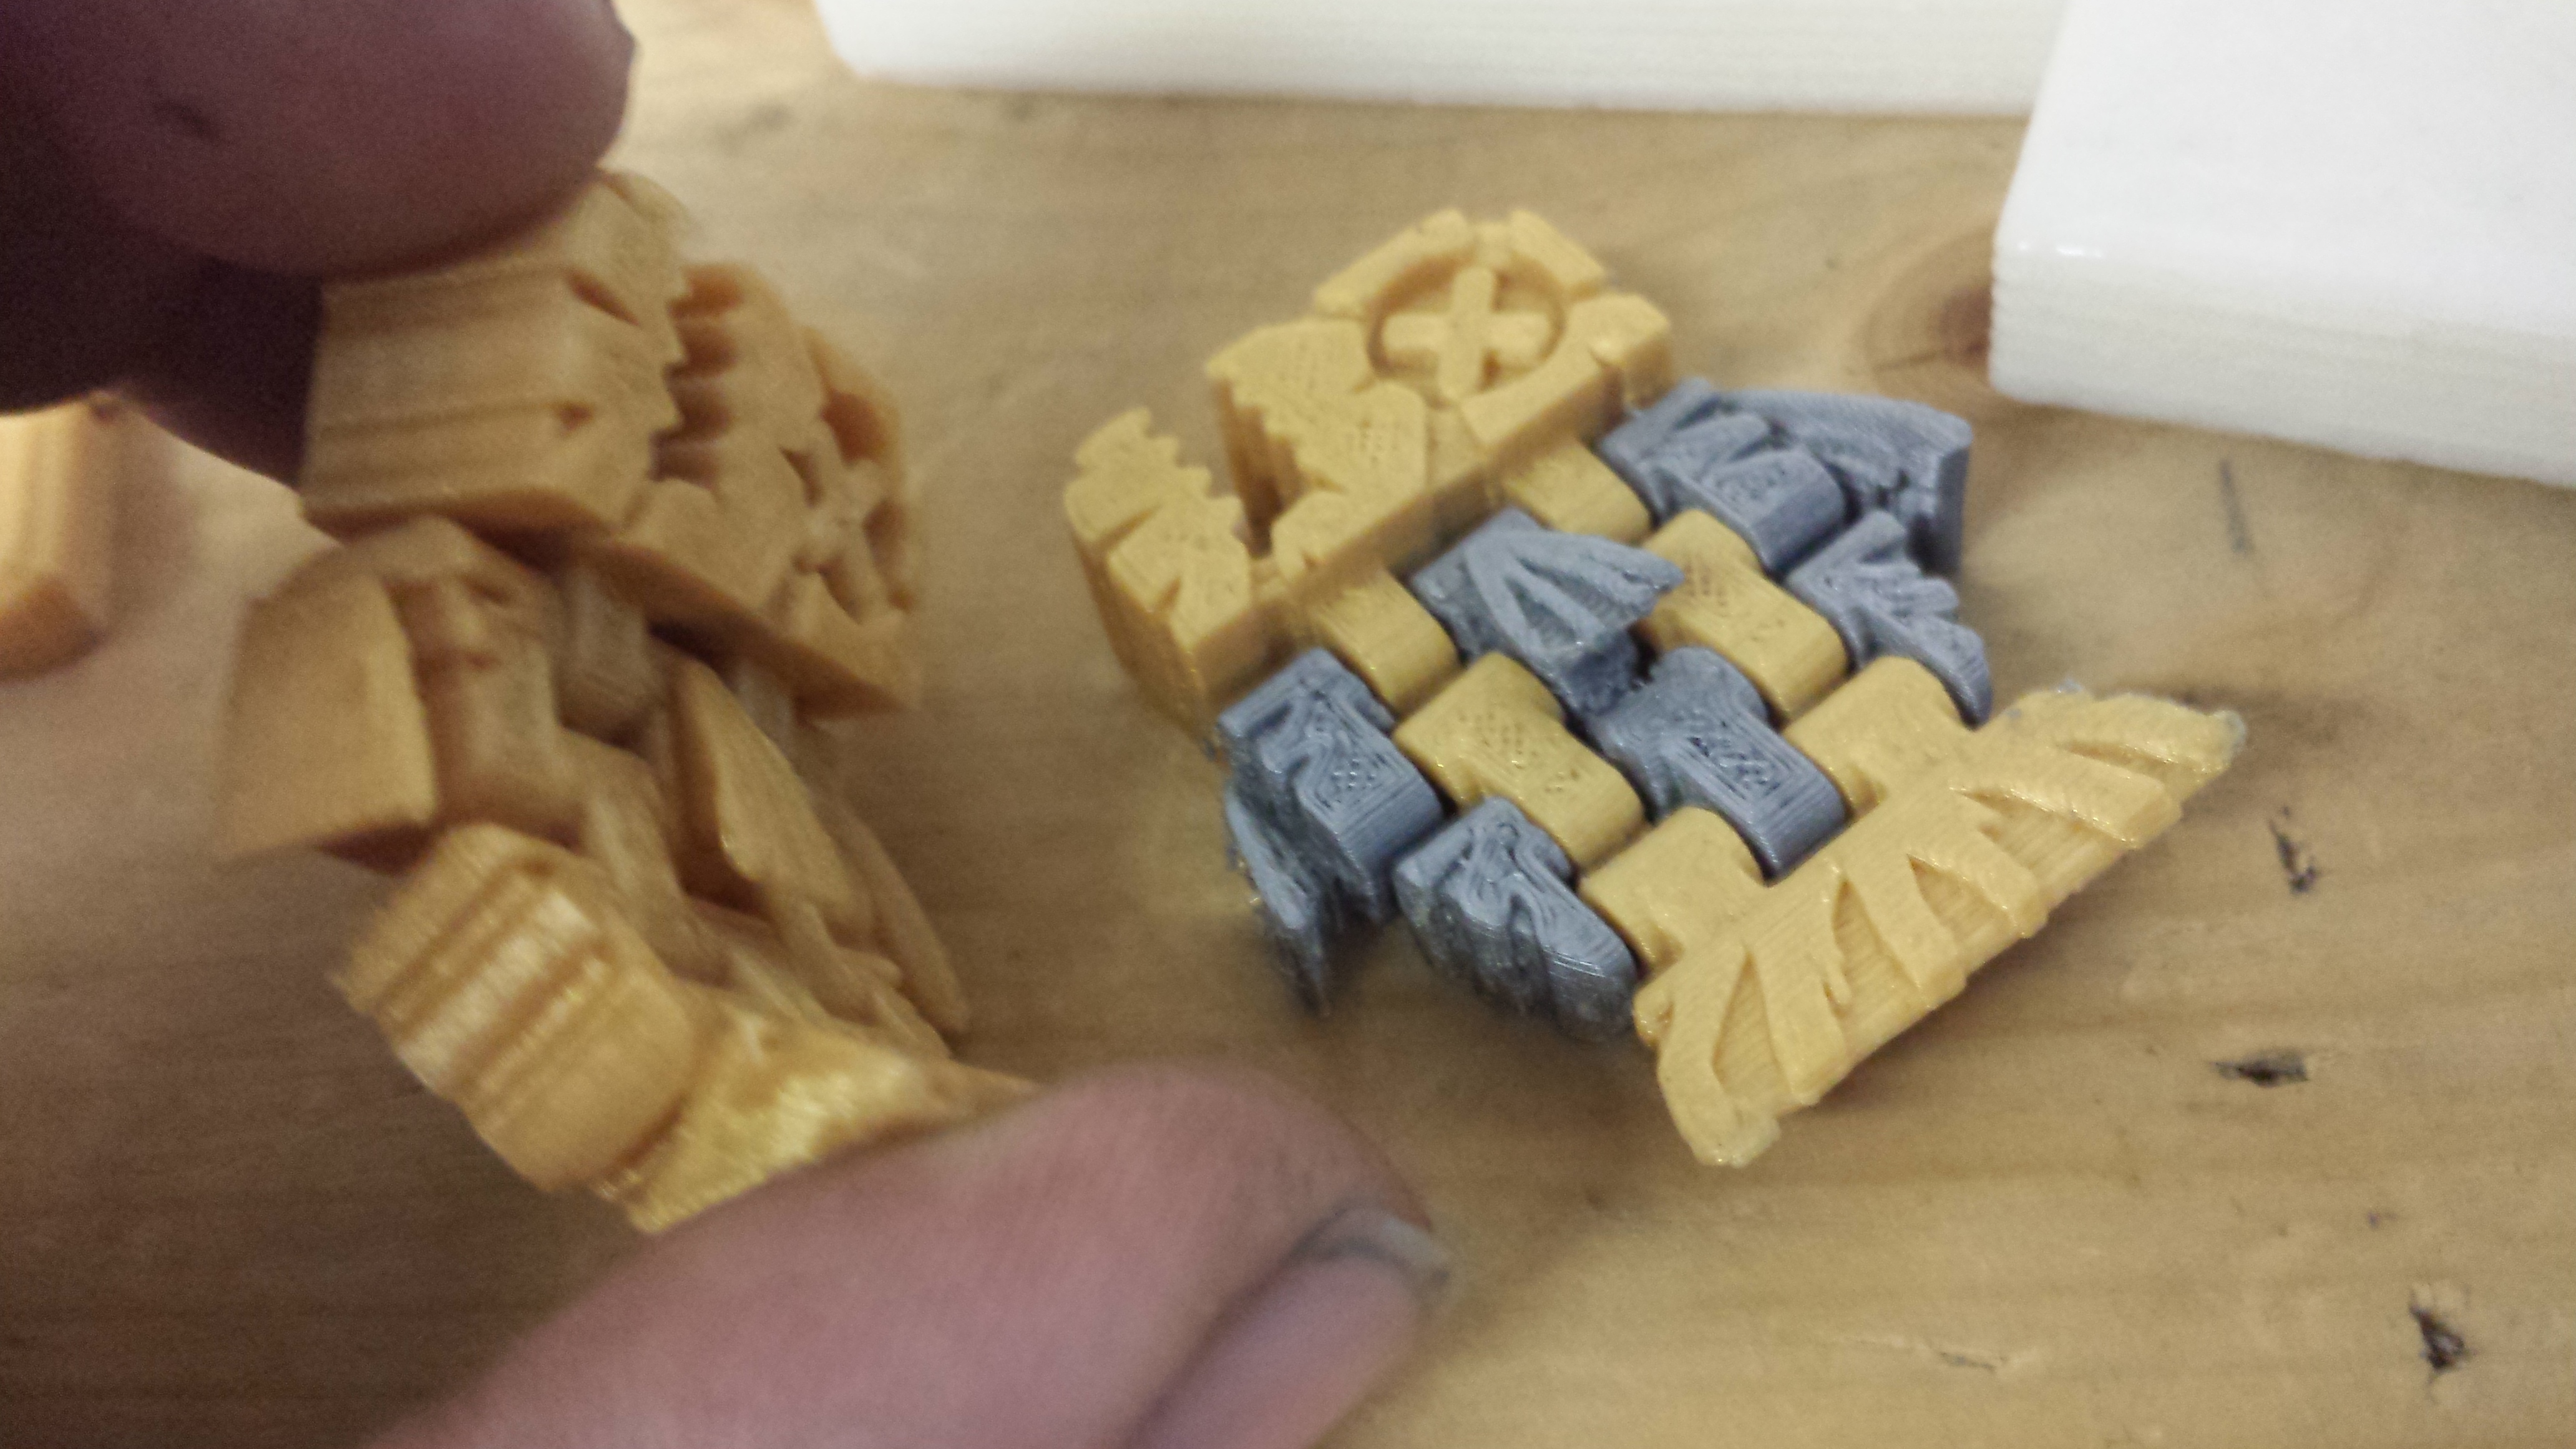
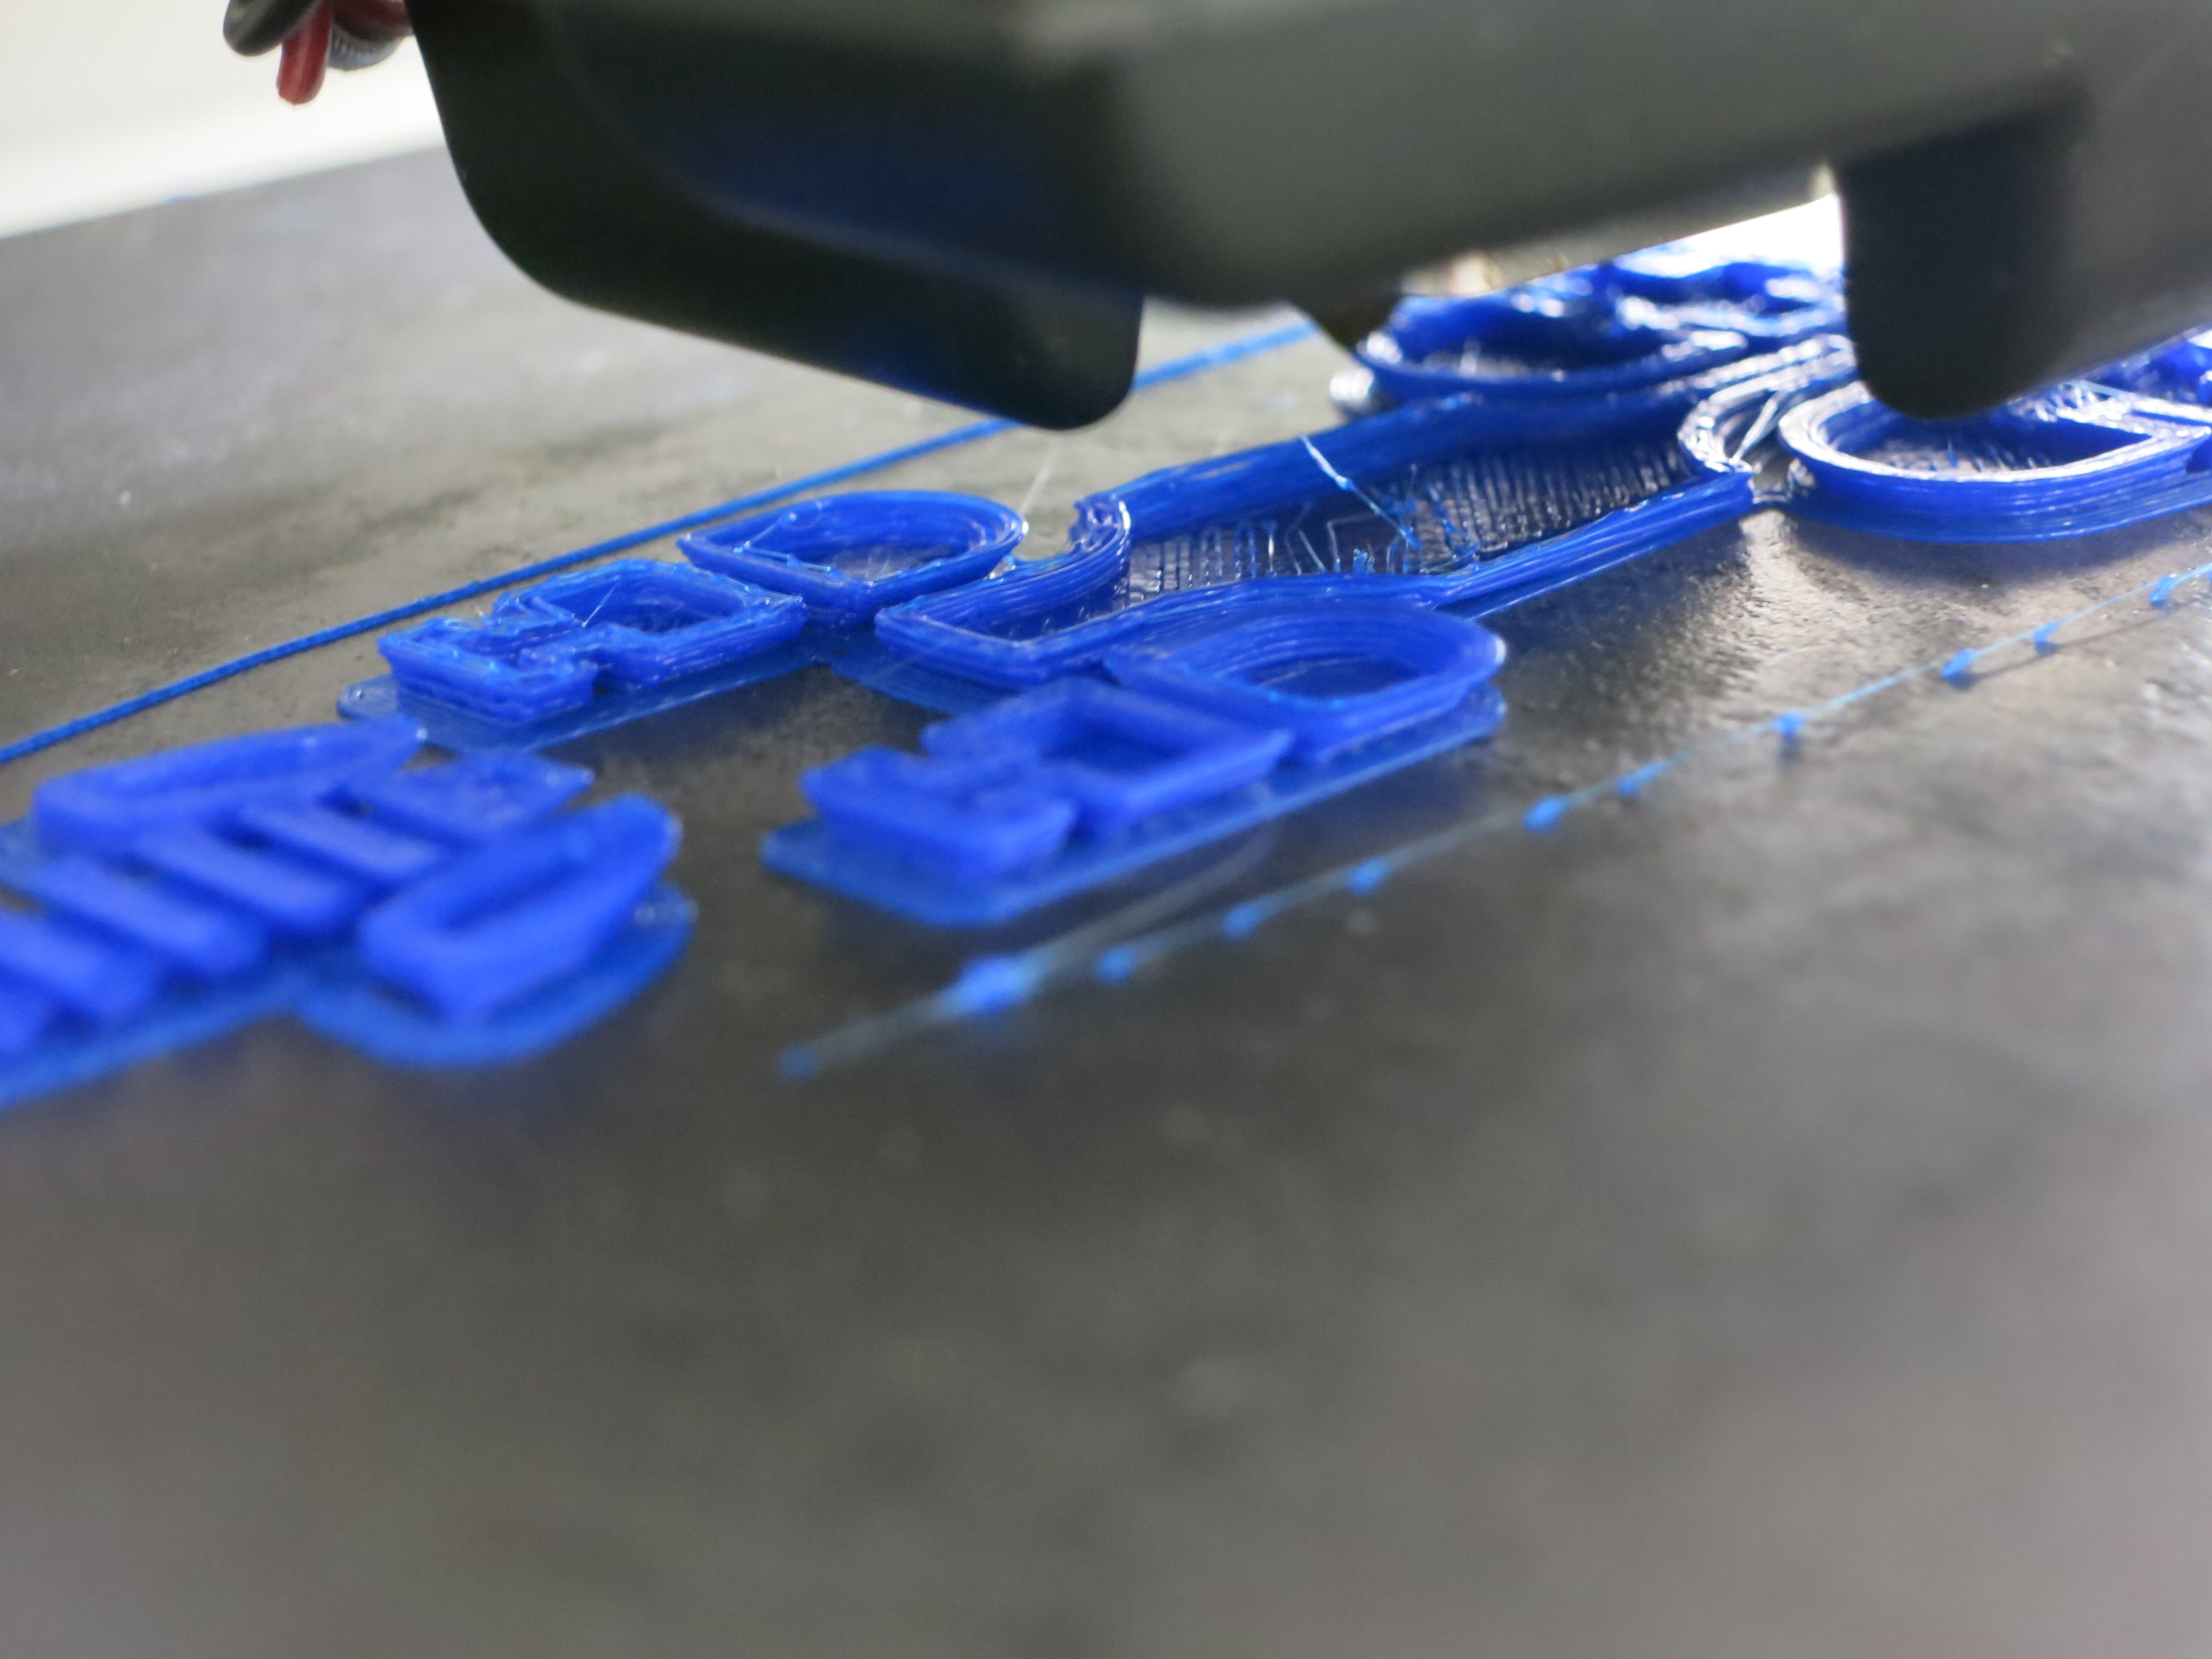
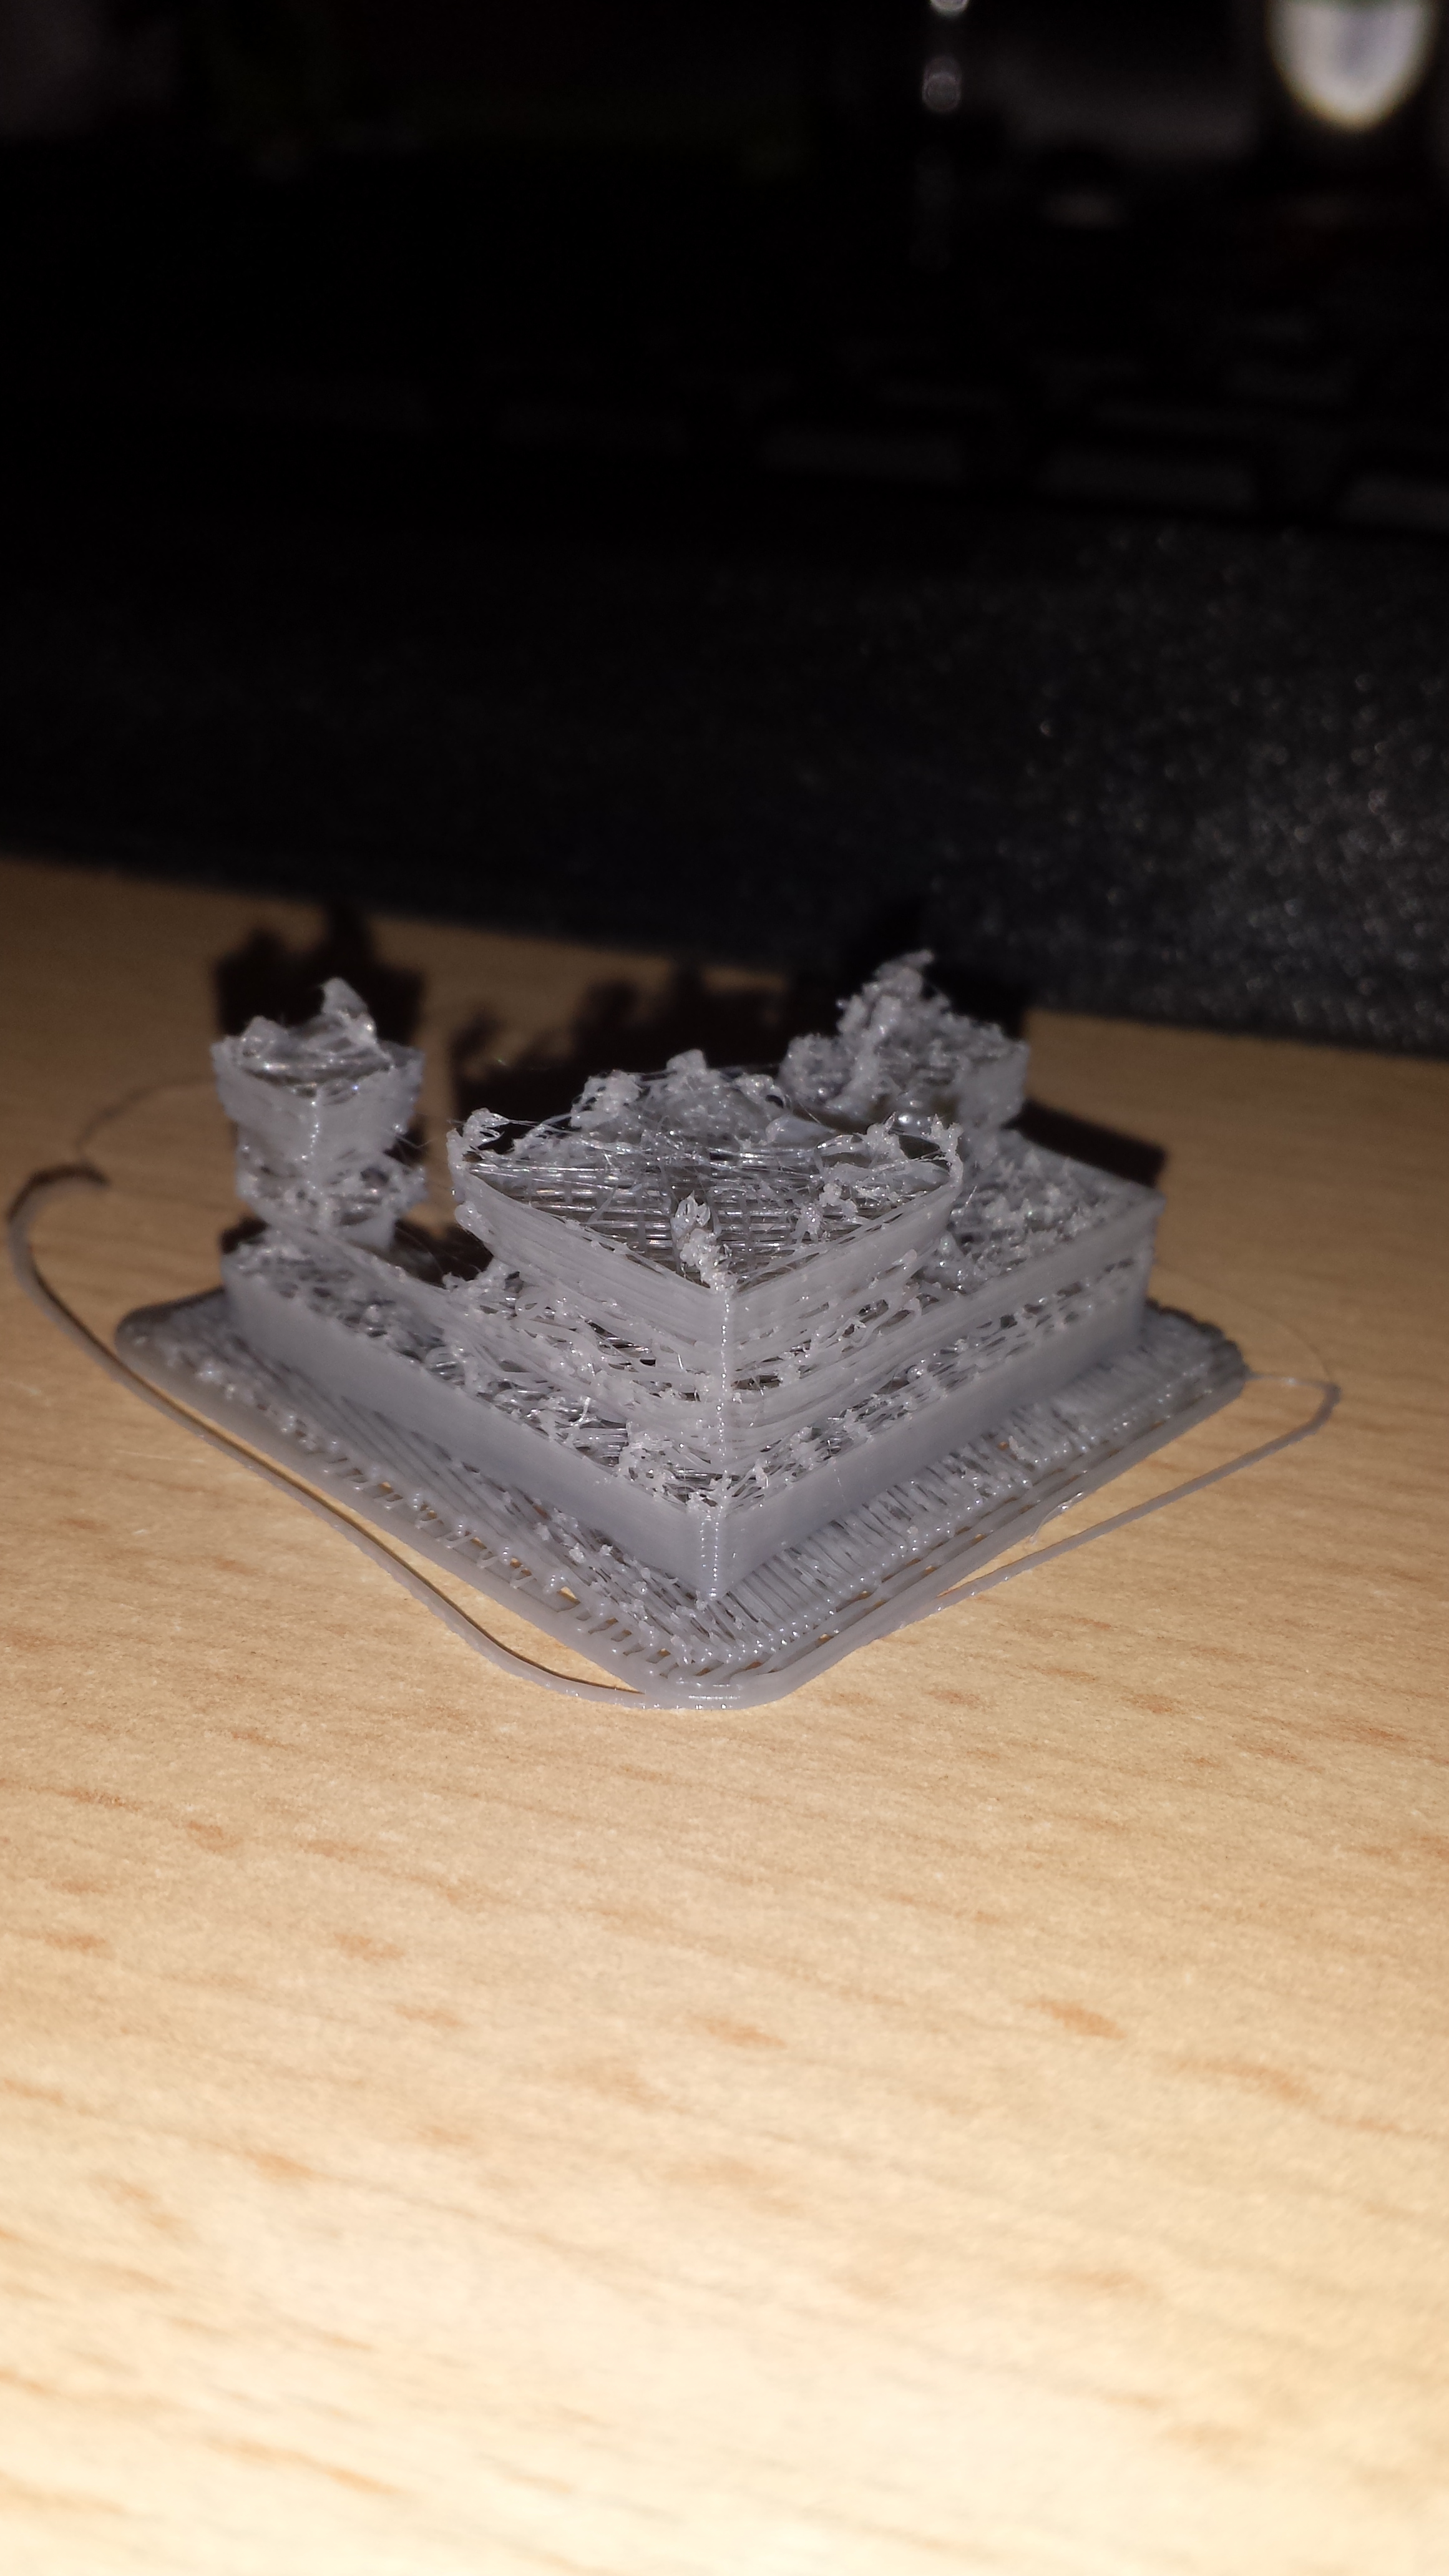
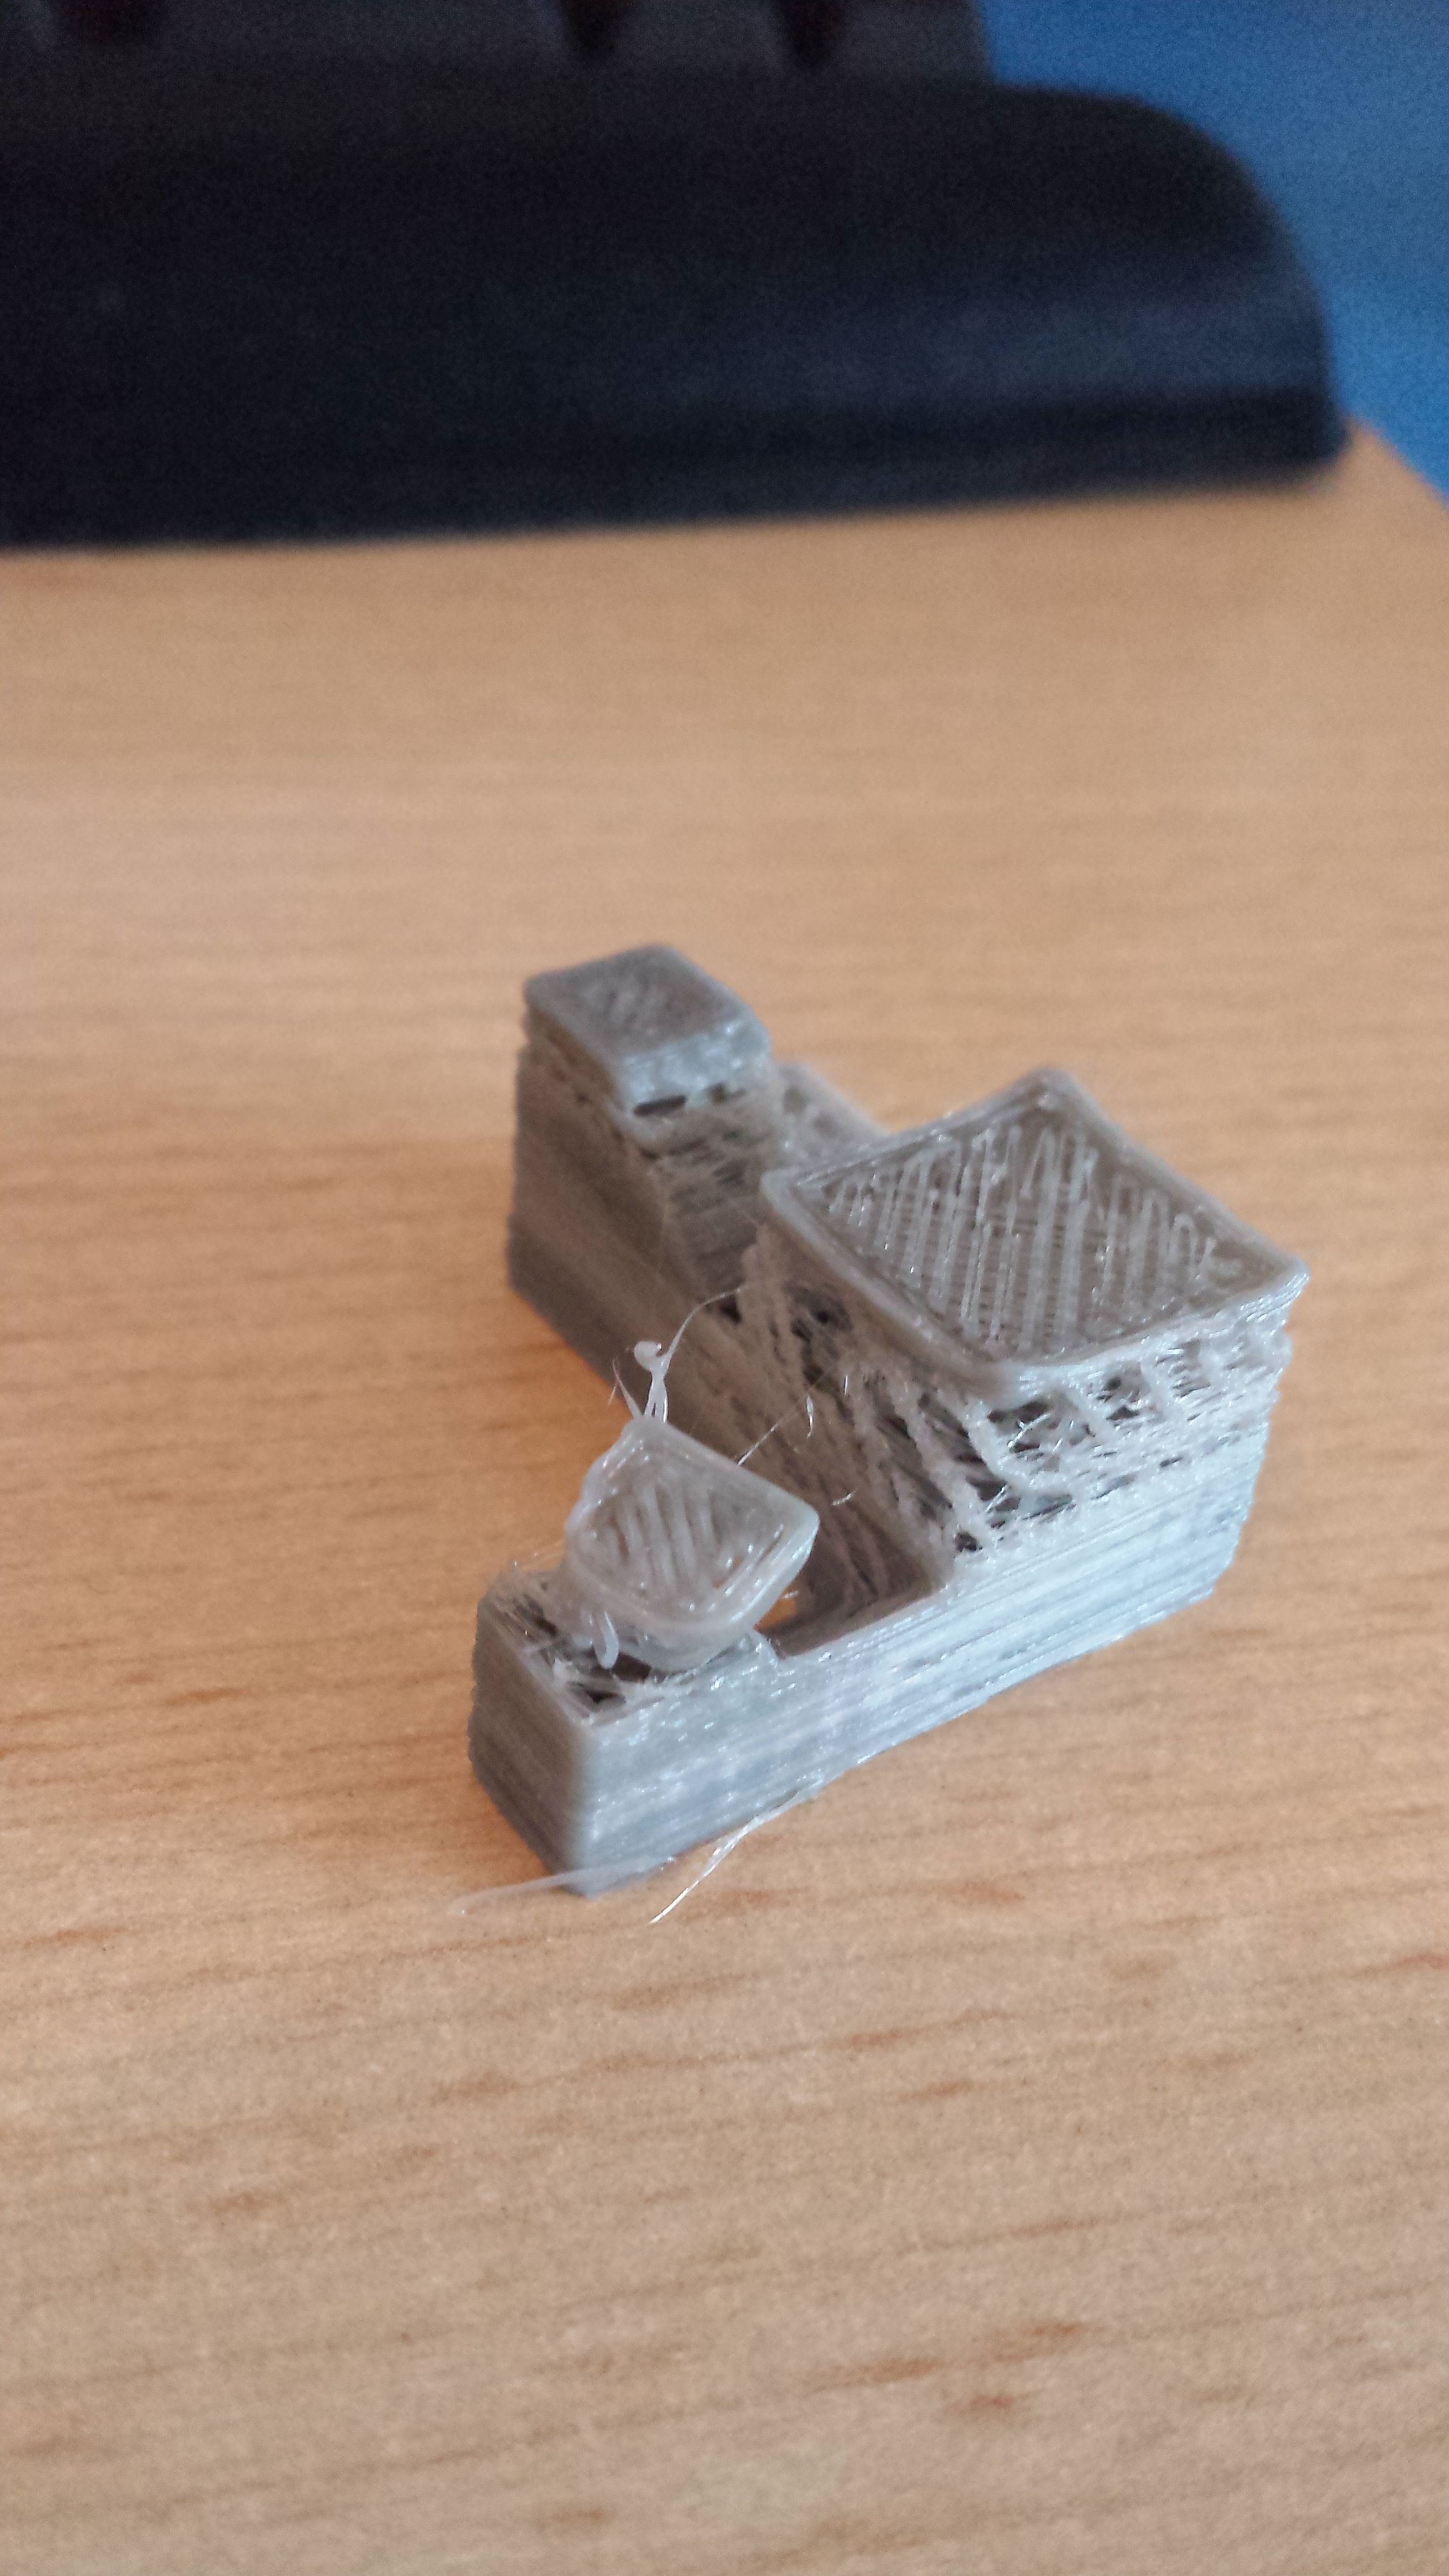
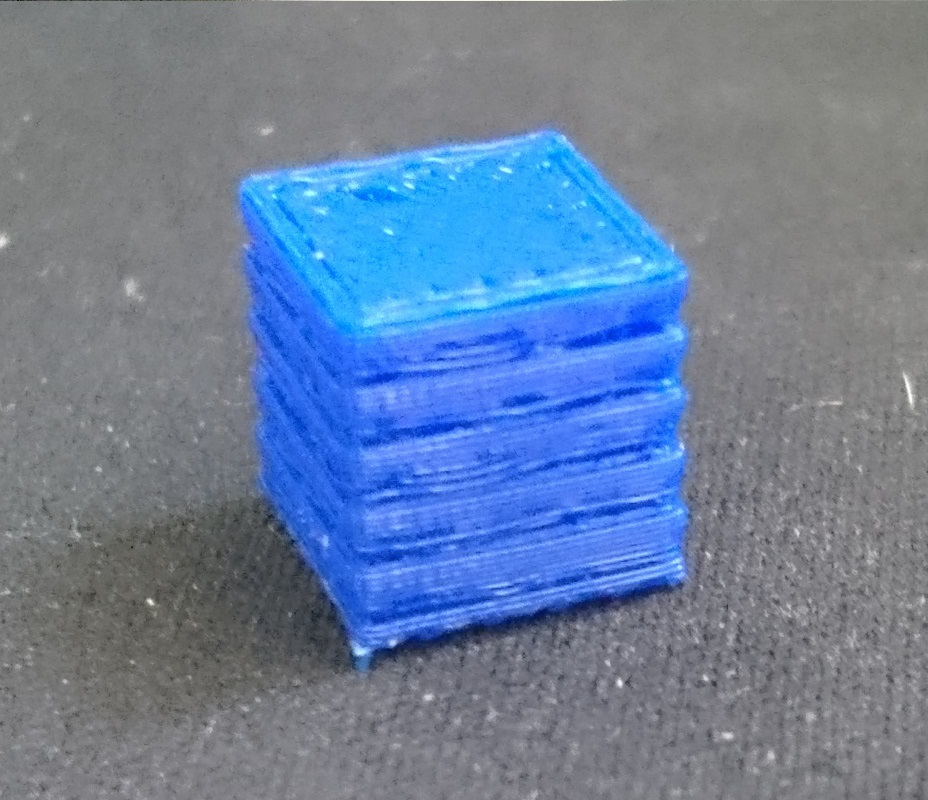
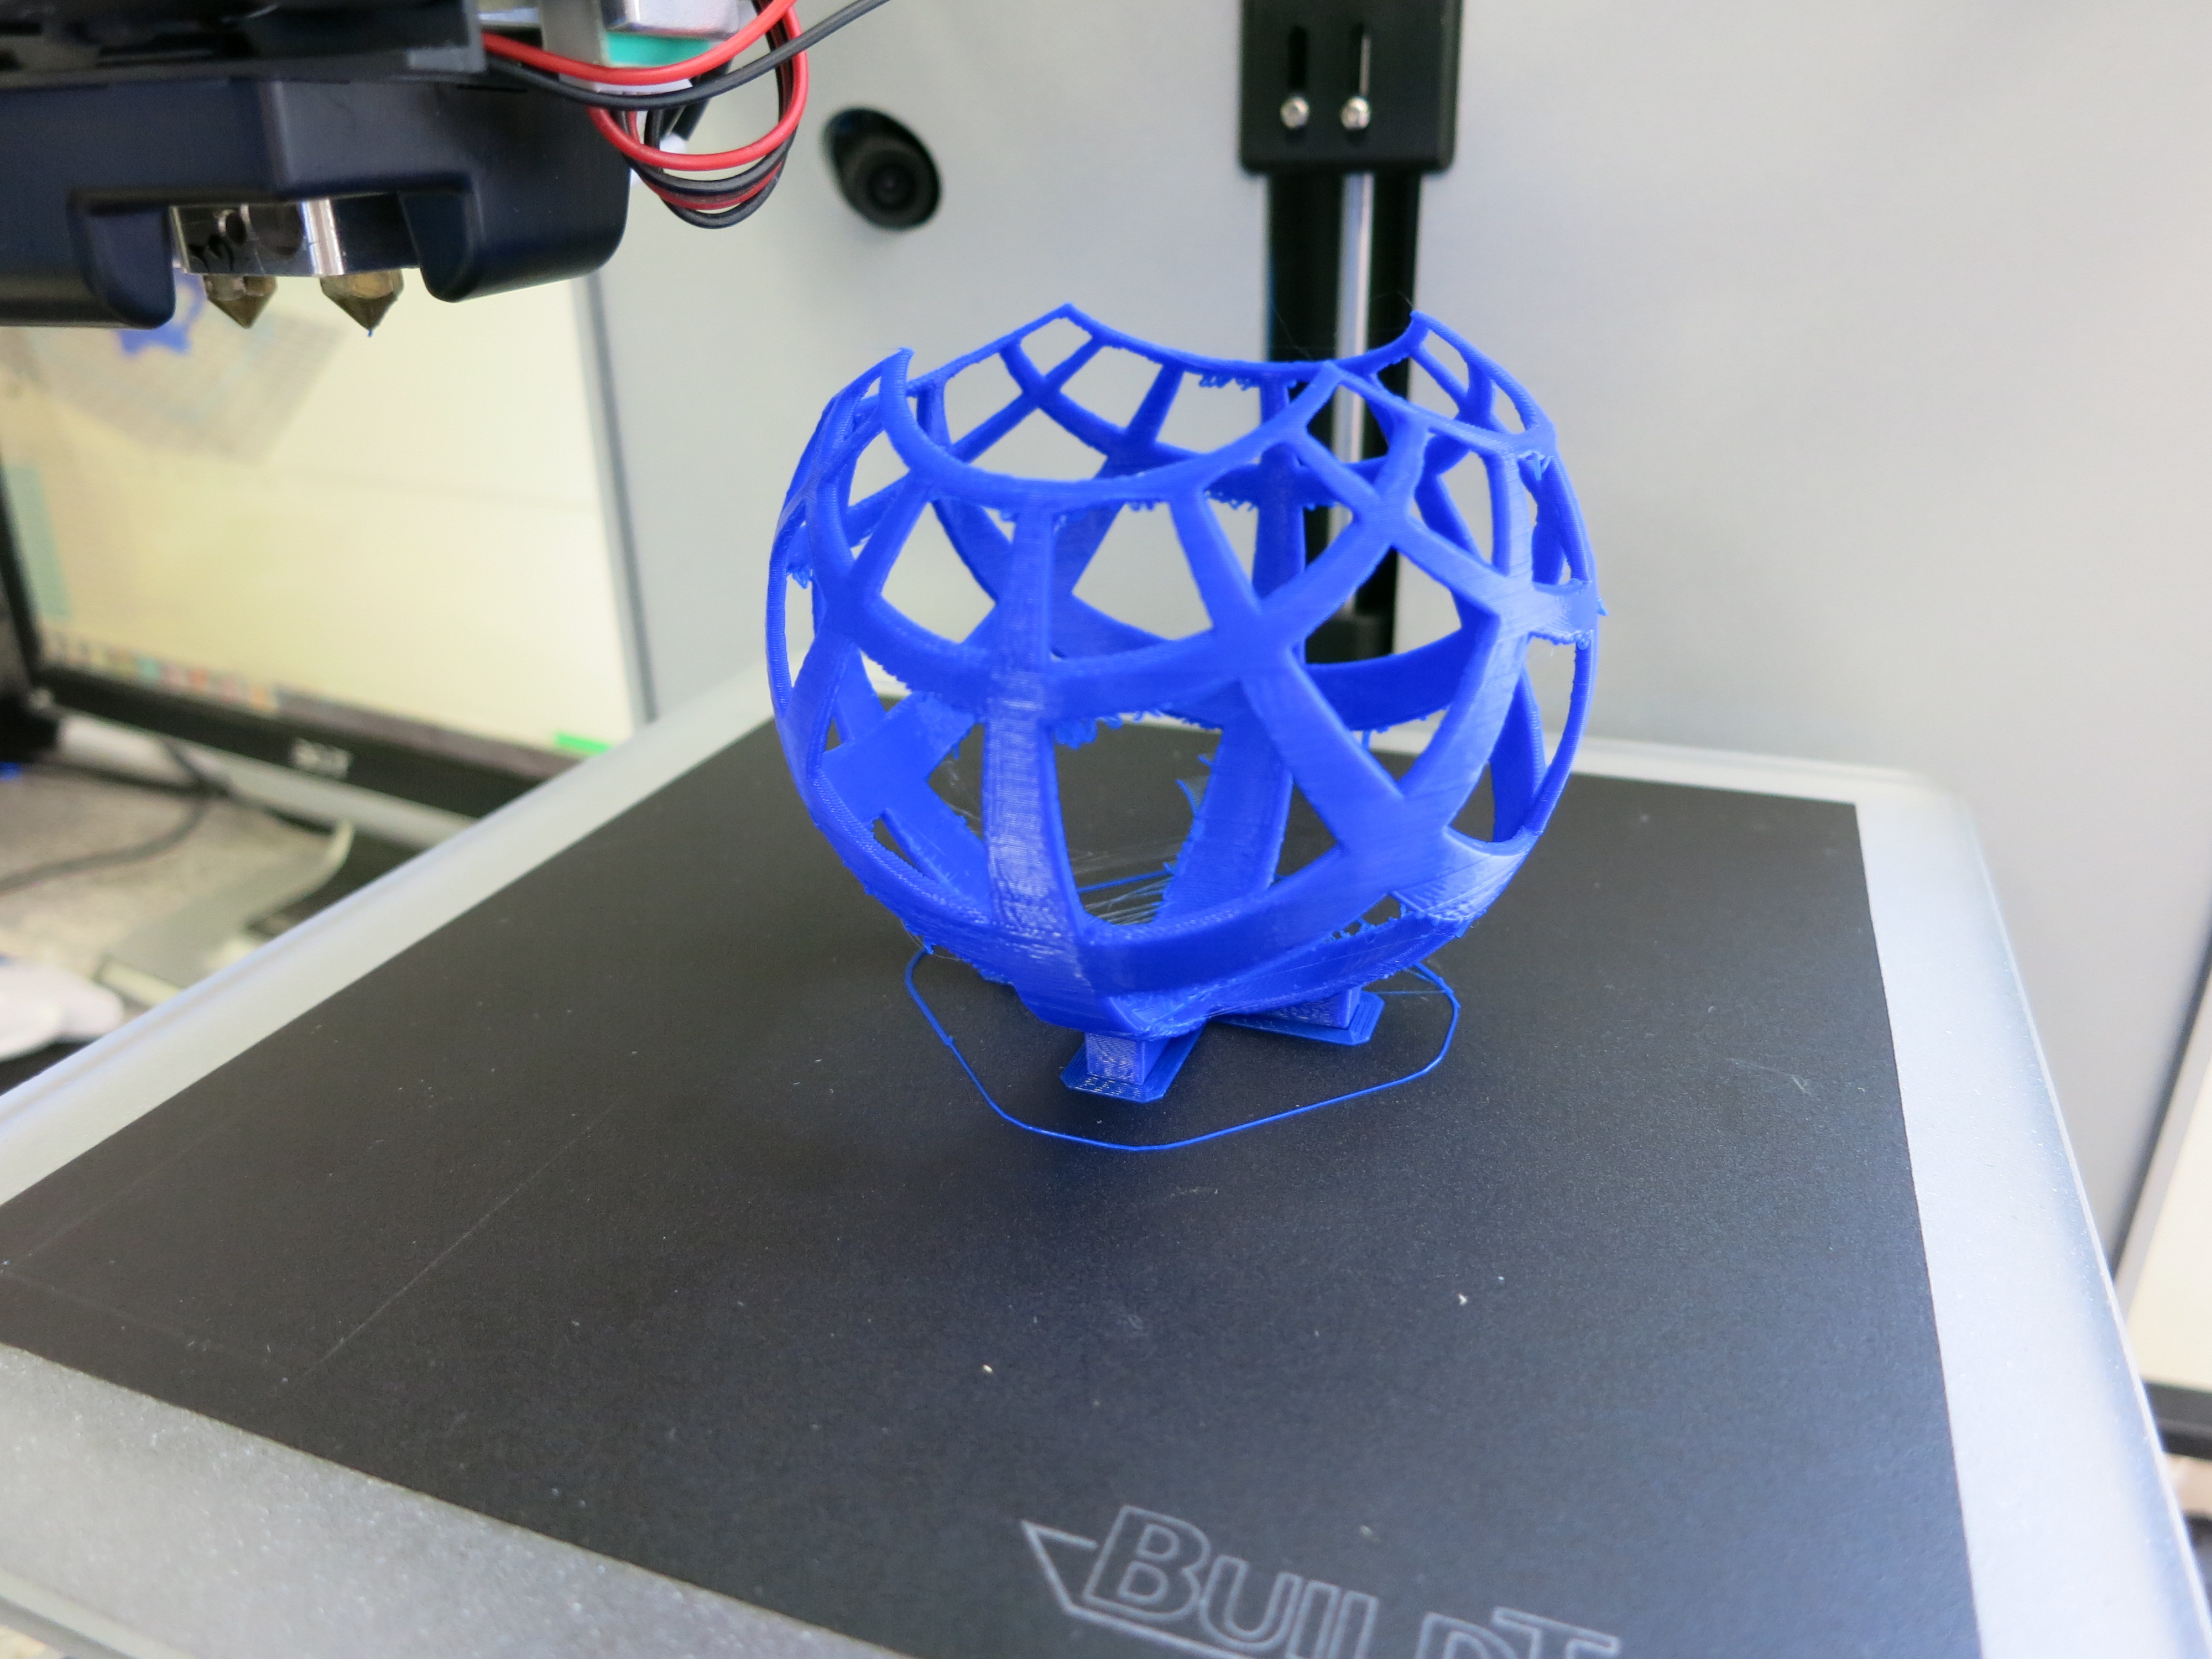
Here are some pictures of parts i printed, all with the exact same settings described above.


[edit]
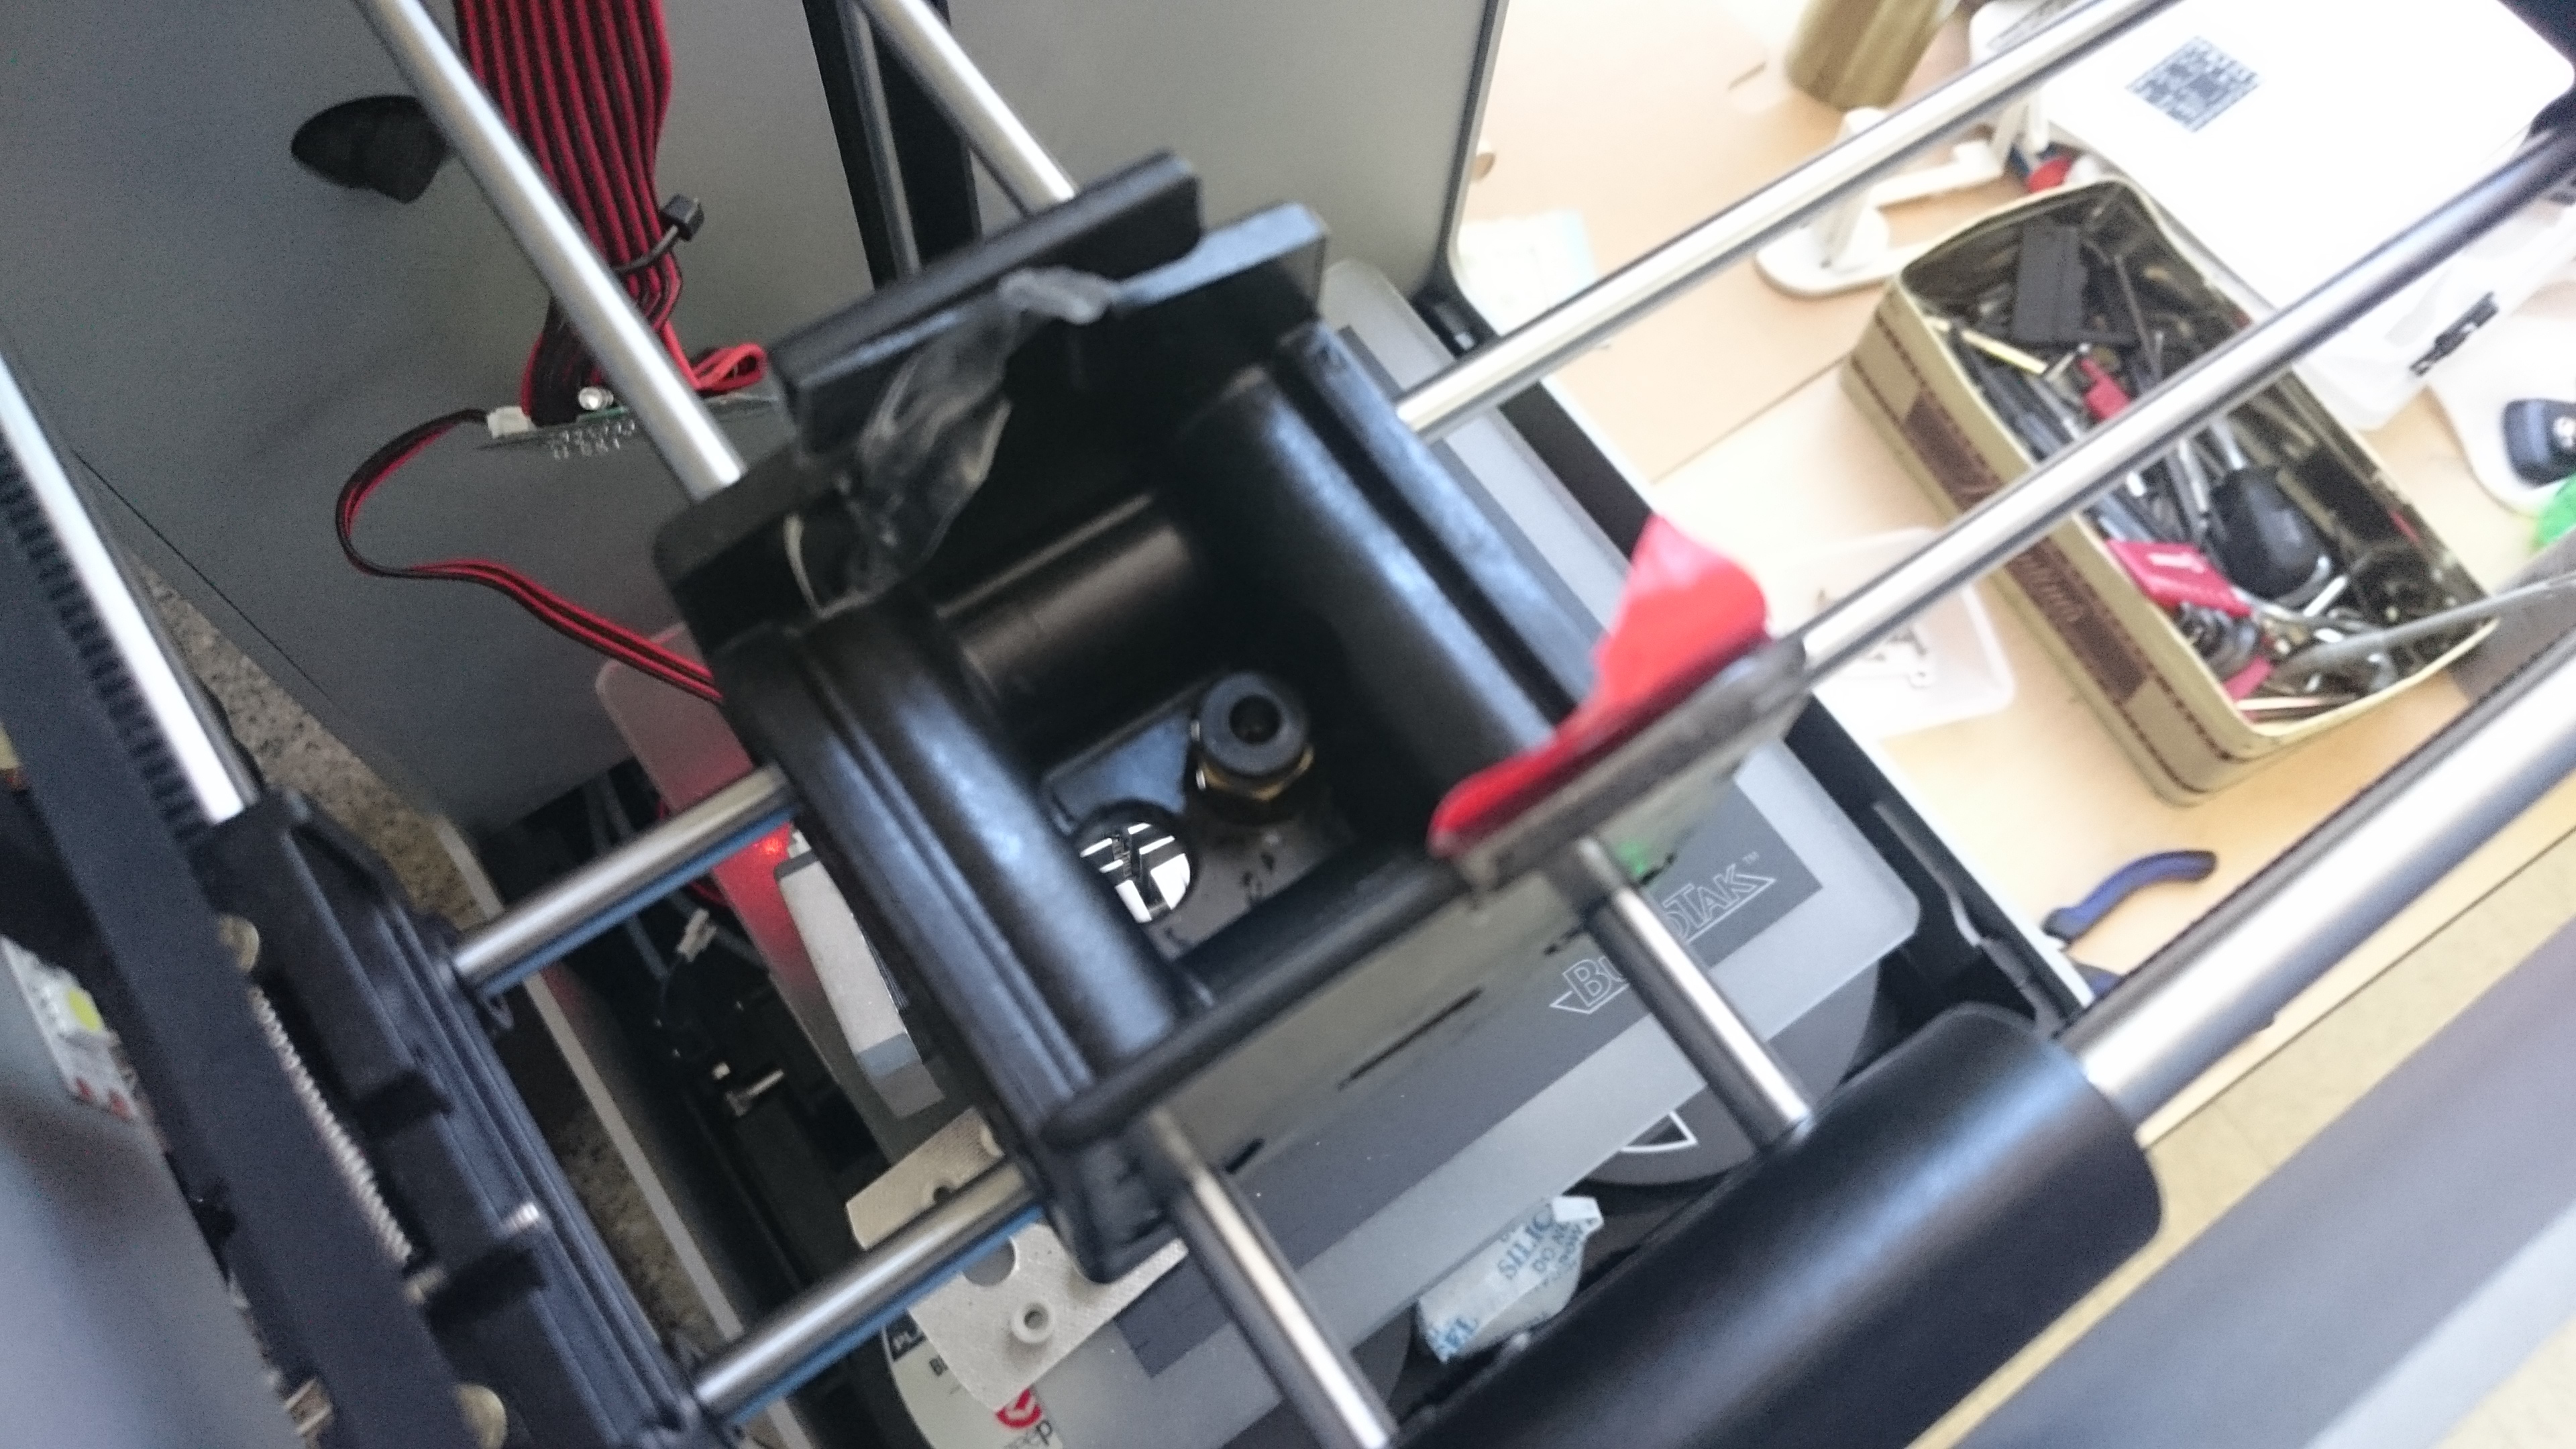
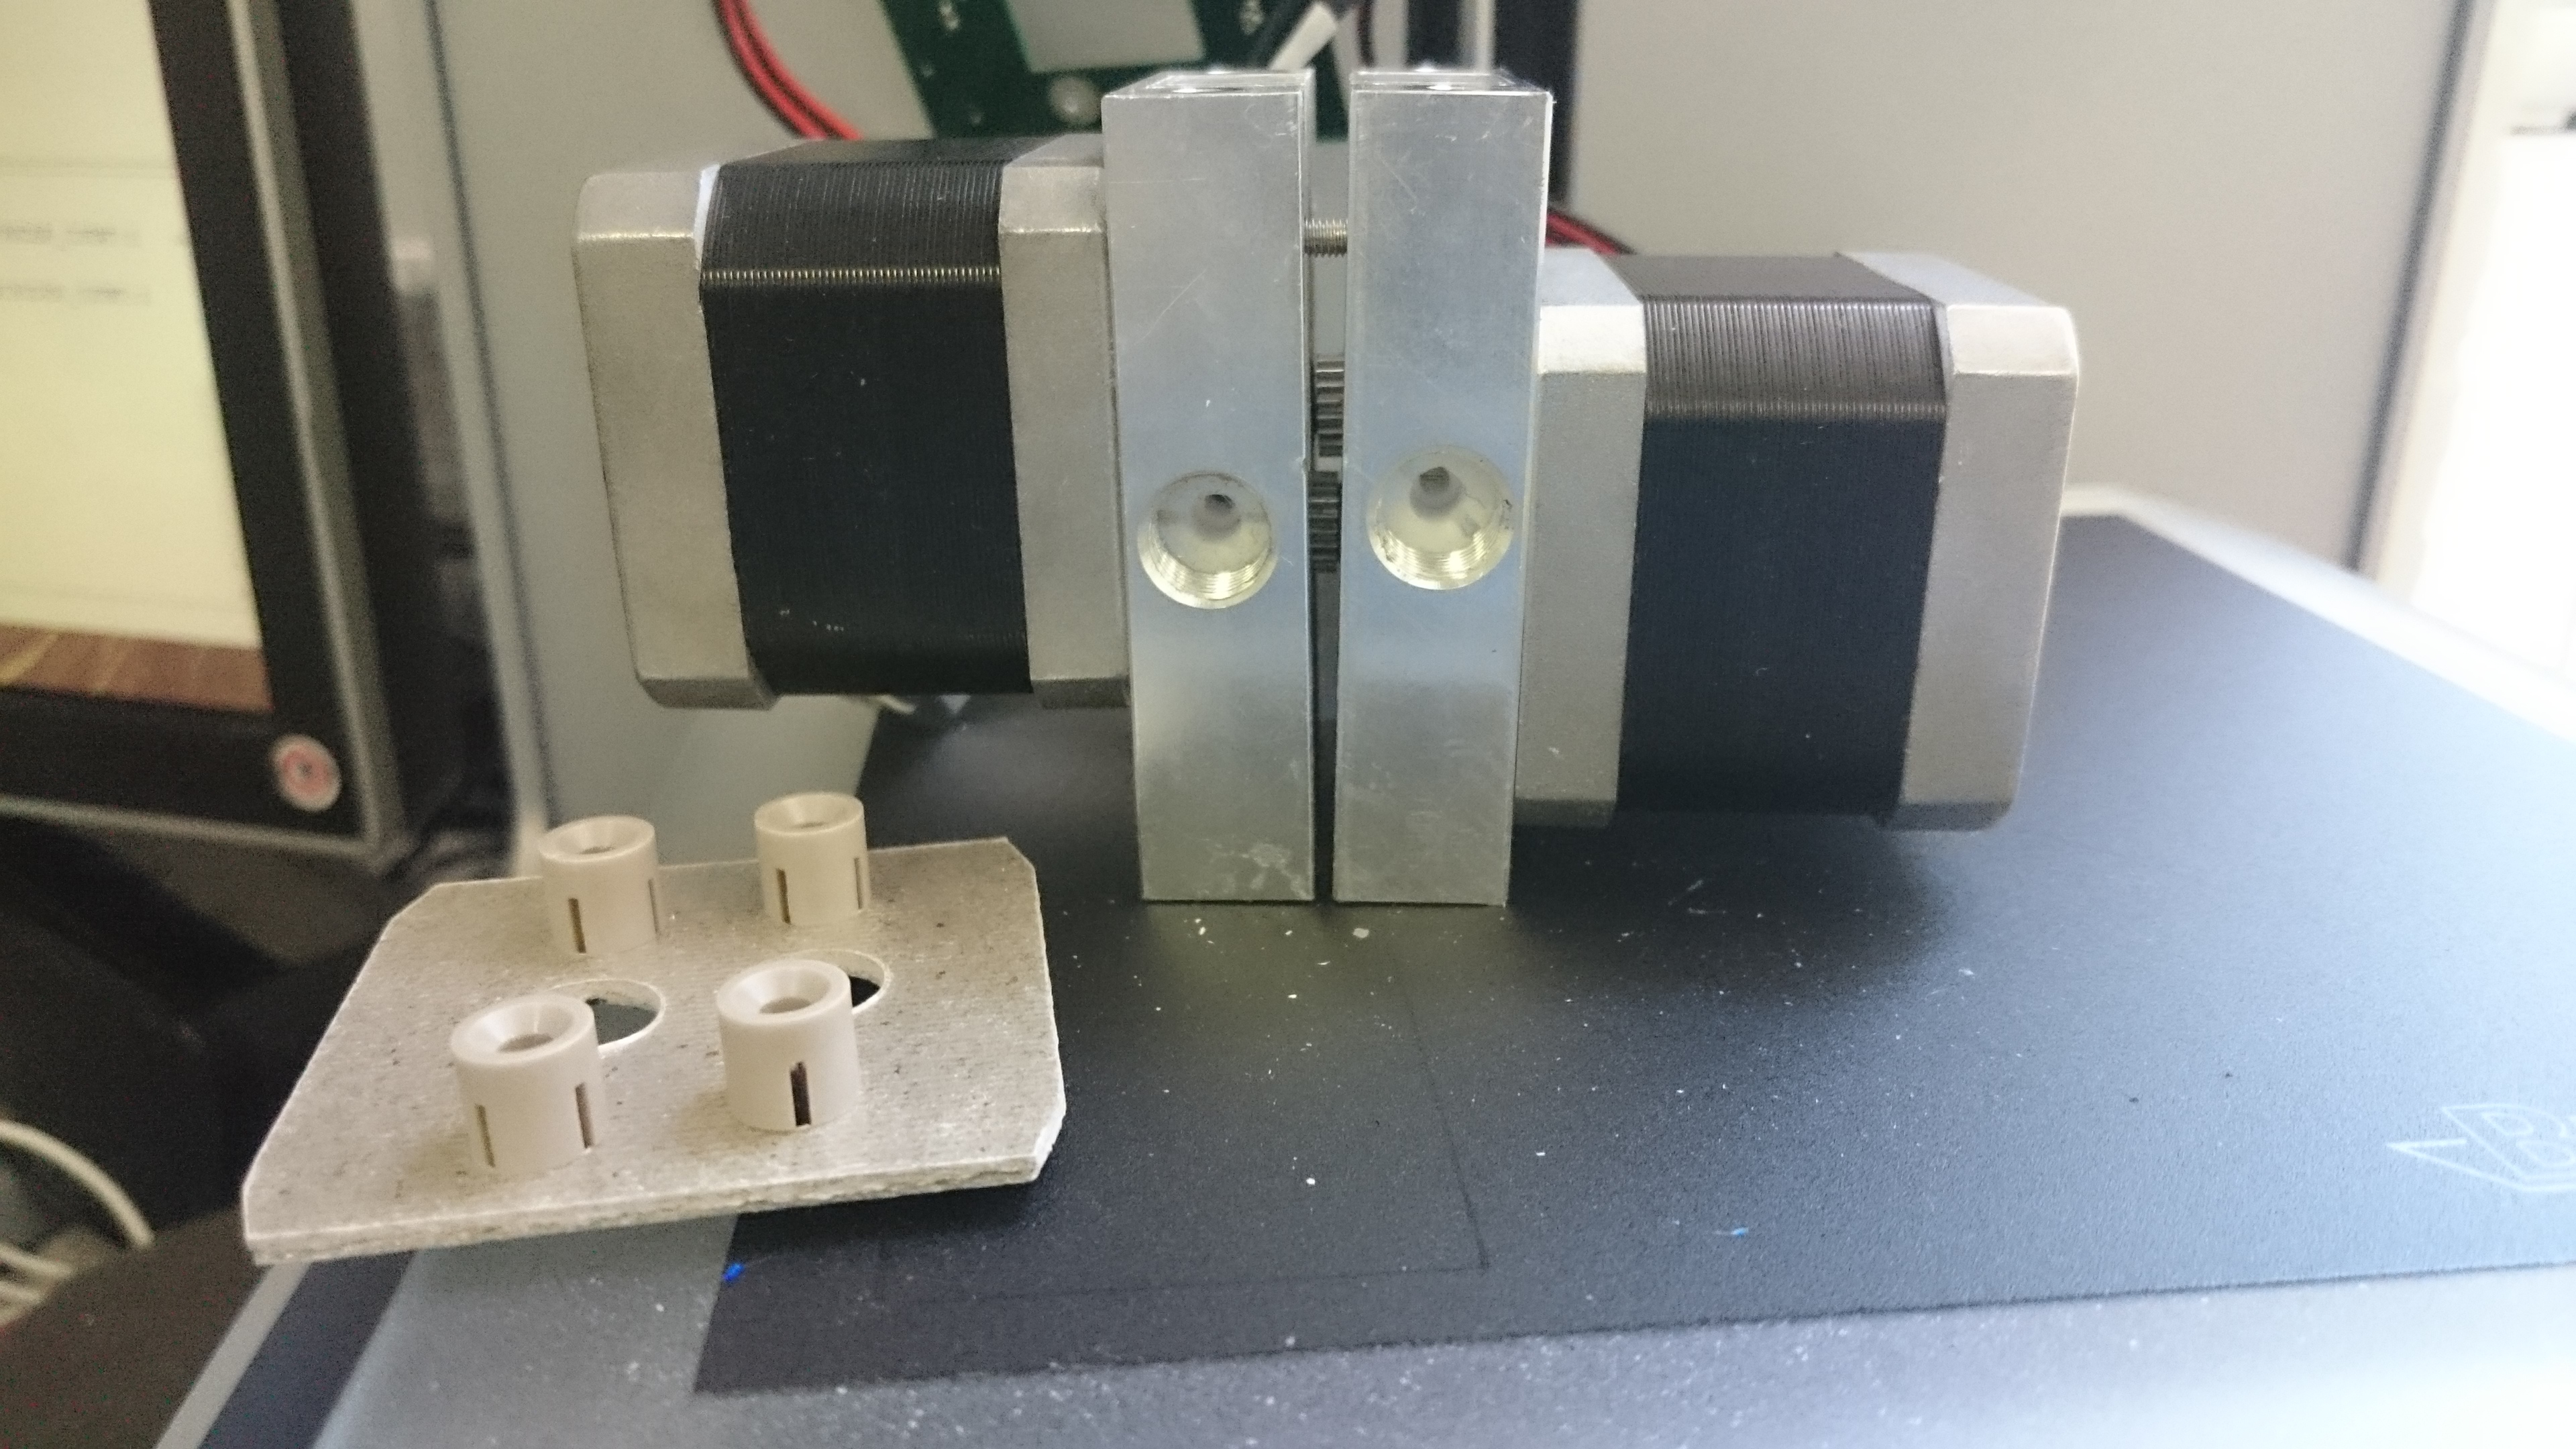
more pics
 seems like you got it covered. Thank you so much
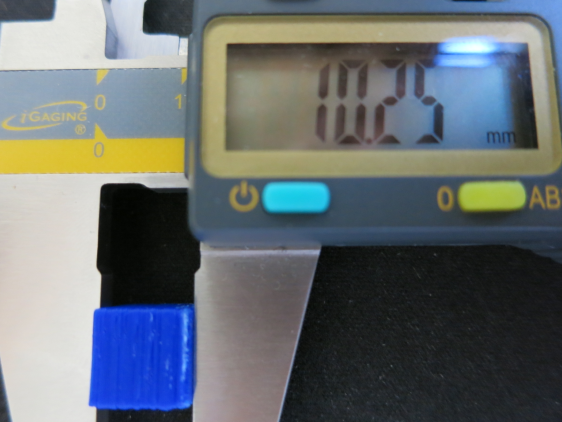


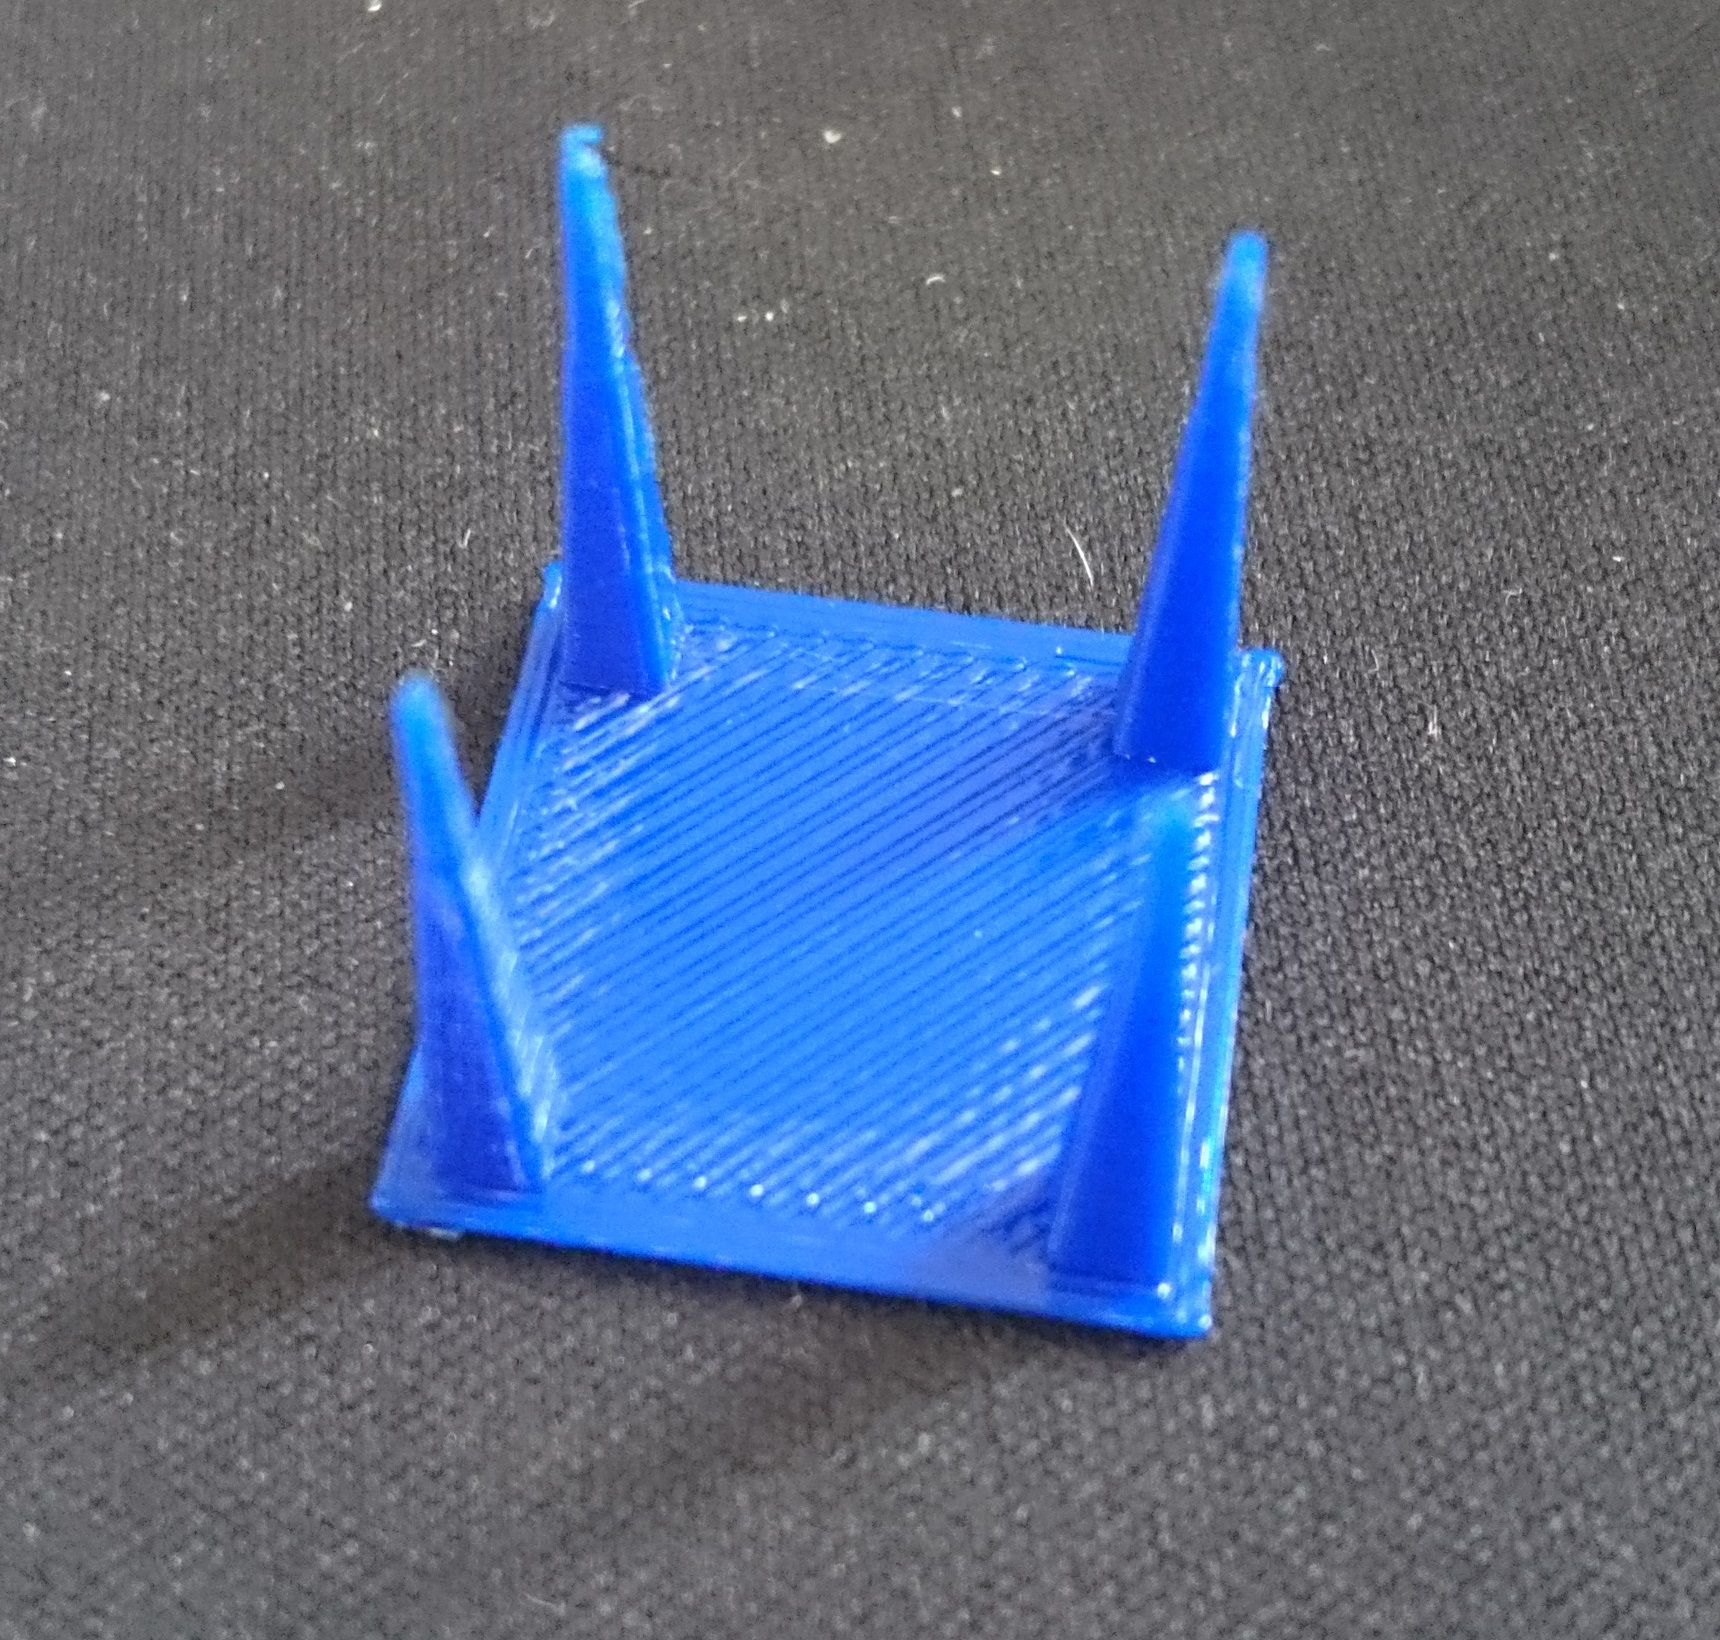


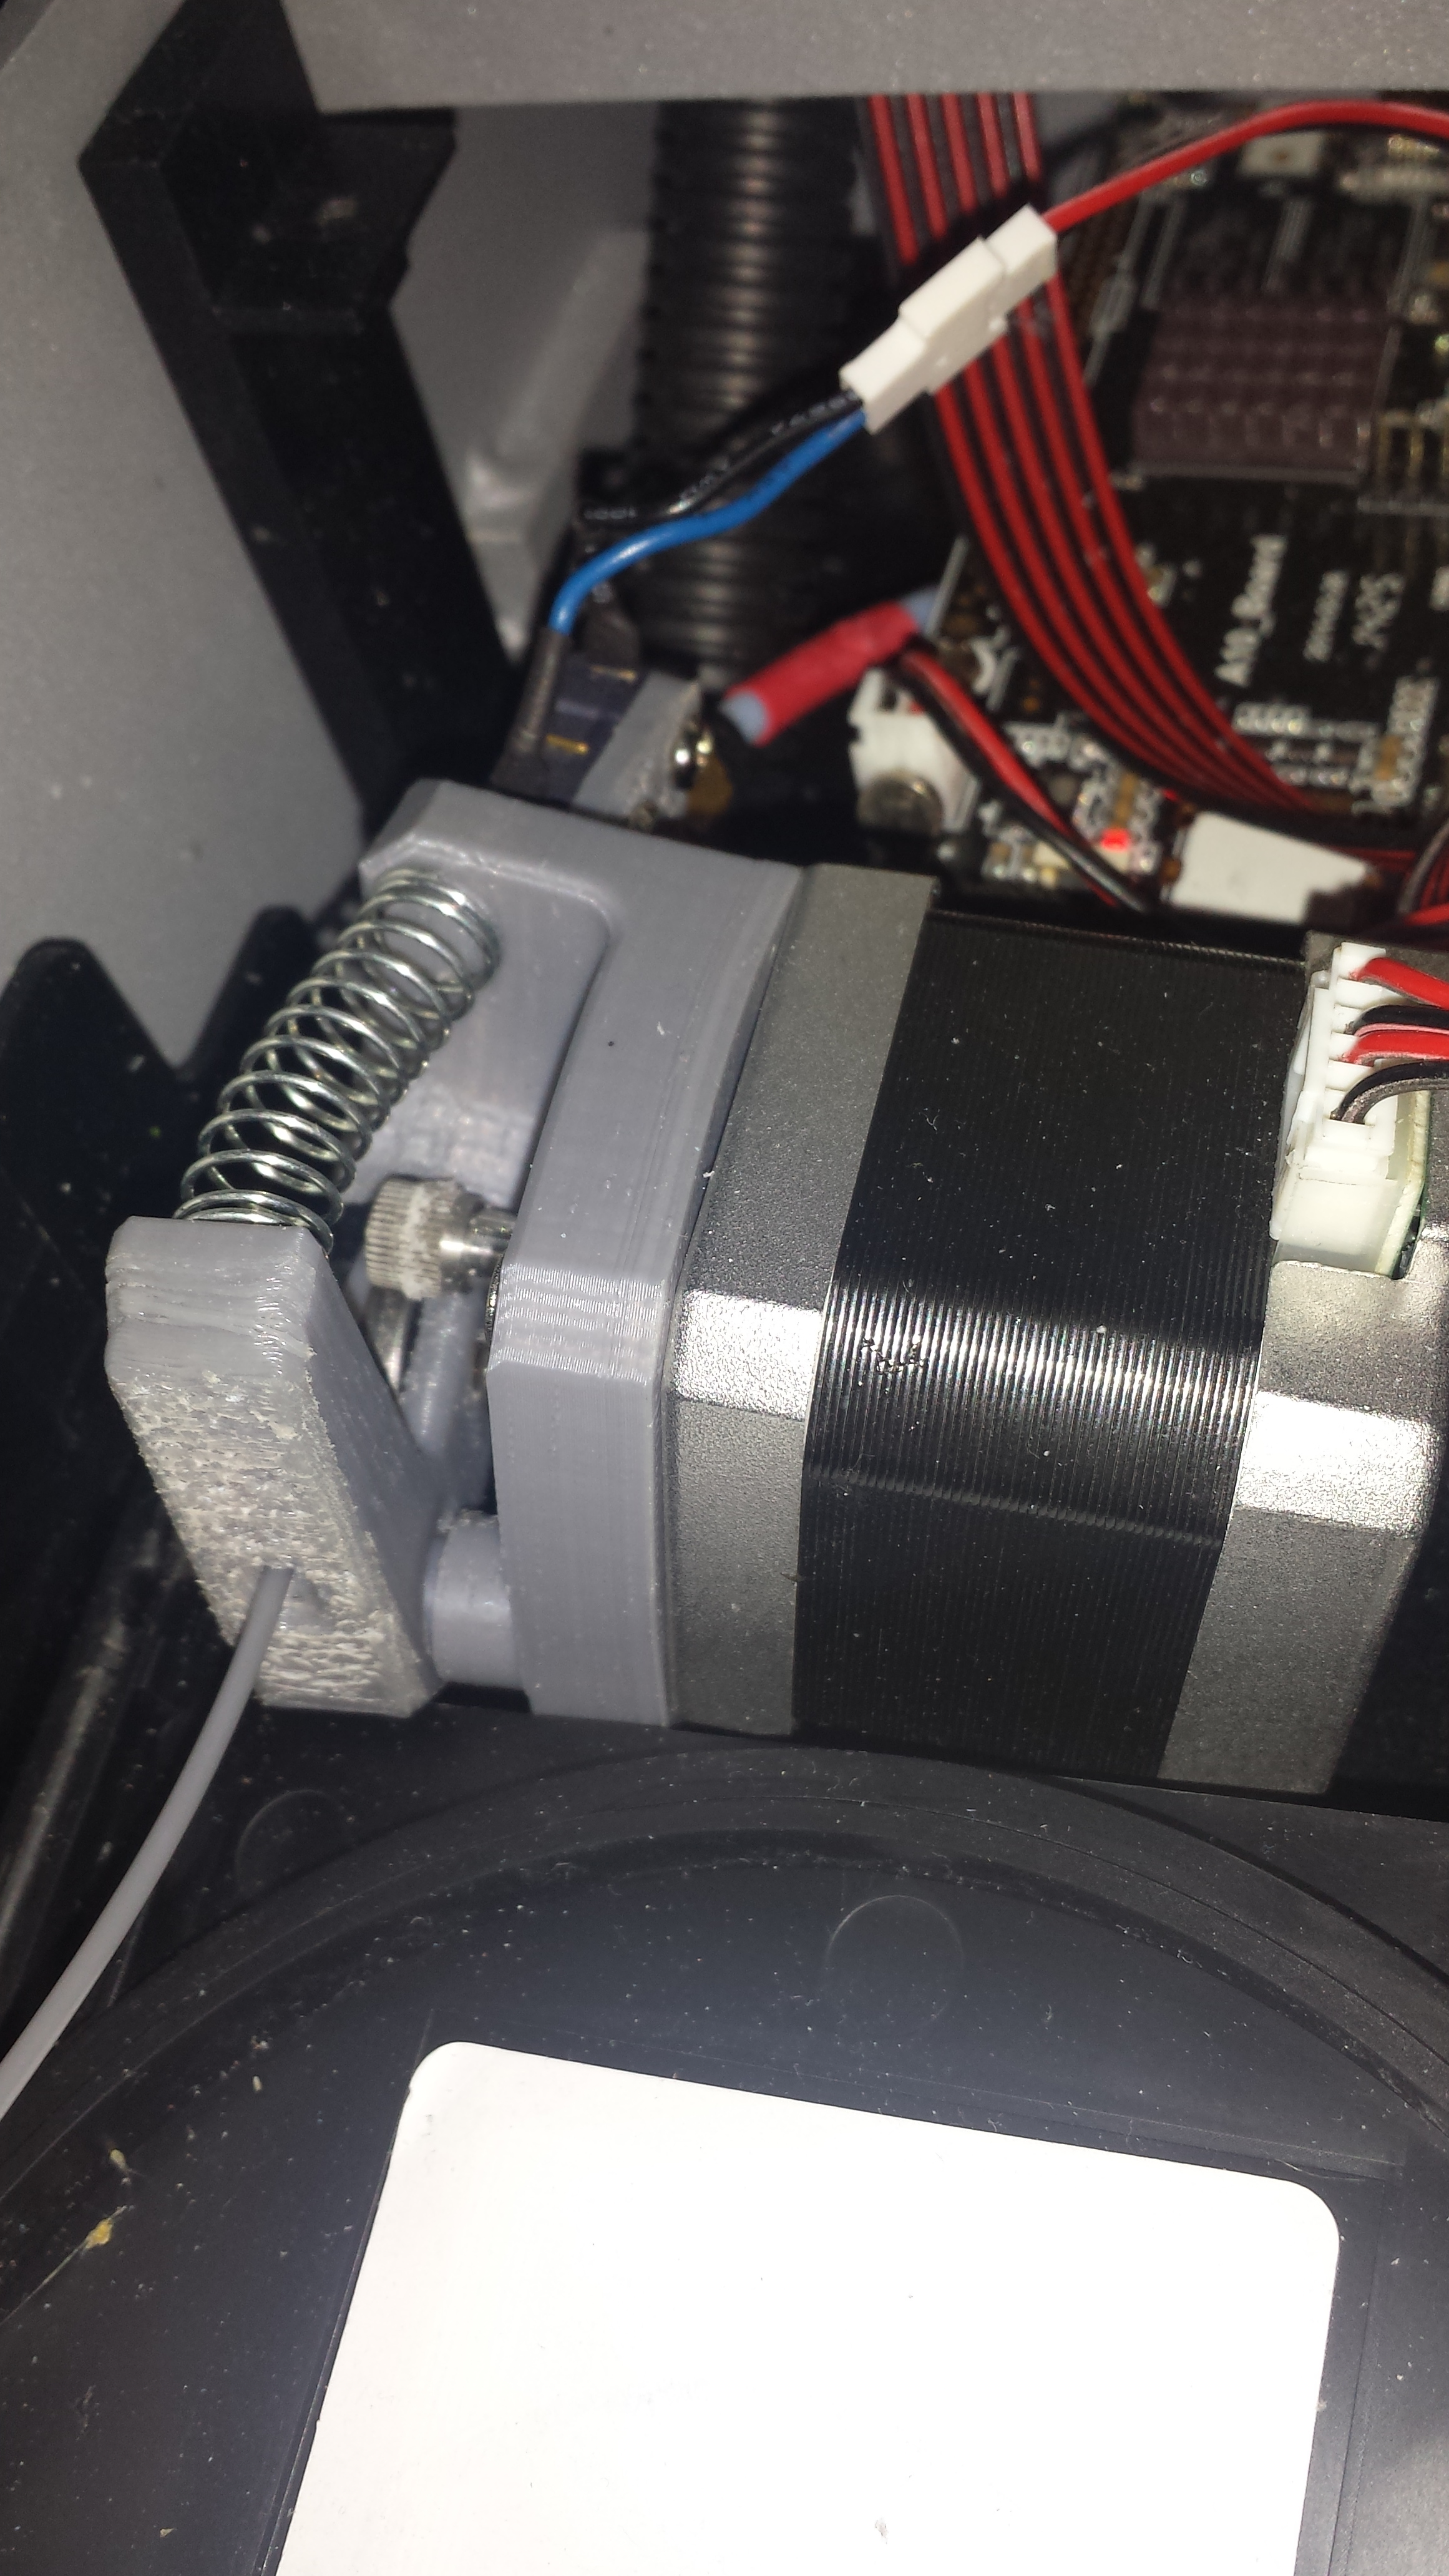

 . So I hooked the fan on to a 9V battery and turn the fan on manually when it is doing a lot of overhang,