
@Nightmare that is exactly what i was wanting to do to mine! i never use the left fan either and wanted a light mounted lower also. that support looks awesome, if theres anyway you would share that with me that would be much appreciated brother.
ZIM Hardware-Mods
If you don’t use the cooling fan ever, how do you avoid overhang curling problems?
My curling and warping problems are even with cooling fan (improving the overhang print problems slightly), so far unsolvable.
i try to avoid as many over hangs as possible. even if it means redesigning something or splitting something in half. for parts that have interior flat over hangs i just let it go with no support. usually turns out fine. i use cura and usually use touching buildplate support type or none, very rarely had to use touching everywhere setting(builds supports on top of prints. when i used the left fan its always messed up my prints. unplugged it one day and its been running smooth as butter. some prints come out disappointing yes but most things i print arent complex or need to be perfect anyway.
I am uploading the file on thingiverse. 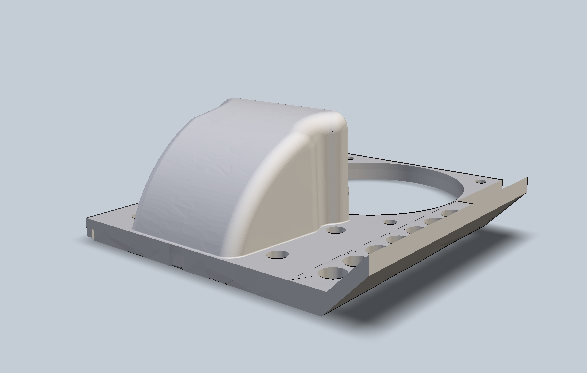
il will publish the files as soon as I will be allowed.
The complementary trick is :
There is a unused connector on the Head PCB. (see the image)
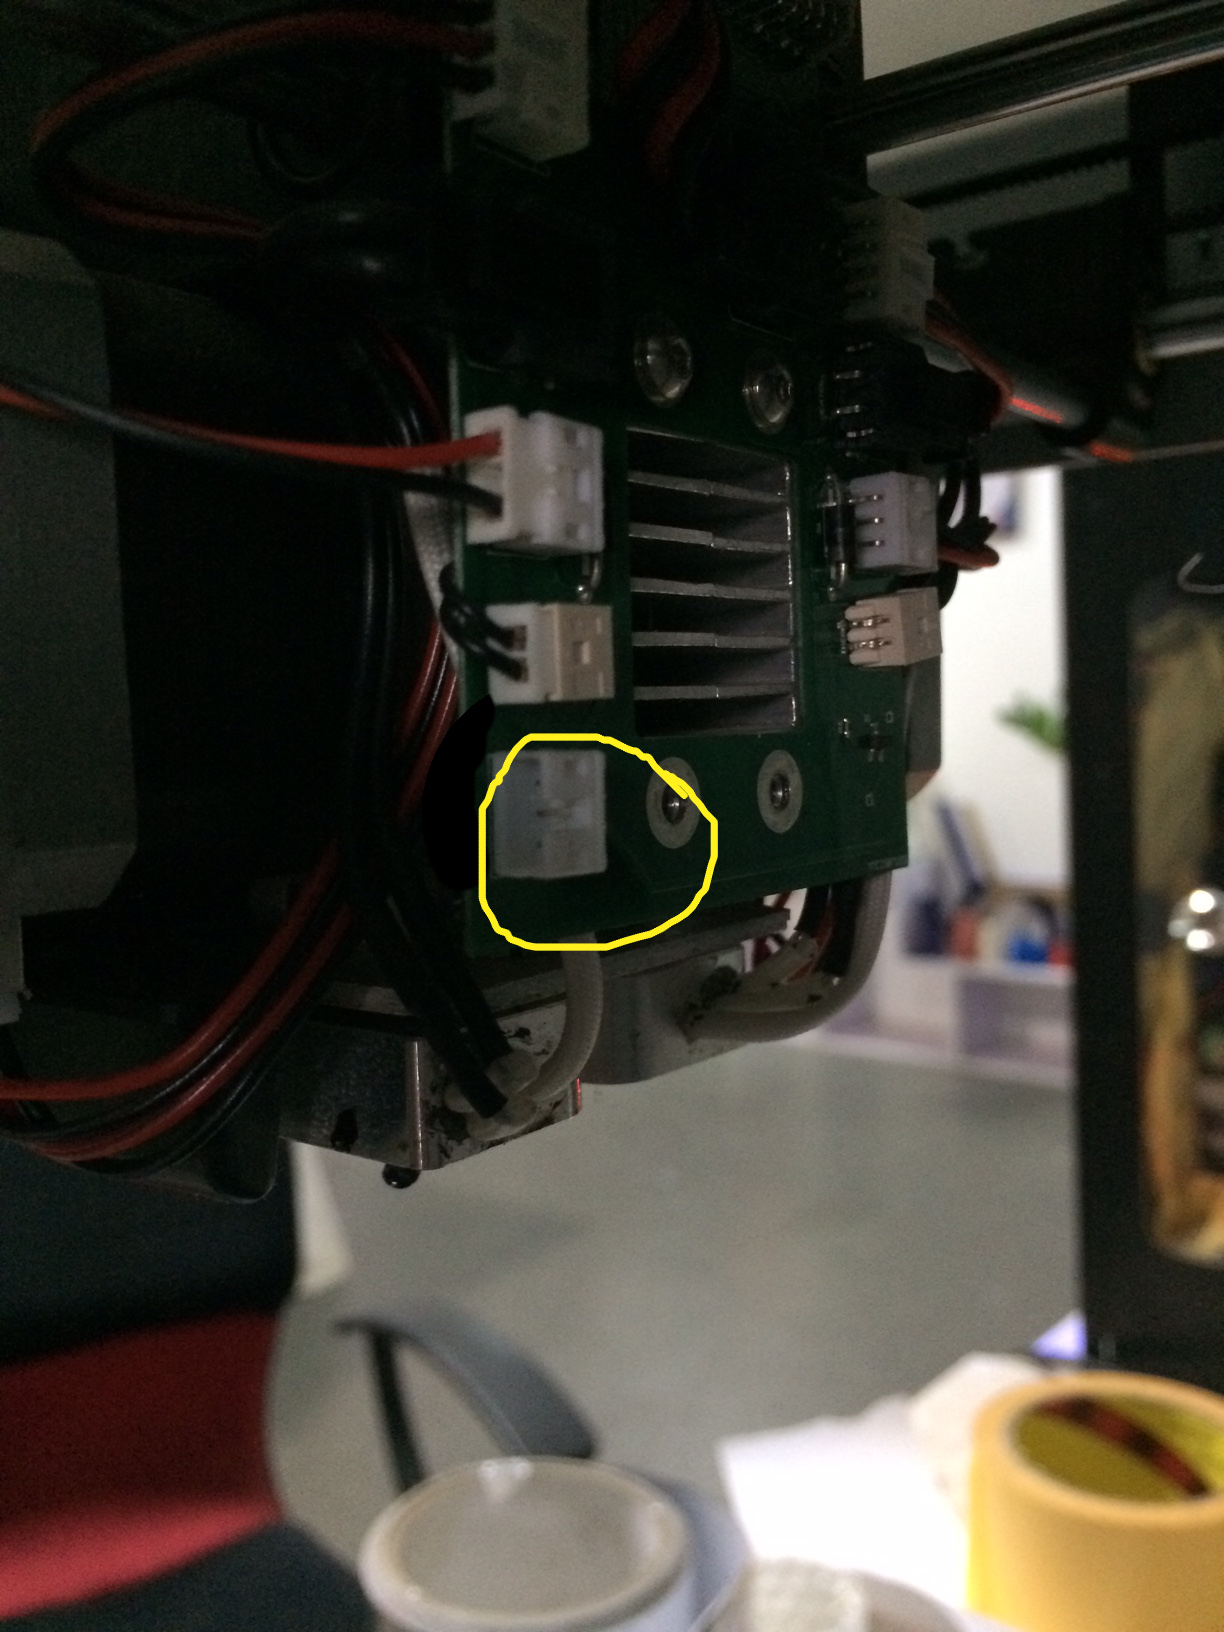
this is 12V power connector. it is working with the Head blue LED
 and you can connect a high power LED on it. so you can switch it on an of with the Zim software !
1 Like
Thank you for doing this. Will be doing asap
Here is the STL file you have to download the zip file and not the stl.
tell if it is ok
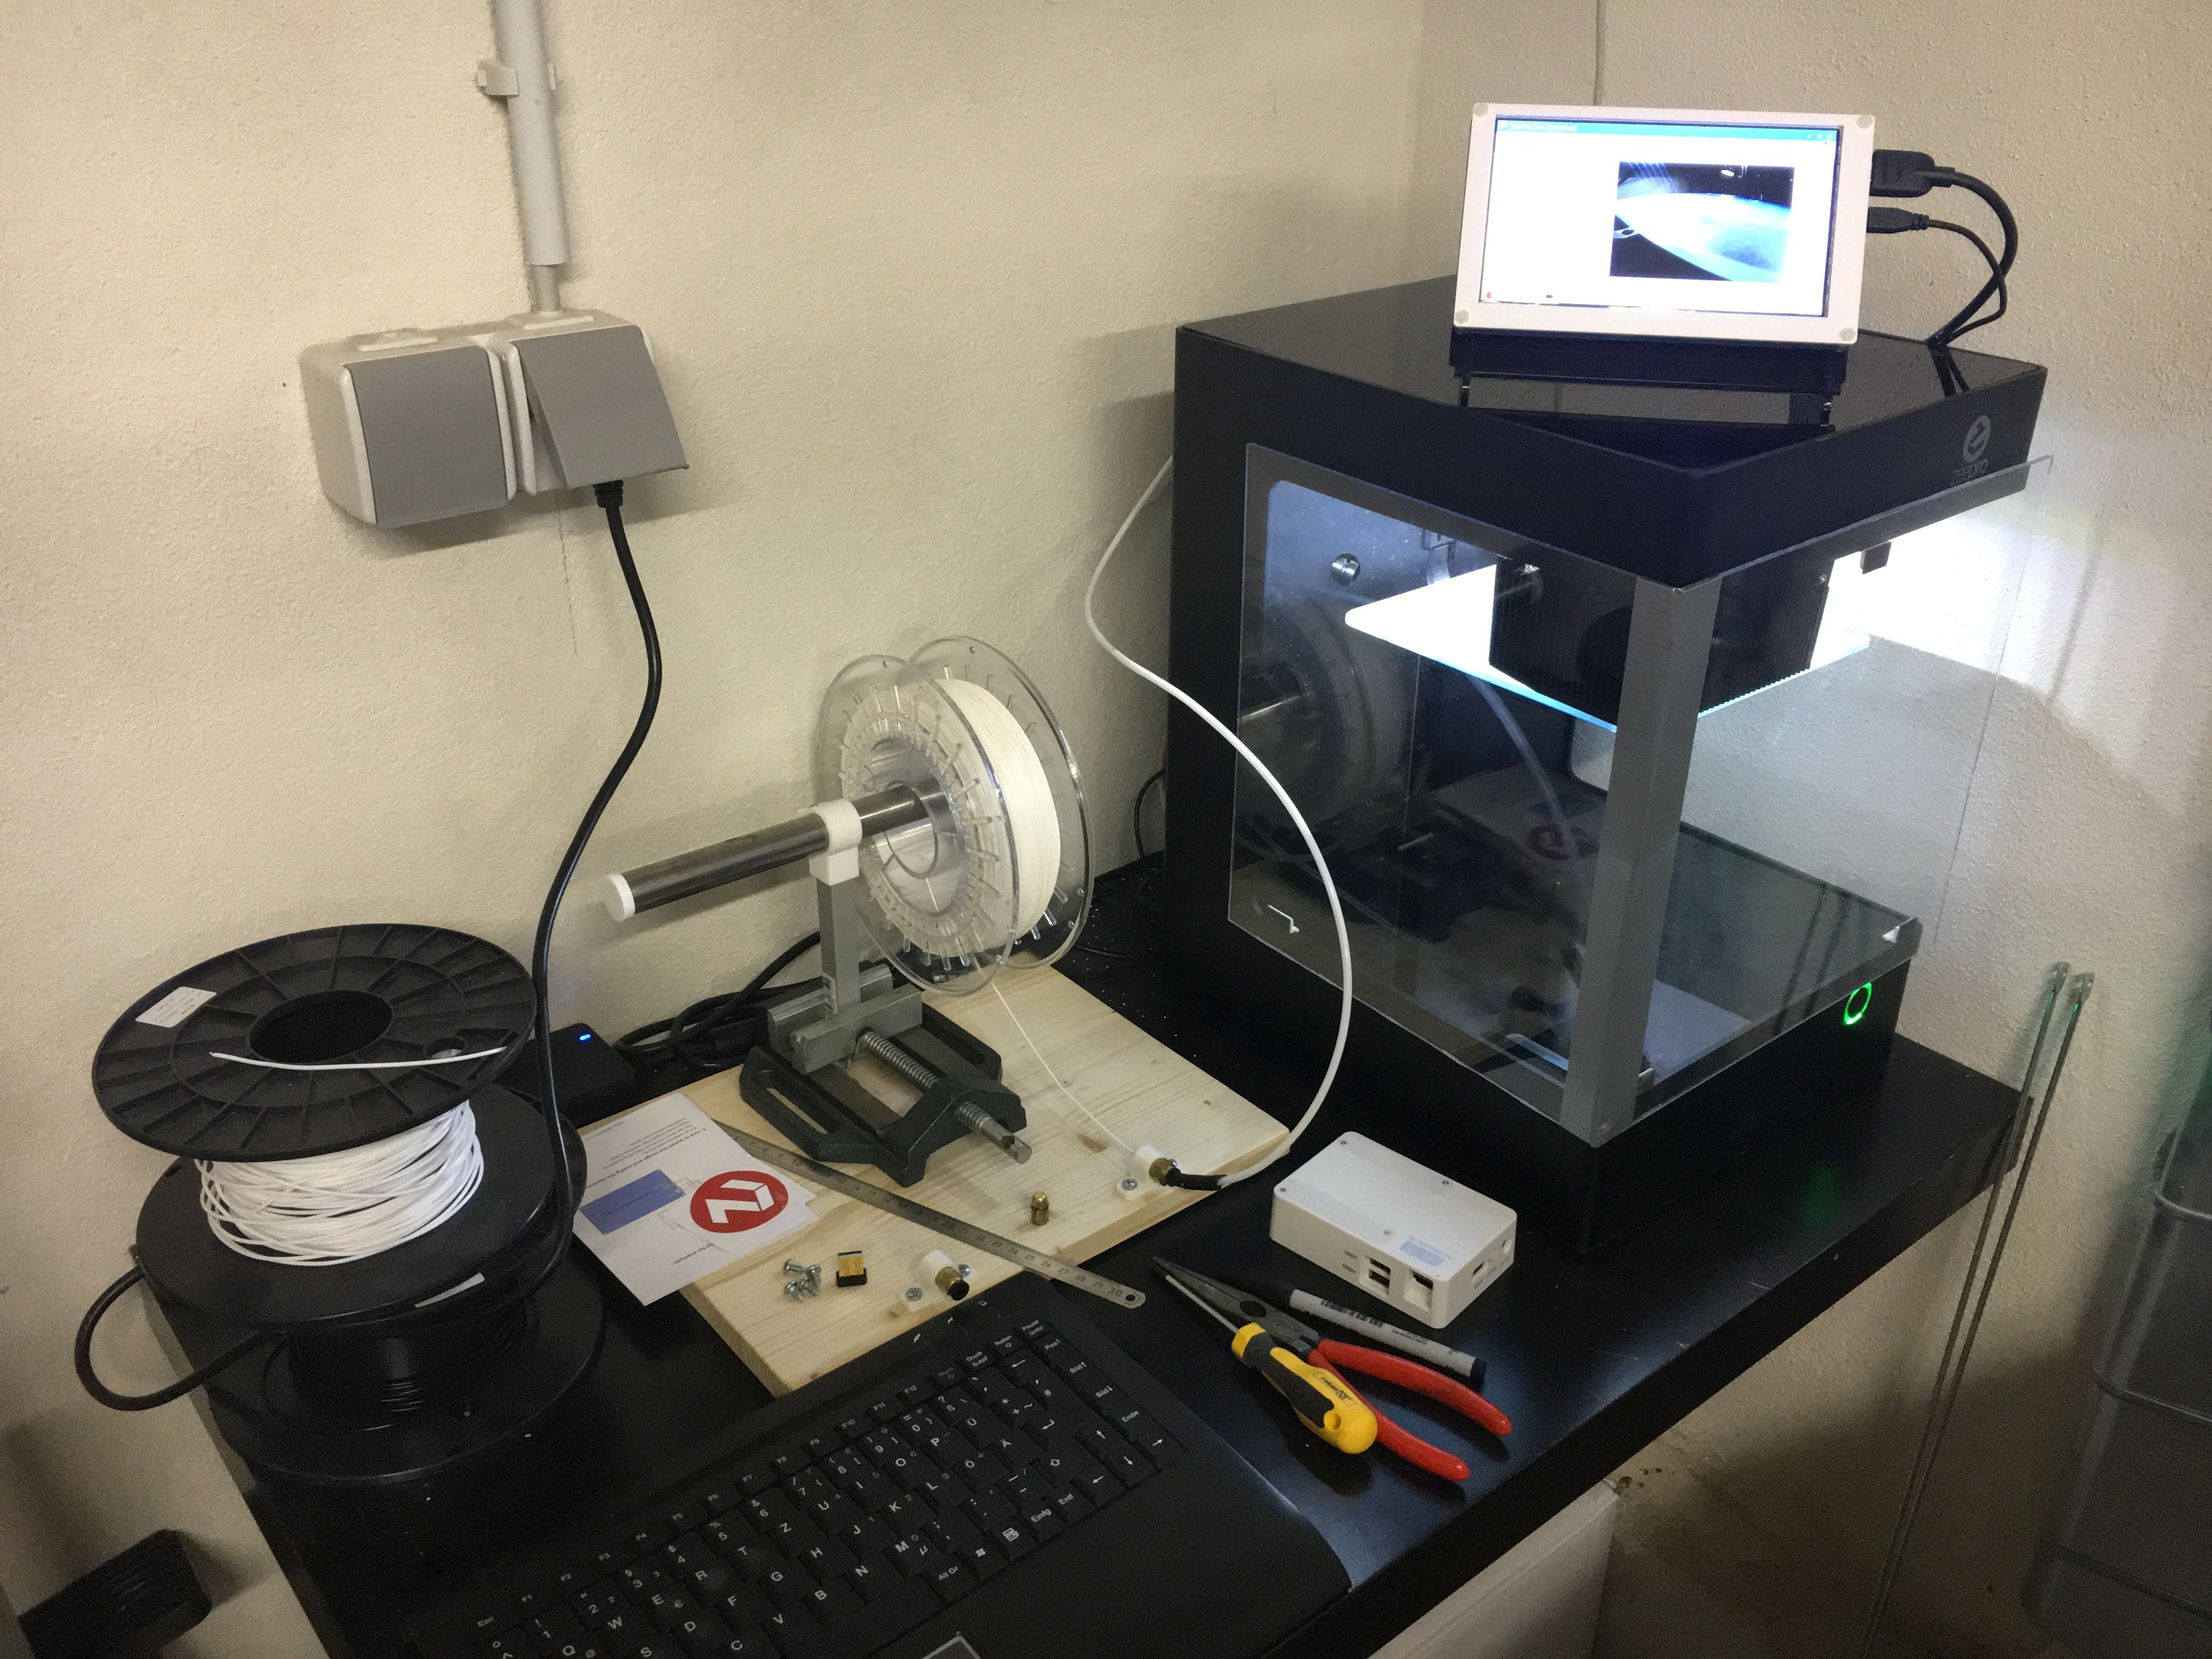
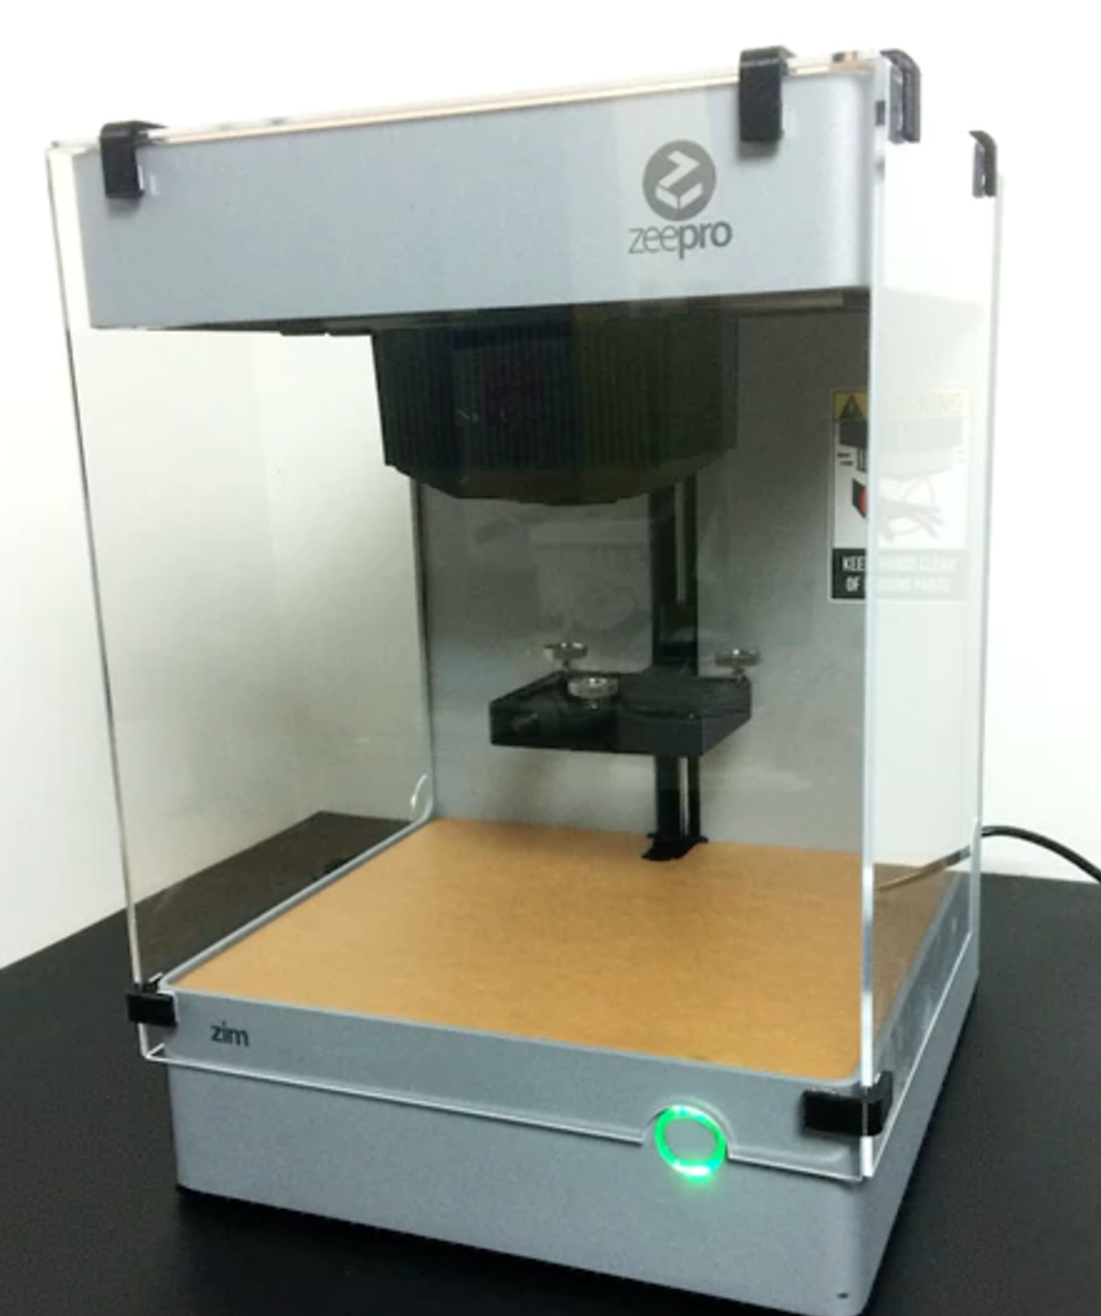
So here’s my ZIM-station.
I grinded two gaps into the back of the Aluminium frame for the Teflon tubes to go through. As a nice Side effect, the upper lid can be used and Zim looks as nice and sleek as designed.
Due I didn’t buy the enclosure, I simply made one of plexiglass. Not sure if it’s really better… In fact, I haven’t recognized any difference yet.
2 Likes
Did they ever release the plexi enclosure? Yours looks nice. Post some deets o. How its held on place!
Looking fantastic. And you even are able to print with the original top cover on. I am quite a bit jealous I have to admit 
Printing with my top cover never quite worked from the start.
But it looks like its just one side and front. Why? With three sides you would have a perfect heated print chamber.
For printing some ABS parts I build myself something out of cardboard and it worked wonders in regards to the heavy warping and skrinking problems of ABS.
The Zeepro Original version with that hanging from top solution I did not like at all. But I think to remember they shipped them the same time the heated bed was. At least to the few that bought one.
Yes specs please. I would love to build a three sided version.
And where to get the material?
That is easy… My wife wanted the third sheet of plexiglass for some decorations-stuff…
I’ll rebuild the covers soon. Right now, the covers have small hooks at the bottom, so they sit on the Aluminium base frame. When they are connected by hinges, Gravity will hold them in place. But my next version will have blocks on the bottom and a small magnet at the top, so that I can take them off one by one.
They did send out at least one that I know of. I haven’t put it together yet but it will be going on my second machine.
can you post nice pics of parts so we can fab our own @BDub? It’d be really nice to see it in unassembled form
Sure. I think it’s kind of ugly though. I remember we came up with some good ideas on the kickstarter page.
Wow, that looks beautiful!
The only problem with an enclosure like that is, that the cover of the Printhead comes a few millimeters out of the frame at the sides. no problem at the front of the Printer. So, the enclosures have to be mounted at the outside of the frame, or the printable area had to be limited to about 135mm.
Or maybe you would have to remove the cover of the head --> design destroyed.
If I only could get this chinese lasercutter working for some samples…
You could put the same design together without laser cutting or the ugly corner pieces. Just use acrylic glue and keep it slightly higher than the button.
yea, i wonder if we could make the ‘nice’ one without too much work
but yea, the printhead does come out so it’d push on it. you’d have to adjust your endstops so it comes shorter, which would reduce your printable area a little tiny bit.
So, this is my latest solution to the enclosure problem… still not the beauty that I´d like to have, but it´s getting closer.
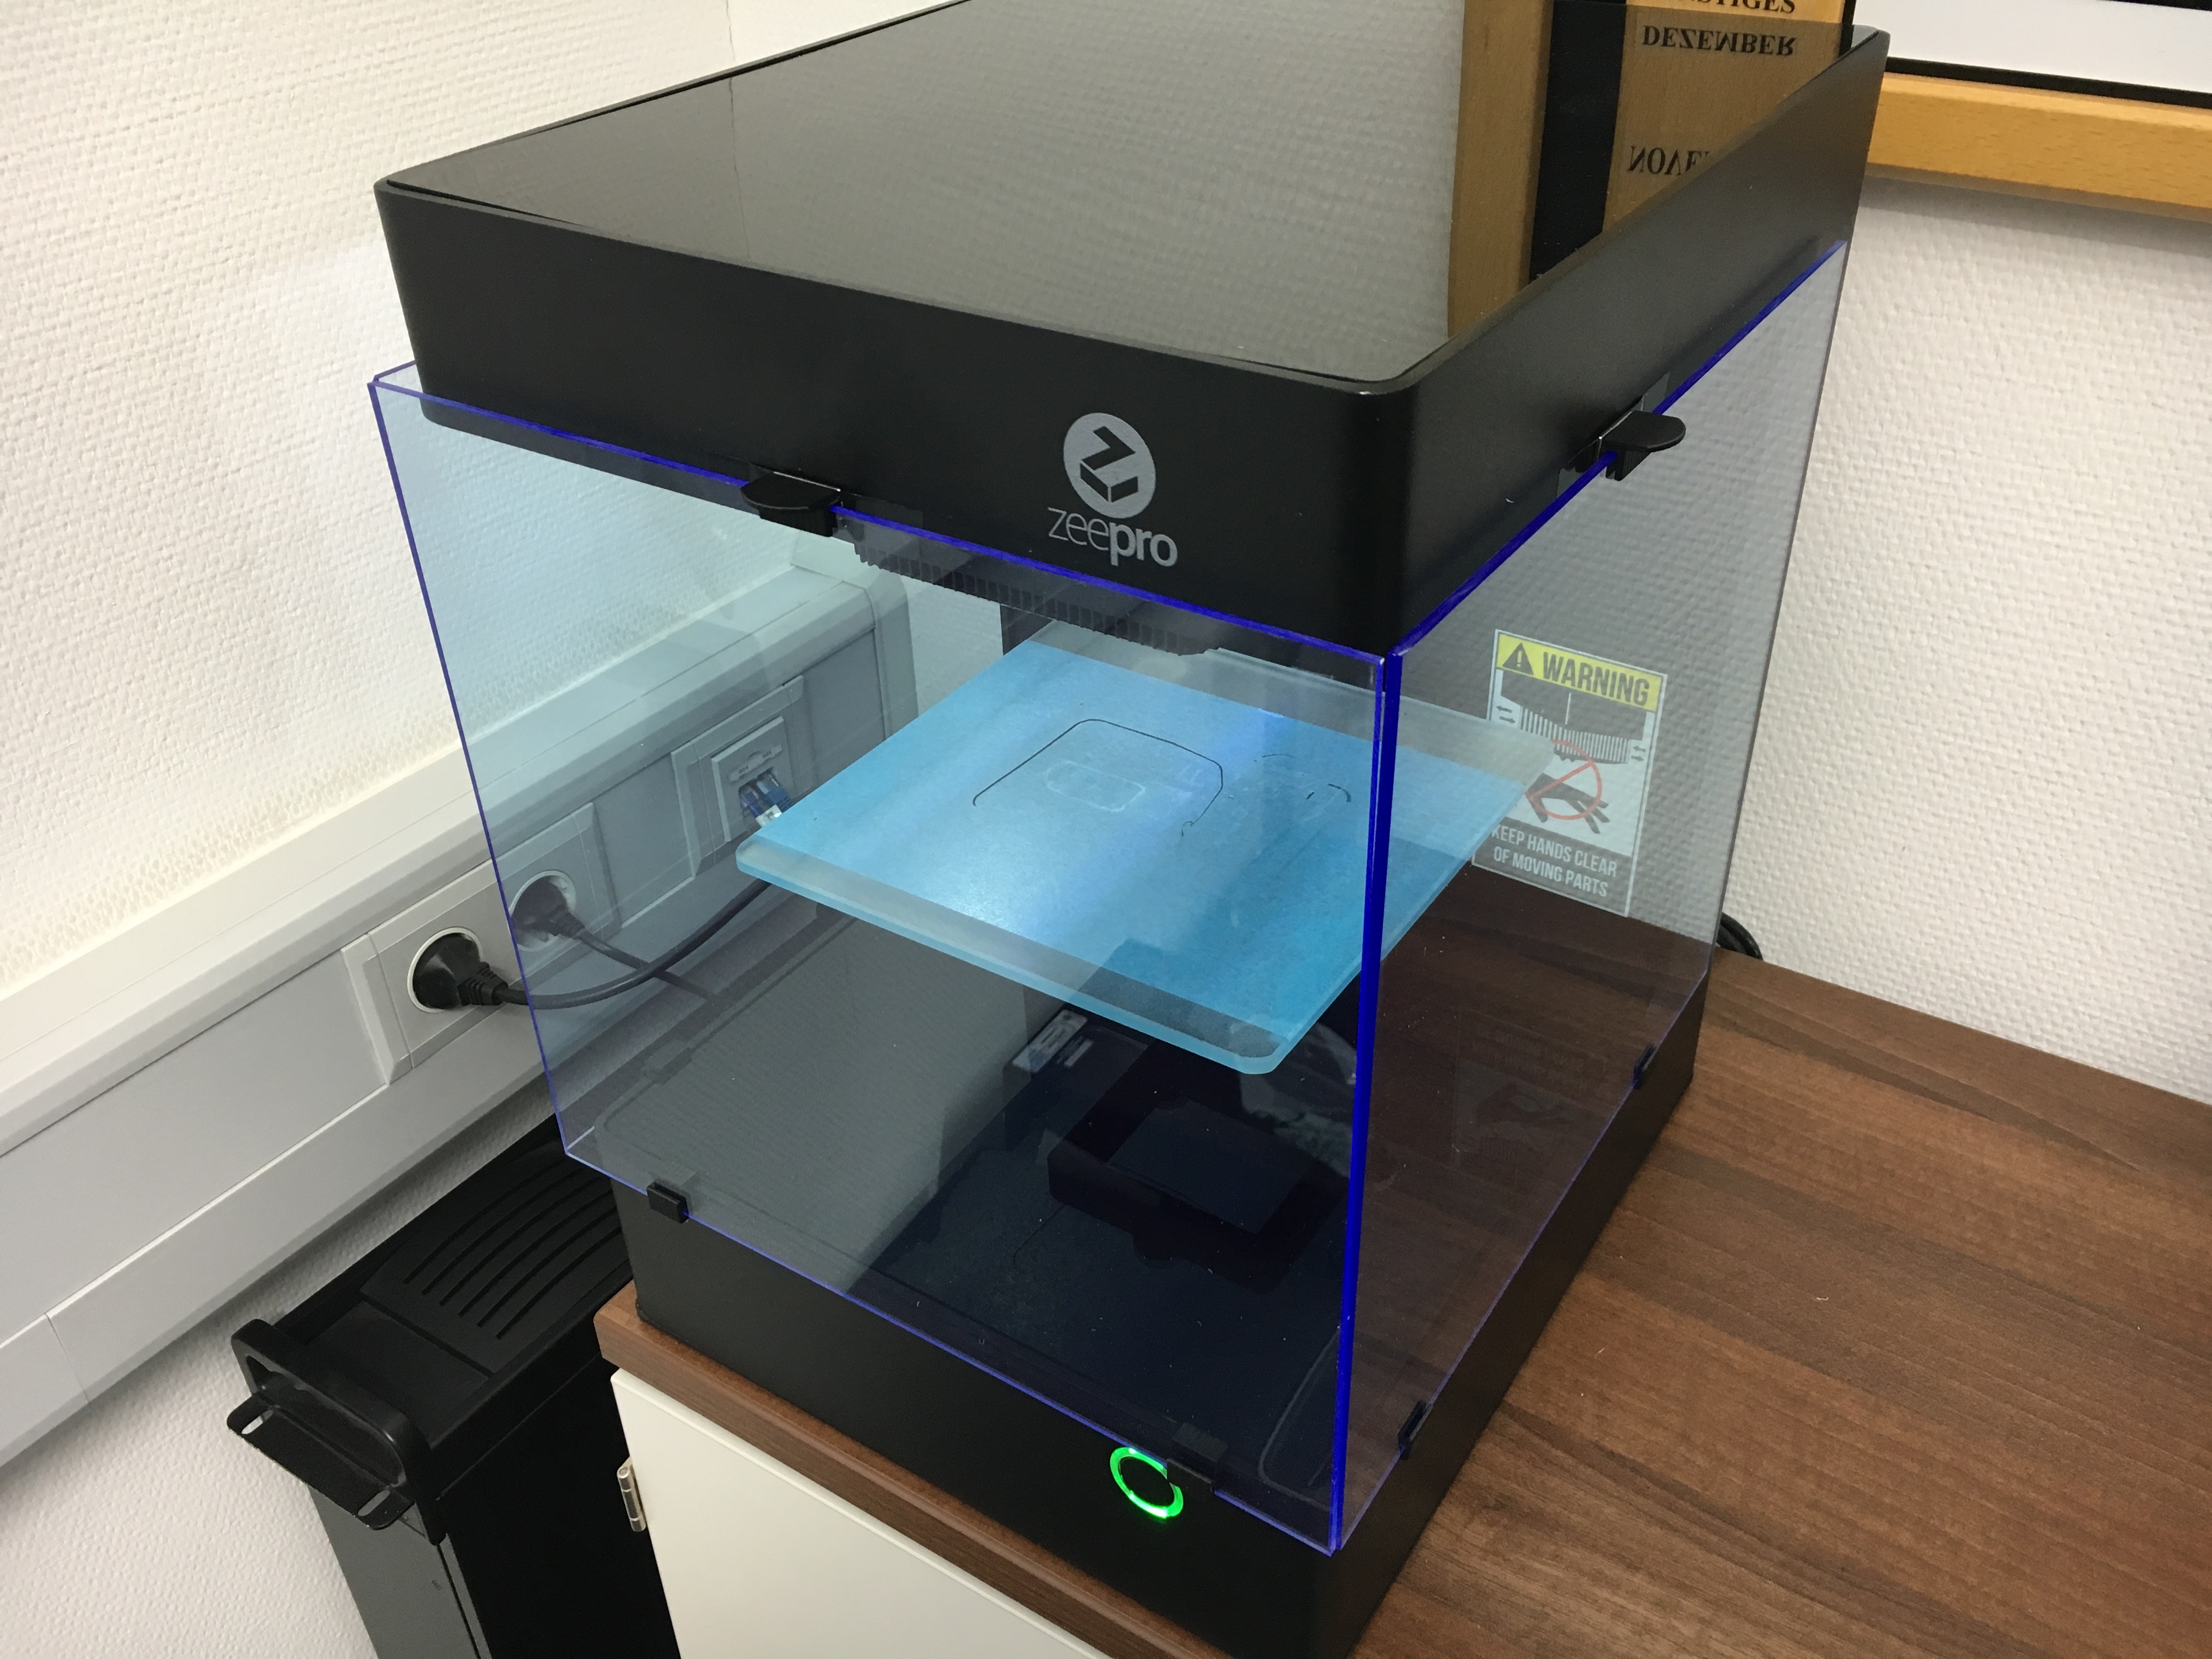
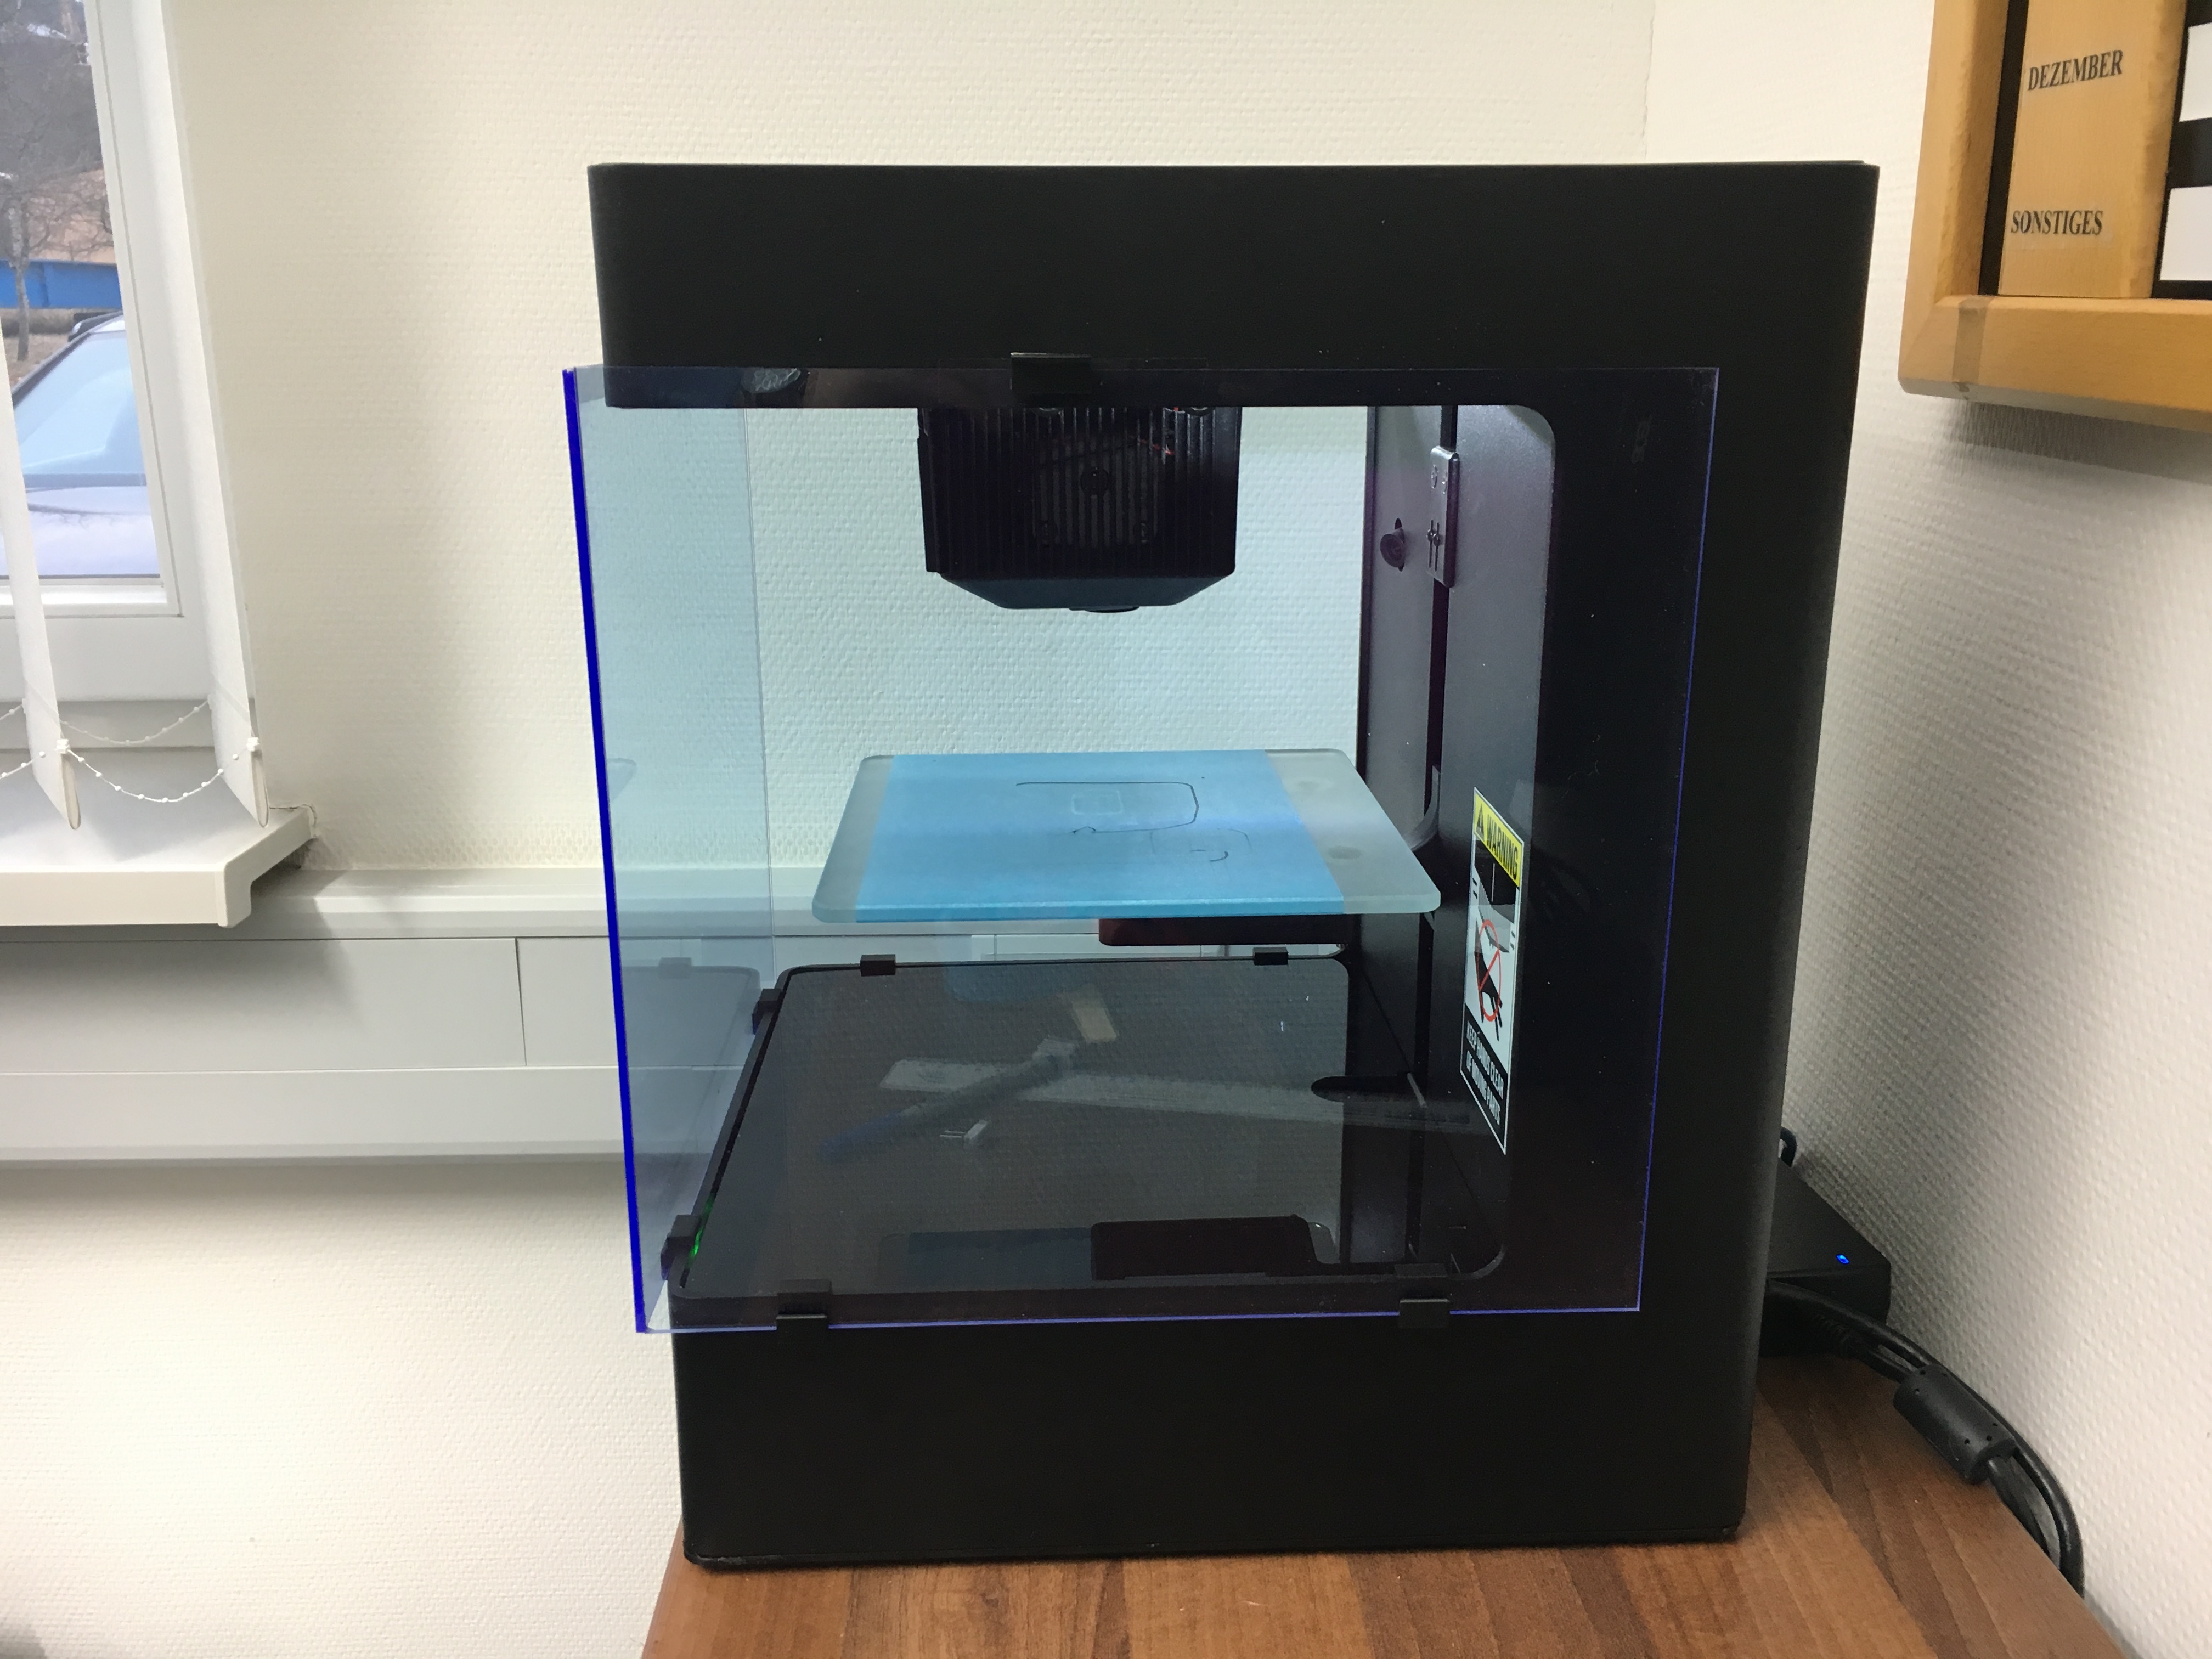
It´s made of three sheets of plexiglass (fluorescent blue in my case) 300x280 mm
You can download the upper and lower plasics HERE
If somebody could bend a U-shape from plexiglass, we could make a single-piece cover which could be slit out to the front of the printer. But then, we´d have to limit the travel of the X-axis a few millimeters.
2 Likes
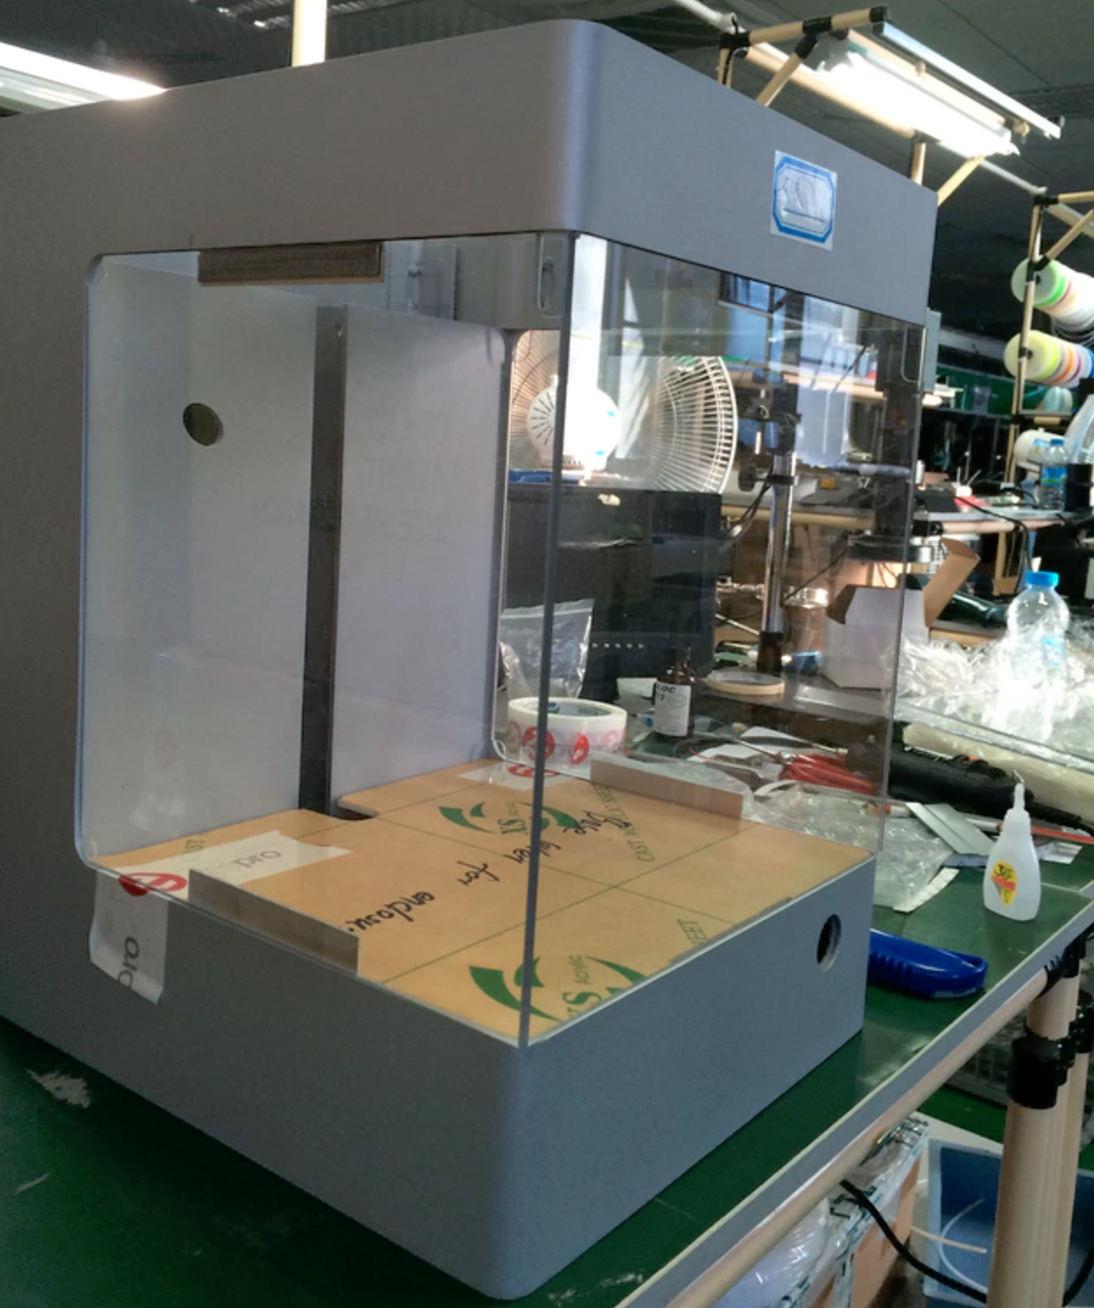
Wow the prototype ! I took this picture of this proto before sending it to SF office.
It was really a big shit and not efficient
 what a souvenir
1 Like