
Very nice @J_Schmidt! I like that better than the official solution. How easy is it to remove one panel? I’m wondering how the latch at the top works.
ZIM Hardware-Mods
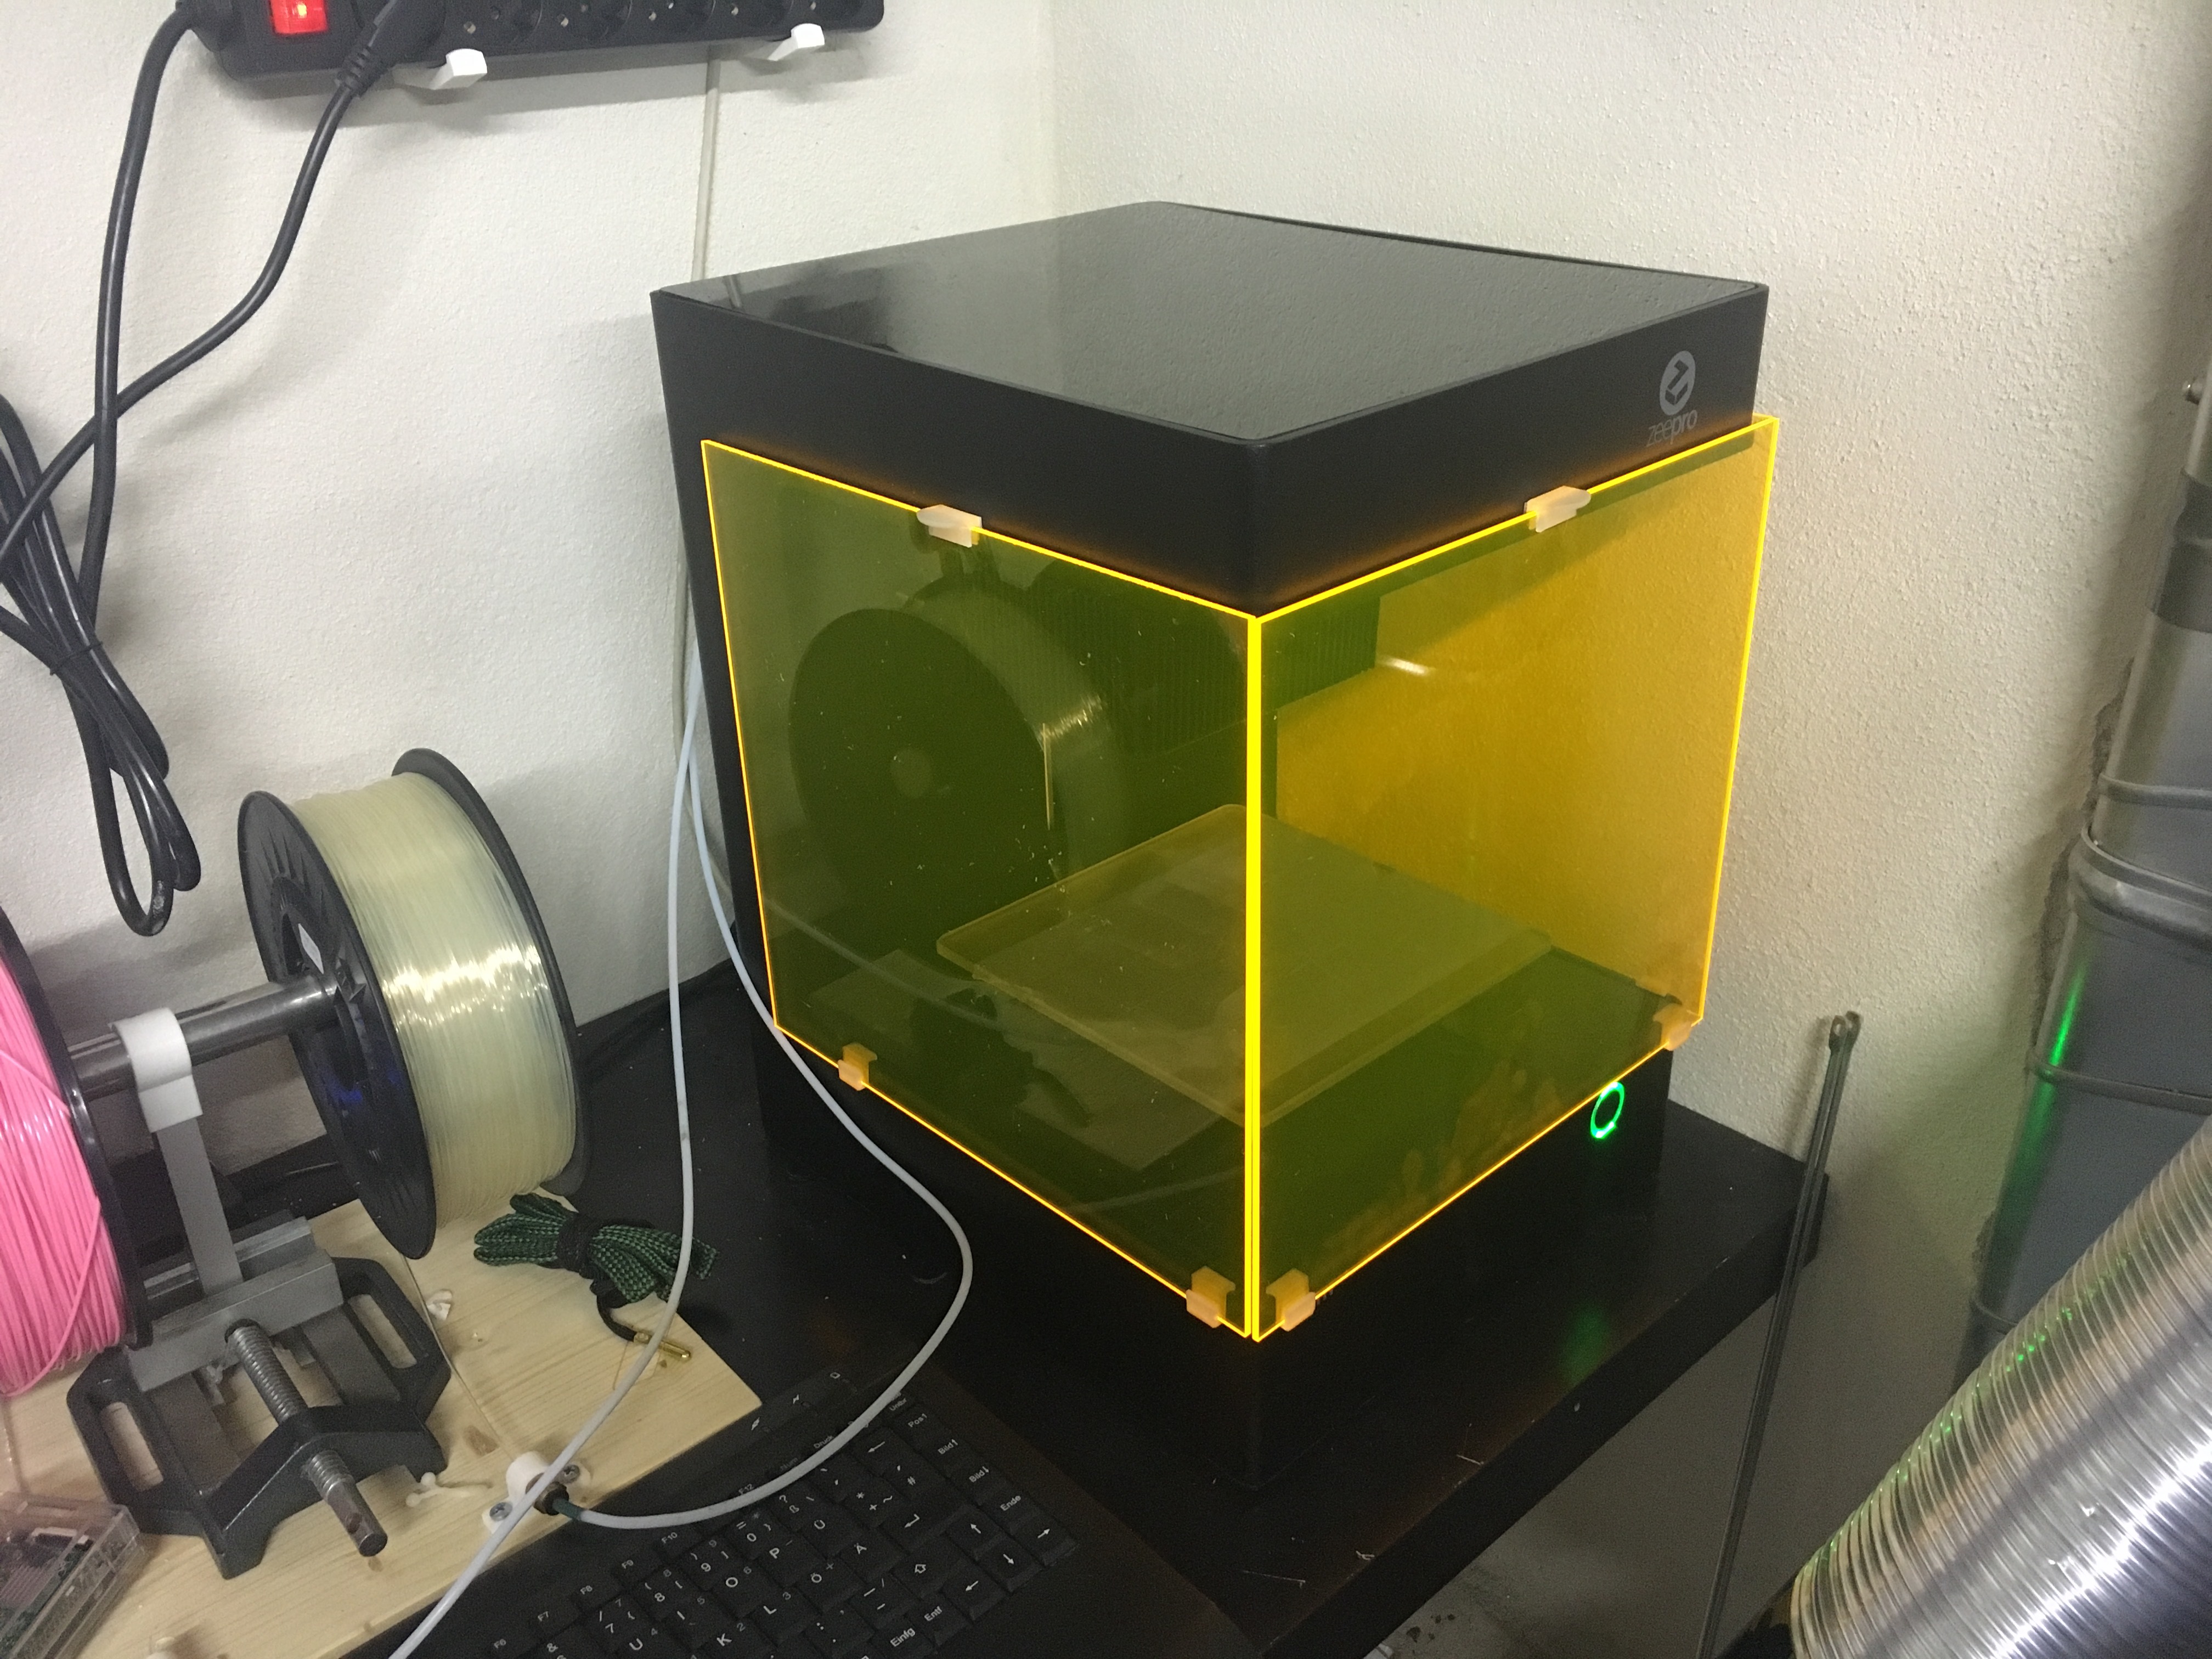
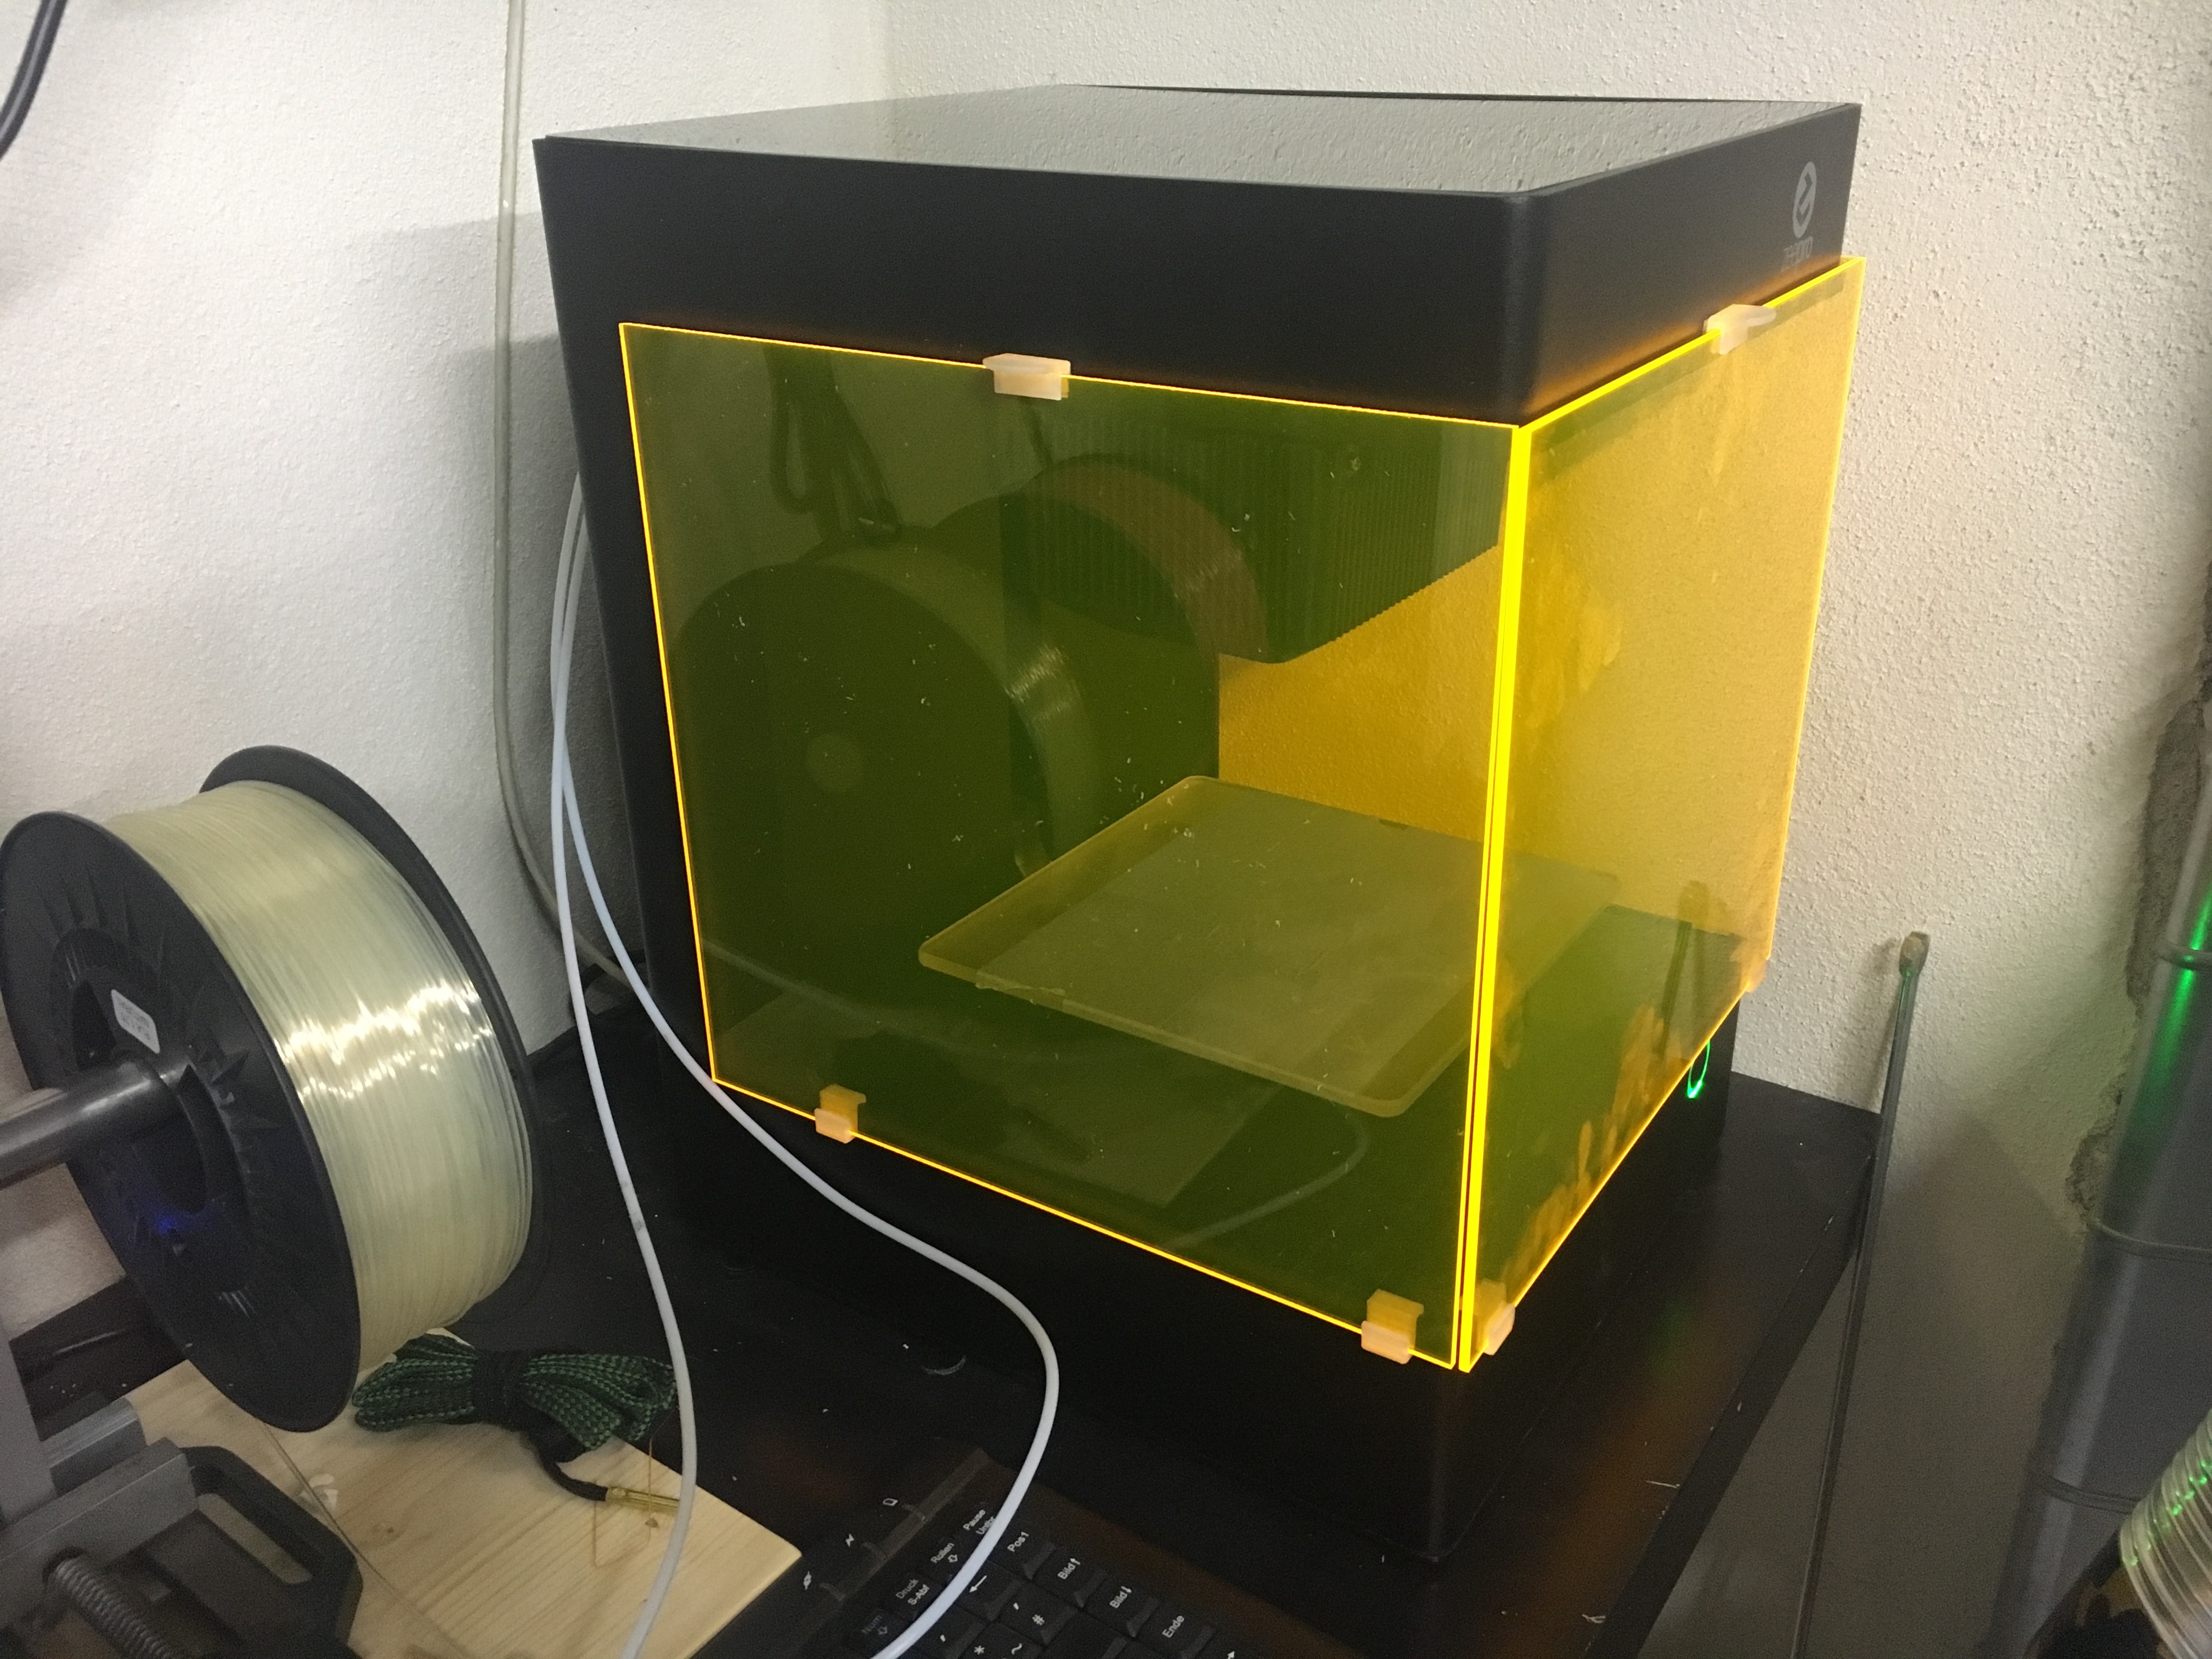
Oh, that´s really easy… the cover sits on the small hooks at the bottom, and at the top, there are only three little magnets mounted at the inside of the handles, keeping the glass from falling off. They stick to three little pieces of steel (washers of a M4 screw) mounted to the frame with black duct tape. That´s all.
You can easily remove the whole side or front by pulling the handle.
Could it be that warping is even worse with the enclosure installed? My last print was badly warped…
I just started printing in ABS on one machine with the original zeepro heated bed and the first print turned out damn near perfect. I used the zeepro safety shield, no cooling fan, 225C extruder and 100C bed. The next two prints of the same object and same setup with just a different first layer thickness turned out a bit melty on top which was strange. The 4th print was the same as the 1st, but without the safety enclosure and I used a small fan to blow on the build plate while it was printing. It also turned out slightly better than the 1st part. The internal cooling fan was cooling off the nozzles too much, despite my mods to the fan duct where I taped over the side vents with kapton tape. The external fan didn’t really cool the bed or nozzle temps, so that seems like a decent option to keep the part from warping.
EDIT: Apparently the external fan does cool off the bed too much. Will have to rethink this…
What material are you printing with and getting warping?
It was made of PLA, so normally no problems… All other prints came out well without the enclosure. But maybe I had some mistake in the fist layer or something… It was the first print with the enclosure, so it seemed to be the obvious reason for the failed part. I´ll try some more on monday.
Here Are the pics of the ZIM in my man-cave at home 
The edges of that yellow plexiglass look freakin´awsome
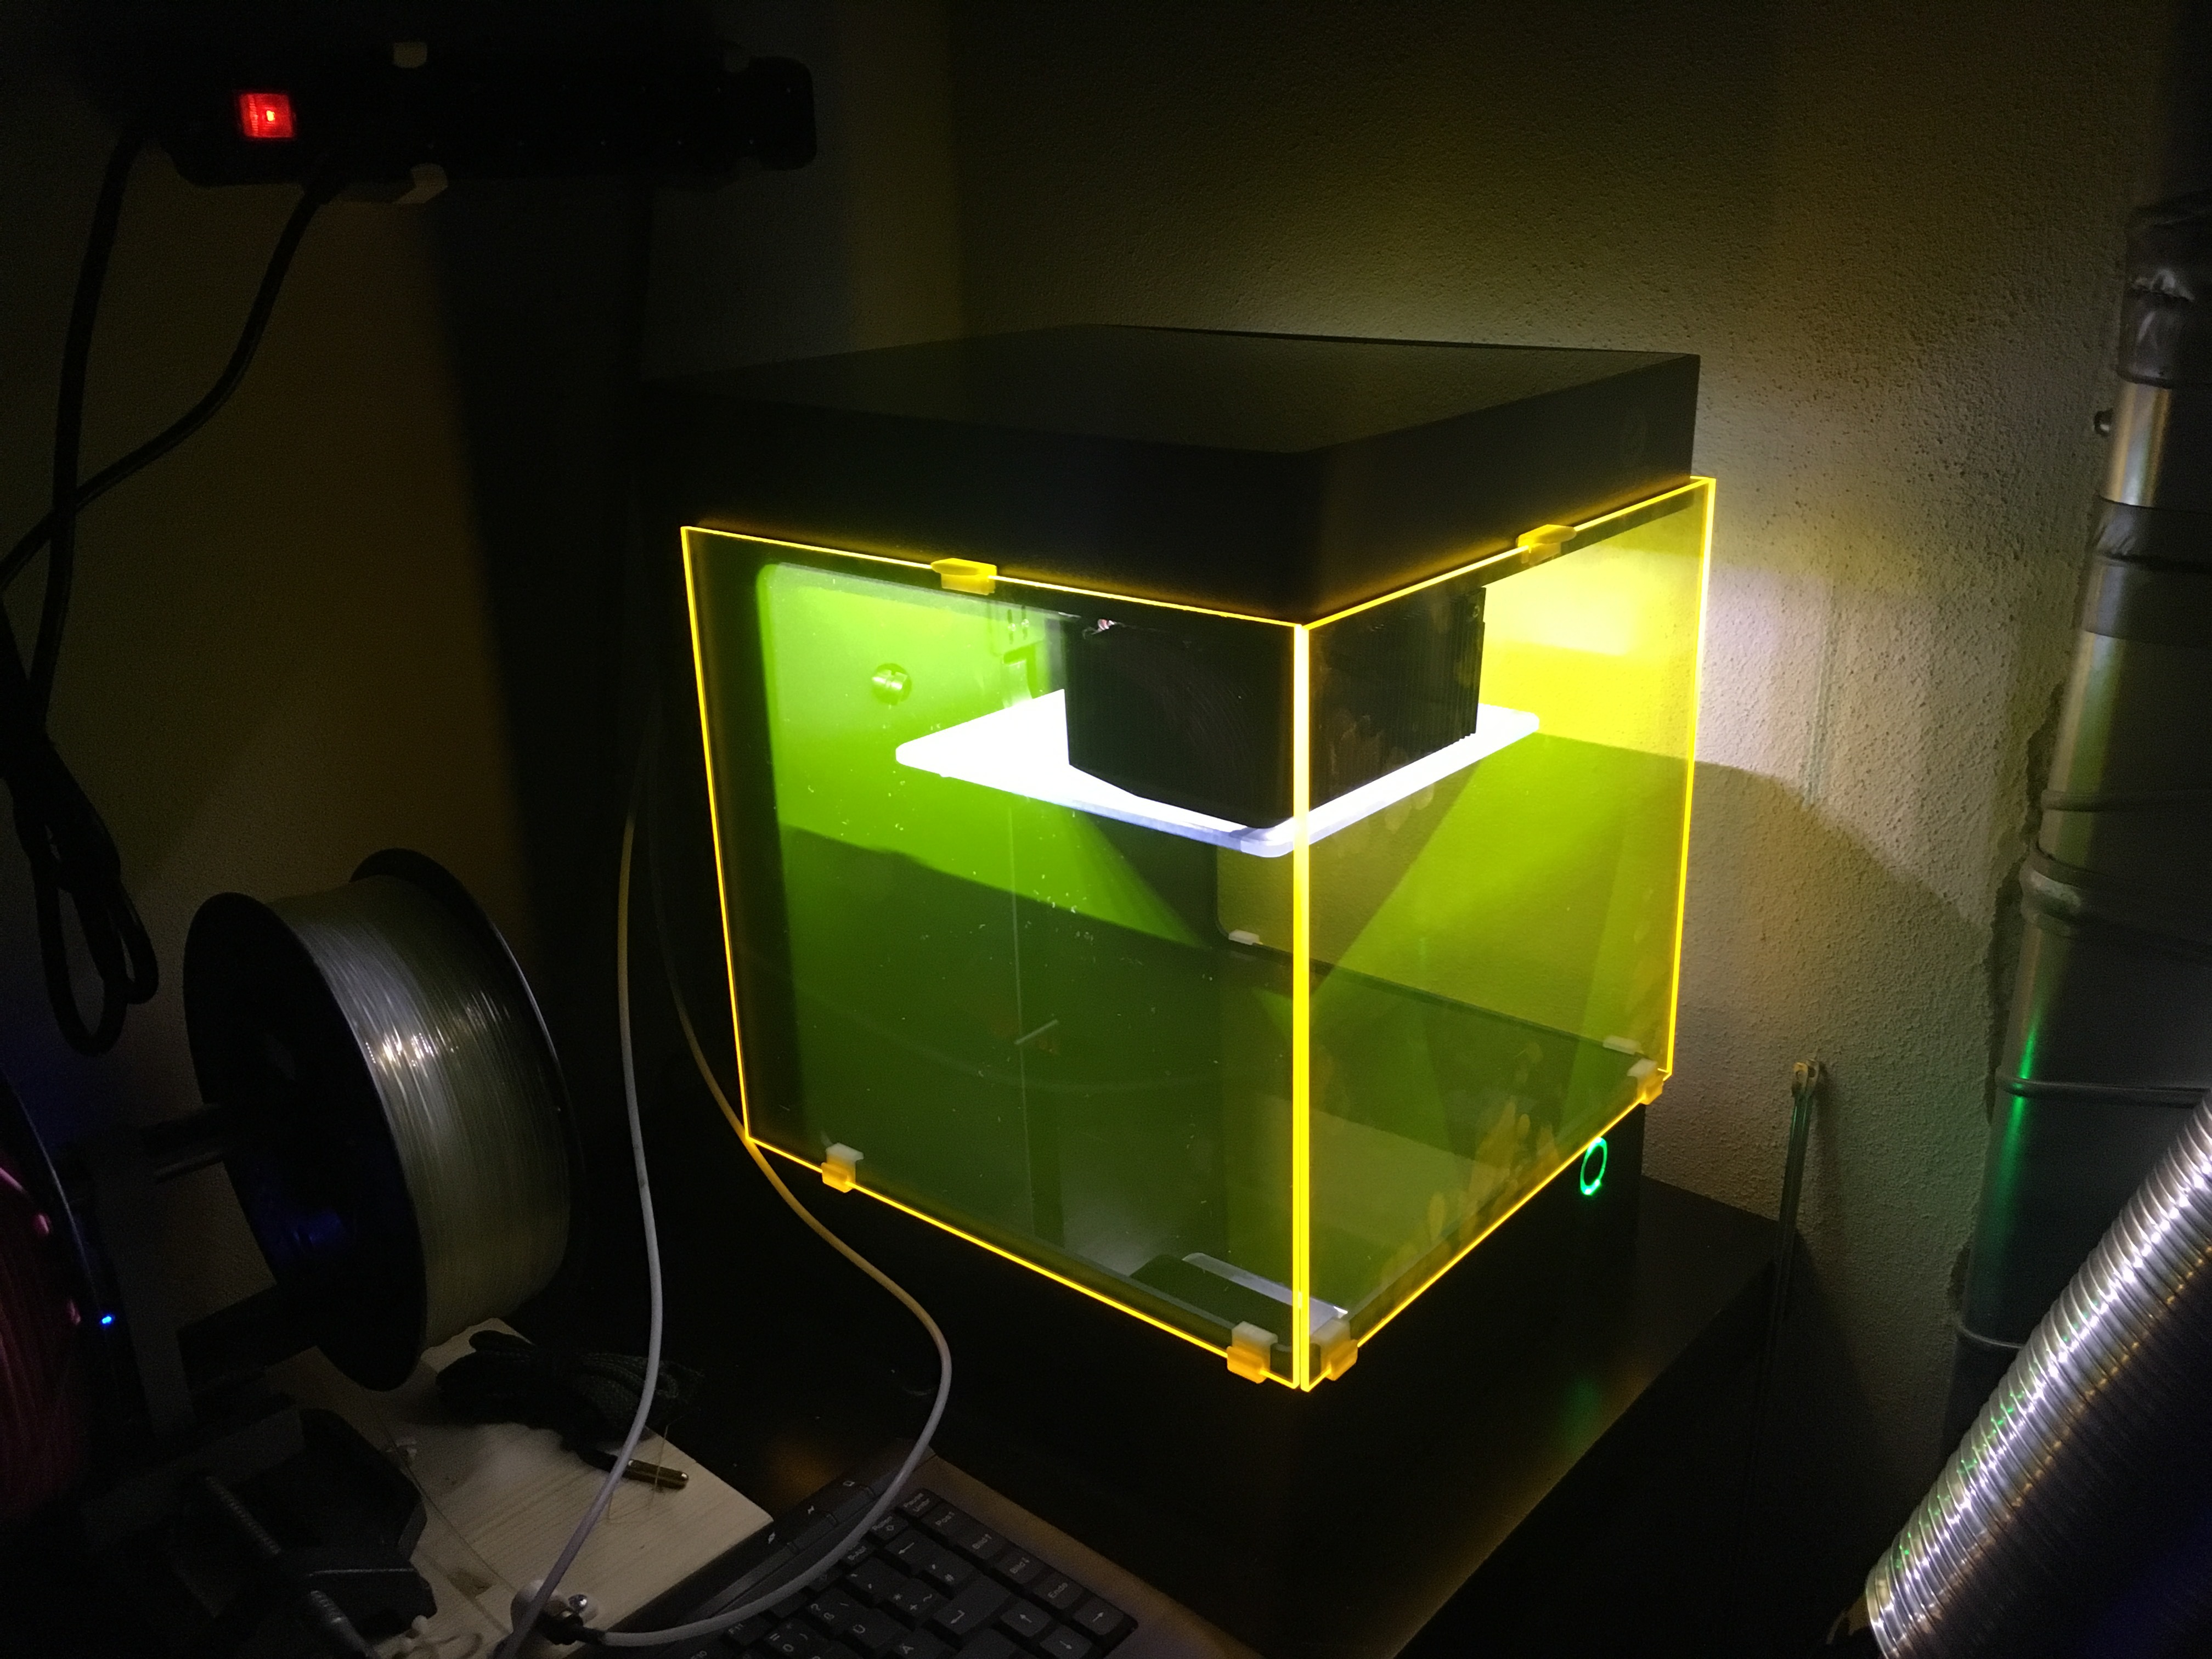
Ohhh… I saw the fingerprints right now… damn… have to clean that immediately.
1 Like
Nicely done, that came out great!
Anybody working on changing out the hotend on the zim. Replacing it with a Chimera or a single e3dv6. If anyone here is good at 3d design, please give this a go. I can send you a e3dv6 clone. It would be amazing, an all metal hotend and the ability to change to any size nozzle. The nozzles for the v6 are dirt cheap, even the steel ones. I even saw a ruby tipped nozzle. Wow. Then we would be able to print in nylon and many other materials.
The hot ends you asked for are pretty long and won’t be compatible with the direct drive extruders in the print head, or you’ll loose half of your print volume. The only possibility would be to convert to bowden extruders.
On the other Hand, Zim has all what is necessary for metal hot ends. Look for the heater blocks with M6 nozzles in the forum. Combined with the right throat pieces…
But dont they still use a teflon insert and the piece that goes around the throat is also peek plastic. It looks kind of like this ----->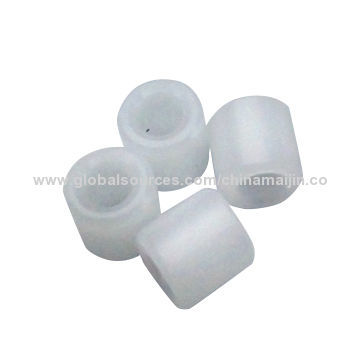
Or that piece doesnt matter?
huh… yea. Ali. but you could probably source that. they don’t fit super snug, so there’s a lot of tolerence there to get something to fit.
or you could mill one prob pretty easy.
The plastic pieces you showed go arount the PEEK throat to enforce it against the pressure of the filament. They could only use a 6mm throat for the nut to fit in the nozzle. I´m also working on a conversion kit for a metal hot end… but I really want it to fit into the original printhead.
Does someone have the drawings of the printhead? especially the Aluminium motorcarriers? The design with the blower is not the worst, as you can use it both for cooling the stepper motors and the throat piece…
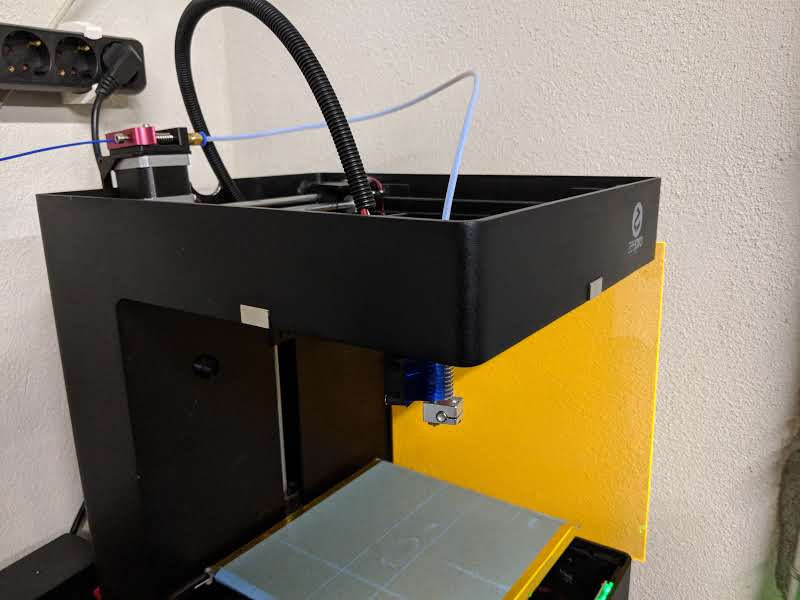
meanwhile in germany…
I really thought the direct-drive extruders would be the real deal and bowden-style was only a compromise solution. And… I was wrong.
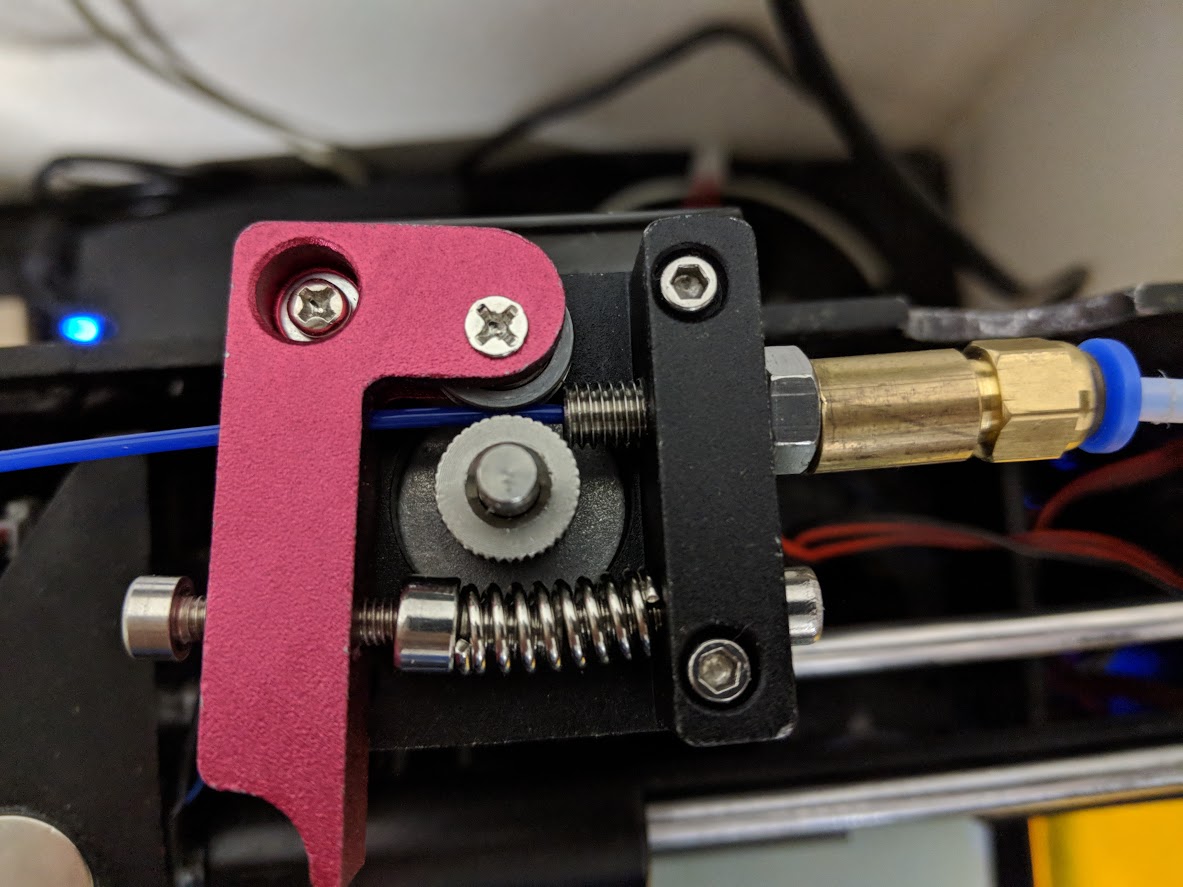
After constant problems with terrible ghosting and broken connectors in the printhead (one wire really burnt off!) I tried to convert my Zim at home to a cheap chinese E3D clone hotend, with an even cheaper chinese bowden-extruder.
Due to the broken connector of the cable, I didn´t have to overcome myself for cutting the wire. Of course, after checking which wire belongs to the motors, to the temperature sensors and so on.
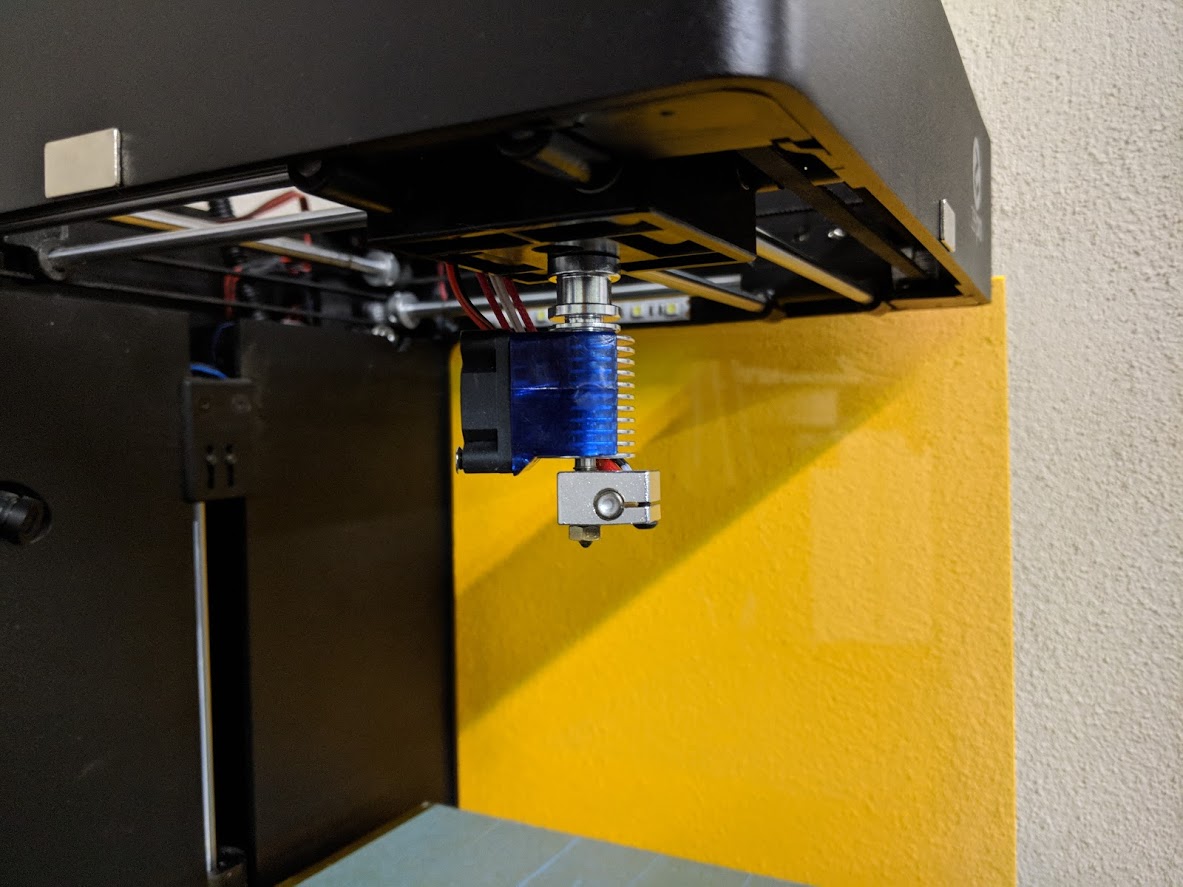
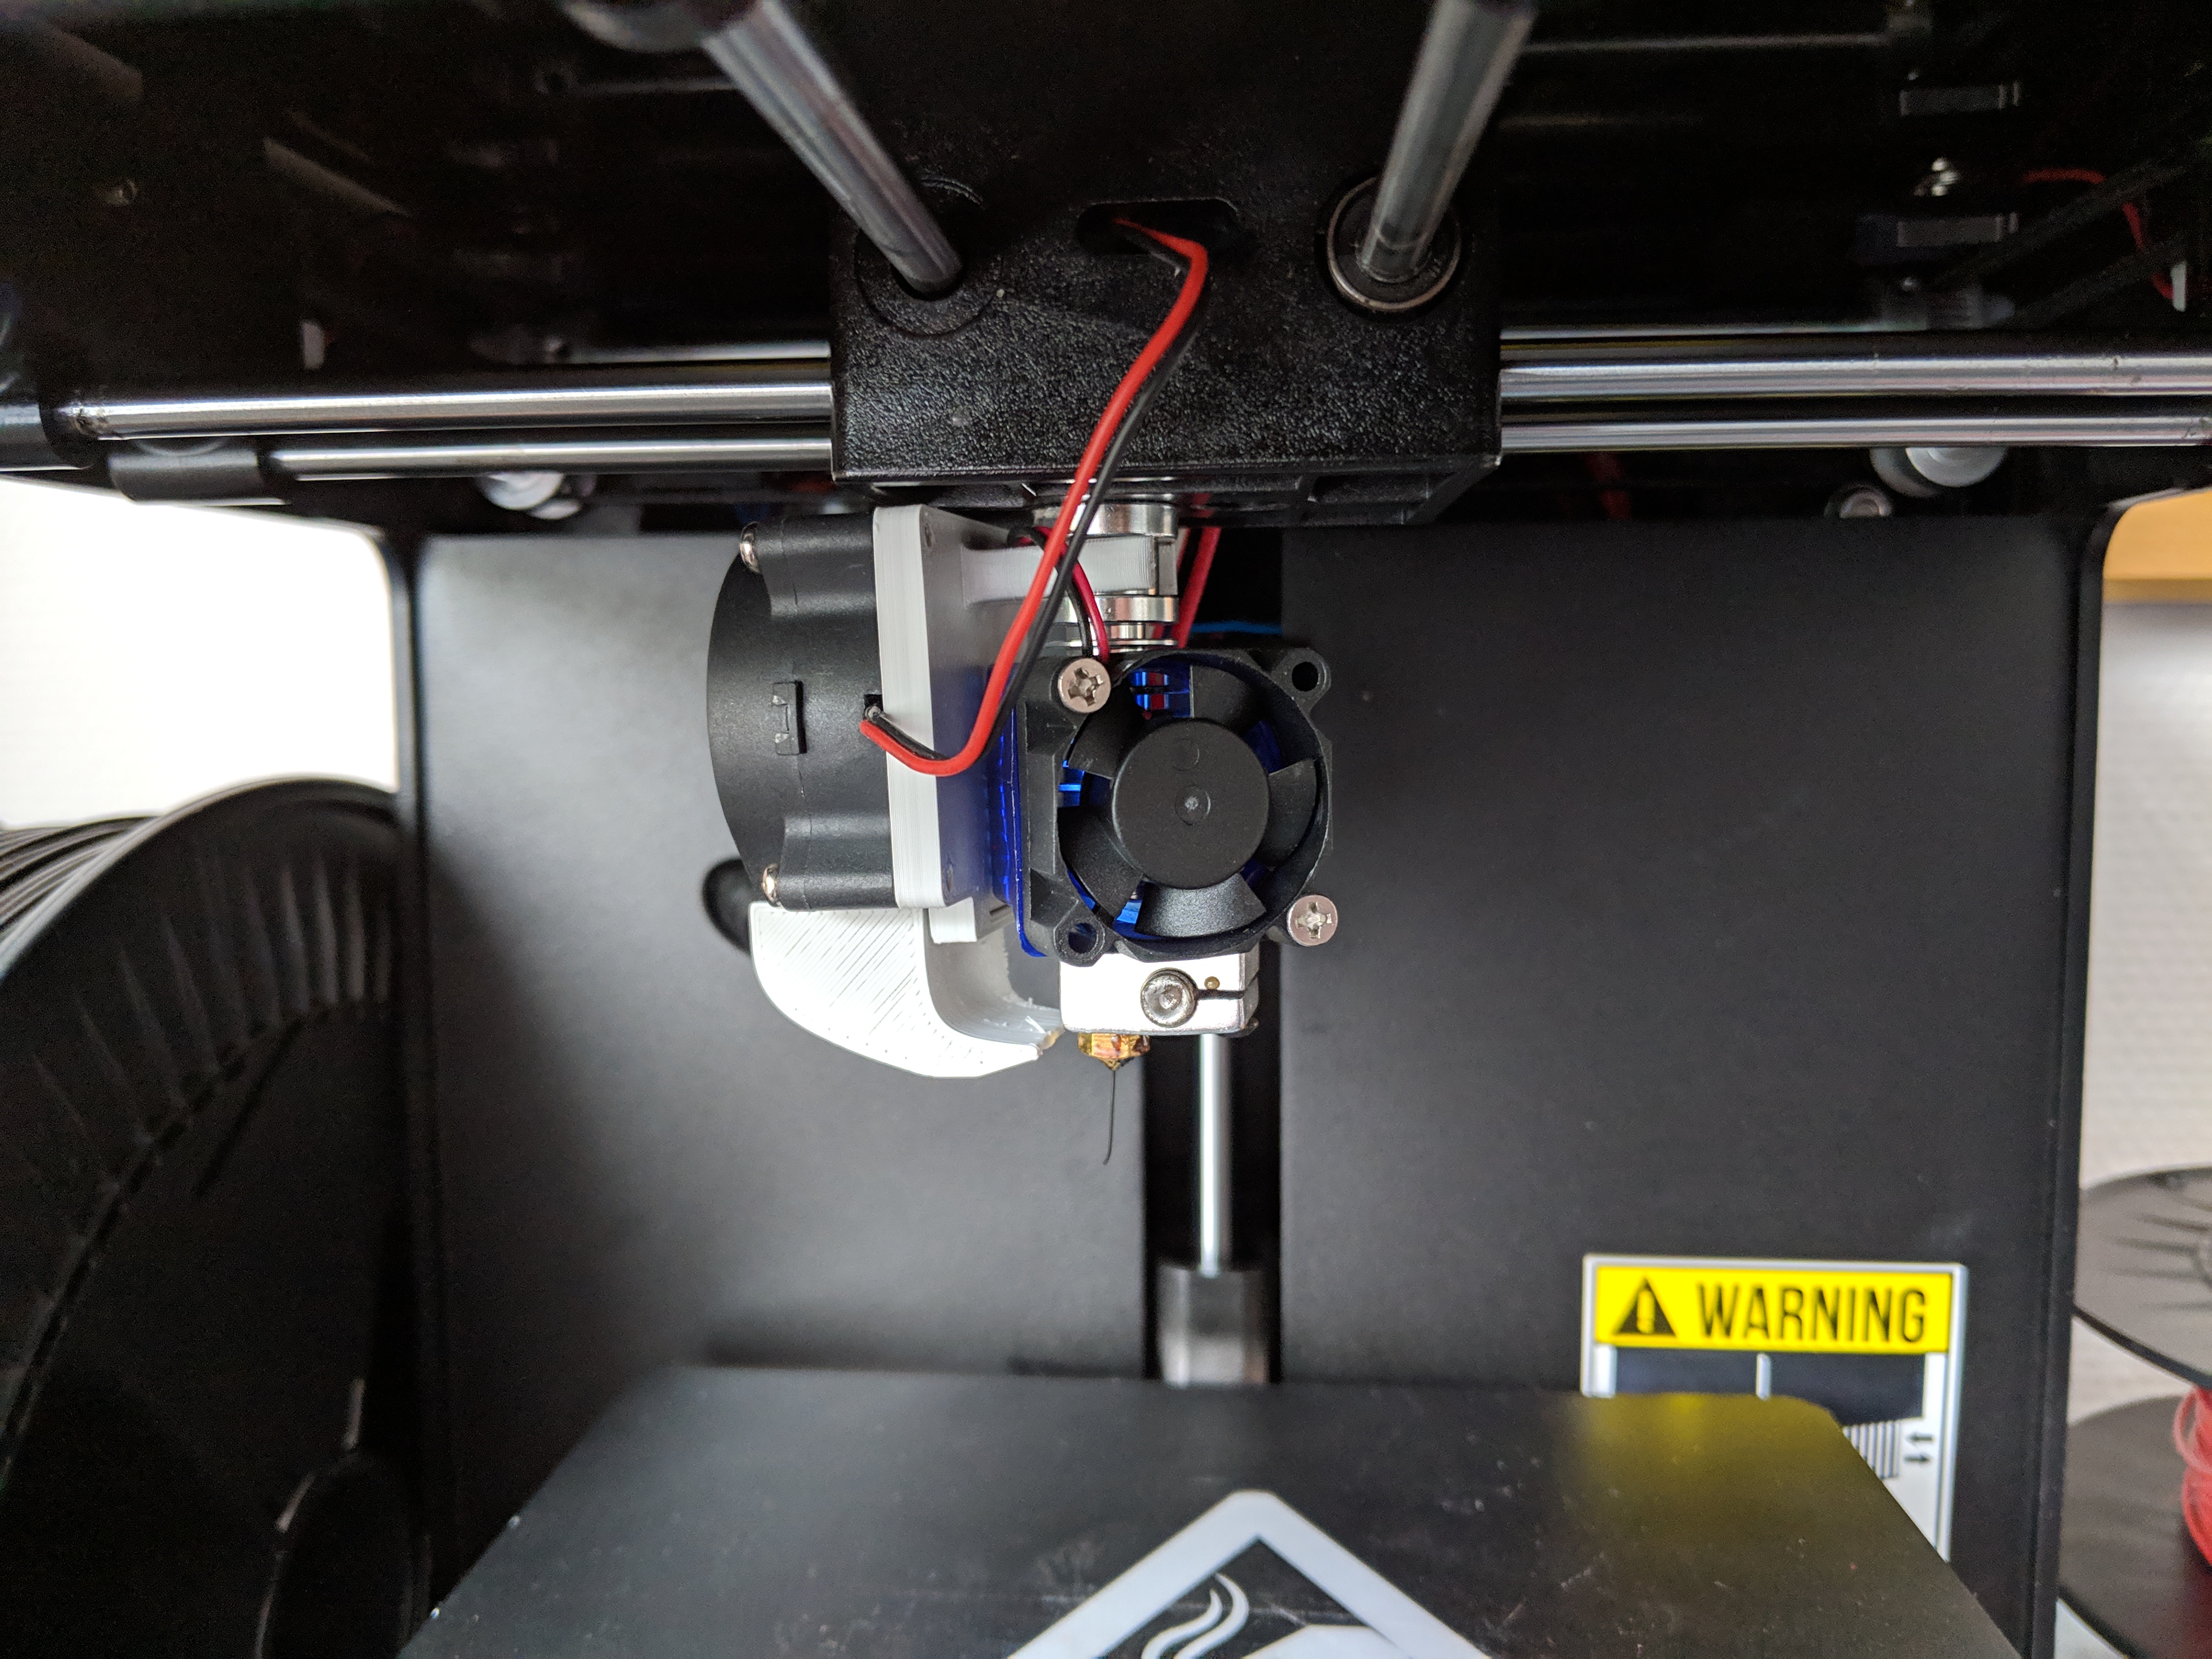
The result is not an overwhelming beauty, but it works REALLY good. at this time, I have only one hotend, but I´m working on a dual-hotend solution.
What is your method for attaching the replica E3D? I have done the same with mine, and while it performs better than stock, I’m still not particularly happy with it.
Oh, that was easy. I used the stock connector, which has the same thread as the hotend. Just look for a Bowden hotend, which has a thread at the top (I think it’s 1/8" )
You’ll have to adjust the height of the Z endstop, because the hotend is a bit shorter than the original printhead.
Ah, stupid me. I looked at the picture, thought you might have been using a real E3D v6, then saw in the text that you were using a clone, but still asked the question about a real E3D. The real v6 doesn’t have a PTFE tube connector that screws in, so I designed and 3D printed an adapter for it, but it isn’t pretty or very good.
can you take a few more pictures and detail us on how its all setup. ! as in i i dont see the electronics board or any of that .stuff whats your exact setup? stock hardware other than E3D clone hotend and extruder! very interested in this for just in-case situations of broken stock zims or clogged or jammed stock hot ends
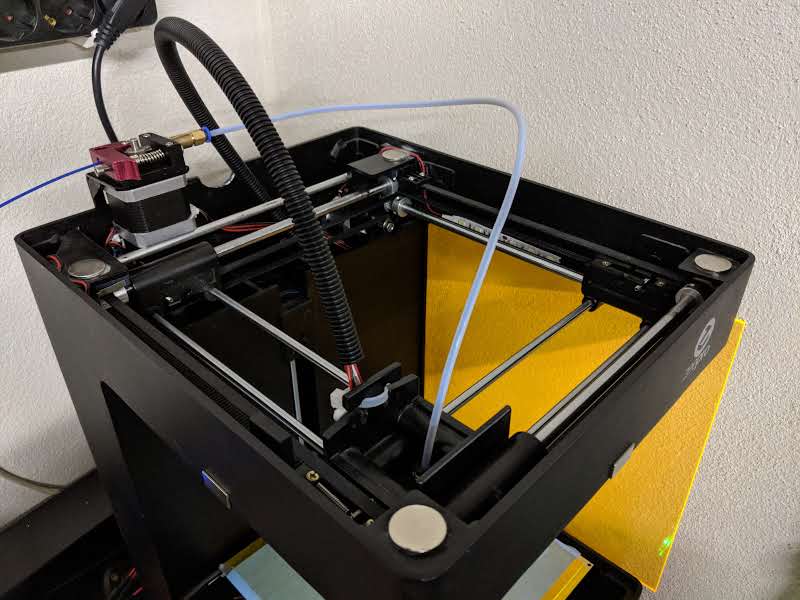
Okay, here you are:
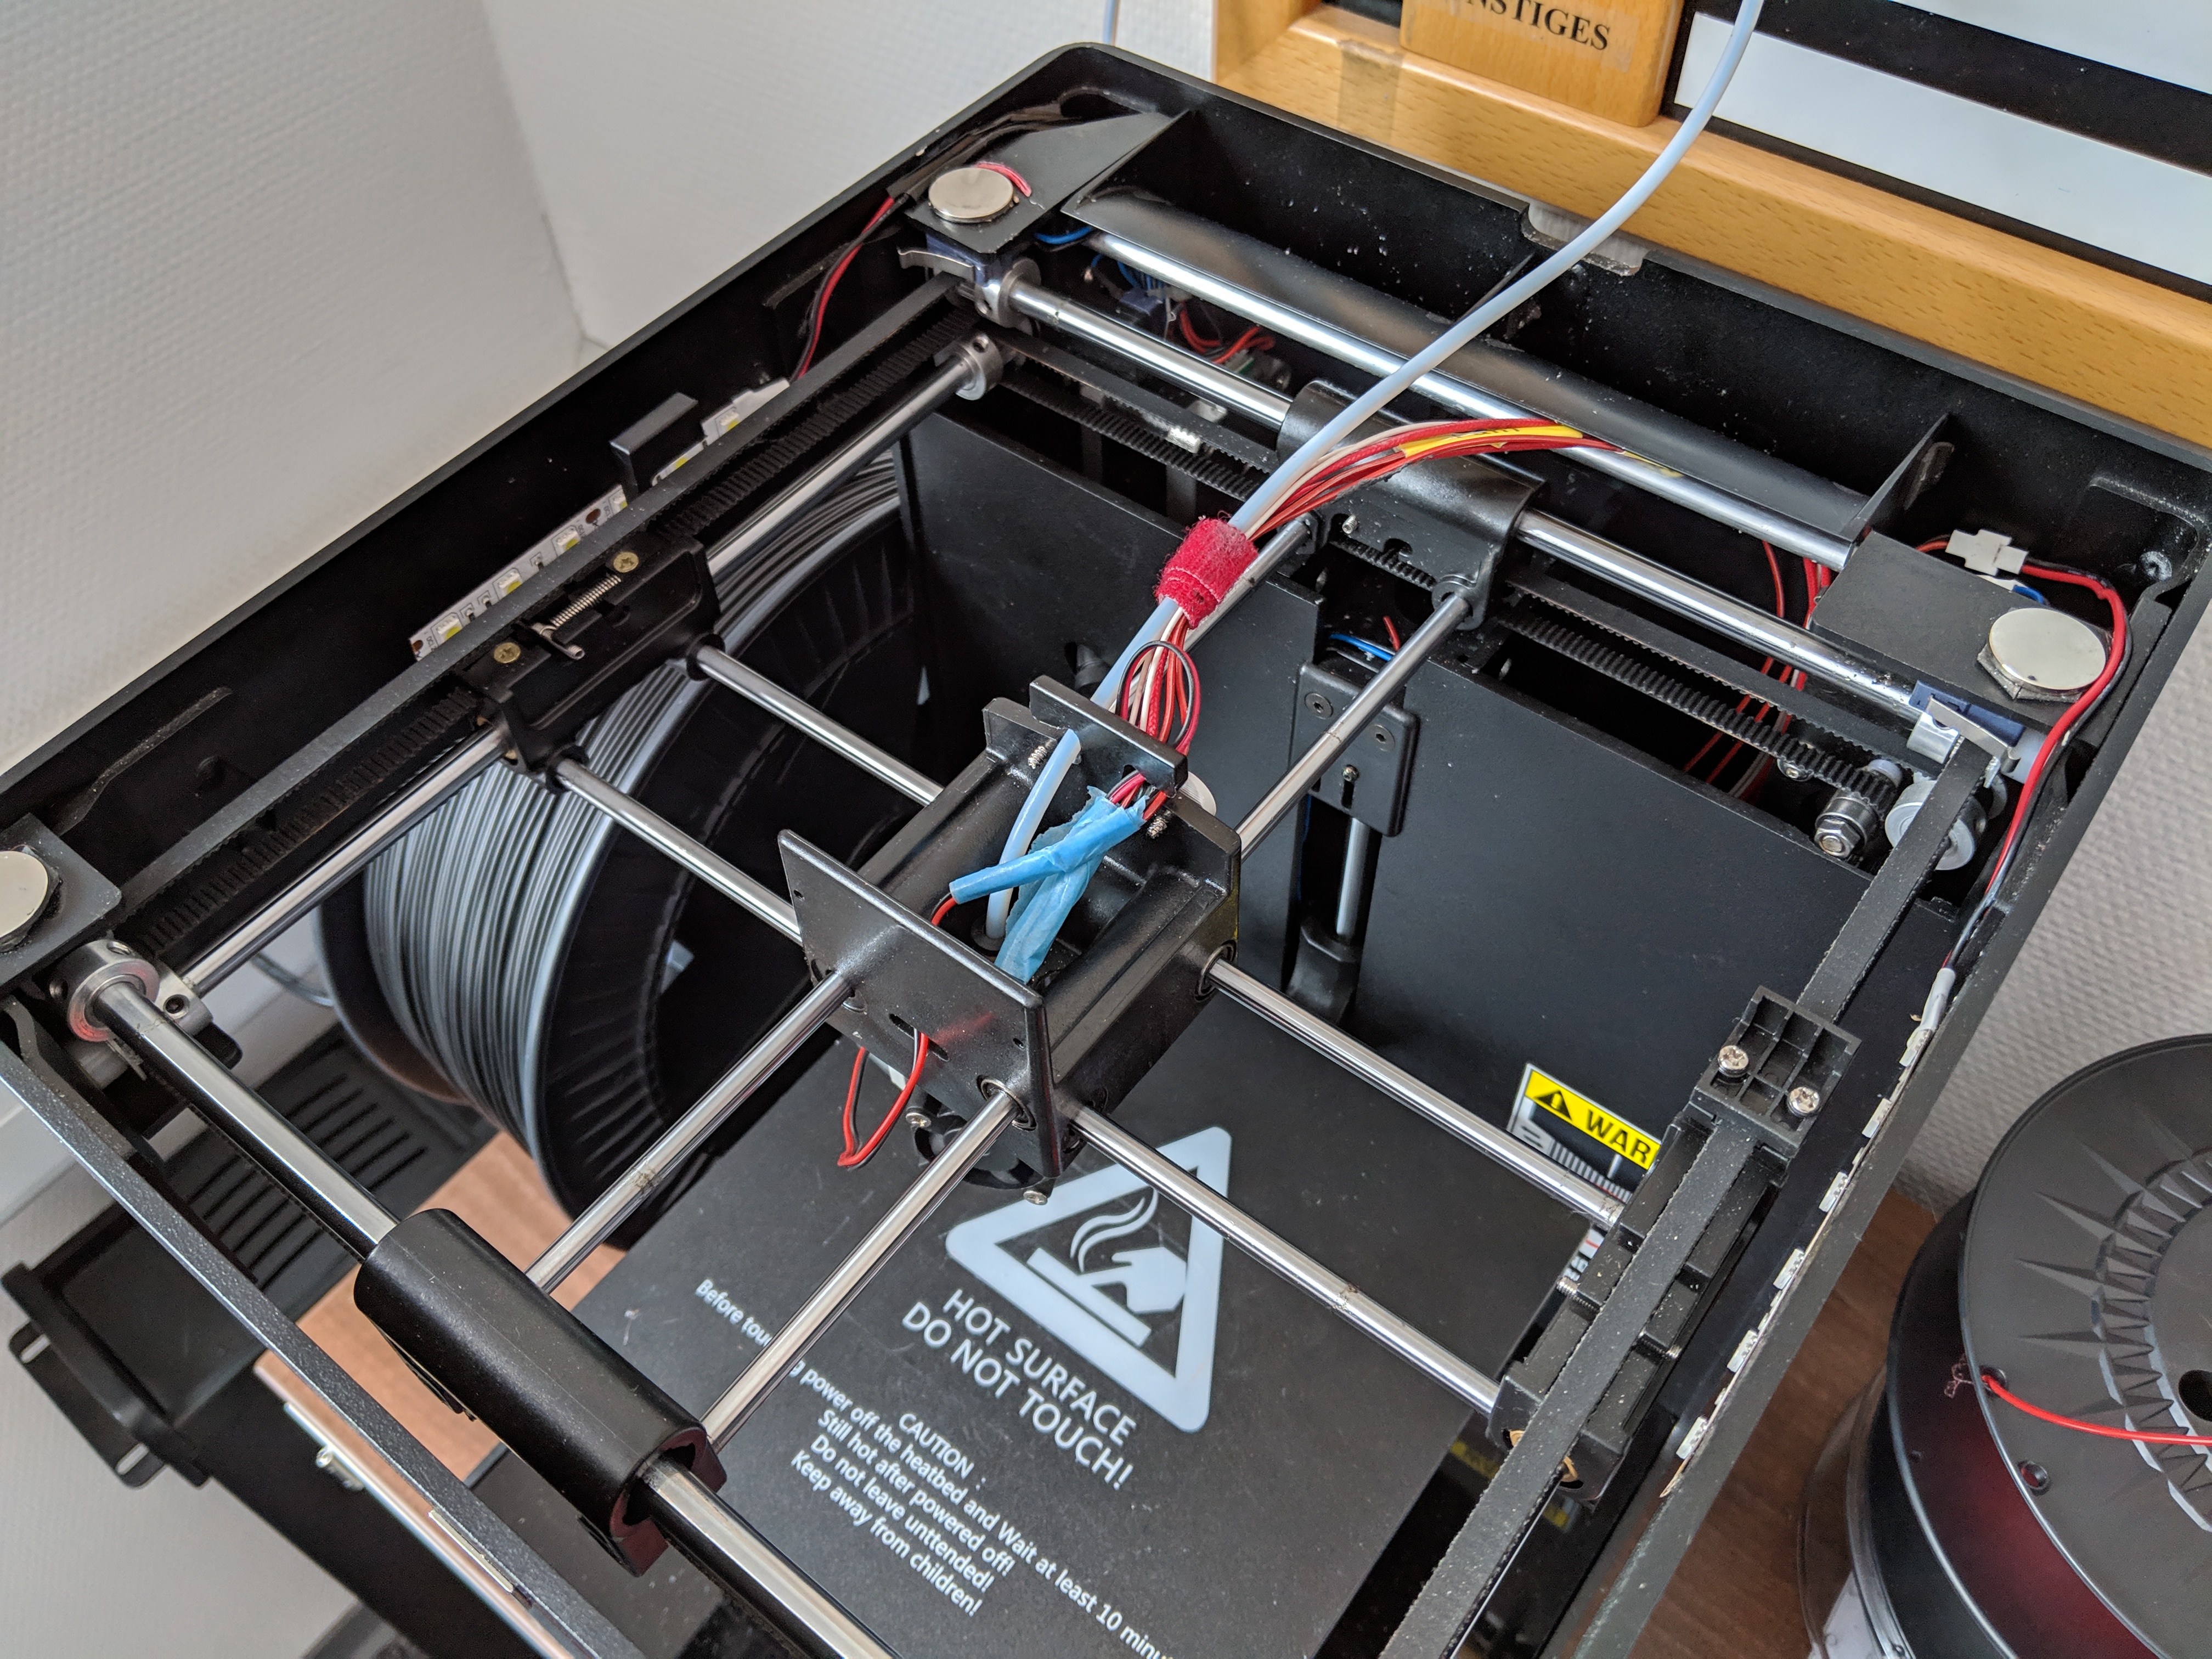

This is my ZIM at work, it´s built a bit more… you know… clean.
I used the wires from the original ribbon cable. You can check out the cables with a multimeter, or you could trust me and use the following configuration: (the names of the wires are written on the connector that connects to the mainboard. Or you can count the wires in the ribbon cable beginning fron the side where the outermost wire is red, which is A1. As are red, Bs are black. it´s like A1, B1, A2, B2…)
A1 Motor0 Pin3
B1 Motor0 Pin4
A2 Motor0 Pin1
B2 Motor0 Pin2
A3 Fan1 + cooler for the Part
B3 Fan1 -
A4 Therm sensor for E1
B4 Therm sensor for E1
A5 LED ext +
B5 LED ext -
A6 Therm sensor for E0
B6 Therm sensor for E0
A7 Fan2 + for coldend
B7 Fan2 - for coldend
A8 Motor1 Pin3
B8 Motor1 Pin4
A9 Motor1 Pin1
B9 Motor1 Pin2
I´m not sure if I switched the fans… but you´ll find out.
There are some diodes on the original PCB of the Printhead to avoid feedback current when a fan is switched off. Those are not absolutely essential, although I give no guarantees.
Here´s the Link to the Cooler https://www.thingiverse.com/thing:3617898 so you can use the 40mm Radial fans from the original printhead
1 Like
Very nice. Thanks for sharing.
But sadly its not a solution for me.
I still need the direct drive and am angry that I didn’t buy from @Insomnia the replacement heater block that enabled standard m6 nozzles. You don’t happen to have one?
My heatbed stopped working on Monday  No idea whats wrong, but it was the orignal Zeepro heatbed and worked well for a long time.
Could you please elaborate on the building and implementation of your heatbed?
actually, I have a set of those Heaterblocks. If you want them, send me a PM
EDIT: Heaterblocks are sold.
2 Likes
thank you very much for all the info! but for those who are not as tech savy as you maybe a video is needed setting it all up ! i am pretty tech savy but man this is a little past what i feel comf. doing without a video guide LOL if you made that you would be helping TONS of zeepro ZIM owners . i personally want to make the switch bc A. i do single color prints and . B. i want to be able to cheaply easily swap things if they jam clog or it breaks the heater . my next question is i wonder if it is possbile to but a cheap aluminum 3d printer frame kit and gut the zim and add it on to that platform