
I finally got my solid coupler with 8mm end in, and it has solved my z-wobble pretty much completely. It makes me hesitant to pull it out now to add the motor and new screw that is supposed to arrive today.
I solved my Z wobble!
Hi @etxbkst, what kind of solid coupler did you get? Something like this —> http://www.ebay.com/itm/2-3-4-5-6-7-8mm-Aluminum-Flexible-Shaft-Coupling-Rigid-Coupler-Motor-Connector/231744678116?_trksid=p2141725.c100338.m3726&_trkparms=aid%3D222007%26algo%3DSIC.MBE%26ao%3D1%26asc%3D20150313114020%26meid%3Dff099f3005a846349684144af9c1fbe3%26pid%3D100338%26rk%3D20%26rkt%3D30%26sd%3D331200440243&var=530951264866
Also is it 5mm to 8mm? Or 8mm to 8mm?
Here’s the exact coupler I purchased: https://www.amazon.com/dp/B01M8QXY8N/
It’s a 5 to 8mm coupler. In my case the machined end of my rod wasn’t actually 5mm, it was closer to 4.8mm or so. So a pretty significant difference. That caused it to not seat properly in the stock coupler, which is made for 5mm shafts on both ends.
So how did you solve this problem? Because your prints look great now. Even without the new nemascrew motor option. Or is the 0.2 mm difference not a big deal? Also, do all the zims have this 4.8mm problem or did yours develop over time?
I ended up taking out the old motor and screw, because the problem started reappearing. What I discovered is that for some unknown and mind boggling reason the m3 holes that you’d normally use to fasten the nut were drilled out considerably. The end result is that the nut had an insane amount of play. I think with the new coupler I could have just bought a new nut. But since the screw mounted motor and nut I bought was of different specs, I had to put it in. As for whether all Zims have this issue, I haven’t the foggiest. Mine did develop over time in that the constant vibrations eventually worked the screws loose, and because the holes on the nut had been drilled out, it causes the nut to bounce around.
Replacing the nut was unnecessarily a pain because whomever built my machine saw fit to superglue the LED strips and the wires to the damned XY assembly and walls. That meant trying to detach them would strip the wires. As a result I removed and replaced the nut from the bottom with instead of sliding the Z axis out the top. Couple that with mismatching screws, stripped screws, etc, and I’m growing less and less impressed with the build quality of this thing.
I have changed all the Z axis stepper/screw system
no more issues with te original f…g nut and the coupler
1 Like
what is the best method for removing the z assembly? I have one of these steppers with the incorporated screw spare from a junk printer. if its not too bad i can do it now while I’m rebuilding the hot end. how long does the screw need to be from output of the motor to tip?
The best way ::
1- to lay down the ZIM
2- Open the base plate
3- disconnect the Z axis stepper ribbon cable.
4- Remove the Gantry (X,Y mechanism)
You can remove the Gantry without disconnecting the cables.
5- Slide out the Z-Axis and replace it.
Be carefull The screw is a 2mm per turn (this is not common)
How can I tell if the extras i have are 2mm/turn?
Look at the top of your leadscrew. A single start screw (2mm per turn) will have only one thread. A four start screw (8mm per turn) will have four distinct threads when viewed from the top.
thank you, still learning so i appreciate your help.
So am I reading it right that the linked motor w/threaded rod won’t work because it’s an 8mm/turn instead of the 2mm/turn? And if so, would this one work in it’s place? http://www.omc-stepperonline.com/nema-17-unipolar-external-linear-stepper-motor-antibacklash-screw-nut-300mm-t8-x-2-p-230.html
You can use any motor/leadscrew combo you want as long as the nut matches the new screw pitch and size wise is a drop in replacement for the old nut. The screw I used is of a different pitch as the stock screw, but I had to replace the nut anyway so it didn’t matter. If you use a different pitch you also have to update your Z steps in eeprom, but that’s super easy. Your link doesn’t look like it’ll work. You also probably want a bipolar stepper.
1 Like
Is the resolution loss moving from a 2mm to a 8mm per turn inconsequential?
With microstepping, I’m of the opinion that yes, it’s inconsequential.
@Ace_Archer this one could work (stepper and screw) but it wont work for the nut.
@etxbkst the main issue on the Zim Z axis is due to the nut. the nut have been badly manufactured. the nut thread is not perpendicular to the nut fixture so you get wobble. If you take a look to the nut fixture you will see a O-ring between the nut and the Z-axis. this O-ring have been added to try to reduce the wobble. without the O-ring the wobble is so important that the stepper force and loose some steps.
@etxbkst on the Zim microstepping is ennabled the FW have been designed to support the 2mm per turn screw. If you use a 8mm you will have some troubles 
Huh. I don’t remember mine having an o-ring. Maybe that’s why mine was so terrible. And are you telling me you can’t alter your steps per on your machine? I’m running the 4 start screw with no issues after updating M92.
1 Like
Yes you can change the steps using M92. But in case of the Original ZIM that handles the slicing you can’t.
I use an original Zim and generaly I use the internal slicer. so I prefer keep the genuine parts
the 2mm per turn screw is more precise and there is no risk of the Z axis sling down with the inertia when the machine is powered off
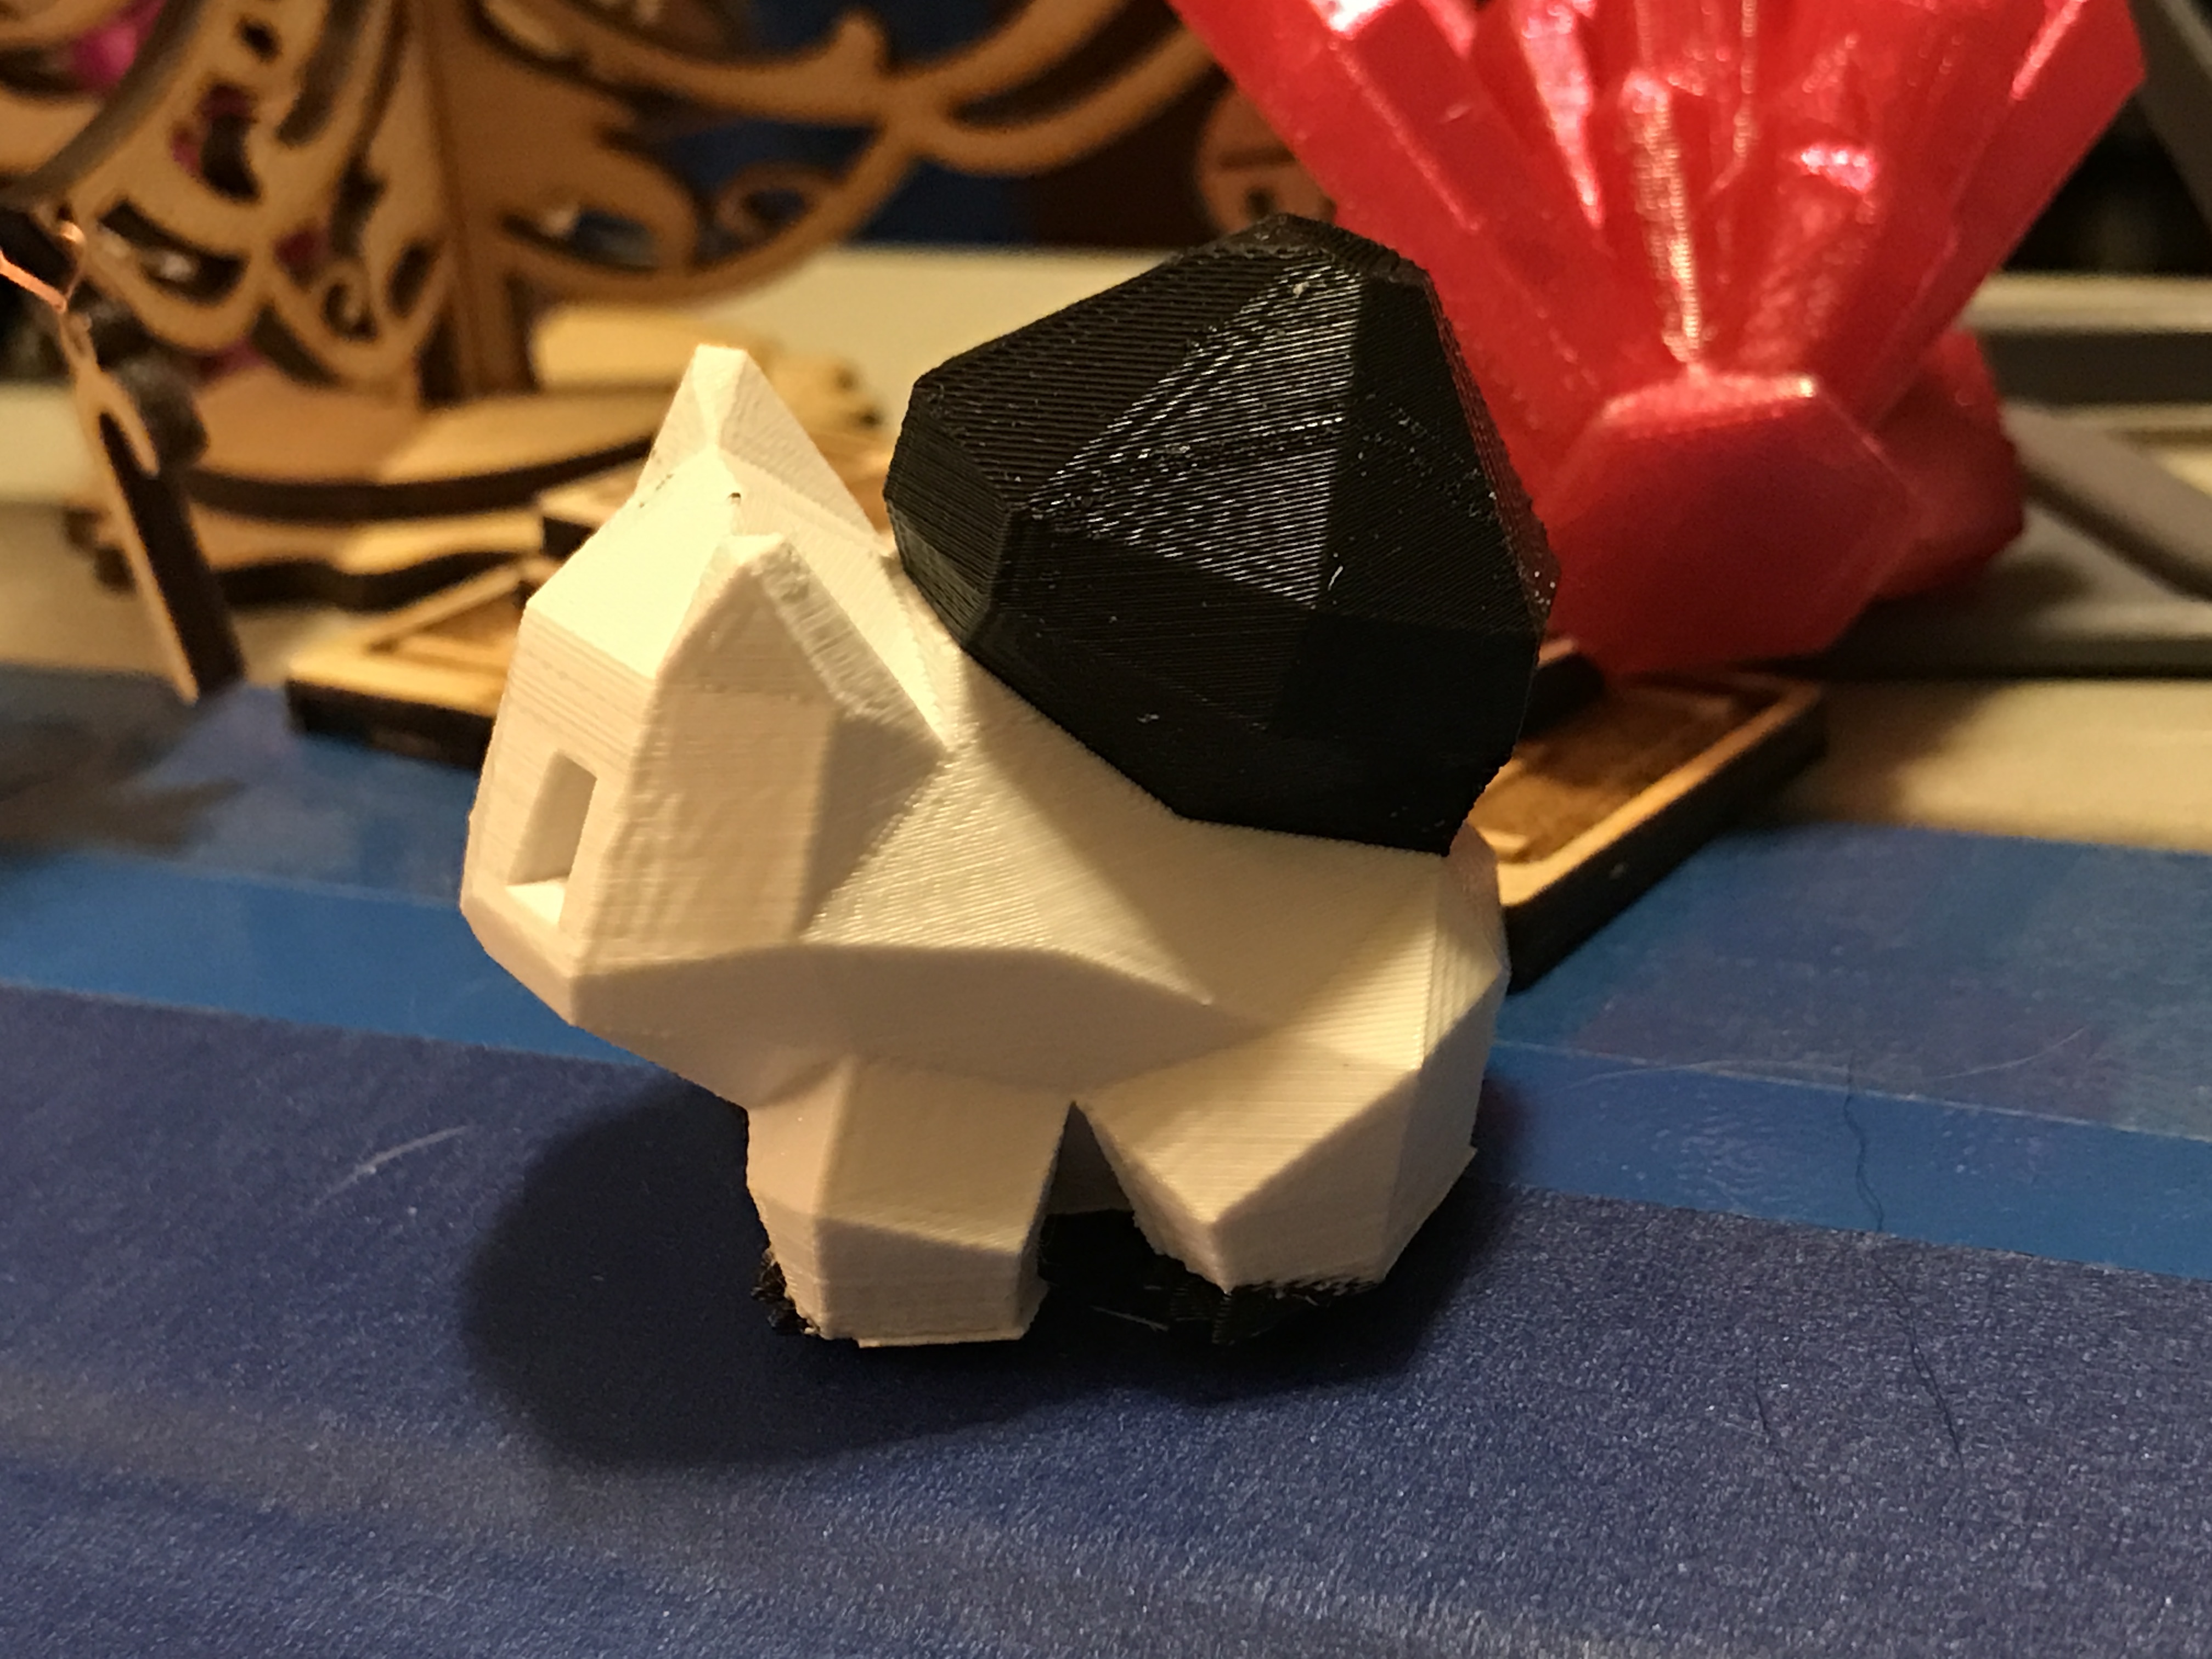
I also solved Z-wobble.
This forum helped me so much.
Really appreciate.
I will share my case.
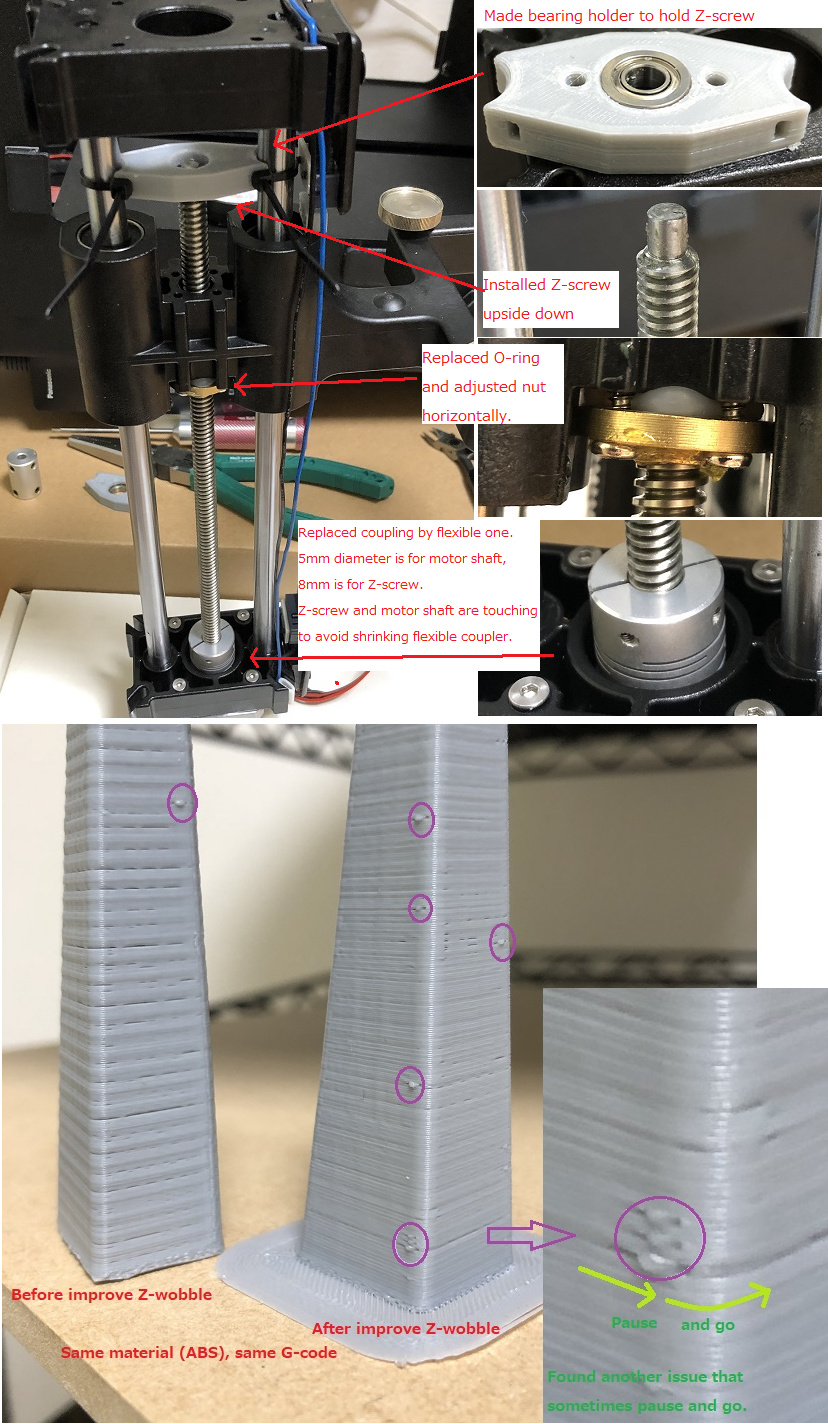
There’s another issue I found, it is pause and go sometimes.
Need to troubleshoot why it happens.
I hope someone know about it.
1 Like
If you want to really improve the Z Wobble you should change the motor/coupler/screw and use a NEMA 17stepper with integrated 2mm/turn screw 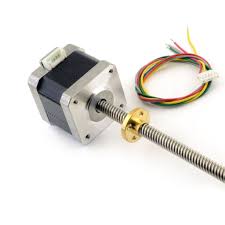
The original screw was really a badly manufactured part. This is why we had to put a Oring. ( the O-ring was to enable the screw to wobble. else the strepper was not able to turn.
If you impement a good quality nema17 with a 2mm per revolution screw your print quality will seriously increase