HELP With Connection to ZIM (non-working USB)

Hi There,

Myself as everyone else here got screwed by Zeepro. Everyone is facing no technical issues. There are two types of problems:

  • SOFTWARE - Slicing (Cloud slicer is gone)
  • HARDWARE - Replacement parts.

The second part of the problem is being tackled by the more fitted users of our community. Thing are “running” and we should see the light of day soon! Incredible what some of us can do on their own! Great job!

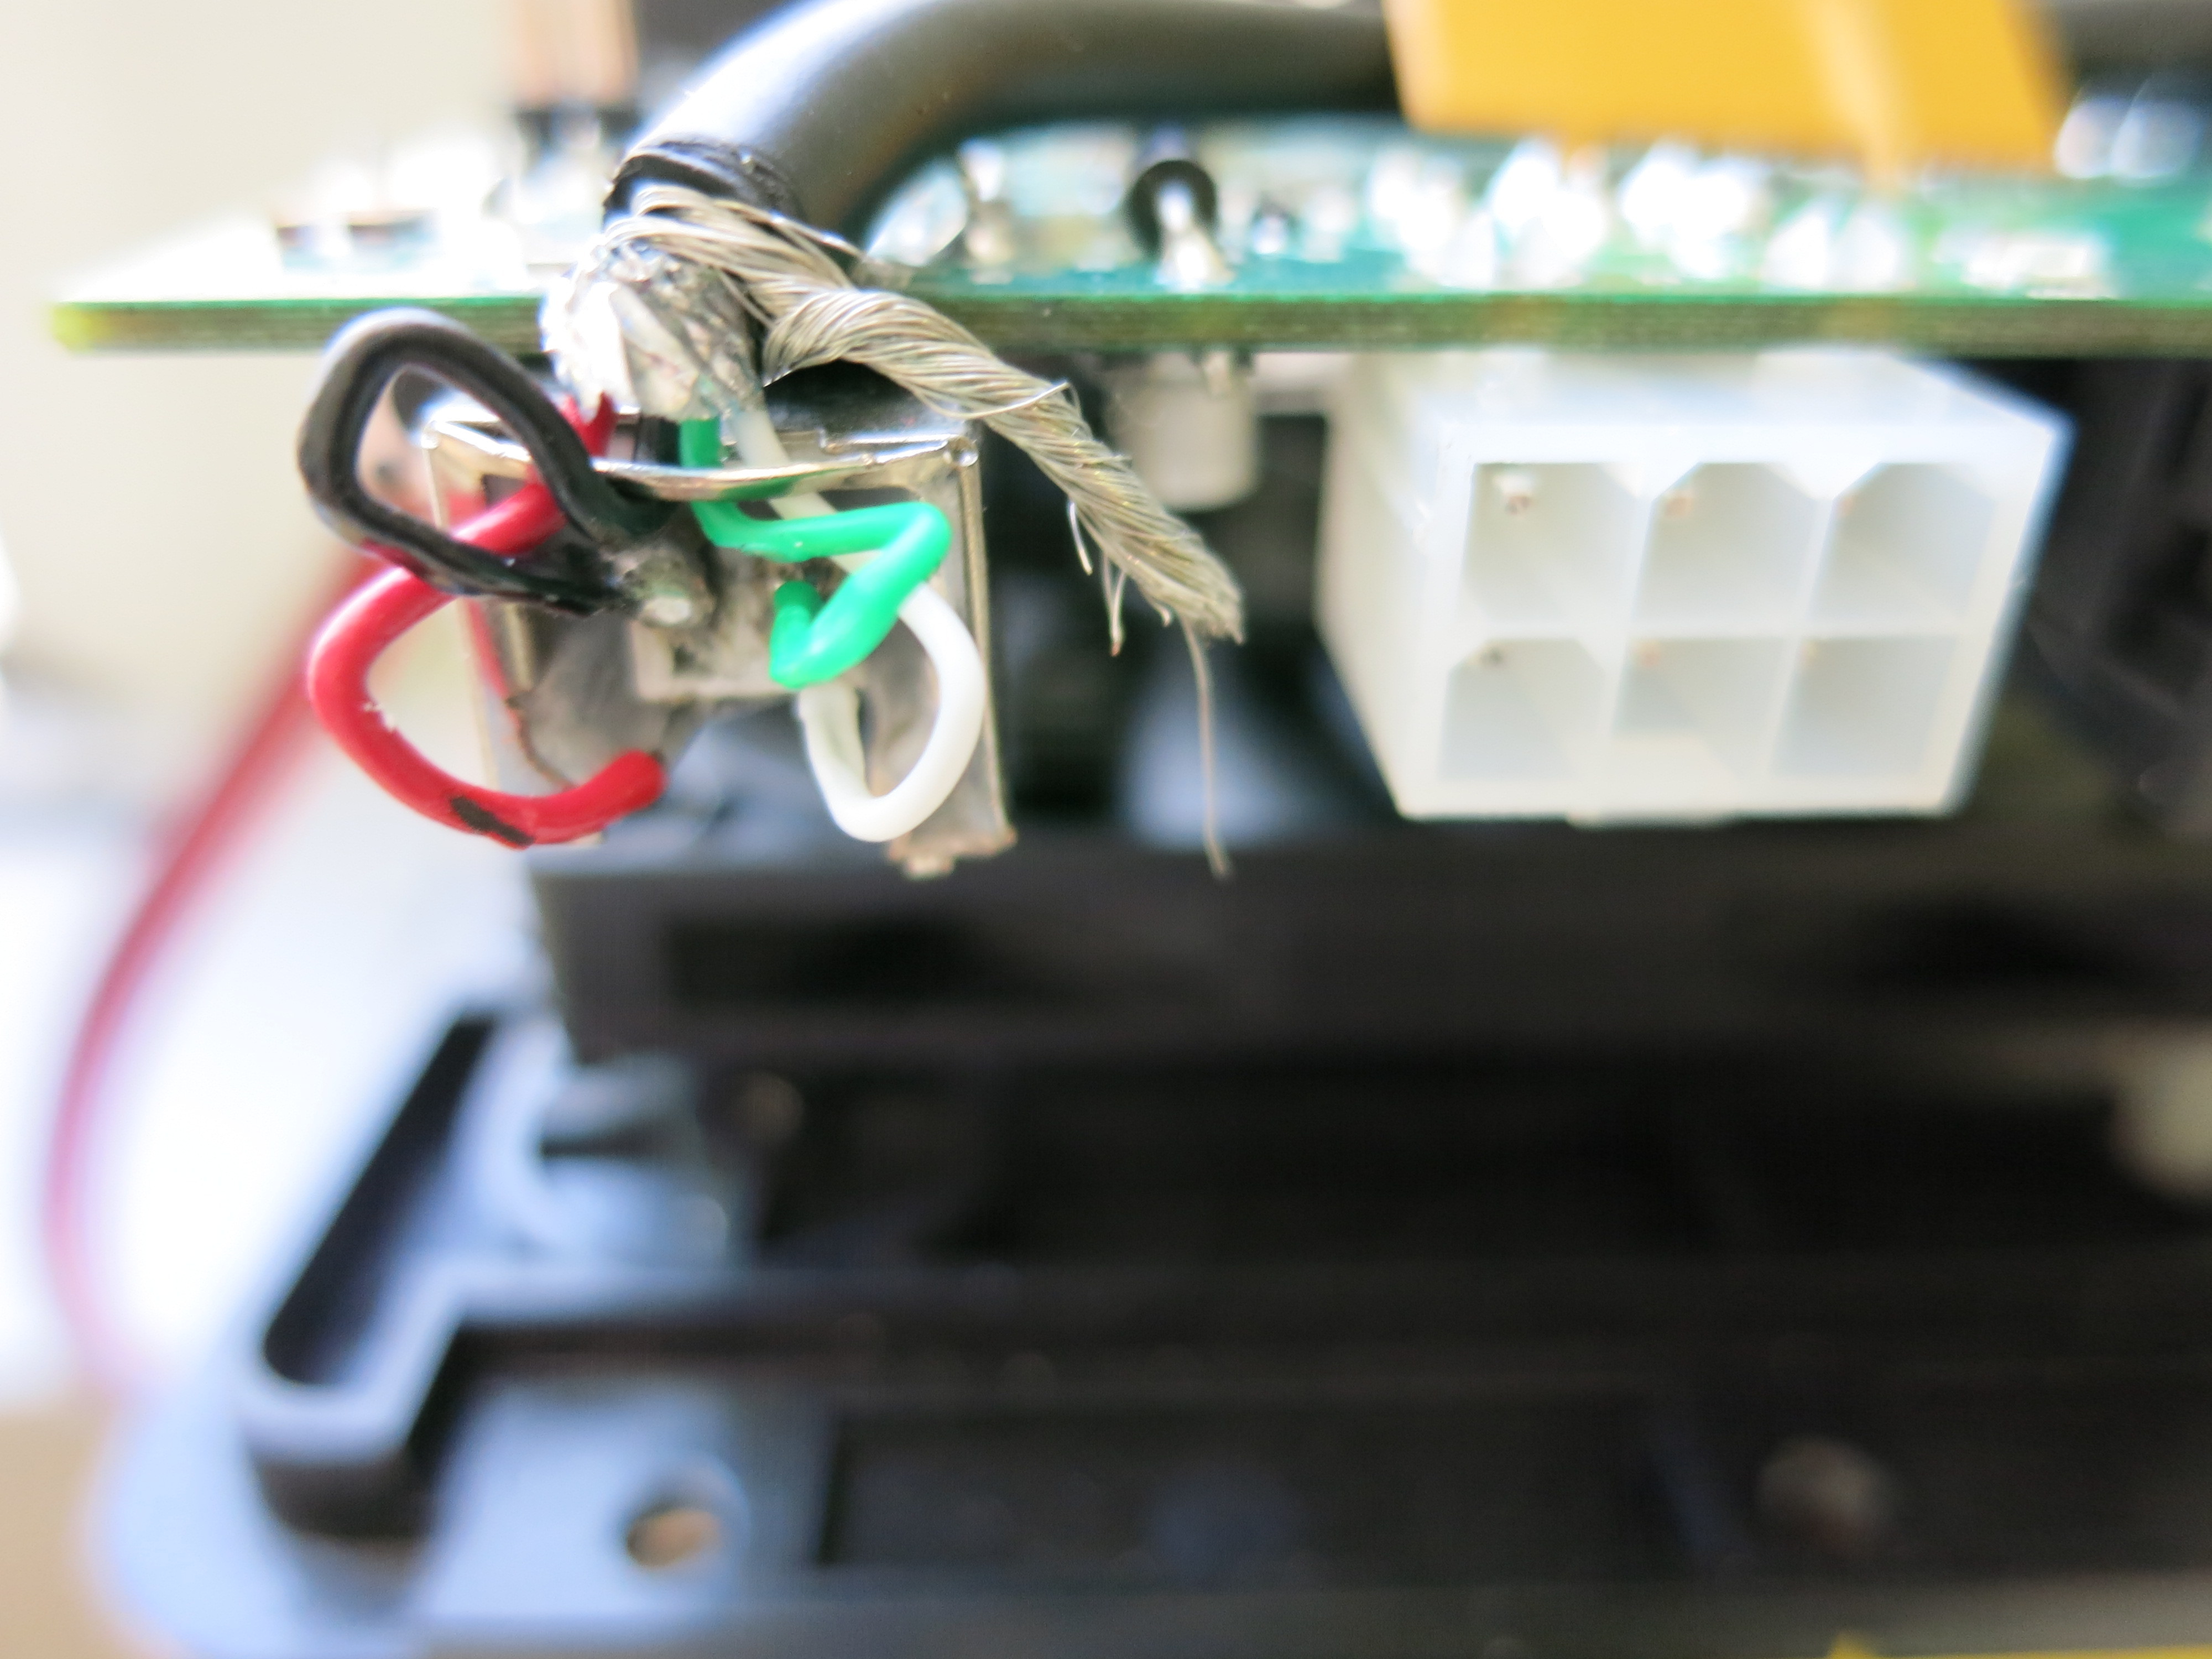
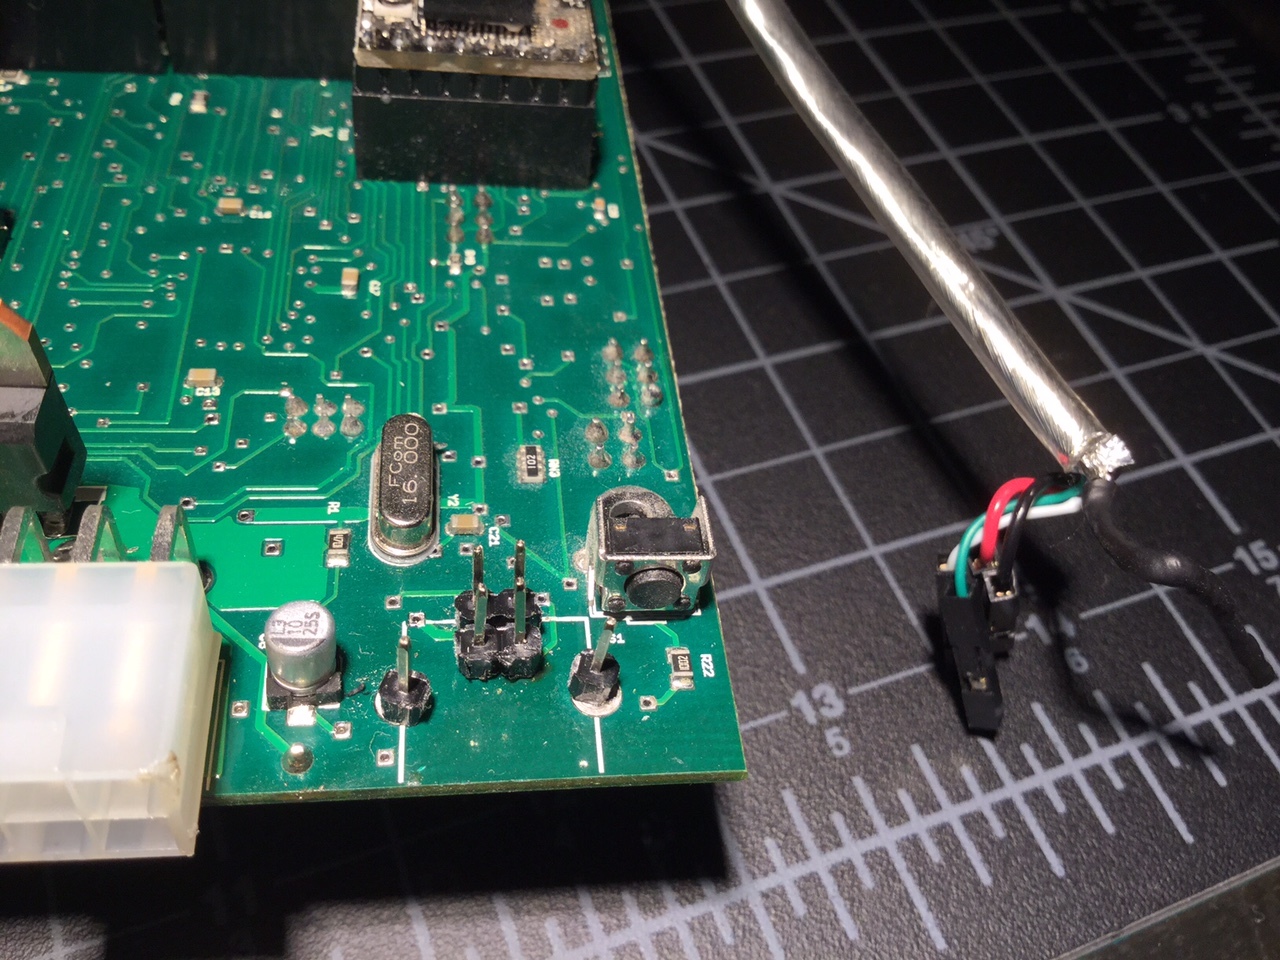
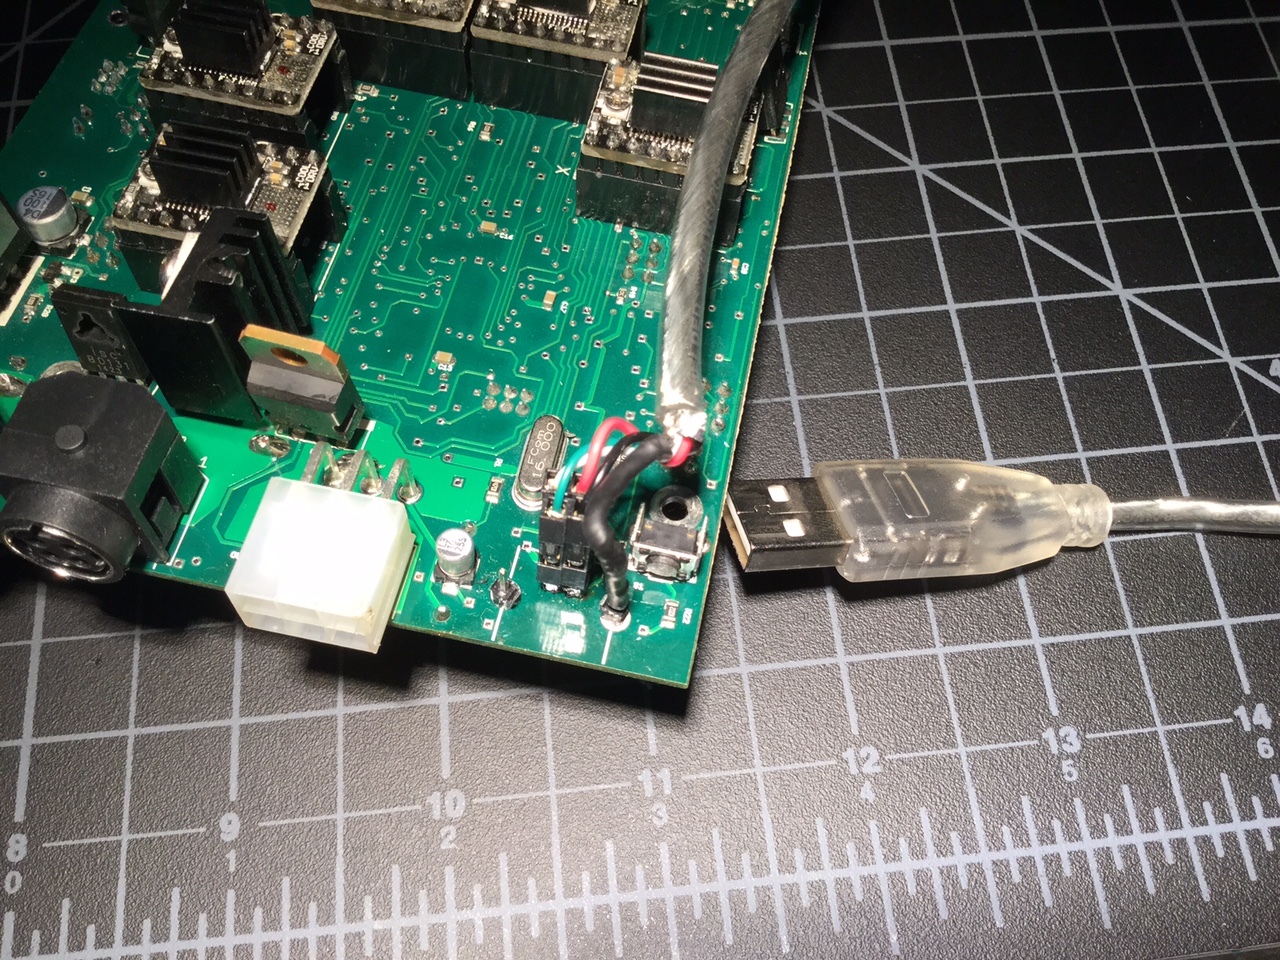
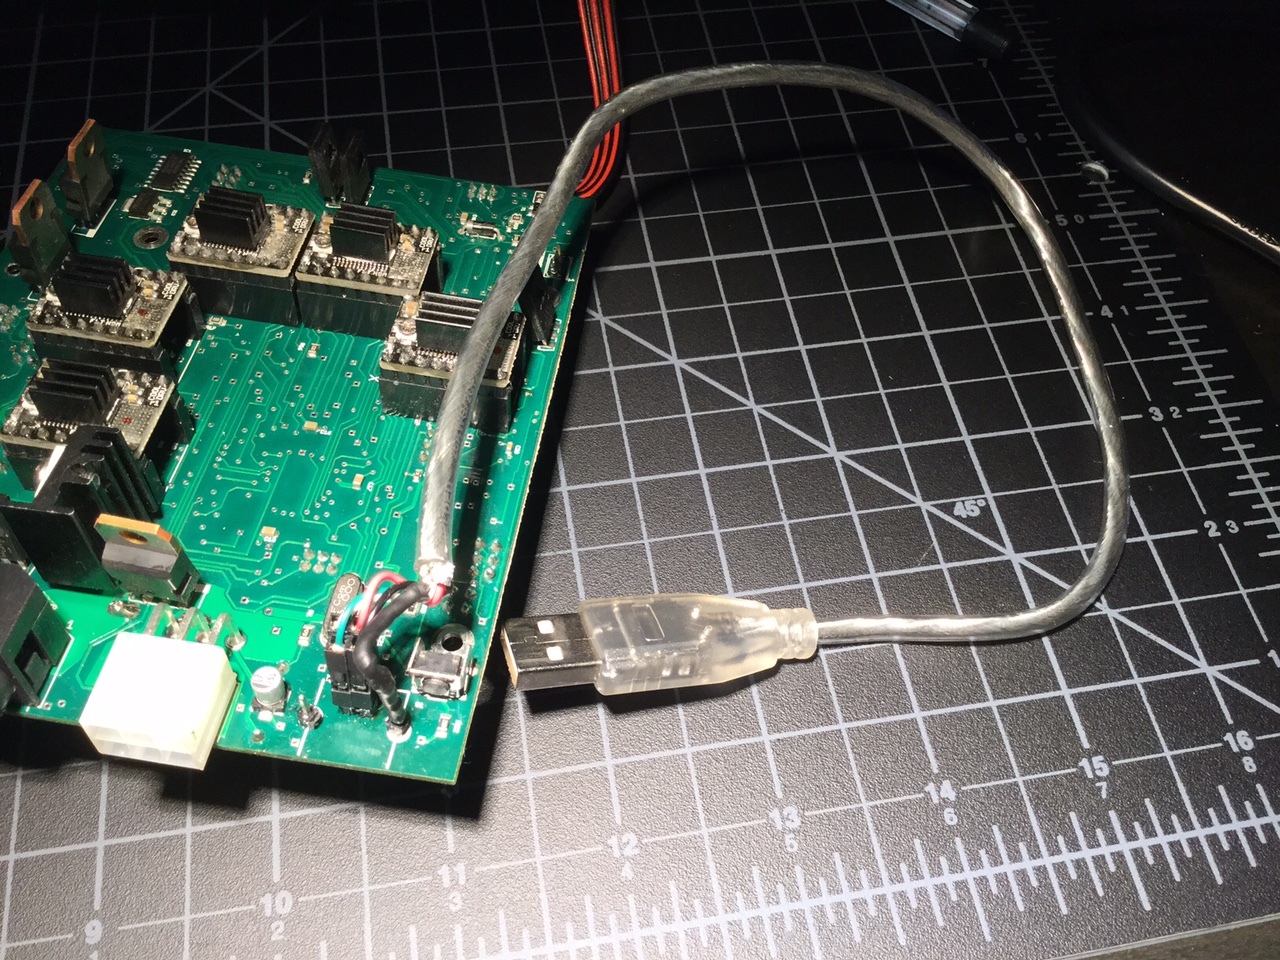
As per the software part, i admit im totally lost here. Repetier-Host, Ocotoprint, WIFI-DONGLE, etc…I got totally lost! I’m not as technically evolved has some of they guys here. And myself as i believe will happen to other users, have a non working USB connection. The plastic plug ZIM put on the USB port is really, but really hard to remove, and although i managed to remove mine, i believe the port itself got screwed in the process. So i need an alternative to connect to ZIM. Or the Printer itself will become a brick…
I reach our for you guys for help. I´ve seem some tutorials on how to connect to ZIM, but to my understanding they all assume you have a working USB connection. I don’t. So whats the alternative here? Is is possible to connect to ZIM without using the USB port? If yes, would you guys be kind enough to share a step by step guide on doing so (like for dummies)? I was (like others) under the impression i was buying a “consumer grade” product…But now it seems i must take a crash course at NASA to be able to use the printer…

Ill buy raspberryPI´s or whatever needed i just don’t want to end up with a nonworking printer (that did cost me lots of money).

Thanks everyone and please help me out. I’m becoming really frustrated here…

Do you know how to desolder? if yes its easy to take out the old USB B type connector either you solder a new one or like i did just solder headers and cut a USB cable and crimped the ends so that you dont need to route the cable outside the the printer, also i cut a micro USB cable and connected the power to the same headers connecting power for the Cubiboard this cable supplies the power to my RaspberryPi.
If you need more help just ask and i will help as much as i can.

For the software i am using Octopi i like it, you can customize it as how you want.

The different topics are covered in much detail in various threads. With step by step instructions and some troubleshooting. It may seem overwhelming at first, but its not once you start diving in. Please read through them.
Furthermore jpod was so kind to post two videos on “How to” get Zim running with Octoprint. I don’t think it can be made any easier.

All support documents have been saved and published, where you can see what to do for every part of the Zim.

For your damaged USB port you can solder the usb port or cable and operate the Zim with Octoprint (which is the best and only solution). I am confident you can find someone to change the USB port or attach a usb cable by soldering. There surely are repair cafes, fablabs or smartphone repair shops or a friend with enough skill, somewhere in your area.

Hardware replacement parts is something various skilled people have begun developing some alternatives.
We will have to wait.

Thanks guys (fbinabri & 3DPrintEvangelist)

It was unclear to me that OCTOPRINT allows to communicate with ZIM without using the USB port. Ill follow JPOD tutorials and will get back to you guys if i get in trouble.

Thanks once again! Ill sleep better today…

Oh, I made an error there.
Sorry for my mistake.
You need the USB for the Octoprint.
But the soldering solution from fbinabri sounds good and easy enough.

fbinabri: could you please elaborate (and maybe a picture) on how you soldered a usb cable to the headers?

So far, to communicate with the printer for the first time you would still need USB.
Octoprint: Connect printer to RaspberryPi (wired) -> connect RPi to network (wireless) -> access the printer on RPi via network (wireless)

I soldered in the connector based on this diagram

One thing I was really worried is that the connection coming lose easily. sorry the noob job, if someone have a better idea please share XD
.

In this picture the USB port is upside down compared to the diagram, so beware of your orientations!

I think it would be better just to remove the USB and solder directly to the board to avoid any other future issues. let me know if you would need my help in soldering and performing the modifications.

this seems like an easy job that I can easily do

My method was to cut the metal case of the USB connector, then clip the leads to the connector as close to the board as possible. Remove the old connector as much as possible, minus the bits of leads still soldered into the board. Then heat up the cut pins soldered into the board with an iron and use a pair of needle nose to remove them. Use solder wick, or a solder sucker, to clean out the holes. Finally, solder in a new USB connector.

Sorry for the delay had to open the zim again to take the pictures:

  • This is how i power my Raspberry PI

  • The header pins i soldered after i took out the USB type B connector the outer single headers are for case GND(ground)

  • After connecting the USB cable

Hope it helps

1 Like

Thanks Guys! And there goes sleeping better…
@fbinabri I just dont get (never opened by Zim) why you have one Black USB Cable on the first picture? Was that cabke added by you or is it standard? From the look of it and pardon my not so technical ENGLISH (im Portuguese and some of this technical vocabulary is missing) its basically remove the USB connector (port) thats connected to the raspberry, open up one standard USB Cable, use the kind of connectors found on the regular pc motherboards and plug it in direclty on the Zim Board (raspberry) …Right?

Thanks again awesome work with pictures and all! Great!

No problem

Ok, let me explain:
The black and silver cable are added by me

Black cable: its micro usb cable that i cut, then i crimped the connectors to the red and black wires in the cable. (this cable i use to power my raspberry pi). I connected the red and black to zimboard as shown in the picture it supplies 5V which is required for the raspberry pi to operate.

Silver cable: its any usb cable i cut also crimped the black, red, green, white i also crimped the silver shield in the cable and connected it to the outer header that i soldered as shown in the pics.

hope it helps

It sure does. So it means this set up envolves disconnecting whatever is by default providing power to the zimboard? I thought the ac adaptor was giving power to the whole thing…

No disconnecting the power from zimboard to cubiboard A10 you are right the ac adaptor supplies power for everything

@fbinabri Nice clean solution! Thank you for taking the time to post those pics.

Quick questions, I just removed the USB port and soldered in a new one. Can I connect just the board to my computer without all of the connections to the motors without hurting it just to test that the usb is working? Or do I have to have everything connected?

Thanks,

OK, So I just tried it and it seems to be ok, I get lights on the board and no smoke so that part is good. But I’m getting an error when I try to load the modified Marlin firmware from here. https://github.com/jpodius/marlin-zeepro

I’m getting avrdude: STK500v2_getsync(): timeout communicating with programmer
so googling it says maybe its a problem with the bootloader and I can try flashing a new boot loader but I don’t want to break it. I just want to be able to print again. Help!

Edit:
Fixed the problem, Not sure if its a windows 10 thing or just Arduino in general. I had to reboot after the install to get it to recognize the com port correctly to talk to the board.

Edit 2:
Got it working will try and put a tutorial together once I get it printing better. Need to fine tune the settings.

P.S. If i can get this working I will make a tutorial to help others.

3 Likes