E3D DUAL Extrusion

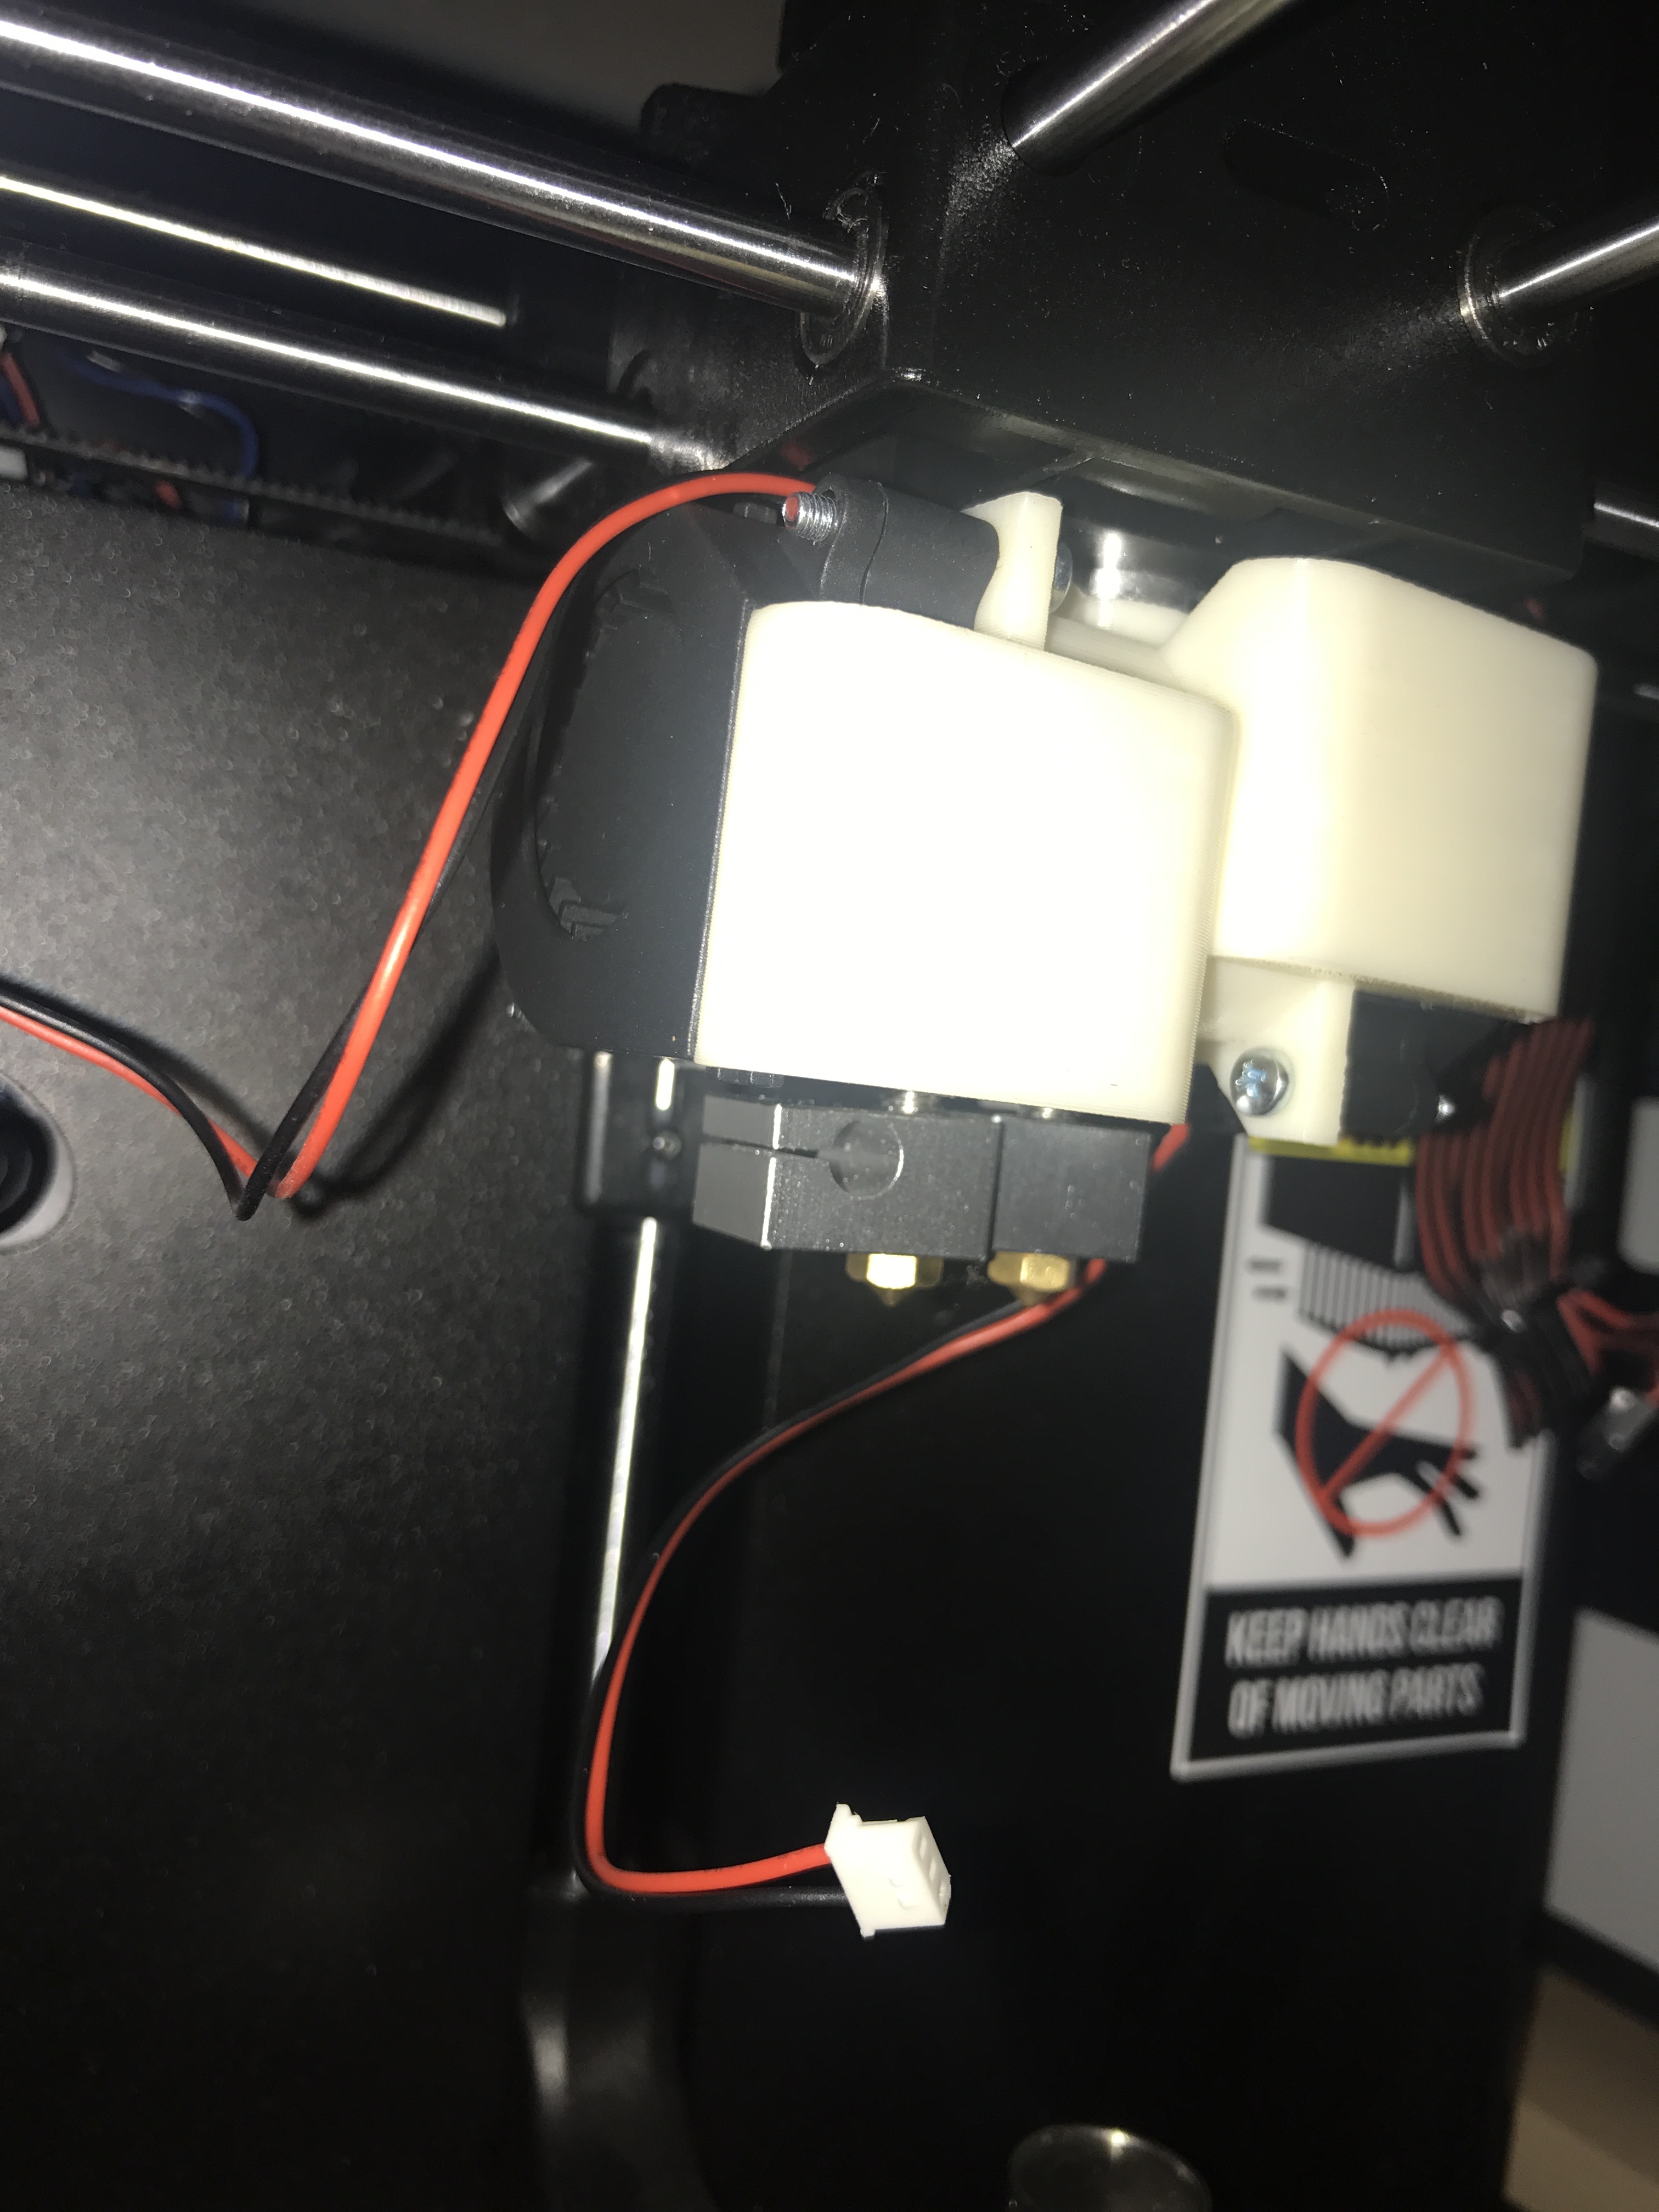
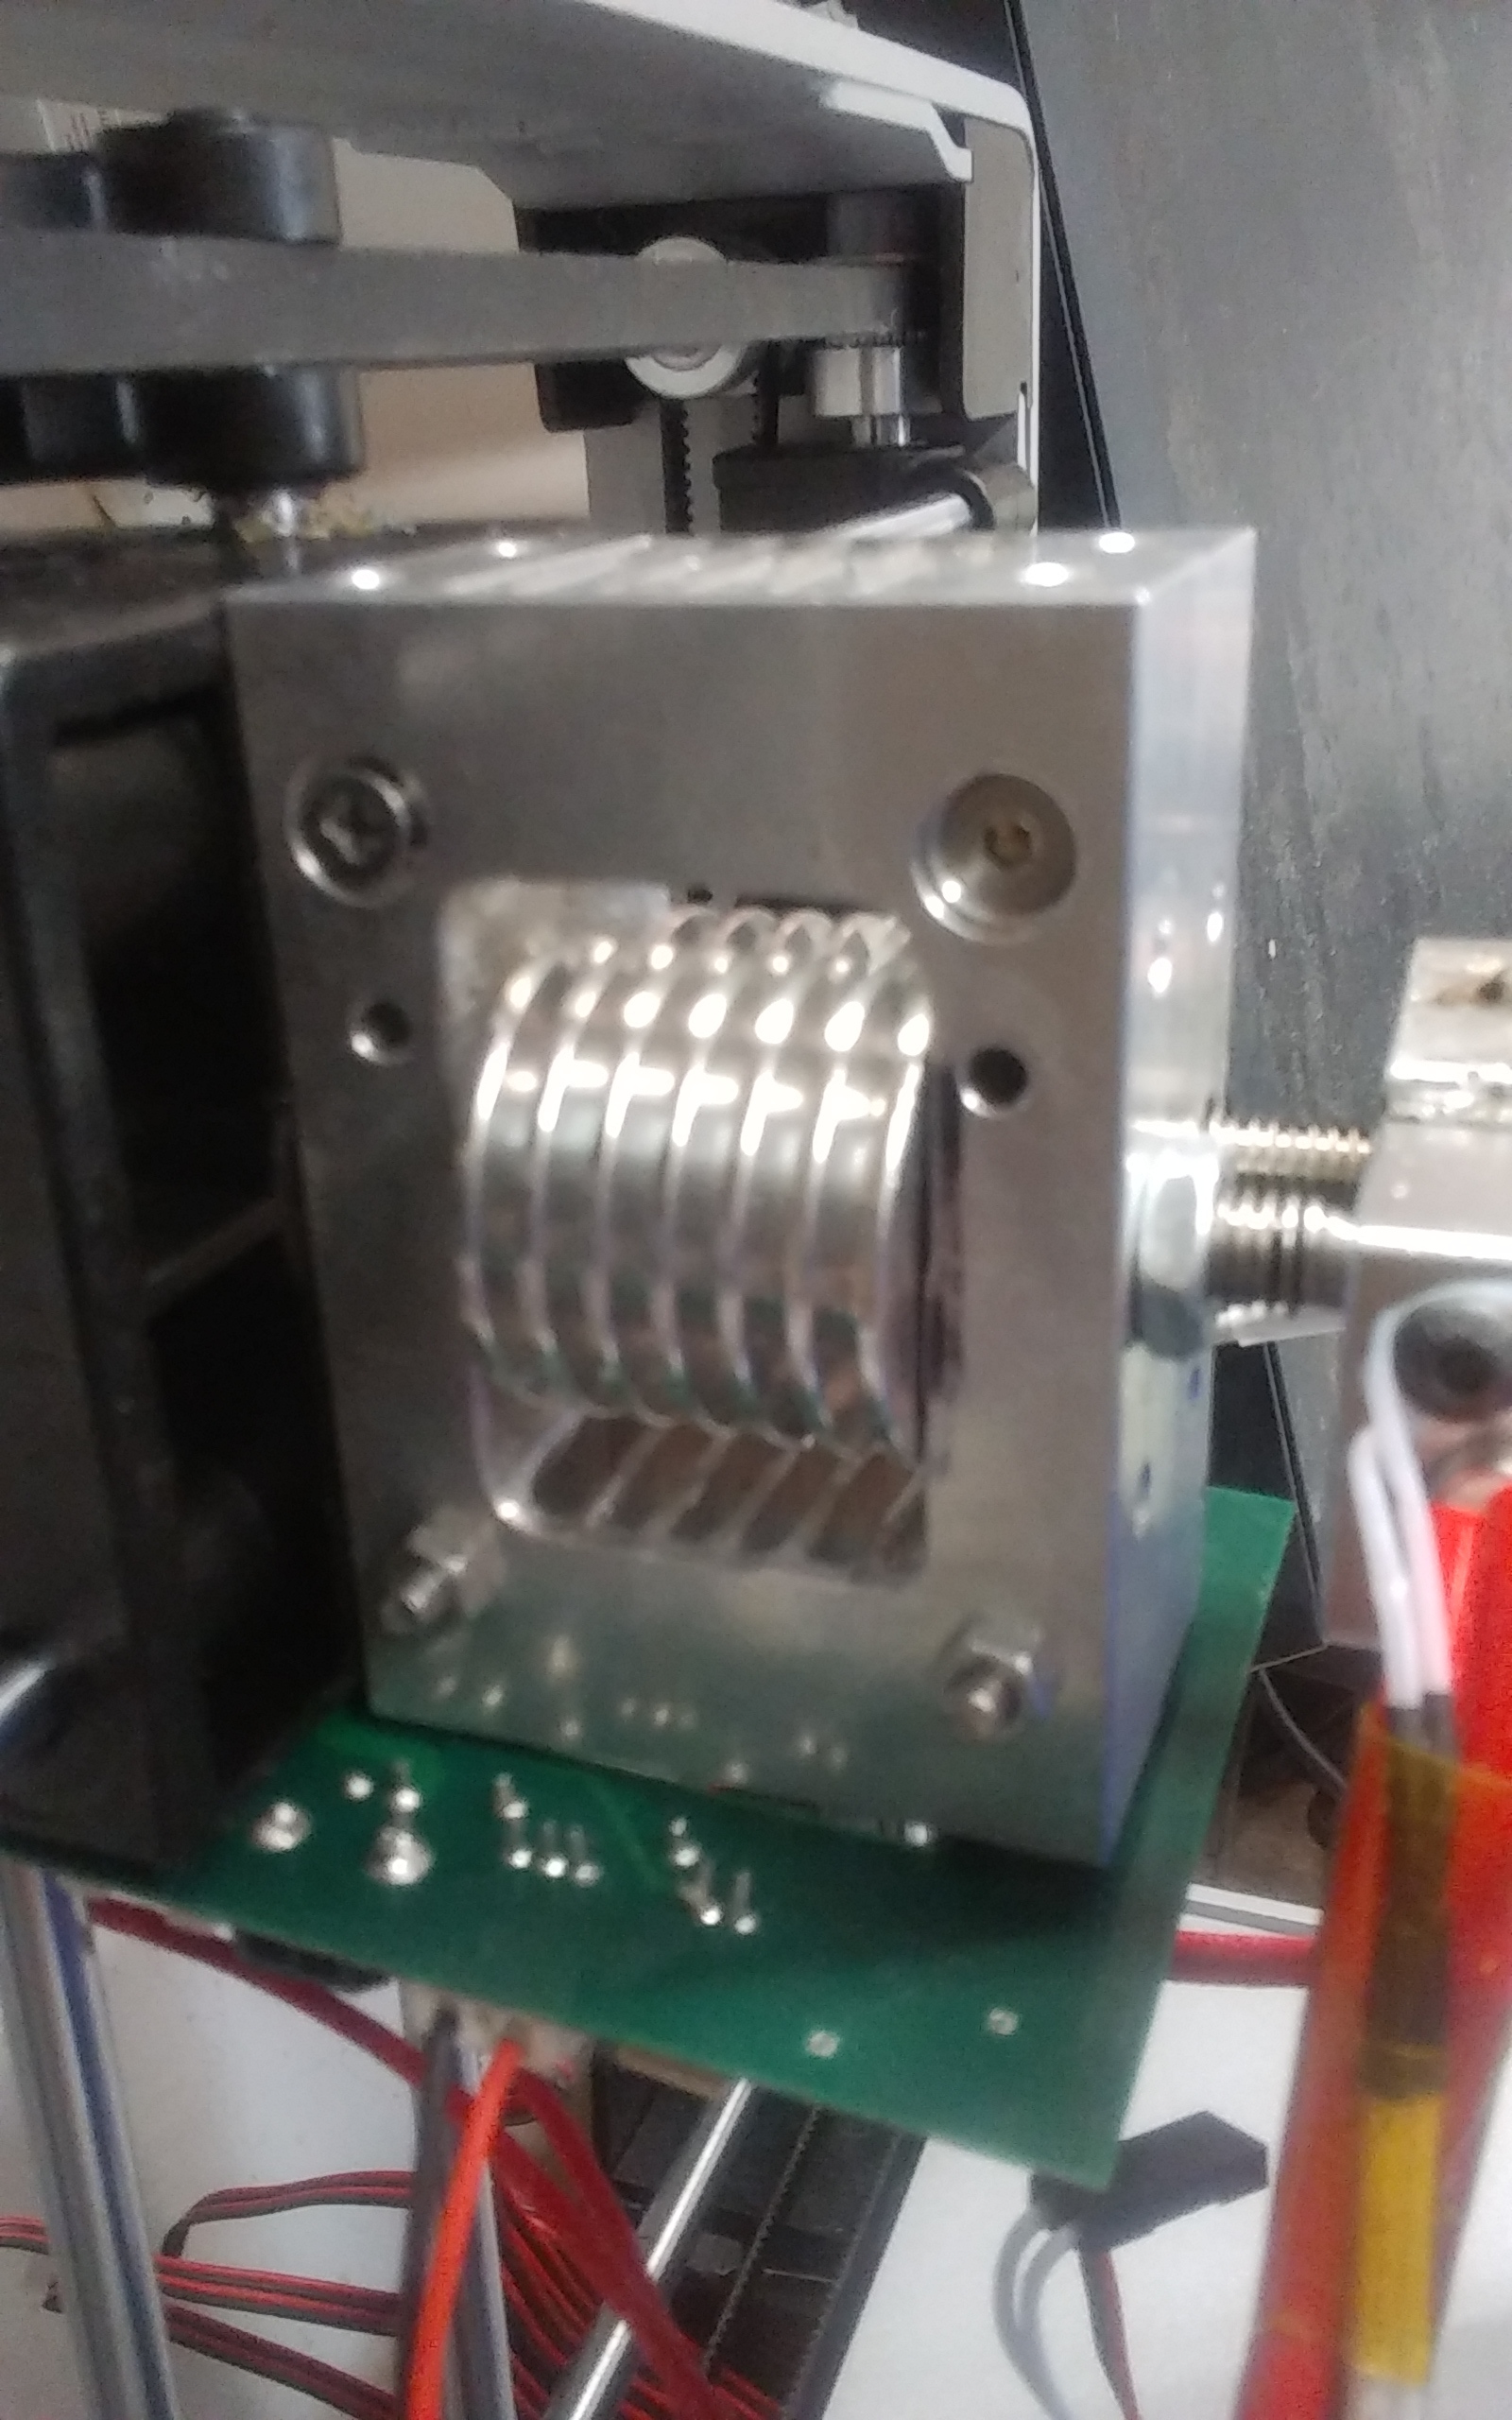
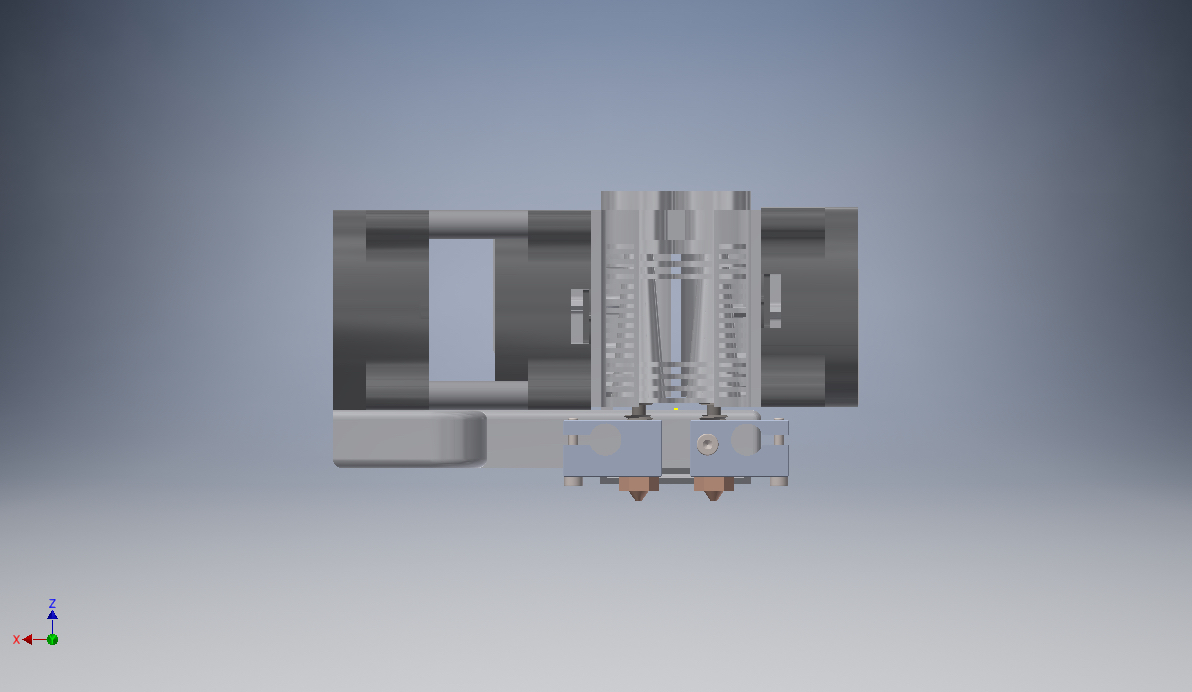
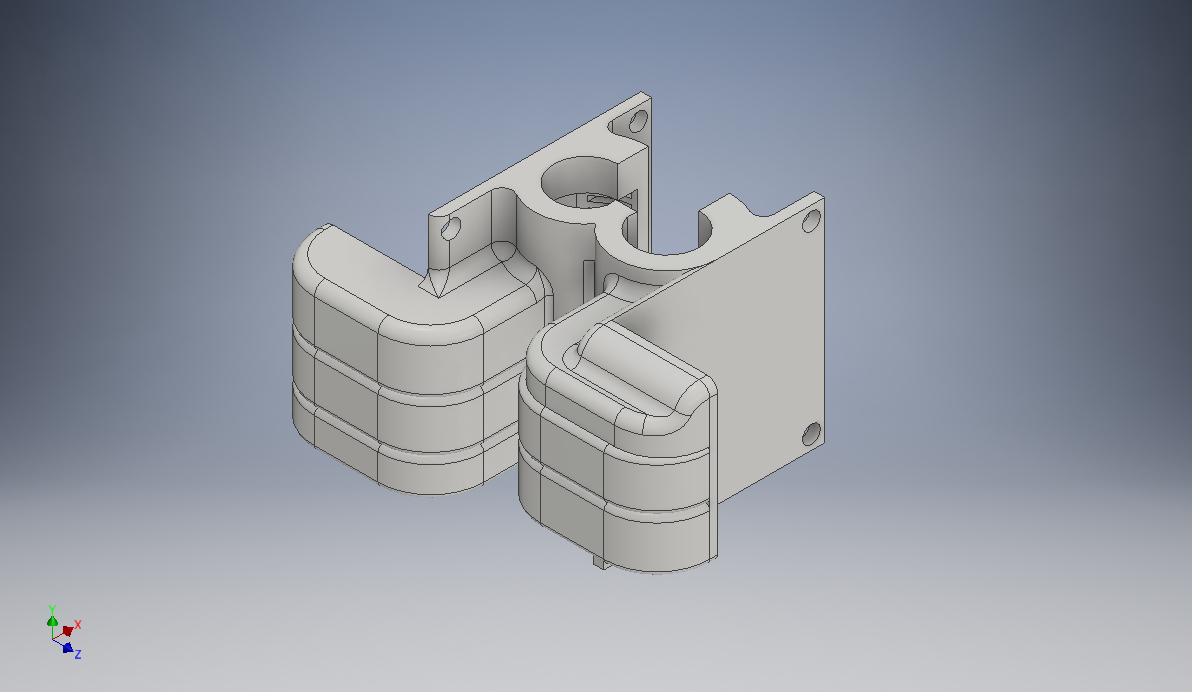
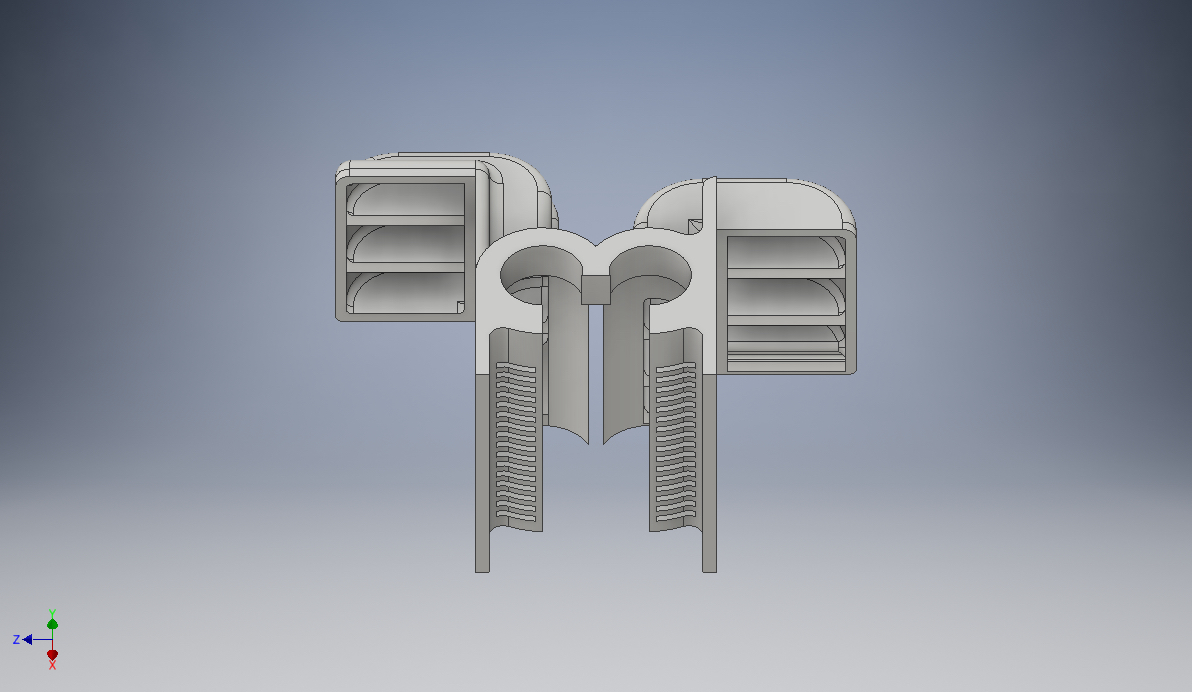
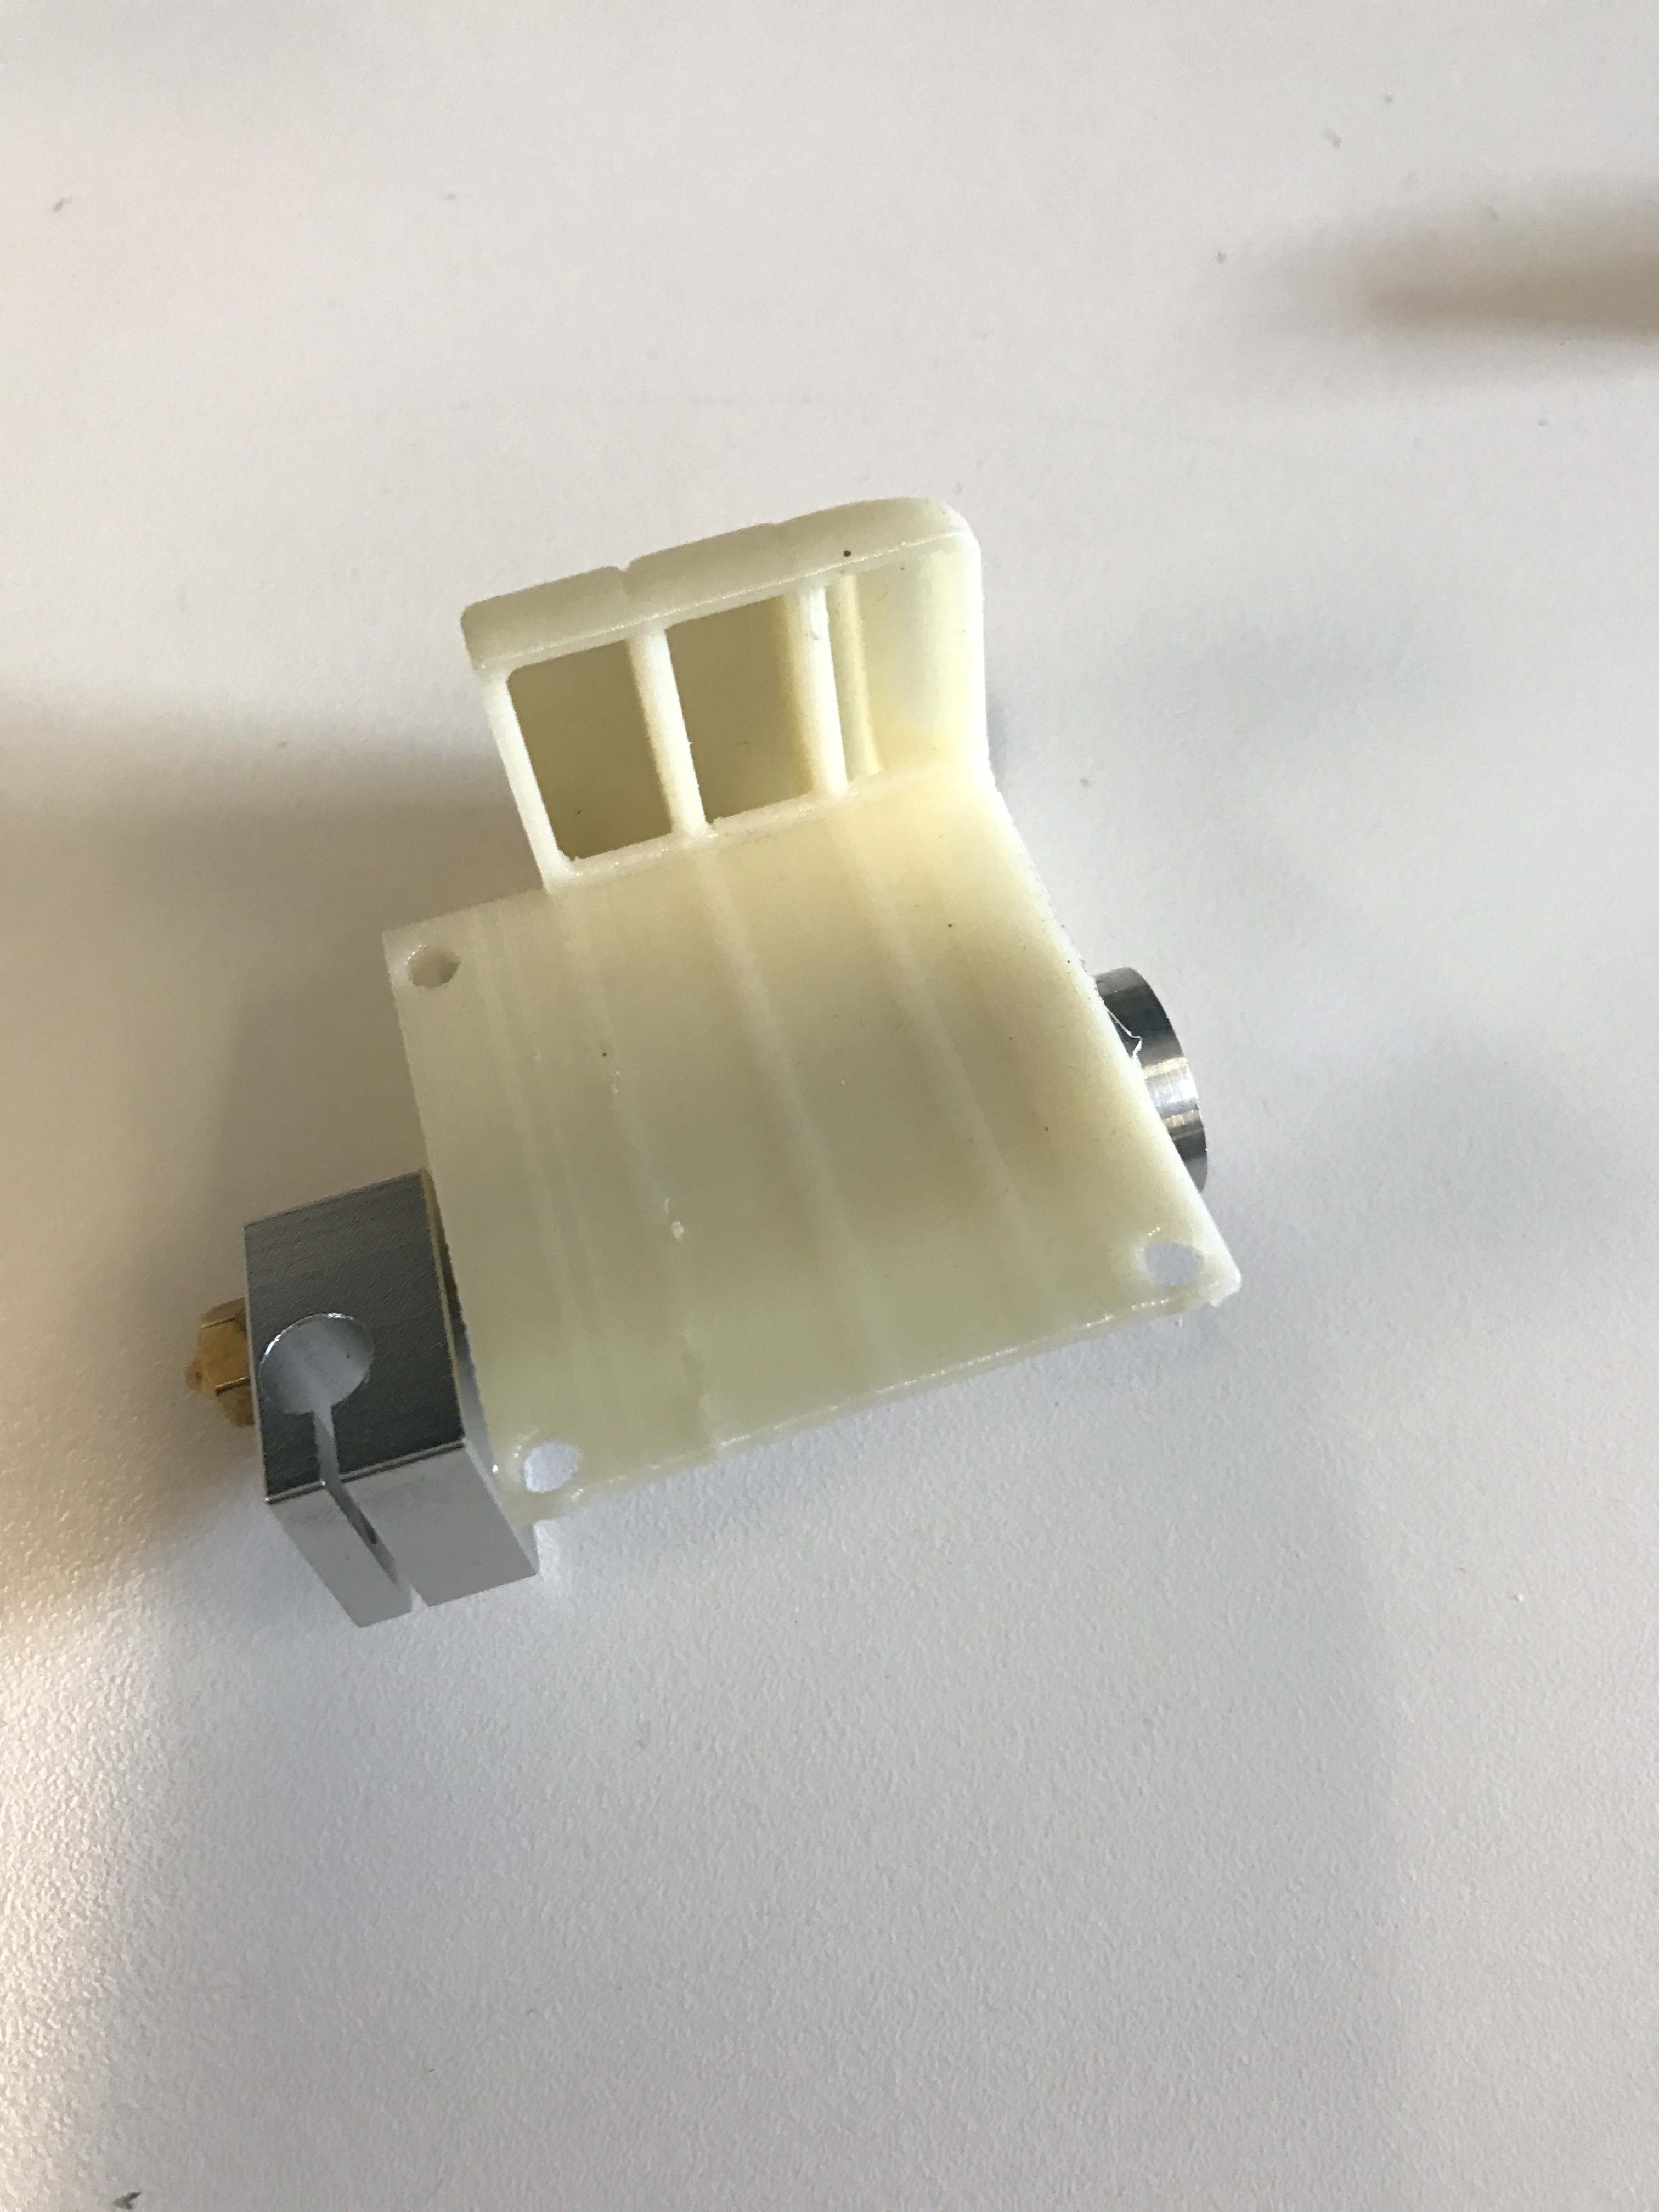
Building on what some users are doing, adding an E3D or an E3D v6 clone, I machined down an e3D and designed a custom mount that will fit directly on to the Zim carriage. I haven’t printed this out yet because I am also wiring a new RAMPS board into my printer, but I’ll get a copy printed off tomorrow at school, I’ll upload the files on thingiverse once It is a complete project, but I just wanted to let people know it was being worked at.


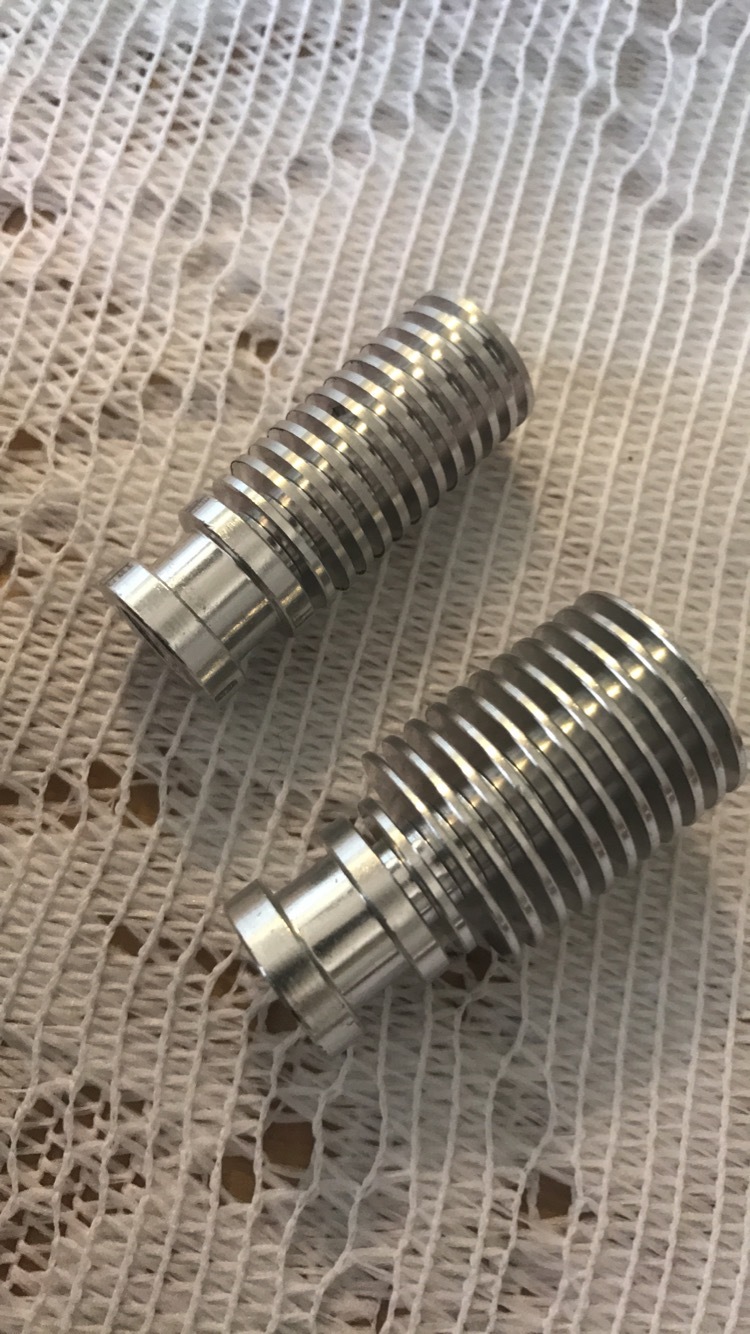
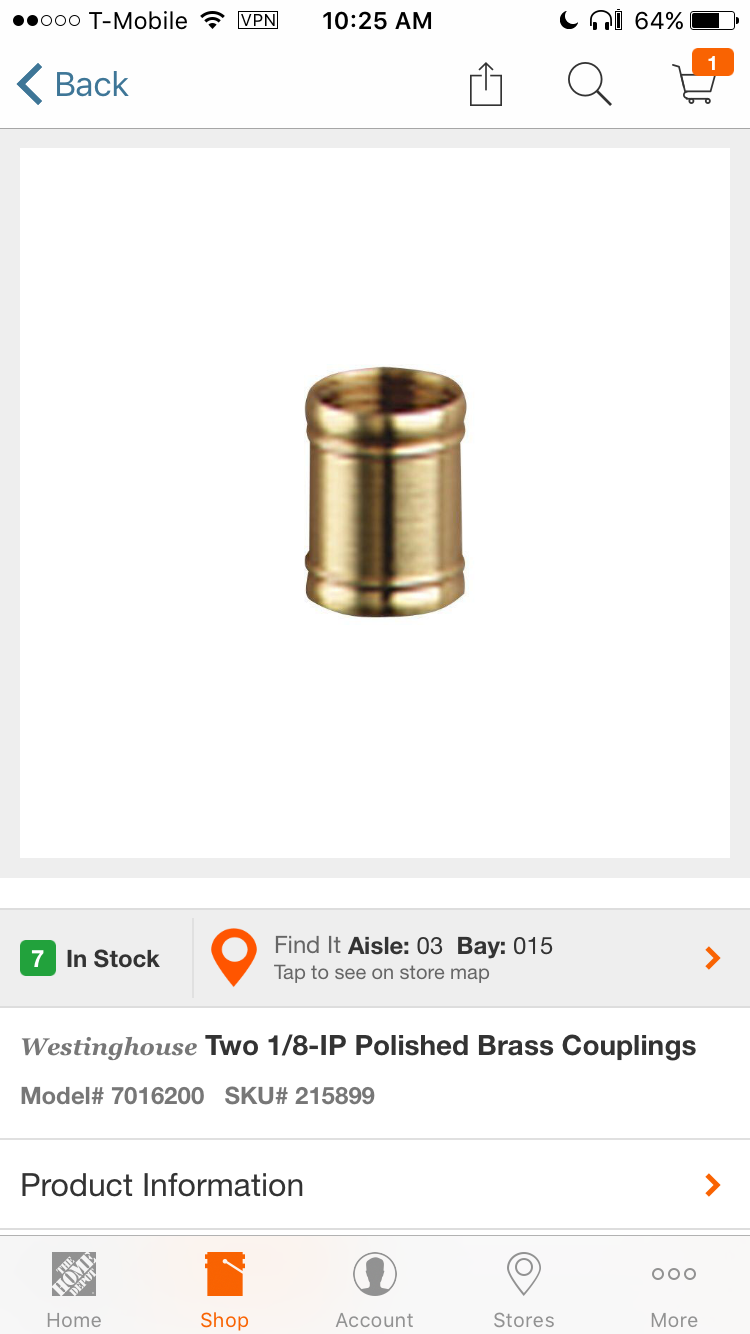
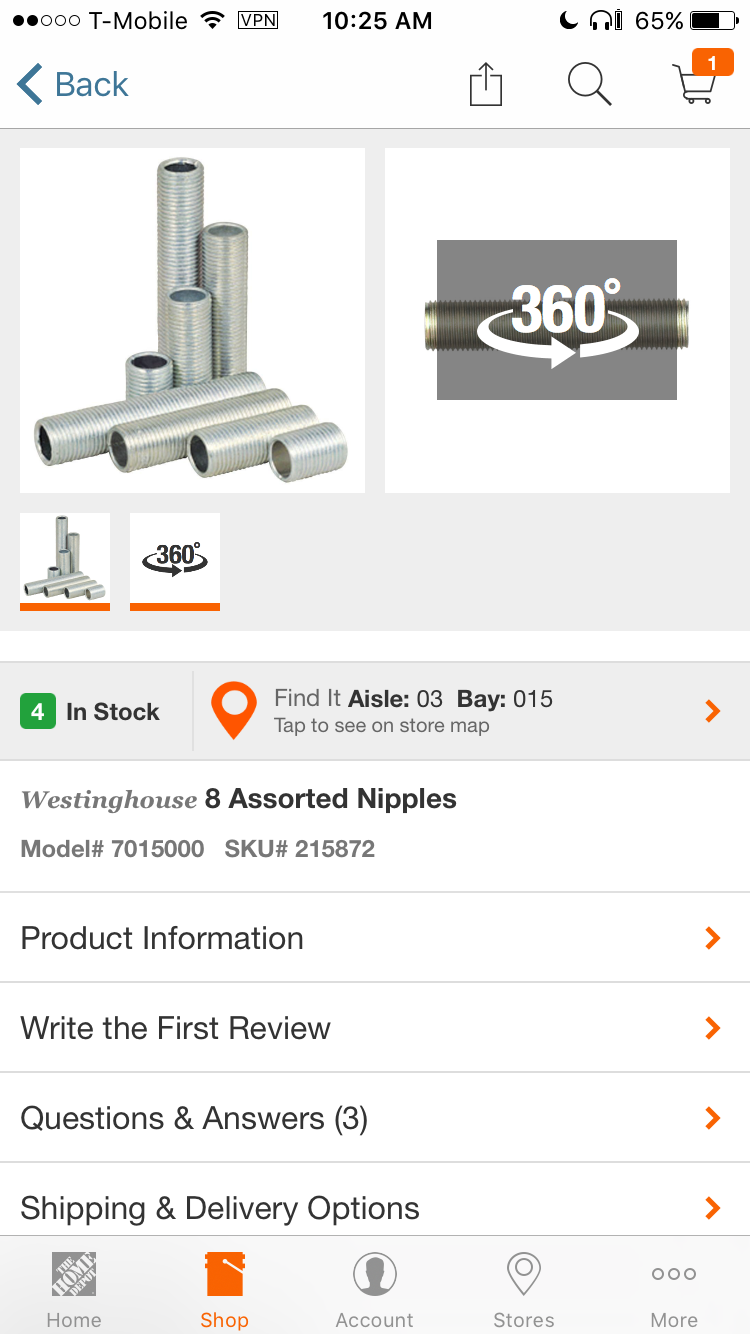
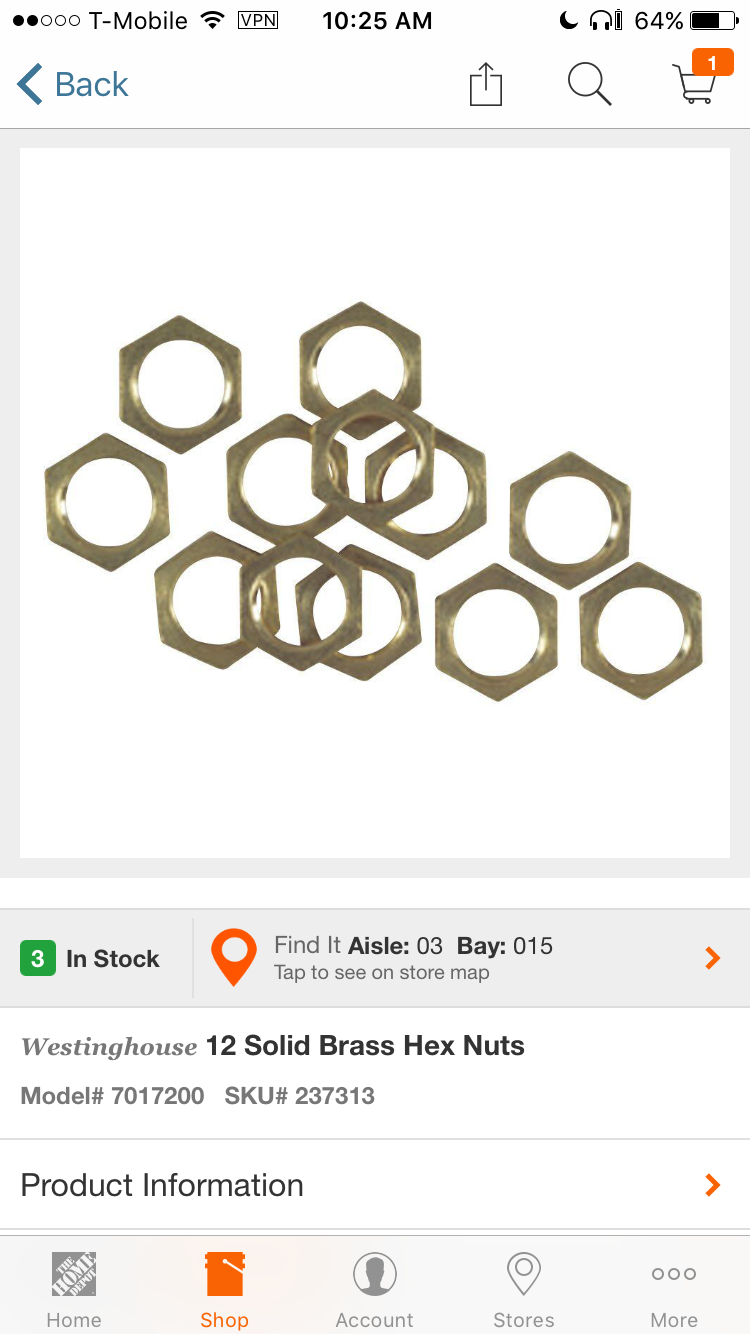
NOTE:I am aware that E3D V6’s don’t reach all the way down to the build platform, and quite by mistake I found that lamp repair brass tubes and fittings fit perfectly to fix this issue. I used this:

UPDATE #1 2/23/17

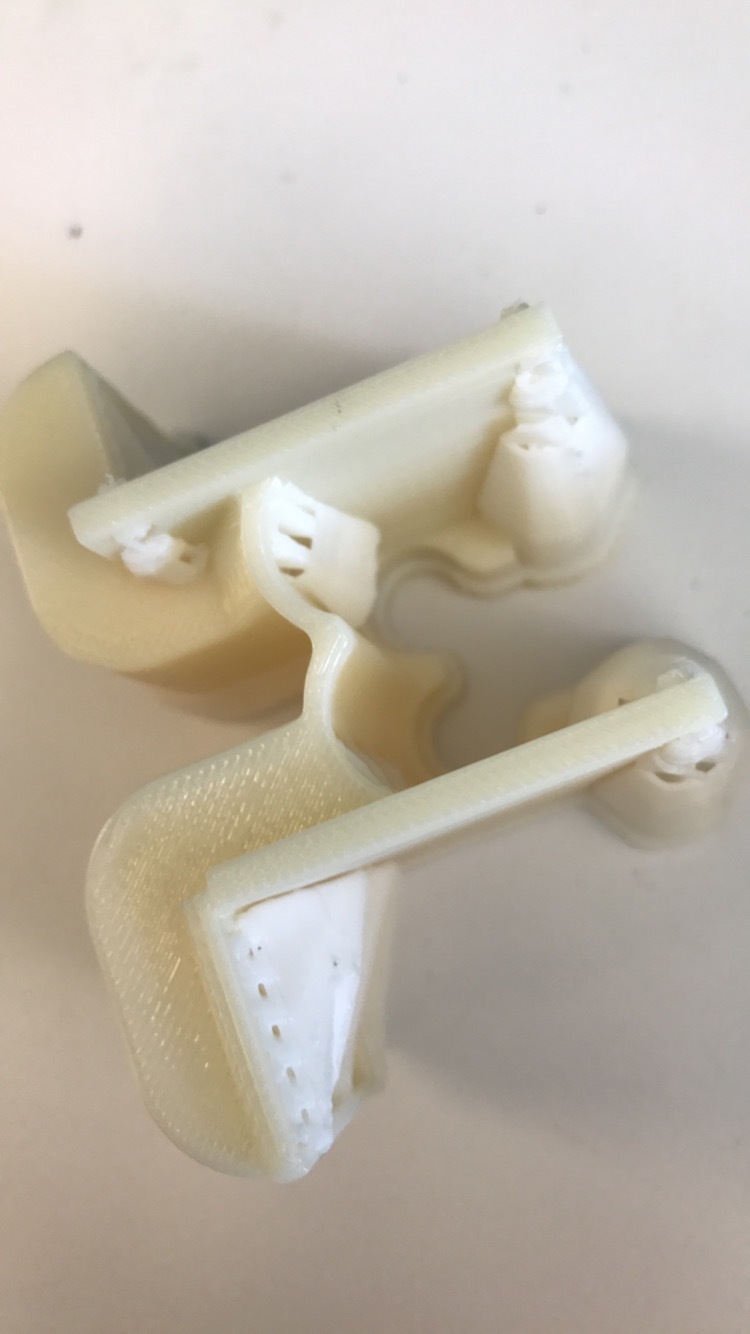
Tolerances were too tight and I snapped the piece. I’ll get another printed off:

UPDATE #2 2/24/17

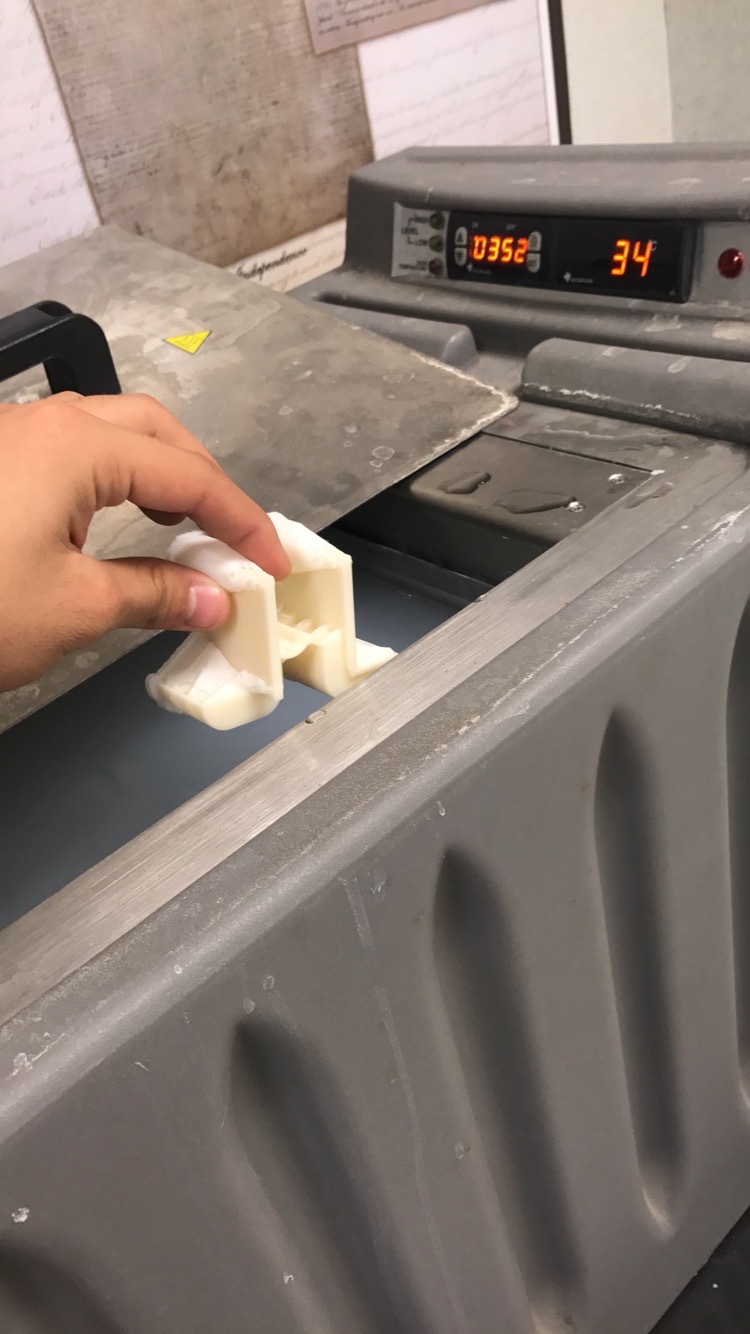
I got another part printed off and I left it at school to get the supports dissolved:
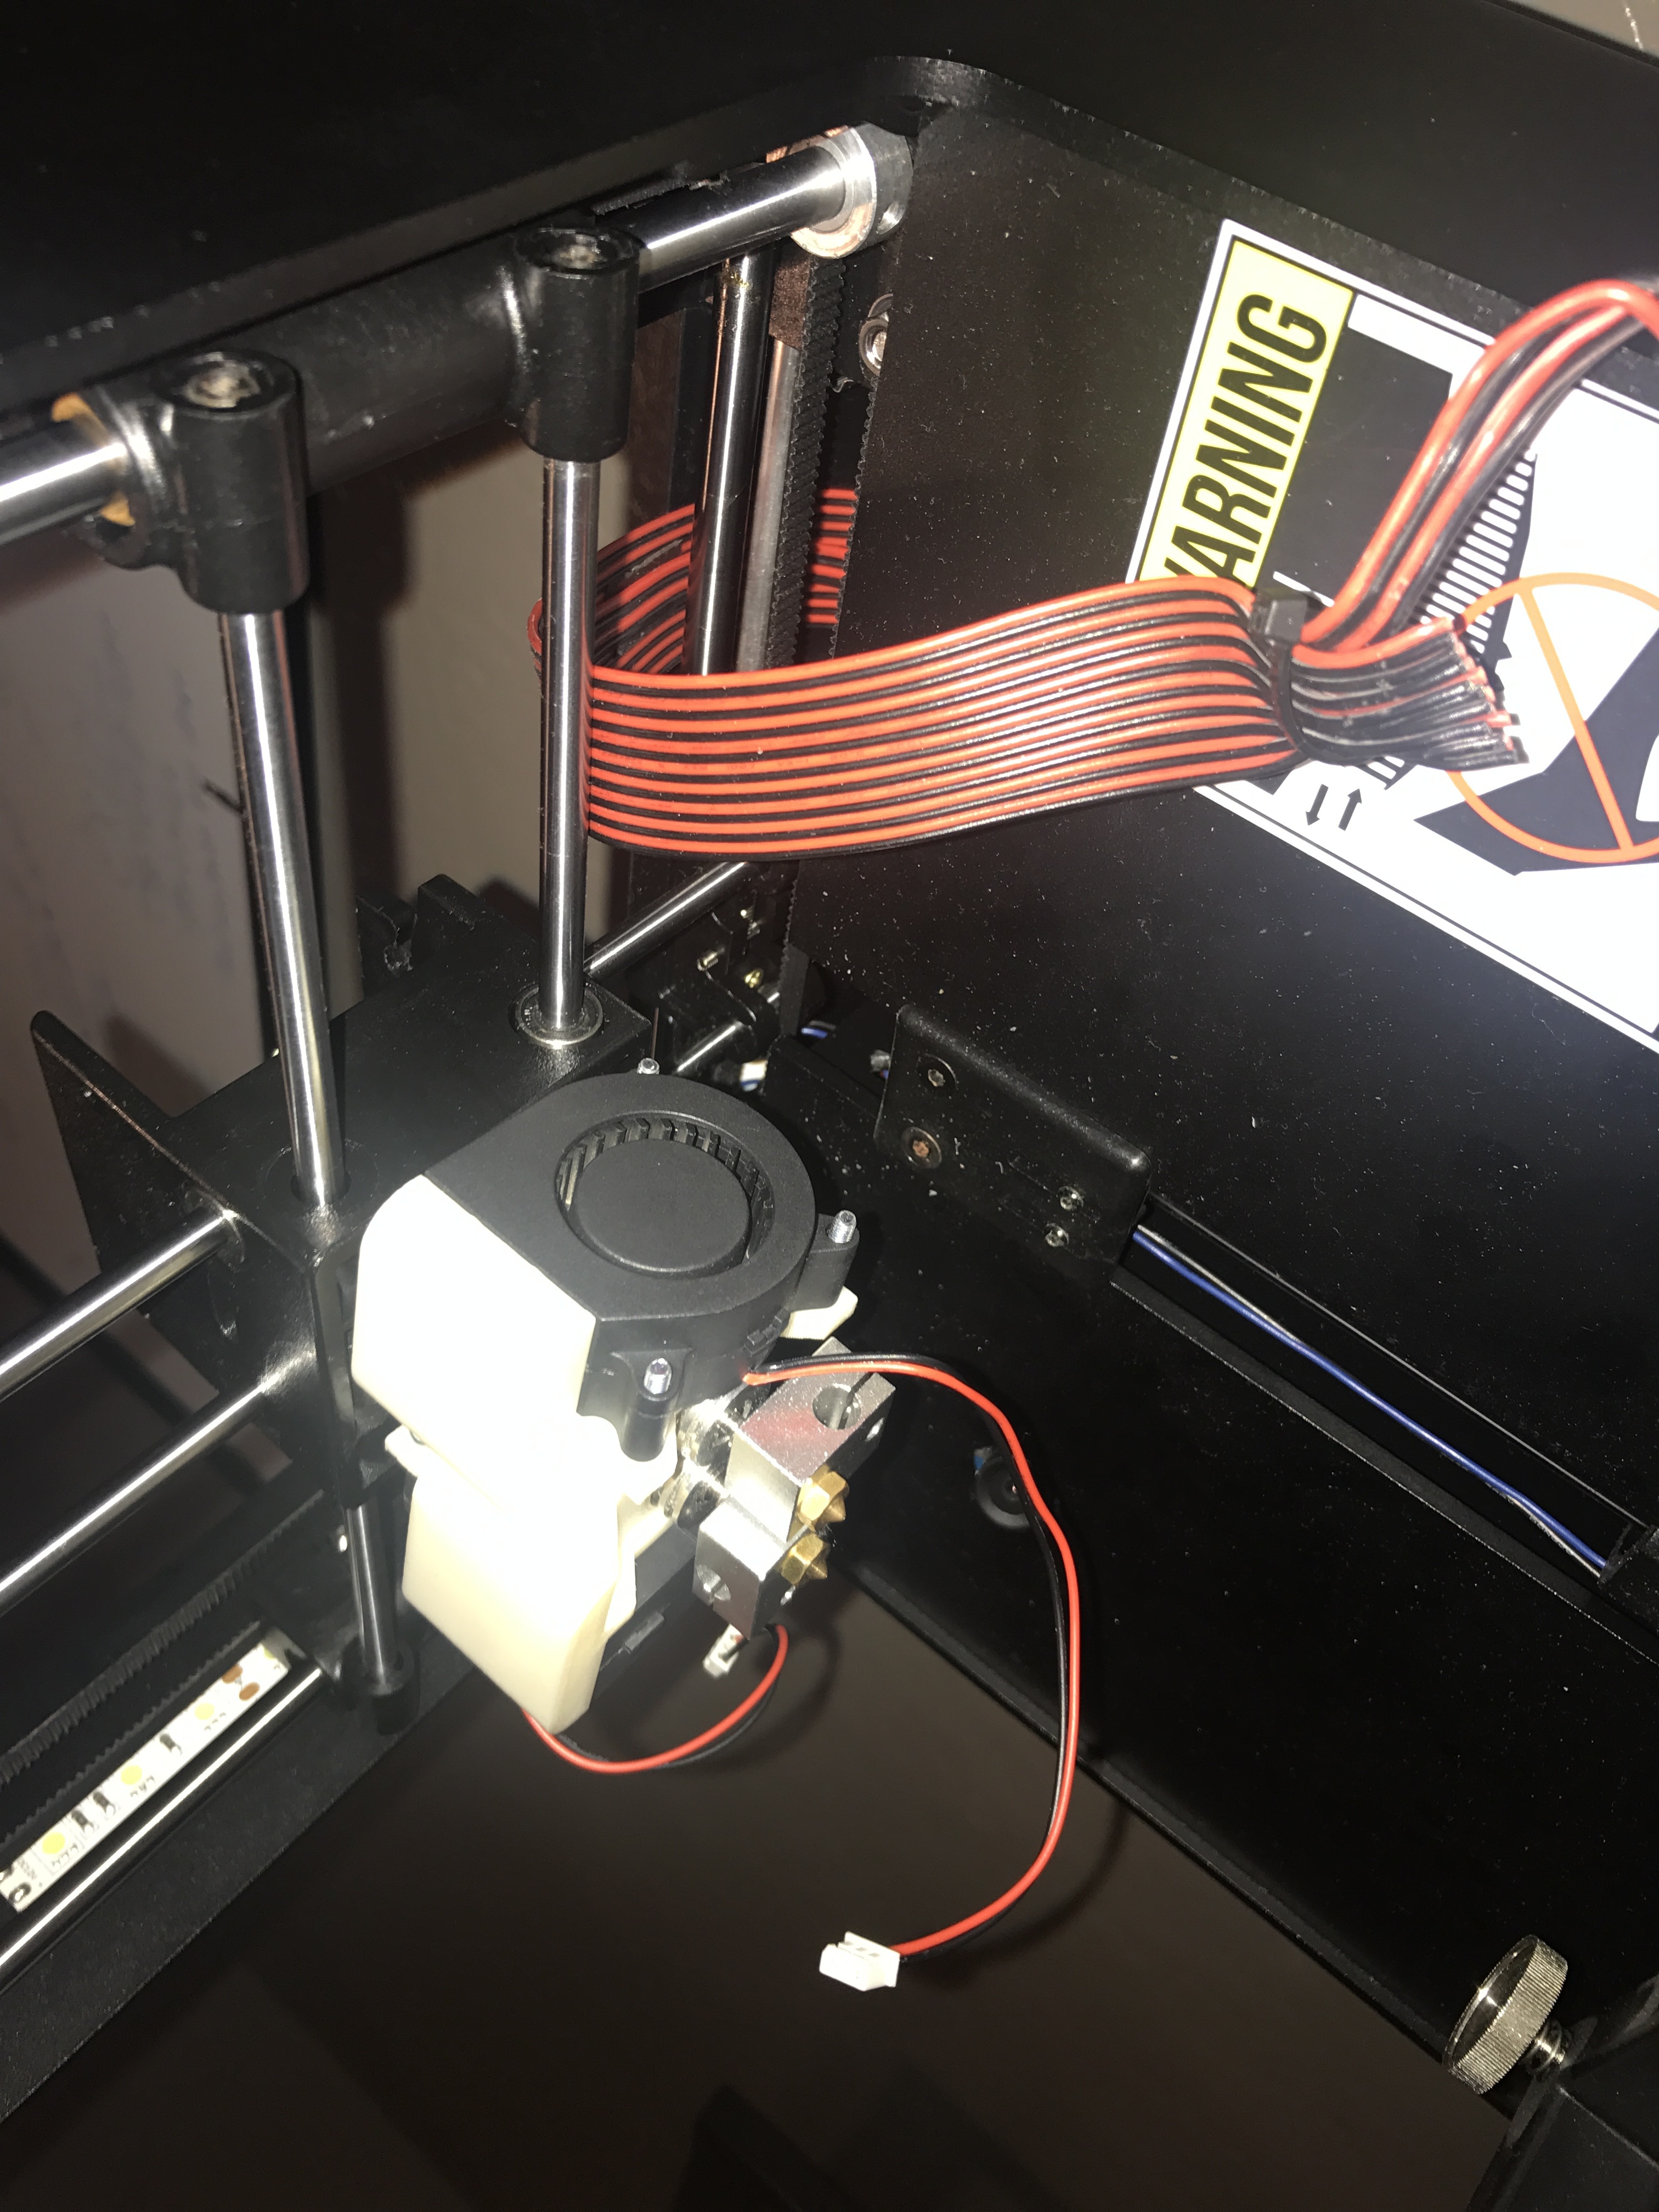
UPDATE #3 3/11/17

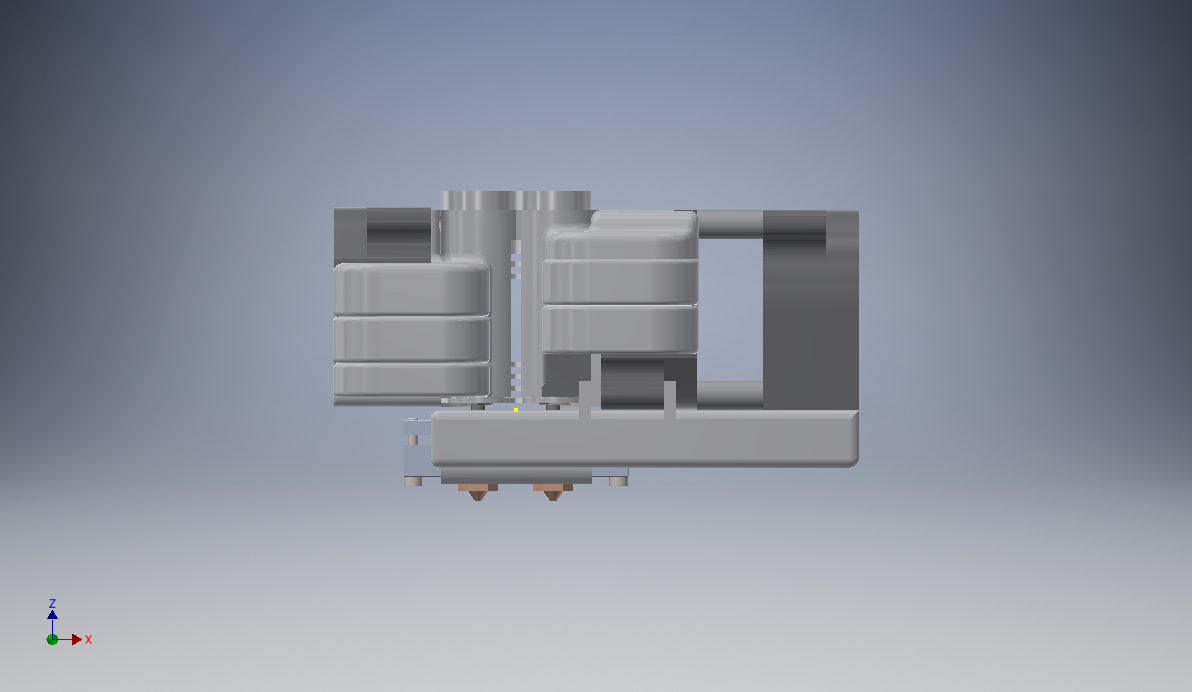
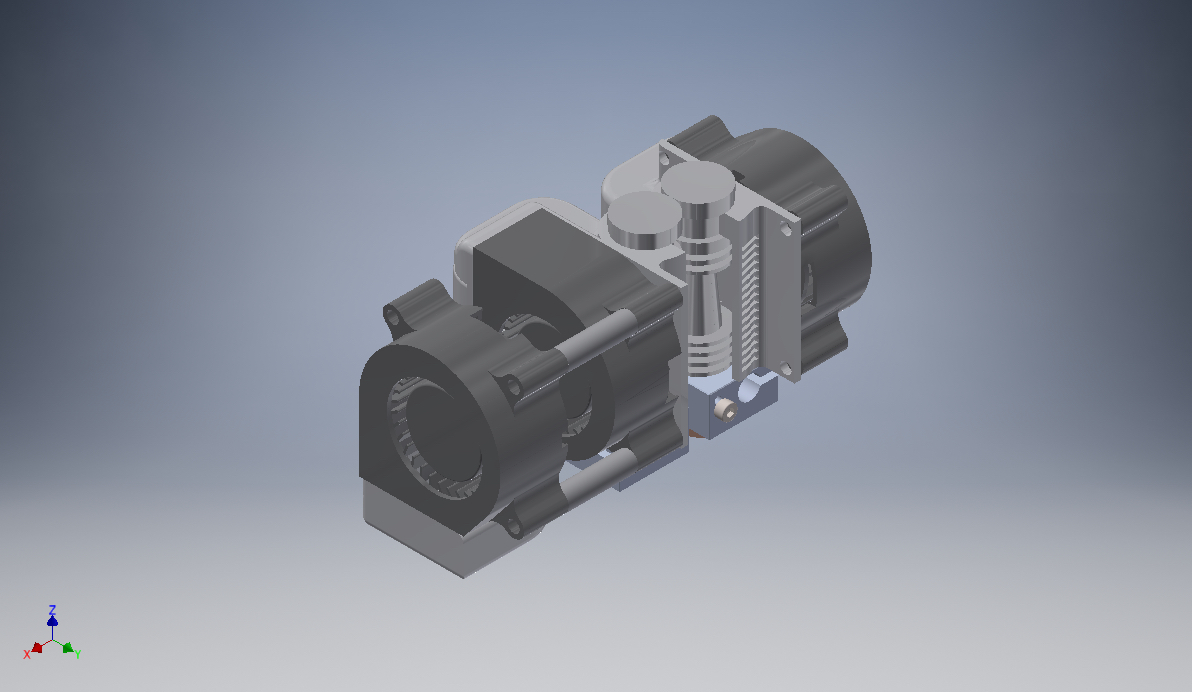
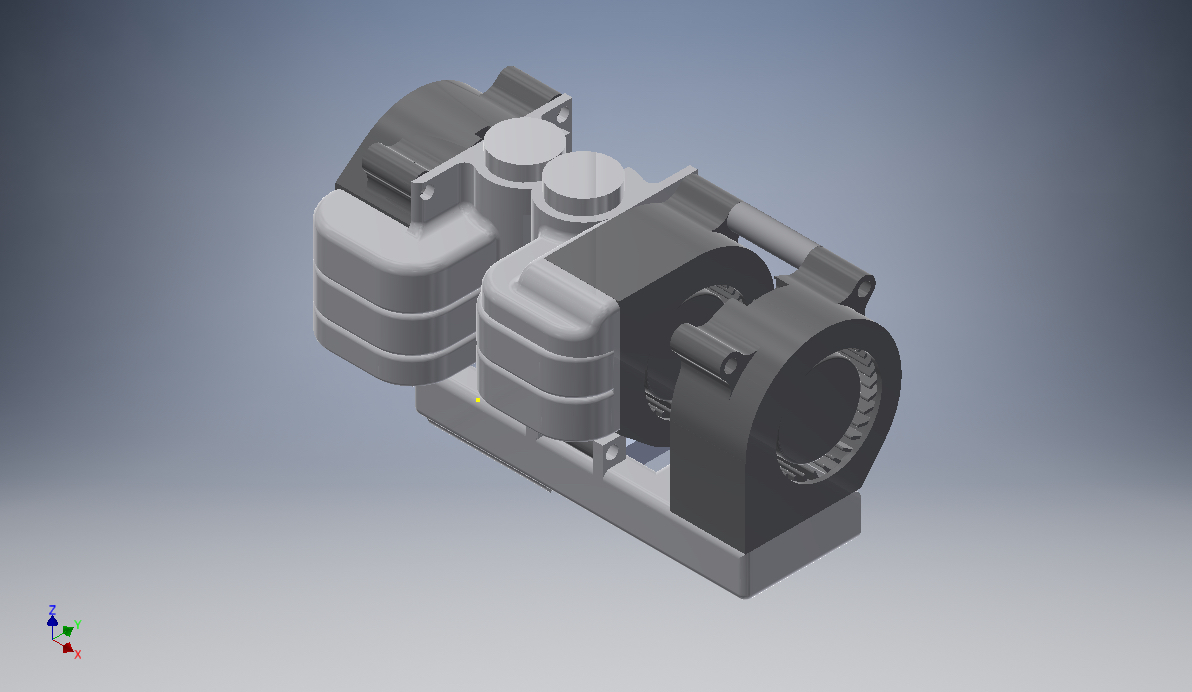
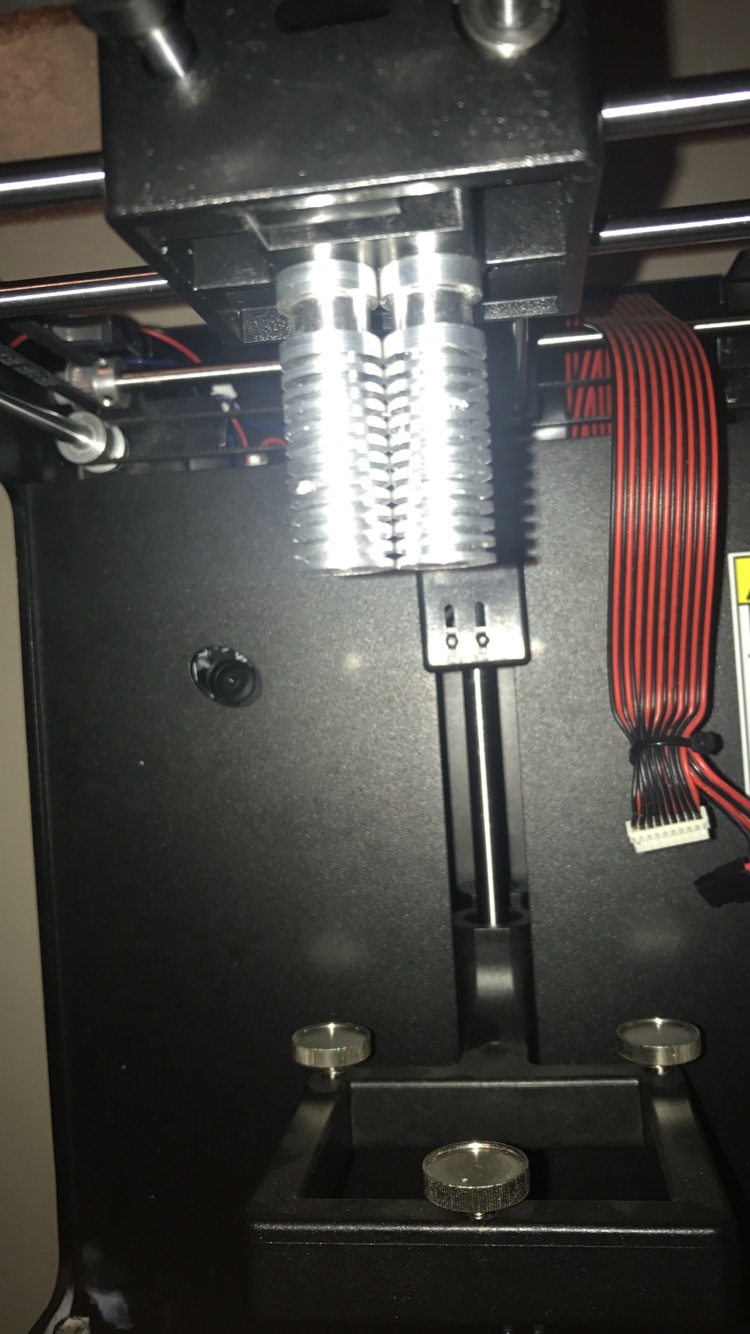
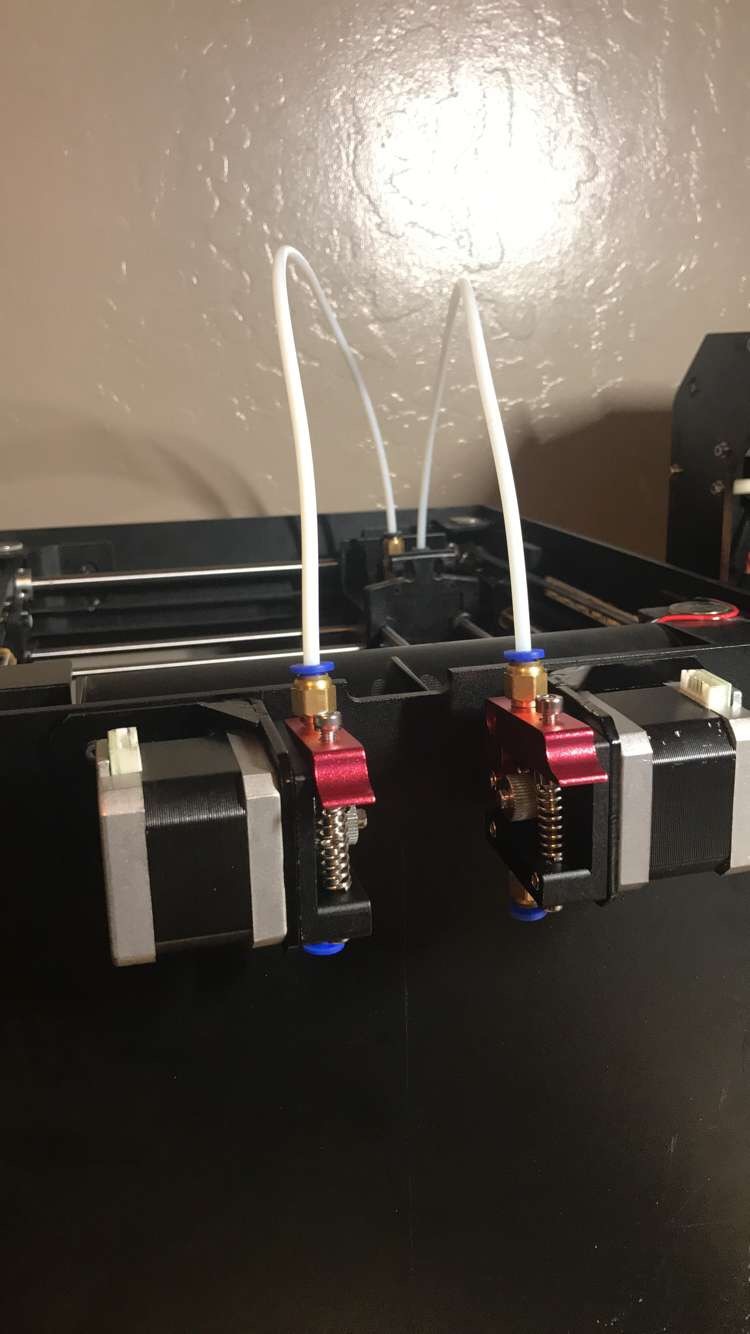
Still waiting for my heater cartridges to arrive, but some bowden Extruders came in the mail yesterday. I installed them on the back of my Zim:

Thingiverse download link: Zim custom extruder

When I get the heater cartridges I ordered I’ll make an in depth tutorial on how to put all this together.

2 Likes

This is Amazing. Which lamp repair brass tubes are you talking about? Can you post a link please. And if you can, A tutorial would be nice so others can also do this mod. Im glad people are starting to mod this amazing 3d printer. The only shortcoming on this printer was finding the nozzles, throat, hotend etc. With the E3d, parts are available everywhere.

Thanks for the pics David. Looks like an easy mod, except the machining. Would a single E3D fit without machining the heatsink?

Yes it would fit, but not with the carriage I designed. If machining is an issue I may be able to provide the service

Great if you can provide the service. In which material did you print the carriage?

You may be able to get away with printing the carriage in PLA but I printed in ABS and since the Zim is primarily a PLA machine, it wouldn’t get hot enough to melt the ABS printed carriage.

UPDATE #3 2/28/17 Final fan shroud made and installed. The STL file will be uploaded to Thingiverse shortly. Feel free to ask questions. If anyone has interest in doing this to their Zim, I’d be glad to be of help

Have you tried printing with it yet? I would be very interested to see your results.

No I haven’t. I’m in the middle of a board swap and I’m waiting for some custom connectors and heater cartridges to arrive.

I think it will print great. The Zim is really good mechanically. The hot ends were the only problem. and the cartridge system, but thats an easy mod.

well, i know what i’m doing this weekend. thanks for all the hard work getting this designed, I have the two hot ends in and am getting my other 3d printer up and running so i can print the new fan shrouds. have you had a chance to upload the unit to thingiverse yet?

Files are up! Check the original post for the thing link

2 Likes

My hotends

Then I did this and can still use stock fans

Nice work! I am also using the stock blower fans that came with the Zim. I’m still waiting for my heater cartridges to arrive, but in the meantime I installed some bowden extruders on the back of my Zim. Check the original post for pictures.

Hey david, what diameter did you cut your heat sinks down to?

If you don’t have a lathe just take a hacksaw and slice off one side of the fins right up to the solid middle core.
I Milled mine off but a saw works just as good.

I have a wood lathe I can adapt to sand the aluminum down or I can make a jig to grind it down on my disk/belt sander, but cutting one side wouldn’t work with the cooling rig you designed so i’d like to match that diameter if possible

sorry for the delay, i’ve been busy with other projects, but my heater cartridges arrived yesterday; I’m going to try and get everything wired today. To answer your question, anything less than 16mm is optimal, mine are cut down to about 15.8-15.7mm.

1 Like