
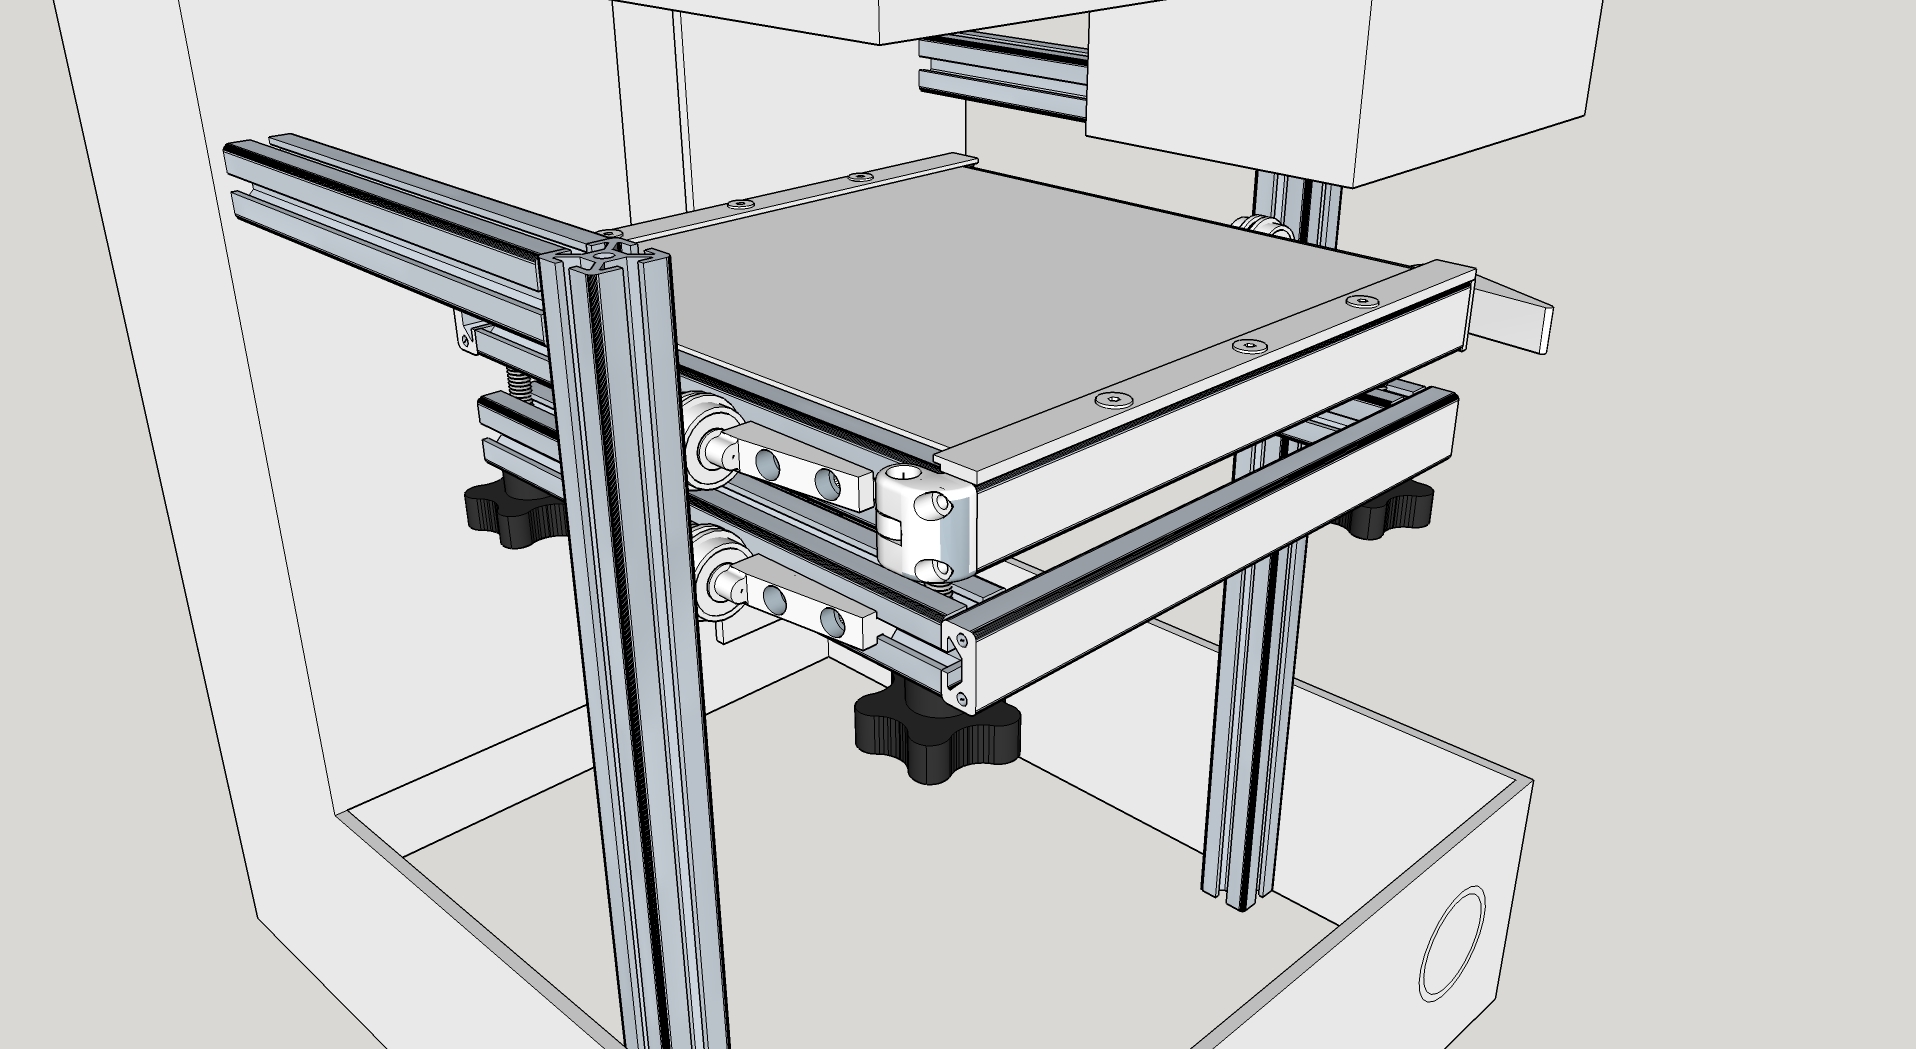
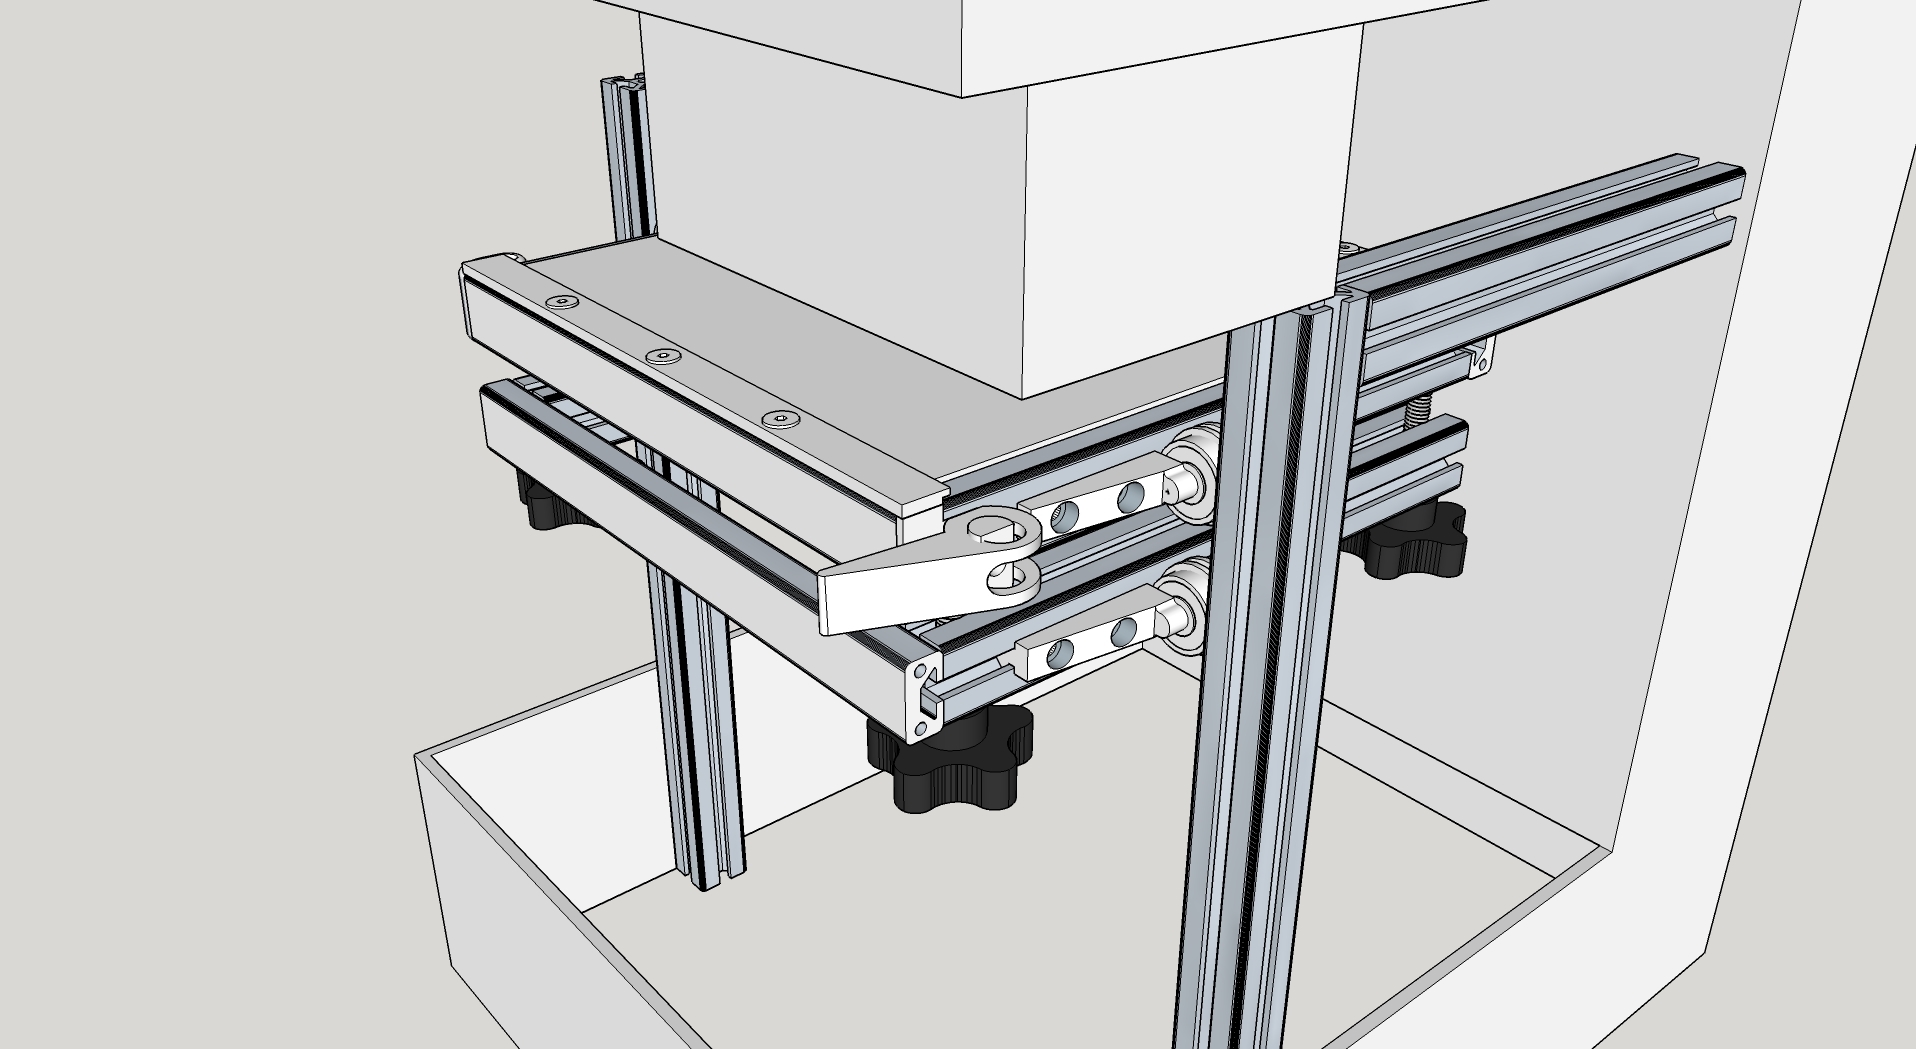
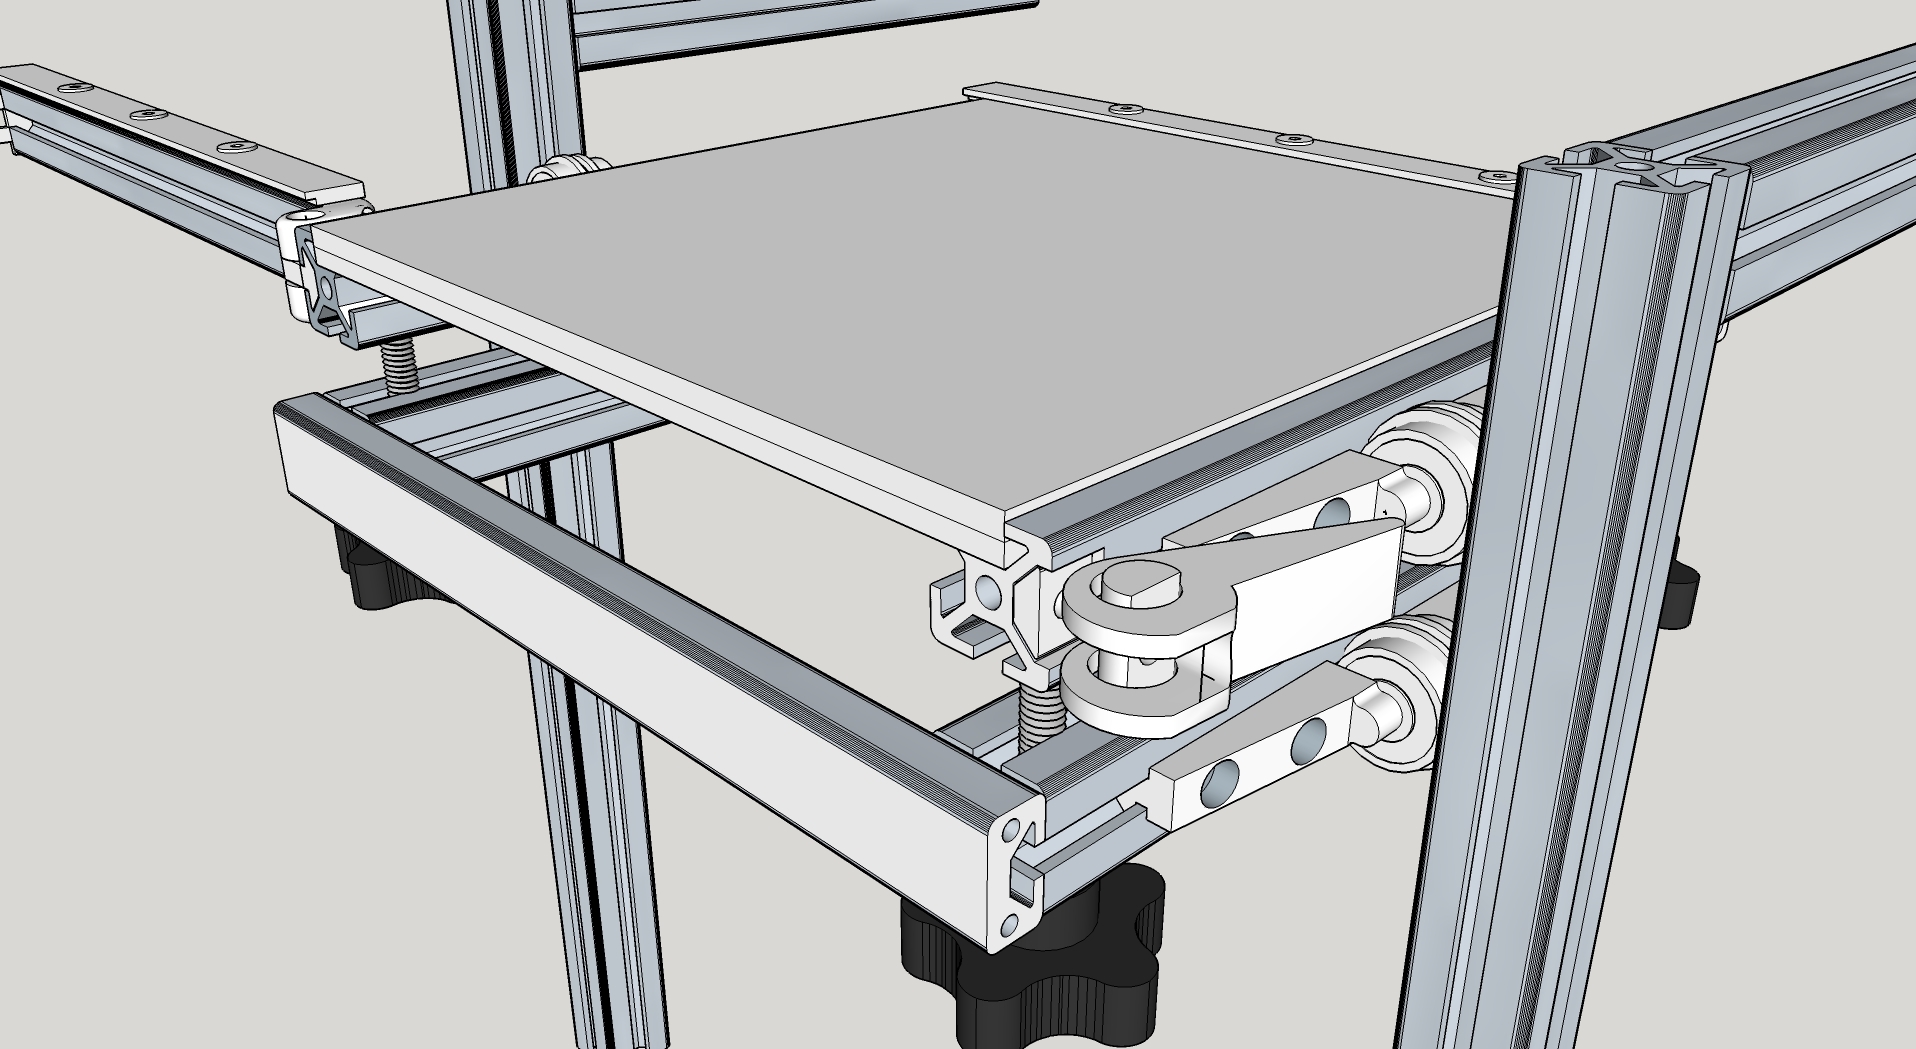
After growing tired of the standard bed assembly, the poorly placed and hard to use adjustment screws, and the bed moving slightly sometimes i went ahead and decided to do something about it. With a little inspiration from the stability discussion in the octopi thread i designed the following stability enhancing support rails. Not sure if it’s clear in the picture but the glass from the zeepro heated bed is placed together with a mirror and is held together by two plates. the front of the assembly is hinged to allow easy changing of the mirror. Flanged ball bearings keep the carriage rolling smoothly and stable up and down.
I would love to hear what you guys have to say before i pull the trigger on the order =)
Custom bed assembly
My only concern would be how much extra weight your adding and if the stepper motor can lift it. I don’t know if it will be a problem but something you may want to look into. Let us know how it turns out if you build one.
Wow quite complicated !
For my side I would, first start by changing te Z-axis Screw system. If you unmount the Z-Axis you would understand why it is not precise ^^.
I purchassed a Stepper with the Zscrew as the axle of the stepper. and the quality of the print have been really improved.
On a second step I would redesign the Z plater system to be less flexible. (CNC Aluminum part ??) and would totally change the spring system. Actuallu the springs are not maintained so the print plate can “wobble” the springs are jus supposed to allow the print plate to be compressed in some cases.
tis means that their initial function is to work vertically. On the Zim the spring system allows the print plate to shake.
Sorry my English is not perfect. ^^
For me You designed something too complex. I can ensure you that with minor modification you would get similar results and keep the nice design as it is 
Thank you for your reply and i would love to hear in detail what you would do to improve the zim. The perfect thing would be a step by step guide with links to the parts needed but if that is too much i would take any help you are willing to give.
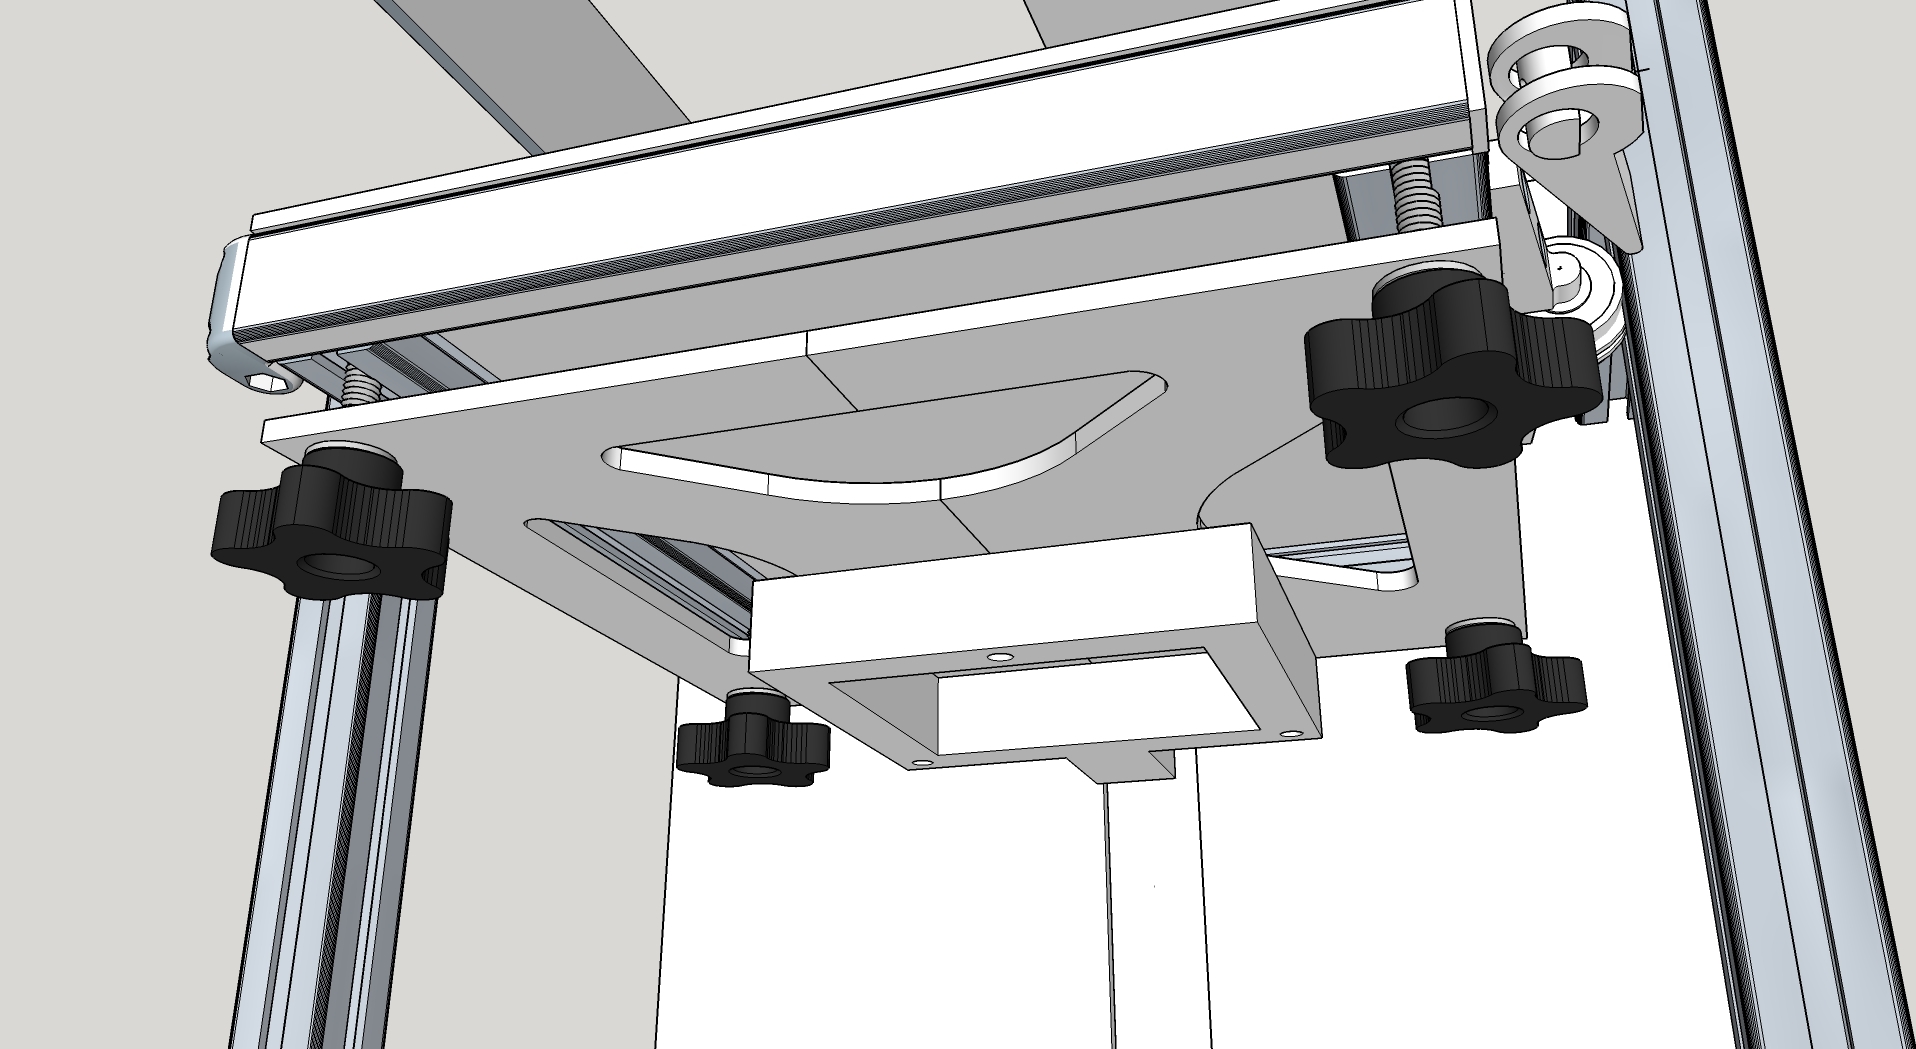
I have rethought my solution above a bit and replaced the bottom frame (the one that attaches to the current z arm) with an aluminum plate with holes in the corners for the four adjustment screws. It should lessen the weight a bit.
Really looking forward to your advice on replacing the z screw.
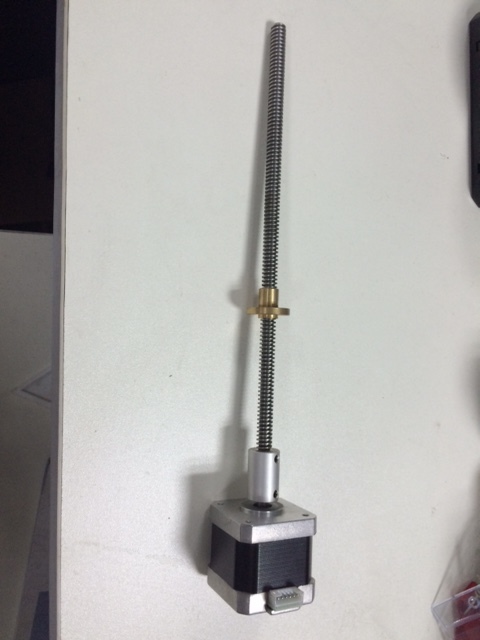
This is the Original Stepper and screw. If you turn the nut on the screw you will notice that the nut wobble. this part has a really pretty weak quality. the screw is fixed to the stepper by a rigid coupler.
the assembly can be replaced by a stepper with a 2mm/turn screw as the stepper axle with a better quality nut. (attached image to illustrate)
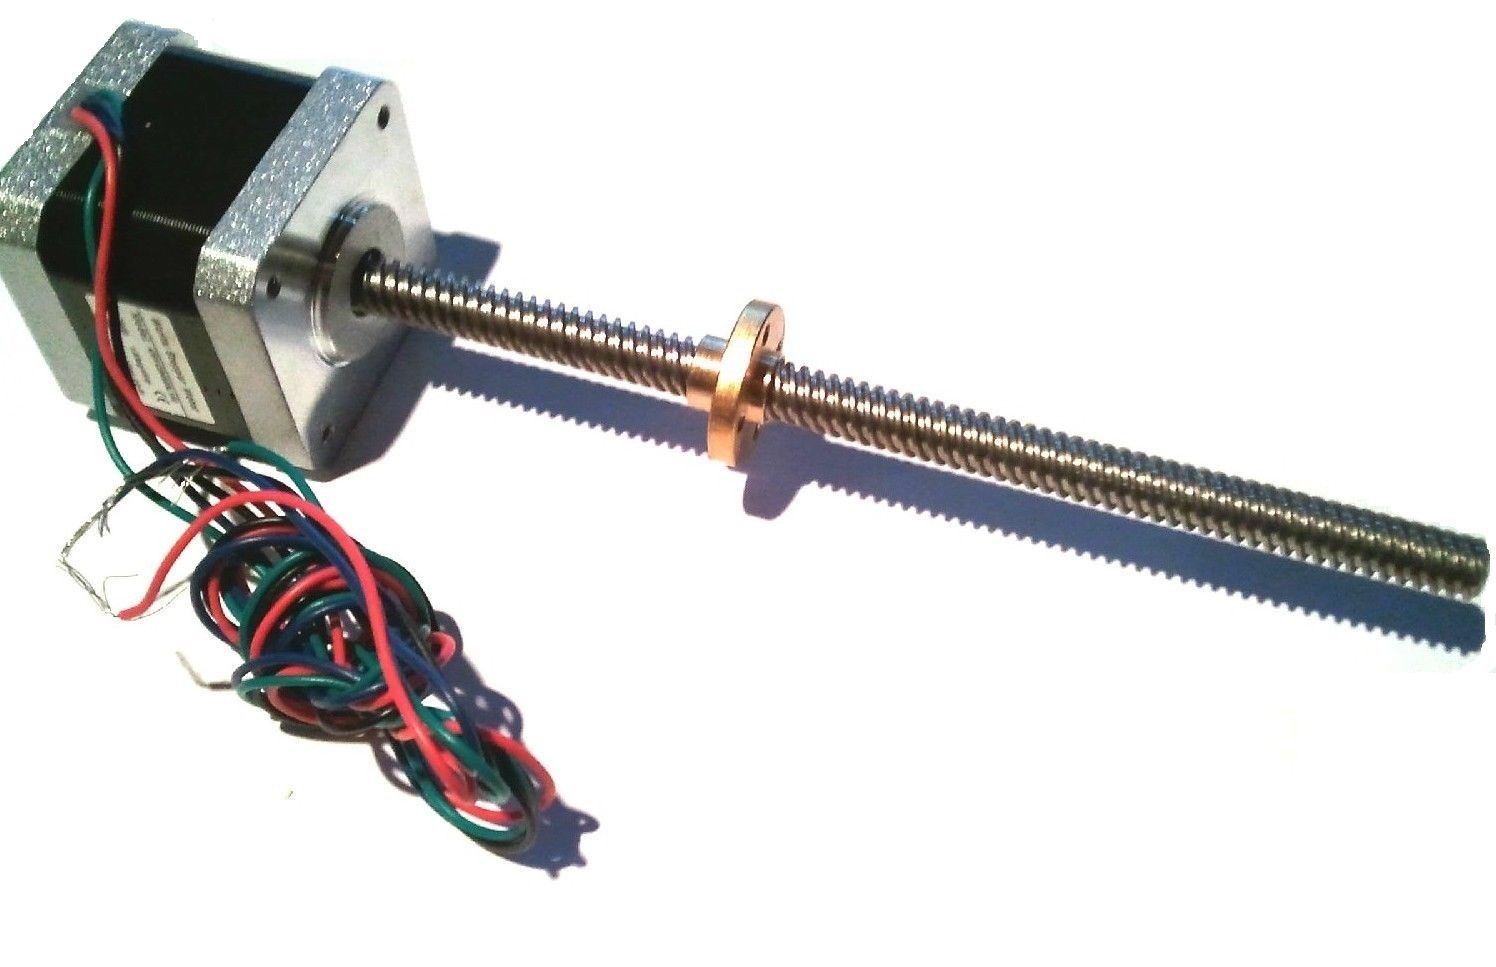
this will be more precise and more stable and will give you a better print quality.
thank you for your help, This seems to be a fairly straight forward upgrade but i have one question, how can i tell a quality nut from the same kind of wobbly nut used by zeepro without actually handling it before purchase?
1 Like
Honnestly I’ve never seen a nut as bad as the one I found in the Zim.
Sorry it is a little bit difficult to explain this in English but the nut surface that connects to the Z arm is NOT perpendicular to the screw. this is the reason of the height wobbly
I suppose that even a regular screw system will give you a perpendicular nut
changing this Z screw system will give you a better resolution on the layers.
you have to add a Oring between the nut and the Z-Arm and it is difficult to center correctly the nut/screw in this system you have to “play” with the 4 nut screws to center the Z screw, else the system may not work correctly.
the description is NEMA17 stepper with 250mm lead (8mm diameter ans 2mm per turn)