
Ill be ordering new heatbeds custom made for the zeepro. They’ll have adhesive on them and with include an aluminum plate with holes in it for the existing mount setup. 150w as well. Cost with plate will be about $30 + shipping. Setup and install will be minutes (provided you know how to connect it to motherboard and/or relay). Was planning on ordering only a few but will order more depending on interest.
Create your own heated printbed!
Do you have a link to a webshop or something? Thanks in advance!
I dont, an ebay shop though. I plan to hook it up, take pictures and test before I make official.
I’m interested. I was just looking into setting up a heated bed yesterday.
Let us know when you get this set up. I would be interested in a spare heated bed.
It’ll be soon. They are in the mail.
Invader,
Any update on the heated beds? Mine is working but since I cracked it things dont print as well since it now is warped up in the middle so I would love to have a replacement.
I did receive them after a long “shipping delay”. I am waiting for more hardware to mount it to the printer. I want to keep access to the bed adjustment screws and I dont want a weird paper clip sandwich look. Ill post pics soon.
Great! I’m ready to order.
Ok heres the first tests!
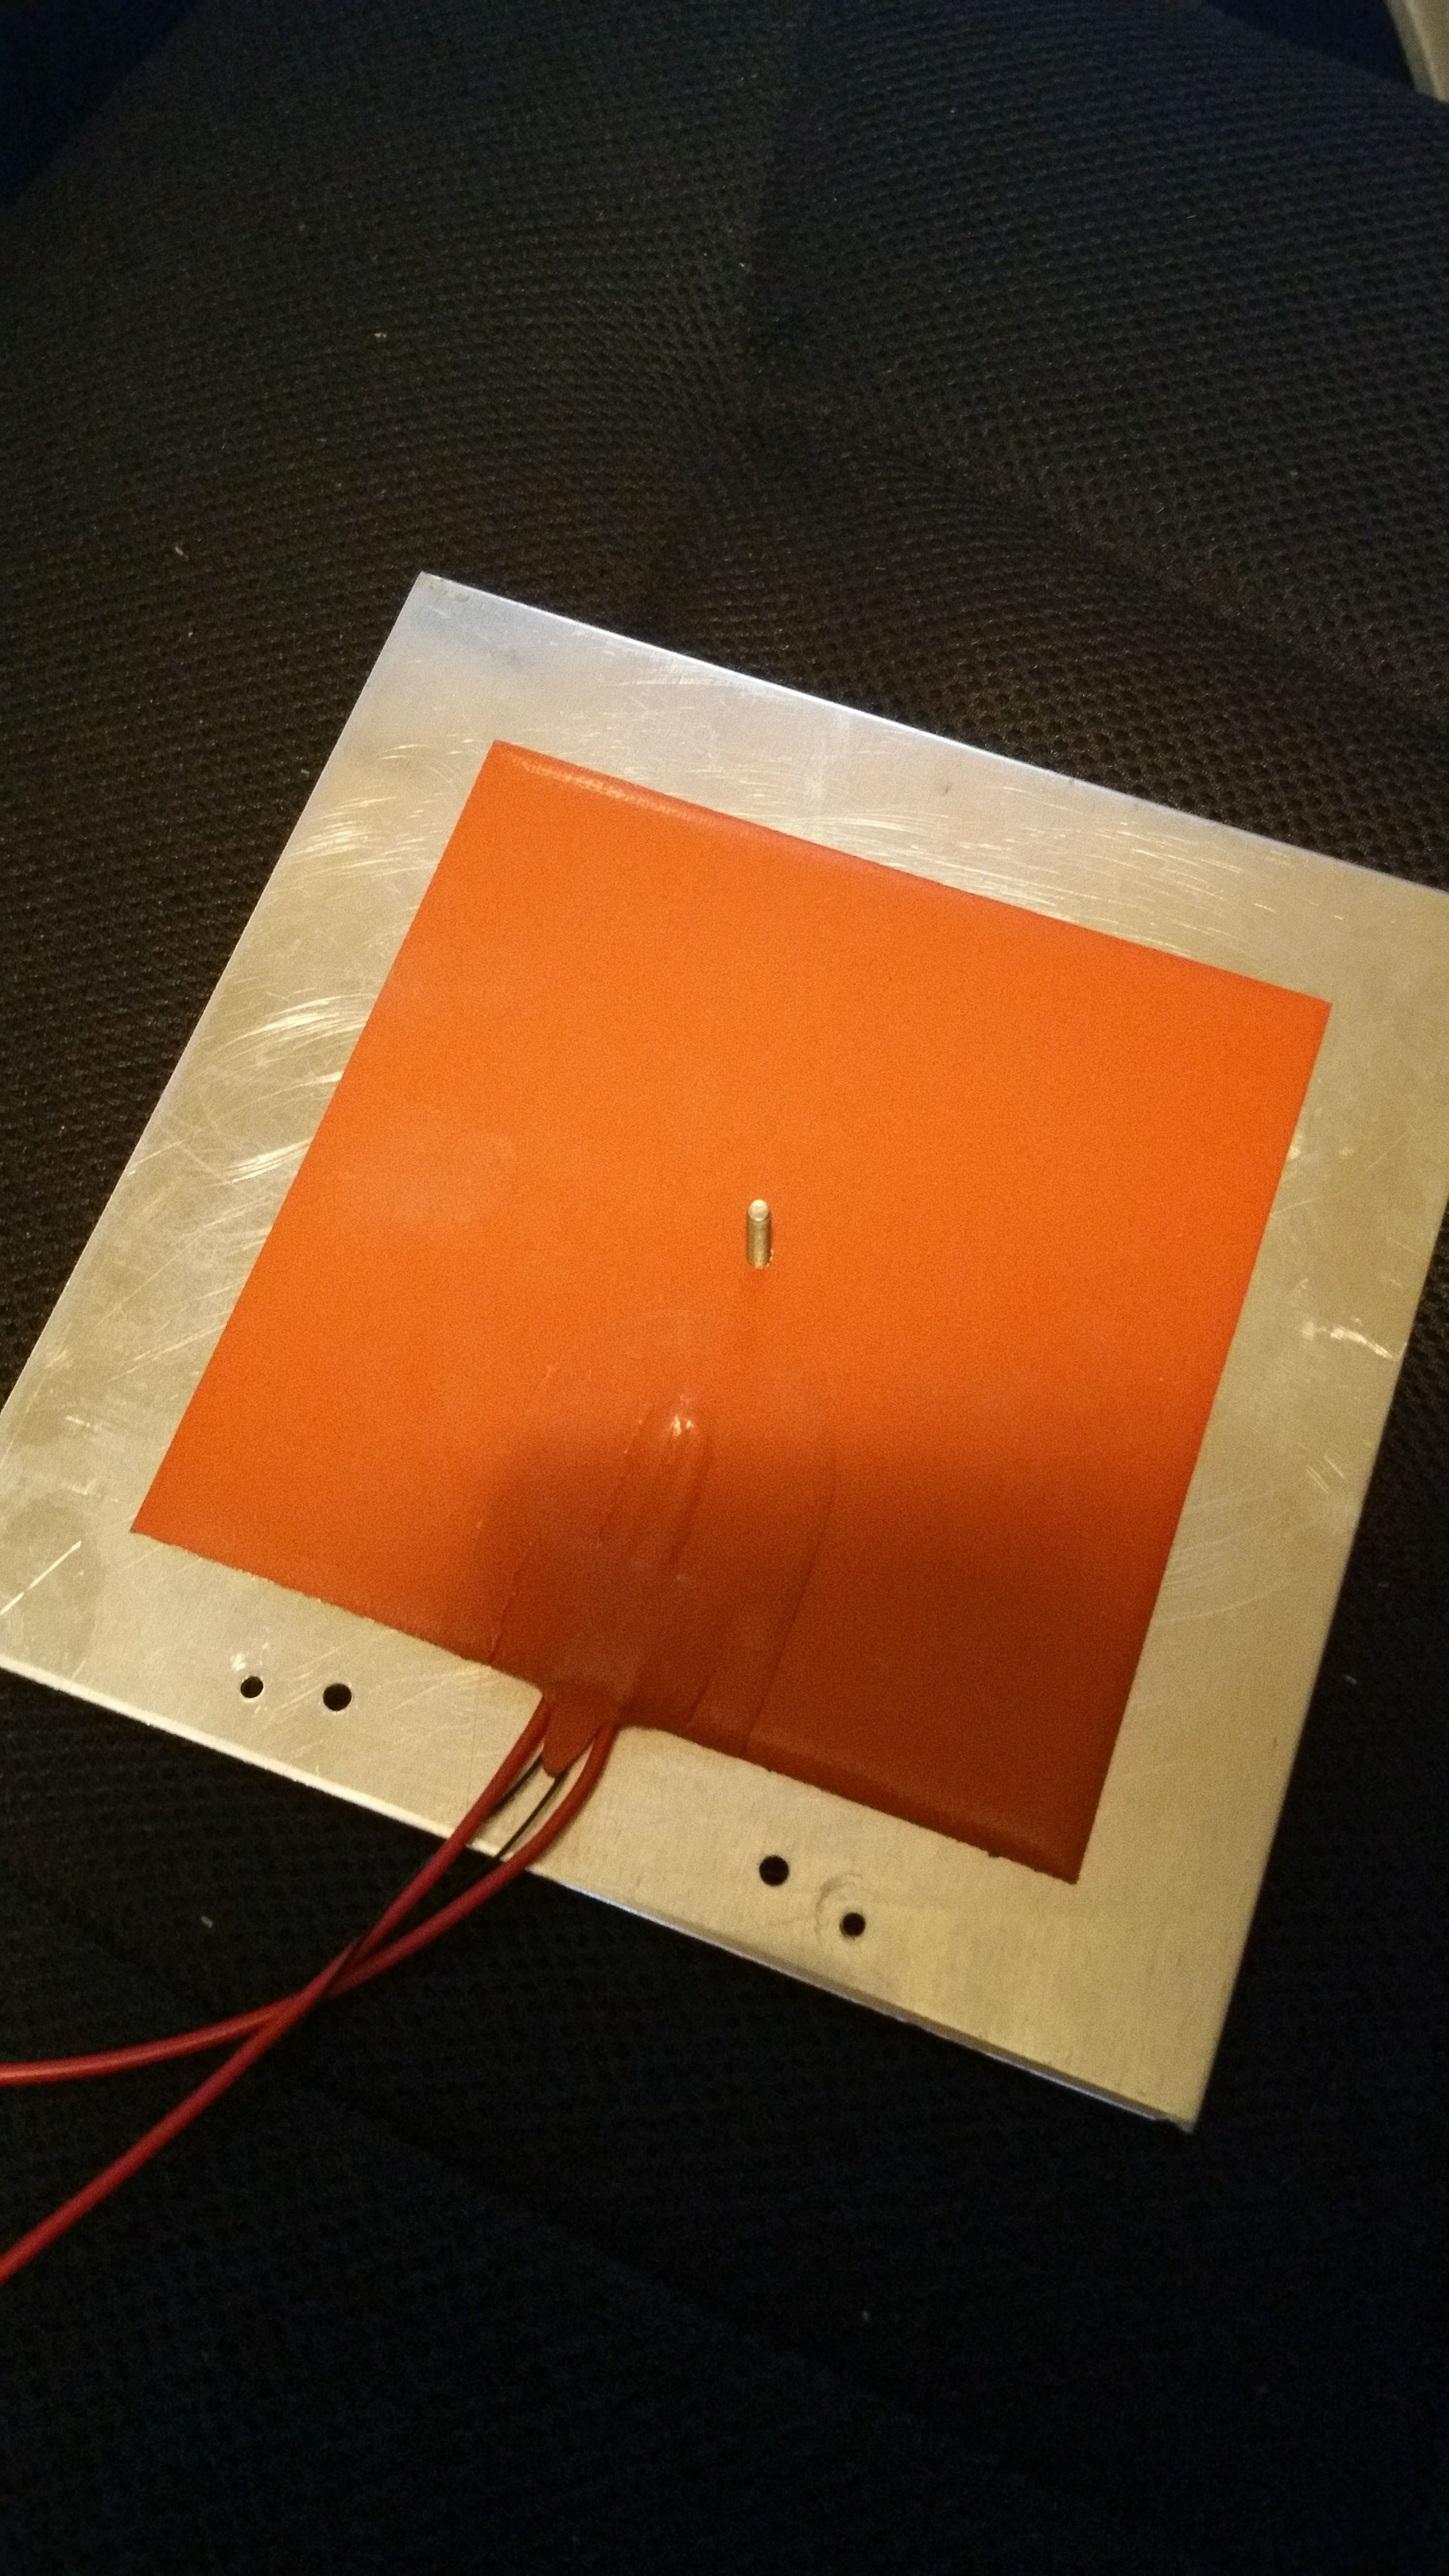
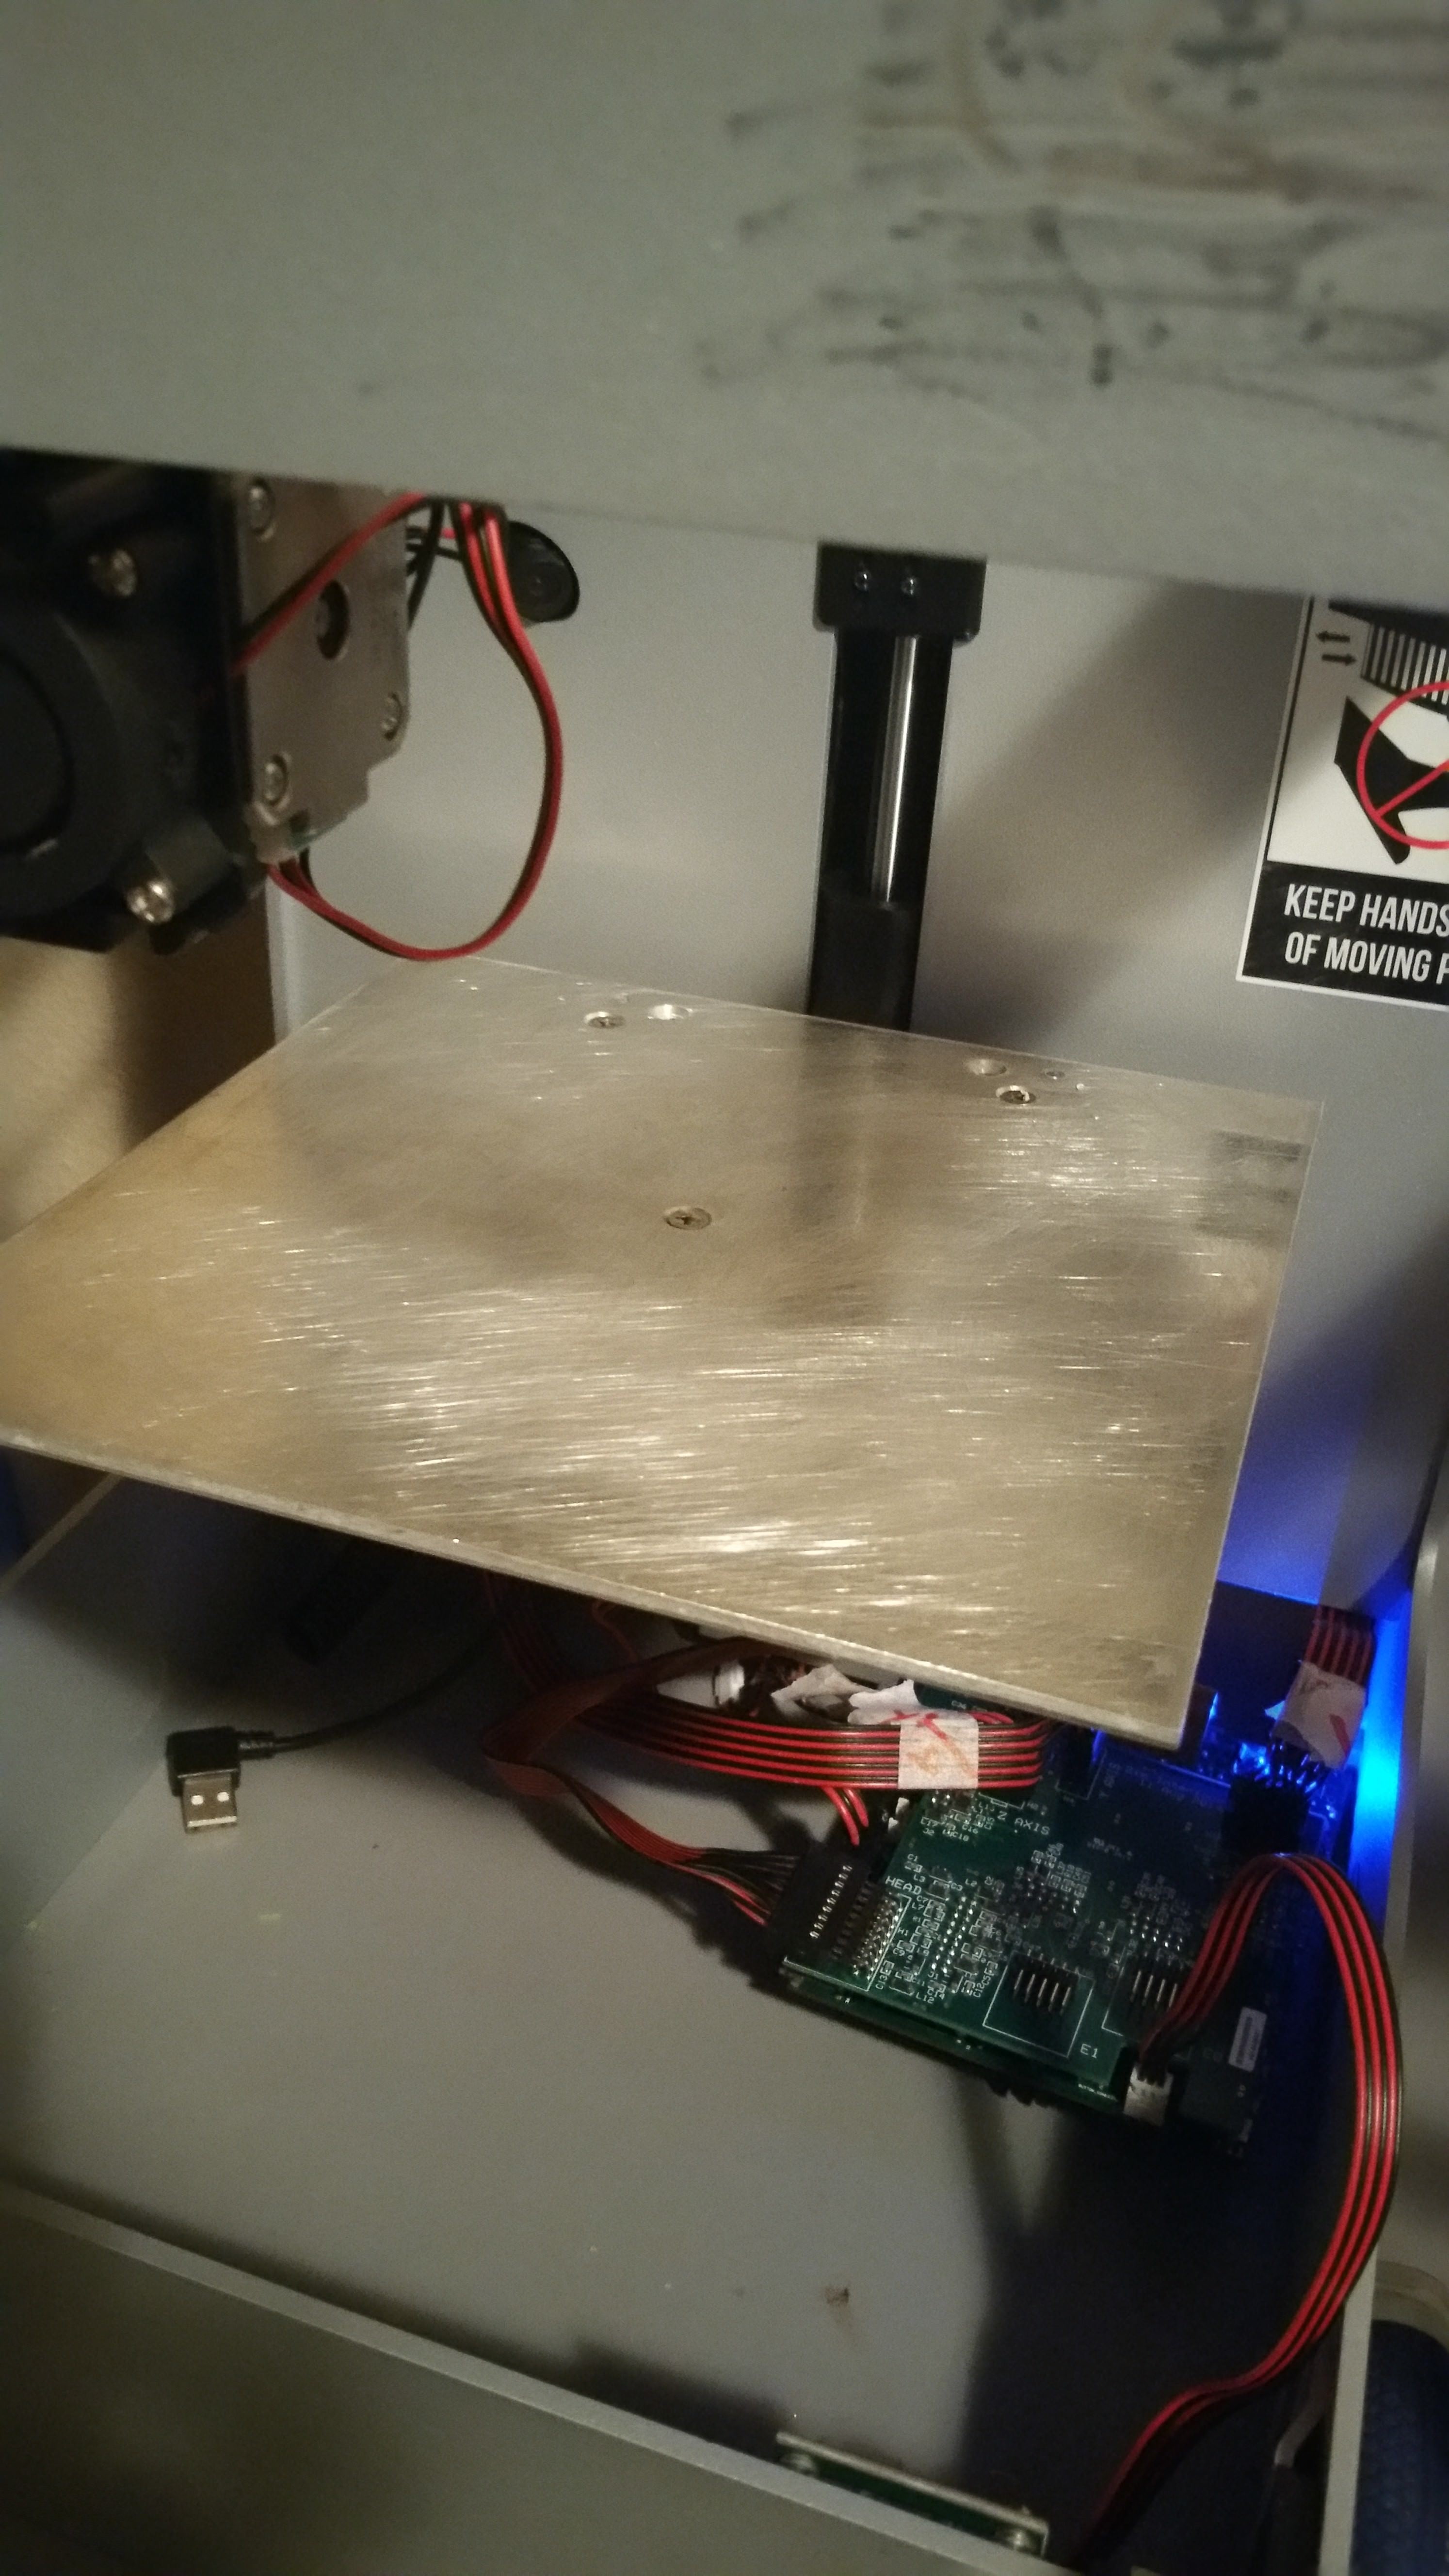
Its adhered to a 1/8th aluminum plate. Just stuck it on. It measured 1 ohm and at 12v its pretty much 150watts. I chose 150w because the goal is to pass it through the board. GASP! I know I know, risky but a relay is still an option. The heat pad is only 150mm x 150mm leaving a 50mm aluminum border. I couldve gone bigger but decided not to. Includes a standard 100k thermistor internally. Mounts using the existing holes and nuts but added a longer screw. I will be including much longer screws to allow thumb wheels on the bottom for easier leveling.
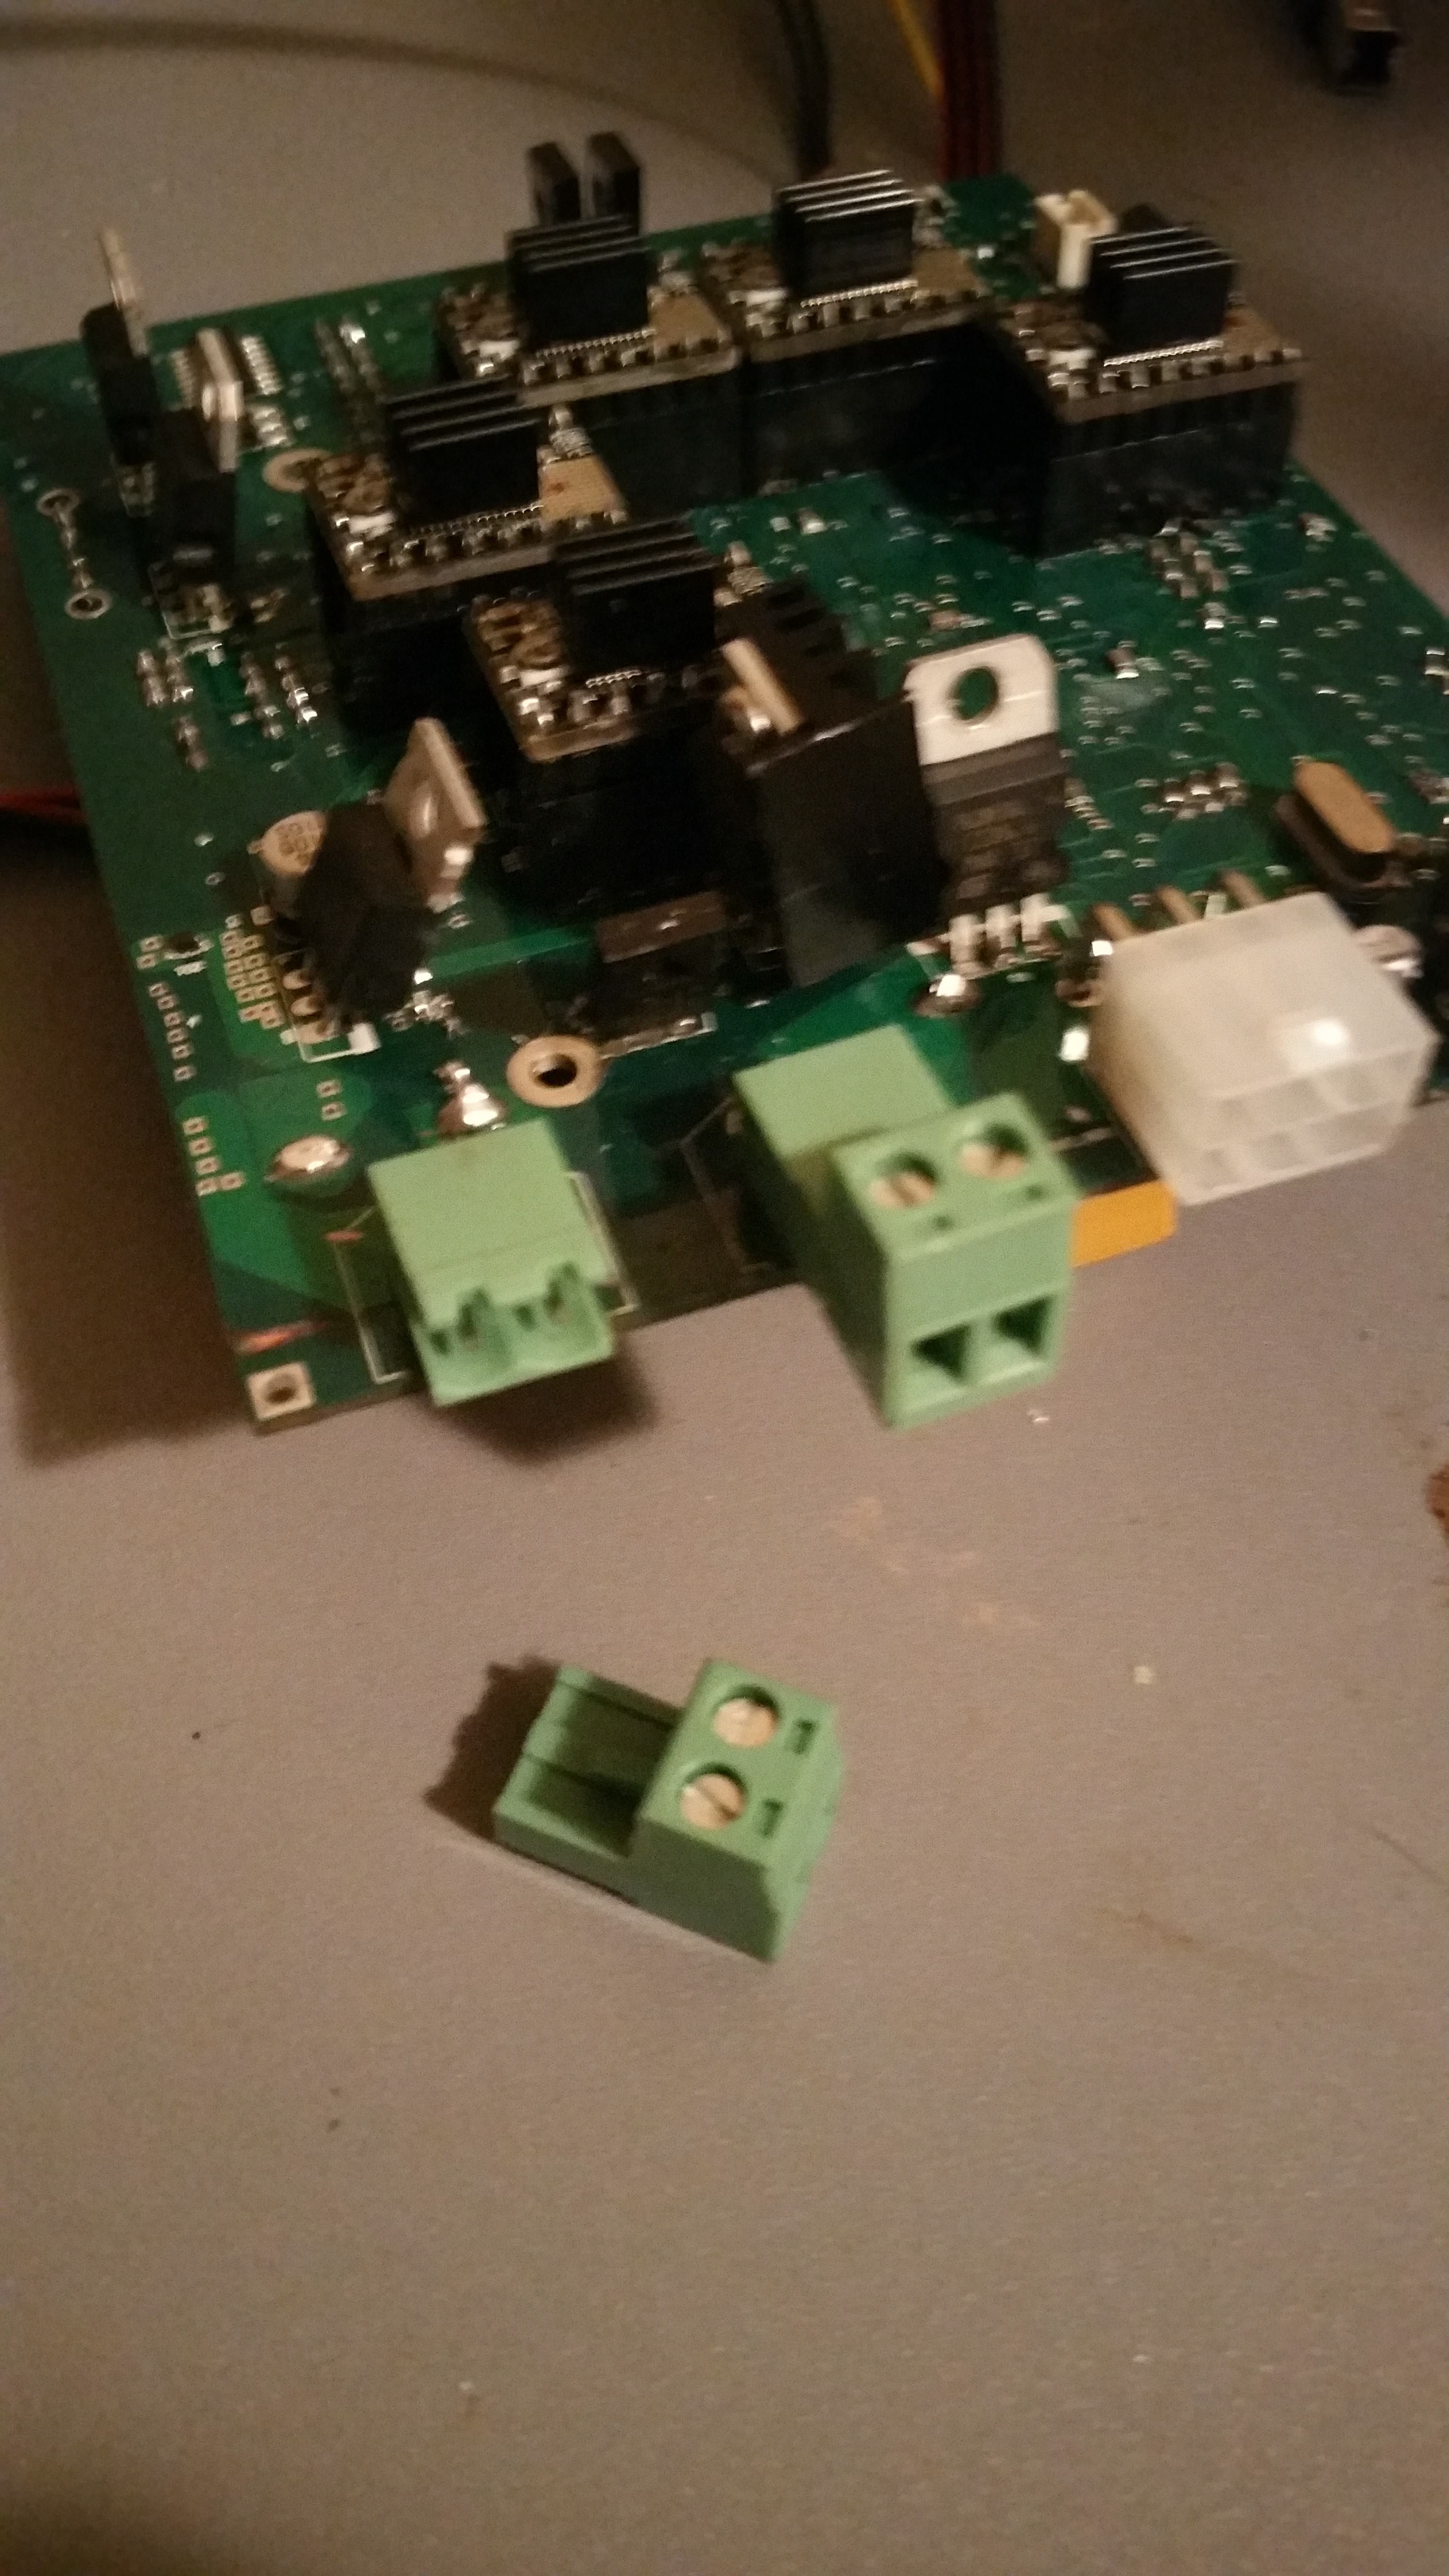
I should mention I am not using the puny stock power brick but instead a 500w pc power supply. I will include a 2-post screw terminal to replace the “BED Input” jack (See pictures) if you do not want to buy a proprietary power supply
Here’s the results from a straight connection to a 500w pc power supply measured with a IR laser thermometer :
Start: 29C
1 min: 46C
2 min: 60C (too hot to hold)
3 min: 72C (Too hot to touch)
3:30 : 80C (ABS temps)
4 min: 85C
5 min 92C (Near temp plateau)
5:55 100C (Near max temps, I think)
Let me know what you guys think!
Looking great! What happened to your “Zeepro” logo? 
1 Like
If you have ever seen Arduino board sockets “melting” like mine at my RepRap you will definitely use a relais 
Have you looked at the uniformity across the build plate at all? Are you satisfied with it?
Are you selling the power supply separately? I have a 400W PC power supply already, and I’d like to avoid shipping costs and use the one I have.
I would have thought 120W would be better to pass through the board… (10A)
I bought it used. Somebody hated the company!
I have melted a board before… and I’m realizing I wont be able to buy a replacement board and drop it in. Relay it is!
There is not a lot of uniformity due to the edges but I kinda like it that way. The heat dissapates on the edges while the center maintains temp. I just don’t expect my electricity bill to go down.
What was your strategy for drilling a hole through the pad? Is it safe to drill anywhere?
The Pad that I got came with the hole predrilled. I would think that if you drill in the wrong spot you will cut the wiring inside and it won’t work.
That is what I thought! Some of the cheap thin mats you can see the wire loops so it might not be so bad. I can’t find any with holes though… Any chance you have a link kicking around?
I don’t remember where I got mine sorry.
Anyone recommend using the items below to build a heated printbed? I just purchased my printer and looking to find the easiest way to rig a heated bed without too much trouble… My only concern is addressing how to turning off the heated printbed after the print is completes using the controller below…
http://www.amazon.com/3D-Printer-Aluminum-3-Point-Adjustment/dp/B019BGAB7K/ref=pd_sim_sbs_328_11?ie=UTF8&dpID=31GBiW%2B64hL&dpSrc=sims&preST=AC_UL160_SR160%2C160&refRID=1AC0HV6EY69FSVEQC7E2
http://www.amazon.com/3D-CAM-Anodized-Aluminum-Carriage/dp/B01A974GIU/ref=pd_sim_328_3?ie=UTF8&dpID=4128n768G9L&dpSrc=sims&preST=AC_UL160_SR160%2C160&refRID=0VZ7ZW155BPRFARN00G7
Thanks,
-Brian
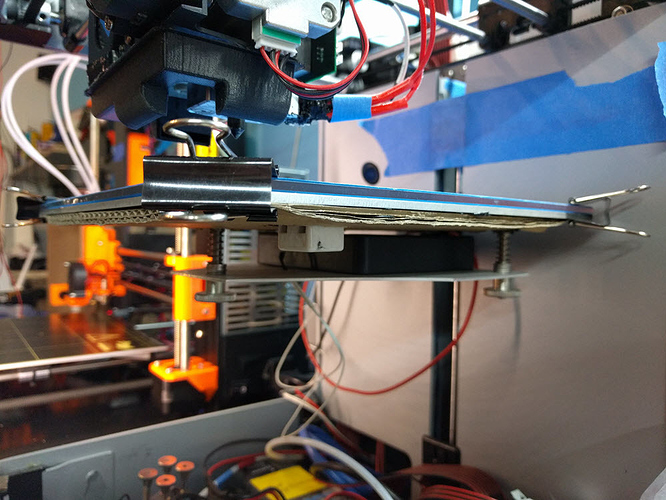
As creating a heated printbed seems to be a big thing for some users and as I’m the creator of this topic (and the wiring diagramm on top) I would like to share my solution which works brilliant so far: several hundred of hours printed so far…
- The wiring is done exaclty as on the diagramm
- sheet metal and mounted it via the 3 holes in the plastic piece of the z axis
- wood thread inserts glued on the printbed (just over the 3 springs) -> use high temperature silicone as a glue!
- the white porclain connector was intended to hold a temperature fuse but never used
- standard MK3 printbed with cupboard isolation underneath
1 Like